Personas and contextual content
Describes personas and contextual content in Optimizely Configured Commerce.
Work with personas
Contextual content can be used to manage which customers can view content. For example, it may be necessary to display a unique set of content to preferred or current clients versus new clients, such as with loyalty program information.
Change or display different sets of content for users by following the steps below:
-
Click Show CMS in the upper-left-hand corner of the website.
NoteTo change content in the CMS, a user must be assigned a content editor, content approver, or content administrator role. An administrator by default does not have access to create content.
-
On the right side of the screen, there is a drop-down menu where the personas are modified. Click that drop-down field to select a persona.

-
On the left side of the screen click Content Tree and Edit.
-
Add the additional content by clicking the Content tab. Doing so populates an AddWidget menu. For Item Type select Rich Context and click Next.
The template can be modified as needed for business purposes.
-
Add the content in the Body section and click Save.
-
Click Publish, then click Publish again.
Content is now assigned for the Default persona. However, this content will appear for all other personas until those personas are edited in the same manner.
-
Select a different persona from the drop-down menu in the upper right corner of the CMS.
-
On the left side of the screen, select the Content Tree icon and Edit.
-
Click Edit Widget to edit the Rich Content widget.
-
Change or remove the content in the Body section, then click Save.
NoteIf all content is removed from the Body section, the widget will not save. If the widget is required to be blank under the new persona, enter a space in the Body section before clicking Save.
-
Click Publish, then click Publish again.
-
Edit additional personas as needed.
Preview persona-related variations
Select the Personas from the drop-down menu in the upper right corner to view the contextual content. Or, select Page Variations in the upper left corner of the CMS to view all variations of the page.
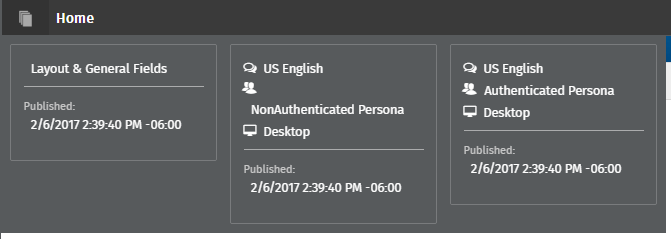
Hover over one of the page iterations, and an option to Switch appears. Select Switch to view how the page appears to a user designated to that persona.
NoteOnly published pages appear as "switchable" options.
Updated 23 days ago