Themes
Describes the process for creating and using a theme for Optimizely Configured Commerce.
To create a theme, you need to complete the following steps:
- Create the theme project.
- Assign the theme to a website.
PrerequisiteDownload and install {user["product-name"]} Cloud SDK (see https://support.insitesoft.com/hc/en-us/articles/360025291711-<<product-name>-Cloud-Environment-Setup-for-Developers> for instructions)
Create theme project
-
In the directory where the SDK was installed, go to the ~\src directory.
-
Run the createTheme.ps1 PowerShell script. Use the name of your theme as the first and only argument.
.\createTheme.ps1 MyTheme -
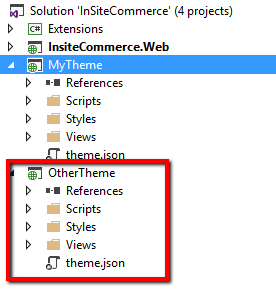
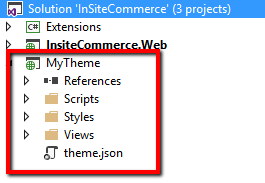
Use Visual Studio to open the InSiteCommerce.sln solution file. The PowerShell script created a separate project for your theme and named it using your theme name.
-
Build the solution.
Assign theme to website
-
Log into the Admin Console.
-
Go to Websites in the left navigation.
-
Click Edit next to the Website to which you want to assign your theme.
-
On the Details finger tab, use the Theme drop-down to select your theme.
-
Click Save.
-
Go to the Storefront for the Website. The Storefront is now using your theme:
Multiple themes
Each website in {user["product-name"]} can only be assigned a single theme, but the platform can handle multiple themes. To add another theme to the platform, simply repeat the process above starting at Create Theme Project. For each new theme, remember to use a unique theme name.
Updated 23 days ago