Manage the local file system media library
Describes how to manage content from the local file system within the Optimizely Configured Commerce Admin Console.
Optimizely <<product-name>> uses a WYSIWYG system to manage content from the local file system within the Admin Console. This article provides information on performing some of the common tasks associated with uploading and managing content.
NoteIn most situations, additional options are available by right-clicking an object. For example, right-click an image to view, download, rename, or delete the file.
File manager
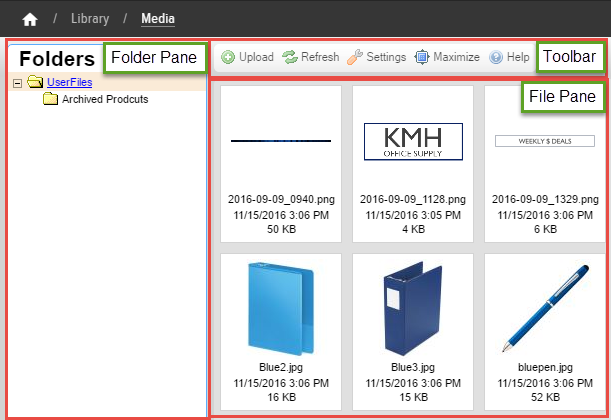
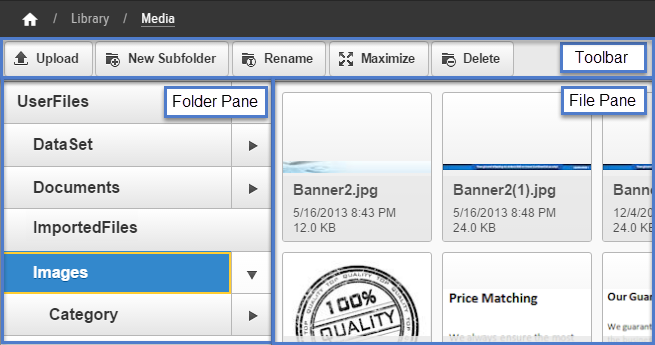
The Media Manager is located in the Admin Console by going to Library > Media. It is comprised of three main parts:
- Folder Pane
- Toolbar
- File Pane


Folder pane
The Folder Pane of the Media Manager displays content in a hierarchical tree view. This is helpful for organizing content in a specific way, making it is easier to find and manage content.
Add folders
To add a new folder, right-click on a folder in the folder pane and select New Subfolder. Folder names cannot start with a capital letter.
The UserFiles folder is the primary folder and cannot be the child of any other folder. Any number of subfolders can be added under it and those folders can also have any number of subfolders, allowing for a more complex folder hierarchy. The UserFiles folder name cannot be changed.
Toolbar
The toolbar is used to access the File Manager features.


Upload a file
- Go to Admin Console > Library > Media.
- In the Folders Pane of the File Manager, first select the file destination, as the uploaded file is added to the currently selected folder automatically. If the folder does not exist, create it, or move the files after uploading them.
- In the top toolbar, click Upload.
- Select the desired files and click Open.
Upload files using the steps below:
Accepted file types
The Media Library supports multiple file extensions which are categorized below:
General files
| .swf | .flv |
Flash files
| .bmp | .gif | .png |
| .jpeg | .jpg |
Image files
| .7z | .aiff | .asf | .avi | .doc | .fla | .gz |
| .gzip | .mid | .mov | .mp3 | .mp4 | .mpeg | .mpg |
| .ods | .odt | .ppt | .pxd | .ram | .rar | |
| .rm | .rmi | .rmvb | .rtf | .sdc | .sitd | .sxc |
| .sxw | .tar | .tgz | .tif | .tiff | .txt | .vsd |
| .wav | .wmv | .xls | .xml | .zip |
Add additional file extensions using the Application Setting CkFinderAdditionalExtensions Additional CKFinder Extensions Additional Media Manager Extensions. Any extensions added should NOT be preceded with a period.
File pane
The Files Pane displays all the files that exist within a selected folder. By default, each file is represented by a small thumbnail.
Change how files display
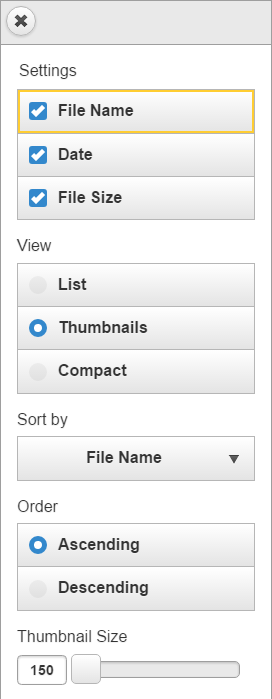
Click Settings on the toolbar to access a variety of display options:

Delete a file
Either select the file, right-click and choose Delete, or select the file and click the Delete key on your keyboard. A confirmation message displays.
Move a file to a different folder
Click and drag the file to the desired folder. The receiving folder's name is bolded when selected.
Updated 5 months ago