
Admin Console
Describes the Optimizely Configured Commerce Admin Console.
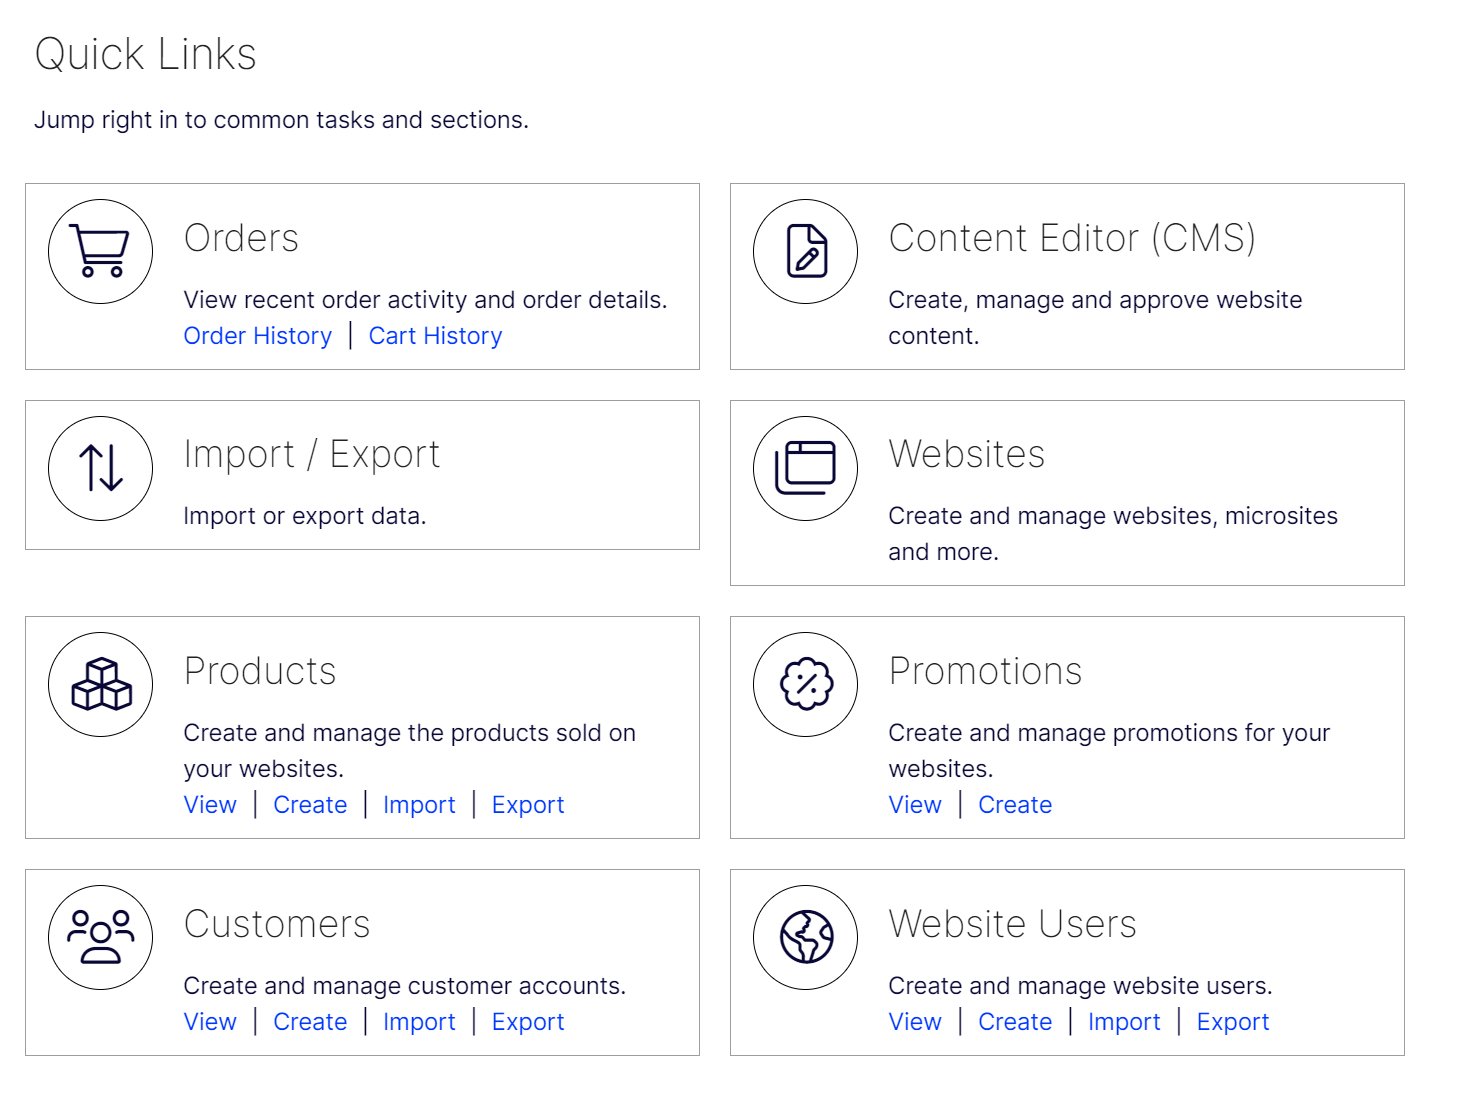
The default landing page of the Admin Console is called the Dashboard. The Dashboard page provides several Quick Links to commonly used tools or information and are updated on a regular basis.
NoteThe lowest screen resolution supported for the Admin Console is 1280x1024.
Quick links
The Quick Links section is specifically tied to the Admin Console and conveniently provides links to the most frequently used tools within the Admin Console.
Log Into the Admin Console
The Admin Console provides the tools and information to properly configure and maintain Optimizely Configured Commerce websites.
Log into the Admin Console by entering the username and password provided to you by your admin.
NoteThe Admin Console does have a lockout feature enabled by default. If a user has made 5 failed login attempts, the account is locked for 5 minutes. After the 5 minute period has expired, a user can retry an additional 5 times and the cycle repeats. A developer could disable or modify this feature as needed.
Primary header
The Primary Header is a persistent control, available throughout the Admin Console. It contains the following options:
- Primary Navigation expands and collapses the Primary Navigation along the left side of the console.
- The logo links back to the Dashboard page.
- Debug provides access to tools designed to help Administrators debug issues. This button is only available to the System Admin role
- Help provides access to support articles and a link to the InsiteSupport site.
- View Website displays a menu which provides an option to toggle the CMS Content Editor on or off. The menu also displays a list of available sites where content editing can occur.
- Jobs displays the number of currently active jobs. Click the Jobs button to display the 5 most recent import or export jobs. The displayed jobs are clickable and linked to the details of the selected job.
- User Profile provides access to the user profile page, where the user can update their email address and password.
- Sign Out logs the user out of the Admin Console and returns the user to the sign-in page. Clicking the Sign Out button also clears all cookies for the current session.
- Home serves as a permanent link to the Dashboard. - Breadcrumb displays the current path to the active page.
NoteNot all breadcrumb text is clickable, as there is not always an associated page with each breadcrumb item. The non-clickable breadcrumb items are displayed to provide navigational clarity.
Primary navigation
The Primary Navigation menu can be expanded or collapsed using the Primary Navigation toggle in the upper left corner of the console. The Primary Navigation menu provides access to all areas of the Admin Console. Click sections within the menu to either display the corresponding page or show a subsection of related pages. This behavior continues for all subsequent section titles.
As shown in the example below, the active section icon displays green, and a green circle displays to the left of the active page.
Primary List Page Header
The Primary List Page Header is positioned below the Breadcrumb and serves as the page toolbar. The actions or tools within it vary depending on the which page is active. Below is a list of the buttons and actions found within the Primary List Page Header.
- Page Name is always displayed on the upper left-hand side of a page and is preceded by the number of records in the current list.
- Import and Export allow for the importing and exporting of data to and from the list.
- Delete allows for the deletion of any number of selected records in the list. It will display as green when there are records selected to be deleted.
- Assign allows any number of selected records to be assigned to another record, that is assigning Users to Customers or Products to Customers. This button is only displayed on lists where assignments are an option.
- Edit allows for the editing of single or multiple records.
- More Options provides access additional functionality, such as rebuilding various indexes, refreshing the ERP, or copying a record.
- Add is context-specific, in that the name displayed on the button changes to coincide with the action take on the current list. In this example, the action is to add a Sales Rep.
Secondary Header
The Secondary Header, like the Primary List Page Header, contains items that may or may not appear on every page. Below is a list of the buttons and actions that can be found within the Secondary Header.
-
Record Counter , displayed directly above the selection column, shows the total number of records selected in the list.
-
After at least one record has been selected, a Show menu appears to the right of the record counter, allowing the option to filter for only the selected records.

-
Quick Filter allows the user to select a column and then filter records based on what is entered in the search field.
-
Pagination navigate the user through a list.
-
Column Options provides the option to reorder the columns and add or remove columns from the list. Clicking this button also gives the option to reset the list to the default set of columns.
NoteAlthough it is possible to add an unlimited number of columns to the view, this may negatively impact the readability of the data.
List navigation
- Select All in the List Header provides the option of selecting all the records in the list or deselecting any selected records..
- Clicking the column headers sorts the list by the records within the column. The Column Sort button shows if the column is sorted top to bottom, bottom to top, A to Z or Z to A, and so on.
- Selected Row allows for the selection of multiple records for the purposes of editing, deleting, or assigning.
- For lists that allow users to edit, clicking Edit allows the user to edit a particular record by opening up the sub-screens and providing more details.
- For lists that are read-only, clicking View Only allows the user to view a particular record by opening up the sub-screens and providing more details.
SubPage navigation
The items listed in this section are context-specific and therefore may not appear on every page.
-
Finger tabs allow users to go through the various subpages of a particular record.

-
Field Translation opens a window to provide translation of the field text in multiple languages which are displayed on the website.
-
Help opens the help menu to provide more information on the respective field.
User information page
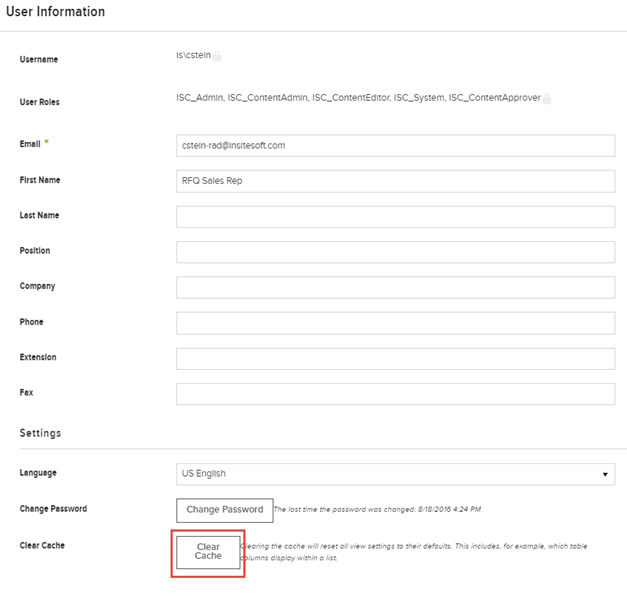
The User Information page displays User data.
To go to the User Information page, click the User's name located in the Admin Console.

Below are the fields that are editable on the User Information page. The User may edit all personal information fields, like their email address, first and last name, and phone number. The user may not edit their username or any of the user roles assigned to them. The user may click Clear Cache, seen at the bottom of the image, to reset all of their unique user-preferred settings, such as column width.
Filter records
The Advanced Filter functionality makes it easy to find the perfect product, customer, or order record in just a few clicks. Sort product records by model number, customers by city, and order history by Sales Rep, or choose from any of the numerous options to personalize your record view. The Advanced Filter is available in multiple sections of the Admin Console, including Sales, Catalog, and Customers. To access the Advanced Filter, click a correlating section, like Customers.
Assigning advanced filters
To activate the Advanced Filter, click Advanced Filter on the left side of the screen. Each Admin Console section includes its own list of filtering options; for example, Customers may be filtered by more than forty different options, including Country, Default Warehouse, and Primary Sales Rep. Click an option to add it to the List Action Bar.

Once an option is added to the List Action Bar, it no longer appears in the Advanced Filter drop-down.
Click the added filter option to assign values. Different options present" different values; for example, click Country to view a list of selectable countries, and choose one or multiple countries. Once the option has been assigned a values, the value appears next to the filter option in the List Action Bar. If multiple values are assigned, the word "Multiple" appears.

To remove a filter option, select Remove. When a filter option is removed from the List Action Bar, it reappears in the Advanced Filter drop-down. Removing all filters resets the list and displays all records.
Advanced filter types
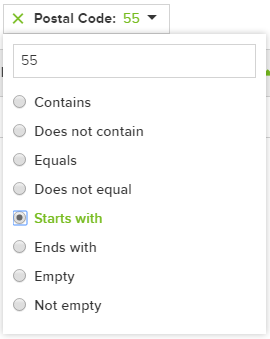
Some filter options require additional text input; for example, the Customer section's Postal Code option.
-
Add Postal Code as a filter option, then click it.
-
Enter a number in the text box at the top of the list, then select one of the radio button options, like Starts with. The list automatically updates to include the chosen values.
-
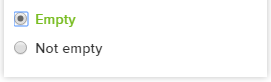
Choose Empty at the bottom of the radio button list to view all records without existing data in that field.
-
Choose Not empty at the bottom of the list to view all records with that field filled.
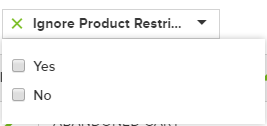
Some filter options support Boolean, or binary values; for example, the Customer section's Ignore Product Restrictions option.
-
Select either Yes or No from the drop-down; both values may not be selected.
-
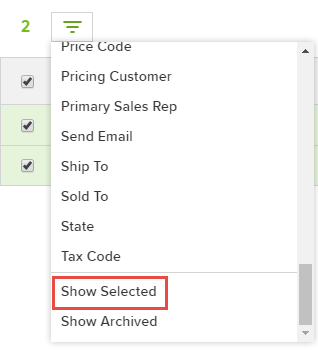
Clear the "clutter" from the Advanced Filter values using the Show Selected option.
-
Select one or multiple records using the checkboxes, then click Advanced Filter.
-
Scroll to the bottom of the options list, then choose Show Selected to view only the selected records.
-
Alternately, click Show Archived to view all archived records. This option is not available for non-archivable entities.
Alerts and notifications
The Admin Console displays alerts for various situations, such as when an integration job is complete or if an integration job encounters an error. These alerts display below the Breadcrumb. Some alerts automatically disappear after a short period of time, while others remain displayed providing a link to a related action. For example, if the alert is displaying an error with an integration job, it will provide a link to the report showing the error.
Examples of status notifications
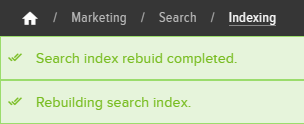
This example shows both a notice that a rebuild has started and that one has completed. Both of these notifications were received while viewing the Indexing page.
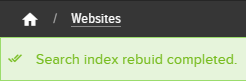
These examples show notifications that a rebuild has either been completed or failed while viewing a non-Indexing page- notice the breadcrumb. Also note that the failure notification provides an option to attempt to rebuild the index again.

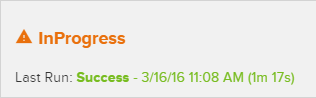
These examples show the rebuild statuses which are displayed via theSearch>Indexingpage:

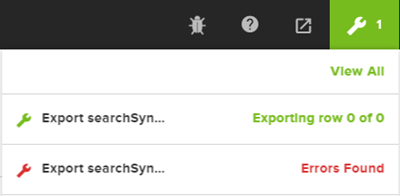
This example shows both progress and error messages displayed within the Jobs menu. Clicking either of these jobs will open the related Details page to provide more information.
Updated 5 months ago