Work with settings
Describes how to work with Optimizely Configured Commerce environment management settings.
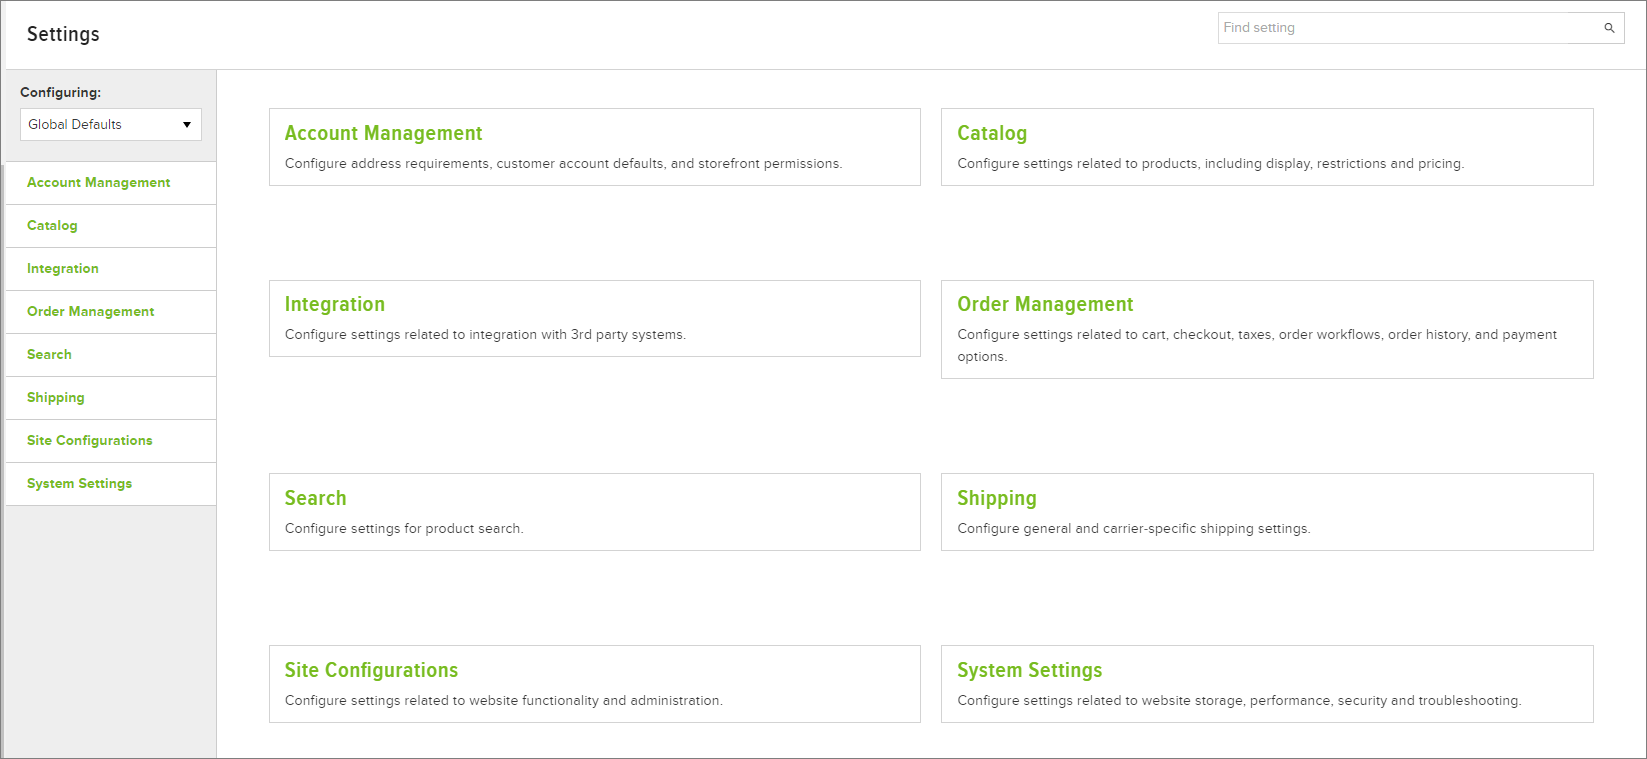
Controlling website and Admin Console Settings is found in one location: Admin Console > Administration > System > Settings. Settings control a whole host of options from the number of failed login attempts that are allowed, to whether or not Promotion Codes are case sensitive. The Settings have been grouped in a dashboard style landing page, with each tile providing a brief description of its respective category. Clicking the category tile or the respective finger tab, displays a list of the Settings for that category.
NoteFor a list of all the settings, see the Settings master list article.
There are some Settings that require an IIS restart before the changes will take effect. See this article to identify these Settings: Setting changes that require an IIS restart
Global and website specific settings
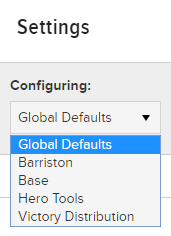
The Settings page will always display the Global Default settings (settings that are applied to all websites) by default. To view settings that are specific to a website, select the targeted website using the Configuring menu:
There are certain settings that are only configurable at the Global level. When viewing a specific website, any field that is Global only will have the Lock icon next to it.

Additionally, the Website Specific icon
is displayed next to any settings that are specific to the selected website. In other words, it is not using the Global Default value.
NoteSelecting Global Defaults from the Configuring menu will not override any unique website specific settings. The Website Specific icon explains the situation:

View available settings
The Settings page only displays settings that are relevant to the user based on their assigned roles. Additionally, only Settings applicable to the installed version of Configured Commerce are displayed. So, if you are running Configured Commerce Cloud versus Configured Commerce Enterprise, you will only see settings that are relevant to that version.
Search for settings
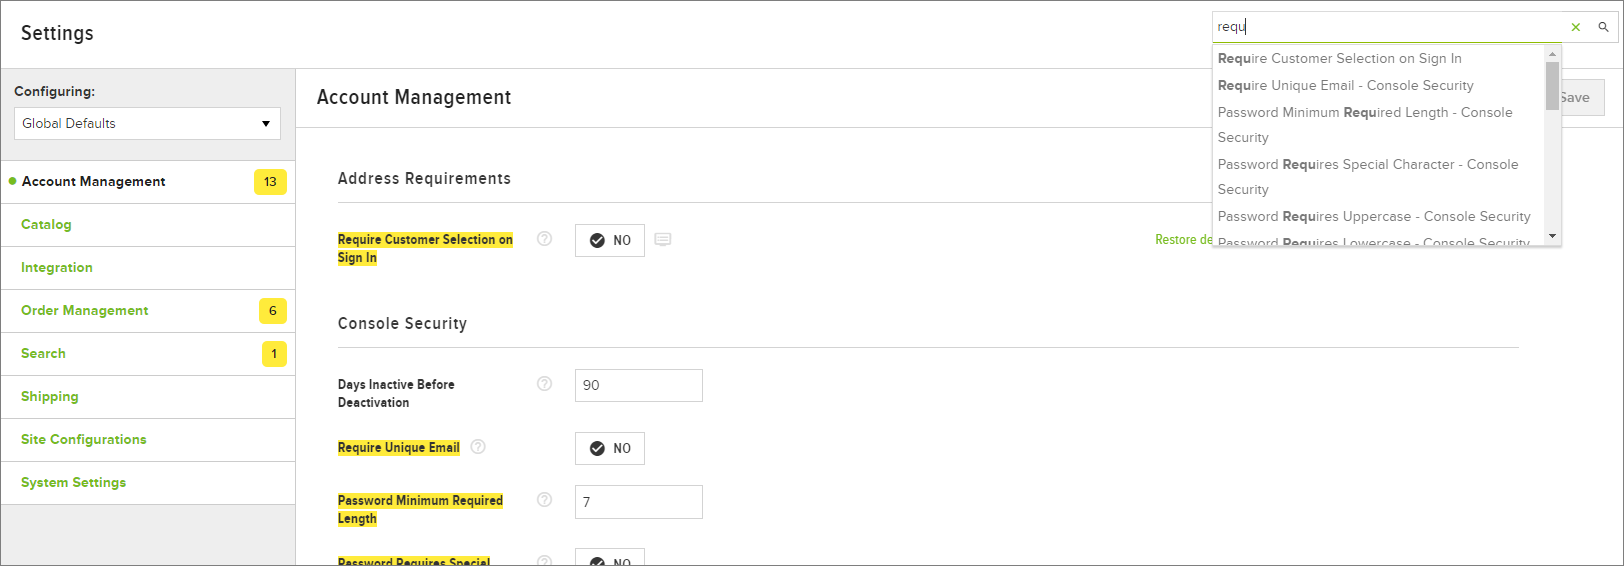
Although the categories and descriptions are helpful, using the Search Box may be the most efficient way to locate a setting. As you enter text into the Search box will provide suggestions, and as more text is entered the suggestion list will narrow. As Settings that match the query are found, yellow boxes dynamically appear next to the Categories that contain the matching text in the Search Box. Additionally, any Settings found within the active page are also highlighted. To clear the search and highlighting, click the x in the Search Box.
Duplicate and dependent setting names
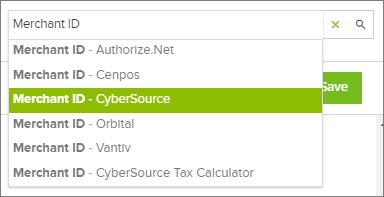
Some setting names, such as Live or Merchant ID, are used in multiple instances and can also have dependencies. When duplicate settings occur, the unique parent identifier will be referenced in the search box adjacent to the setting name, as shown below where Merchant ID is the setting and the payment gateway (CyberSource in this example) is the unique parent identifier.
We will continue with the example of the Merchant ID setting for the CyberSource payment gateway. As is shown in the example below, the Merchant ID setting for CyberSource was selected; however, it is dependent upon CyberSource being set as the payment gateway. Because CyberSource was not selected, a prompt is displayed to select it as the payment gateway.

Once the correct payment gateway is selected, the additional settings appear below.
Understand the auto-hide behavior of related settings
Similar to what was explained above, some settings are dependent on the configuration of other related settings. This article uses the Invoice History setting as an example to explain the auto-hide behavior.
Invoice history settings
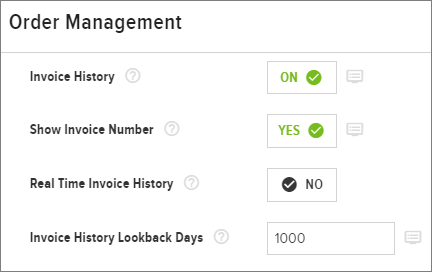
If Invoice History is set to On, there are three related settings:
- Show Invoice Number
- Real Time Invoice History
- Invoice History Lookback Days
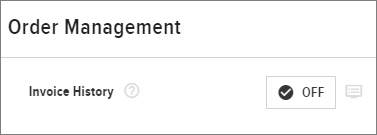
When Invoice History is set to Off, the related settings are automatically hidden:
As a result of disabling the Invoice History setting, searching for a related hidden setting, such as Invoice History Lookback Days, will cause a message to display under the parent setting with instructions.

Update and restore defaults
Once the desired setting is found, you may be wondering what the options are or what the default setting is/was. Clicking the Help icon provides this context for users where necessary. These messages contain a more detailed description, possible field limits, default values, and so on.
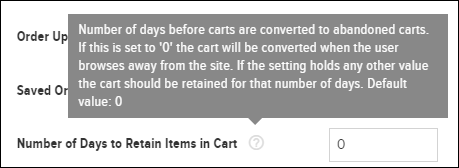
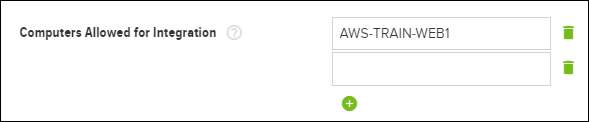
In the case where multiple fields can be added, such as adding computers that are allowed for integration, Add is displayed and consequently a Delete is also displayed to delete the desired fields.
When a setting has been changed, an option to Restore default is displayed.

If the need arises to reset all the settings for a particular category, clicking More Options, found in the Primary Navigation, provides the option to reset the respective Category to its default settings.
View changes
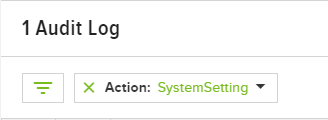
Users with access to the Audit Logs, Admin Console > Administration > System > Audit Logs, can view changes made to Settings. To view the changes, filter for SystemSettings. Then click View Only to view the change log.
Updated 5 months ago