Import and export data
Describes how to import and export data in Optimizely Configured Commerce.
The import/export functionality is driven by the Optimizely Configured Commerce internal integration service. Import/exports are classified as an Integration Job, and can be monitored for success and failure using the Job page. From any list screen in the Admin Console (AC), click Import or Export to initiate the job.
Import data
Click Import on a list page, like Products, Categories, or Users to access the Import page. This page provides the ability to both import the data, if it already exists, or to download an import template by clicking Download Template.
Prior to performing an import with a template, there are two important steps to complete:
- All the cells in the template must be formatted as text in order to upload successfully .
- All sample rows, with the exception of the top row (column headers), should be removed. They are included for demonstration purposes only.
Once the data is ready to import, browse for the file and choose the desired import options:
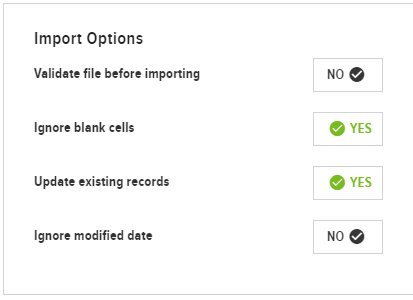
Turn Ignore blank cells to NO to allow the imported records to remove existing data. When switched to NO, blank cells throw an error.
Switch Update existing records to YES to push changes from the import file to preexisting records, like a promotion rank change.
Toggle Ignore modified date to YES to allow the import data to override that section's existing data.
If the modified date is ignored, you could overwrite data that was changed by someone else between the time you exported the data and then imported the new/updated data. It is recommended that this toggle is left as NO unless you are certain your import data is both the most recent and most accurate.
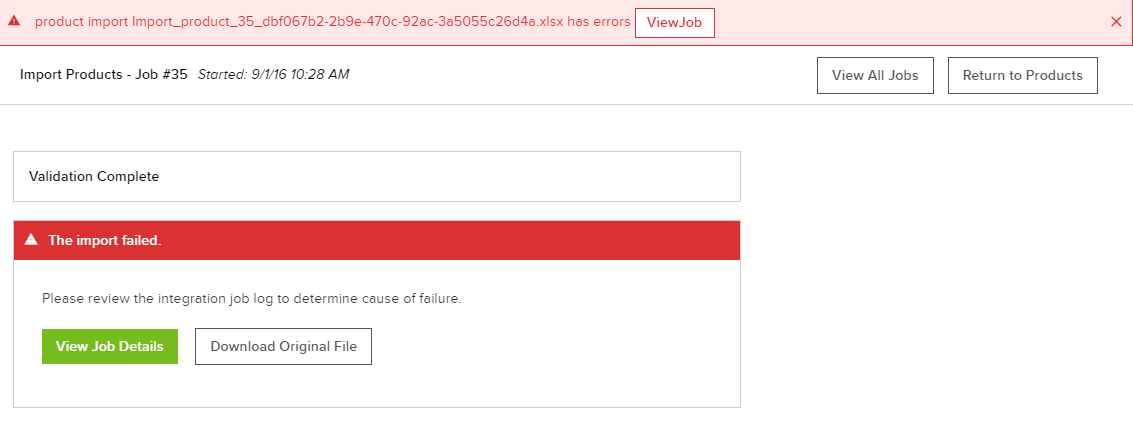
Finally, switch the Validate file before importing toggle to YES, to cause the Windows Integration Service (WIS) to check the import data for errors. If any errors are found, the import process does not execute, and a notification displays providing further options.
The Validate file before importing option commits each row individually to the database and then reverse the change. This means that if you have data in a row that depends on data existing from a previous row - such as a variant tied to the variant parent - it will fail during validate first but not during the actual import. Validate file before importing also takes more time than the actual processing because of this single-transaction/rollback process, so Optimizely recommends using it sparingly.
If the toggle is left as No, the import moves forward and imports the data. If errors are found, they are displayed in a report.
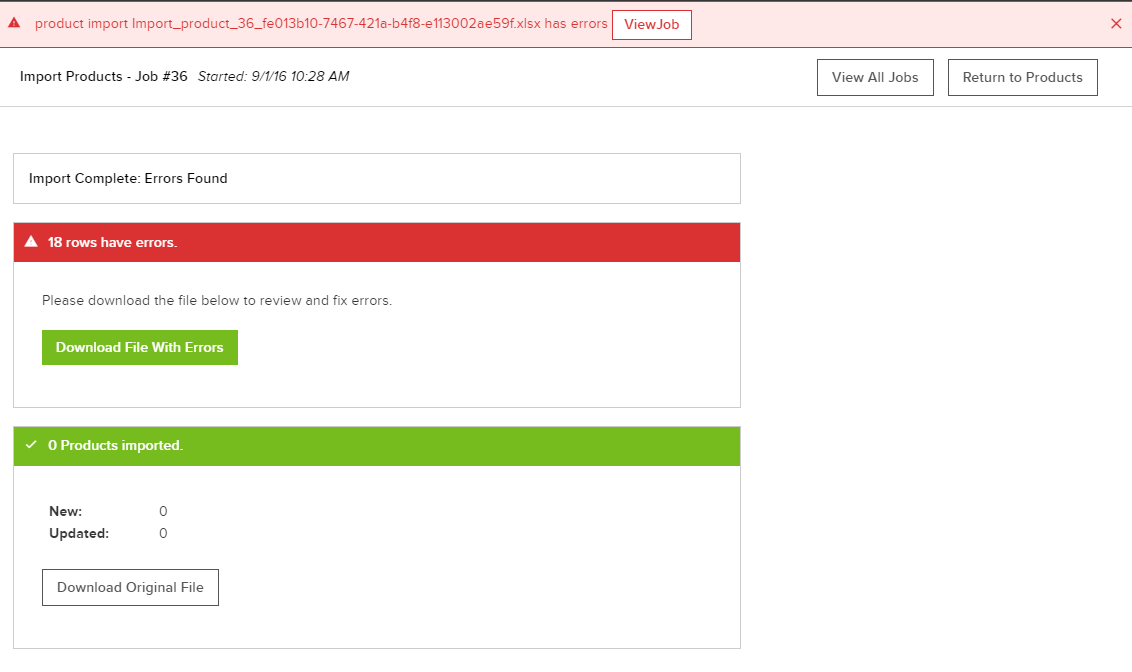
Click Import to execute the import. Because the internal integration service runs the import in the background, users can proceed with other tasks in the AC while the import job completes. Any errors that occur appear at the top of the AC screen, regardless of the current screen.
Export data
Click Export on a list page to access the Export page. Select the columns to include in the export. There is no limit to the number of columns that can be selected. Click Save as Default Selections to save the selected column list for future exports, then click Export to begin the export job. As with imports, feel free to execute other tasks in the Admin Console while the export job completes.
Review import and export status
Once an Import or Export has started, monitor the status in the Job history screen, accessed via the Primary Navigation menu under Administration > Jobs > All Jobs History, or by clicking Jobs in the Primary Header and clicking View All.
Updated 5 months ago