Home page
Describes how to create a home page in Optimizely Configured Commerce.
NoteAll fields that can be modified are housed in blue boxes. Information not in boxes, such as header and footer information, cannot be modified in this process. A separate, albeit similar process is followed to modify the header and footer and is not covered in this article.
Below are the modifications and tools available in Optimizely Configured Commerce to help with altering the home page.
-
Sign in to the Admin Console with the proper username and password. The user must be assigned the role of ISC_ContentEditor, ISC_ContentApprover, or ISC_ContentAdmin. The ISC_Admin role on its own does not allow CMS access.
-
Select the View Websites button in the upper right corner, and select the appropriate website.
-
Hover over the blue triangle in the upper left corner of the website and select Show CMS.
-
Click Content Tree to reveal a list of site pages.
-
Click the Edit in the upper left corner to edit or modify all fields on the page. For this scenario, the Home page is the focus.
-
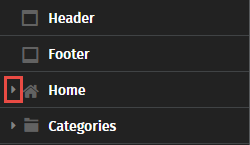
The chevron to the left of the Home menu item opens a drop-down displaying a list of available pages; for example, the Products page, the My Account page, or the Contact Us page. These pages generally are set up during implementation.
-
The crosshairs icon allows a user to reorder the pages in the content tree.

-
The arrow on the right side of the Home field is a flyout menu. Click this arrow to Add Page, Edit Page, or Delete Page.
-
Click Home to access the current home page. The editable content appears in boxes called widgets, with the option to edit or delete existing information. Below is an image of a page in edit mode:
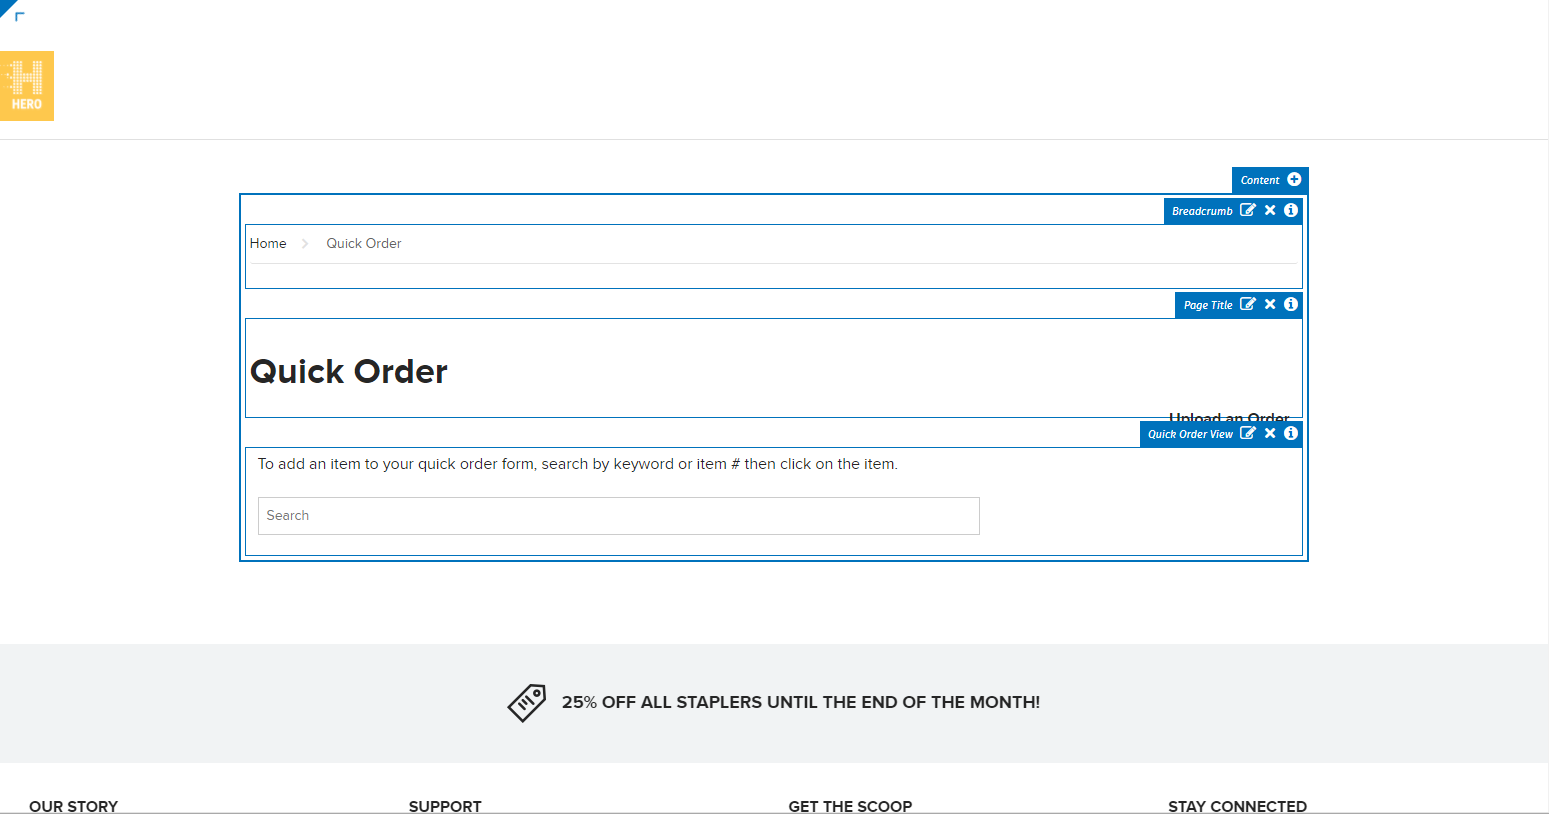
For this example, the user wants to add an image outside of the Carousel and add text to promote a new product line.
First, an image is added. In this scenario, the image encapsulates a savings update announcement. The process for adding an image is below:
-
Click Add Content.
-
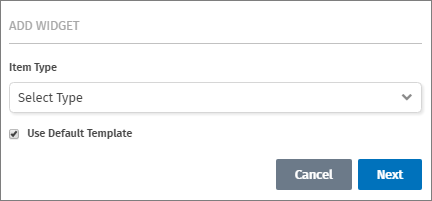
Under Item Type, select Image.
-
Select Standard from the Template drop-down. The Standard template is used most often, but the template can be modified at any time.
NoteIn Configured Commerce 4.3 and beyond, the Template drop-down menu is replaced by a Use Default Template check box. Uncheck the box to use an alternate template.
-
Click Next.
-
Click Browse to choose an Image URL (required).
Other fields can also be modified, like Alt Text, Width, and Height. Alt Text is an important step for any user who may be viewing the website in a text-only format.
-
Click Save.
-
Click Publish in the upper-right corner of the page.
NoteISC_ContentEditor users cannot publish changes, but must submit changes for approval.
-
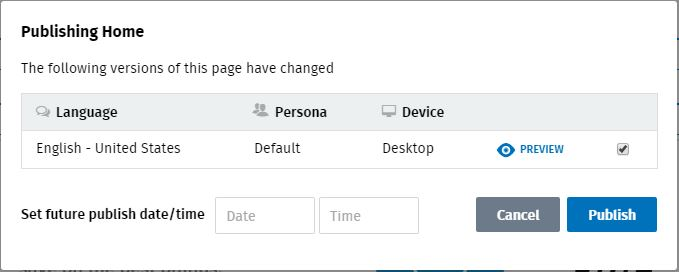
A Publishing pop-up is displayed. Preview changes by clicking Preview, or set a future publishing date and time. Leave the publishing date and time blank to push the content to the live site immediately.
-
Once additional content has been previewed and approved, click Publish. The changes can now be viewed by site visitors. By default, new content is added to the bottom of the web page.
Although only one change was made to the page in this scenario, the possibilities of adding, deleting, and modifying content on a webpage is almost limitless. See the Widgets section to learn more.
Updated 5 months ago