A/B test in Configured Commerce
Describes how to see which Optimizely Configured Commerce page performs better at goals like increasing revenue or decreasing bounce rate.
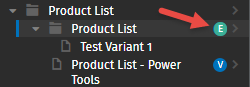
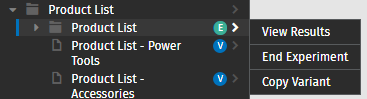
A/B testing evaluates multiple variations of a page to see which performs better at goals like increasing revenue or decreasing bounce rate. ISC_ContentAdmin, ISC_Implementer, and ISC_FrontEndDev users can modify A/B test variants and view experiment results. Any page with an active experiment displays a green letter E adjacent to it:
NoteTest variants are not indexed, and their content is not returned in site search.
Experiment statuses
- Draft – An experiment that has been created but doesn't have a schedule defined. When creating an experiment, there is an option to save progress (Exit Experiment), which assigns the experiment draft status. Drafts are editable until they move into another status, and can be deleted.
- Scheduled – An experiment that has been completely defined but has a start date in the future. Scheduled experiments may be edited, but the system strips the schedule from the experiment and puts it back to Draft. Scheduled experiments can be deleted.
- Running – An experiment that has a start date in the past and a finish date in the future, or has not reached the number of visitors required for completion. Running experiments can be ended early, either from the Content Management System (CMS) or the Admin Console.
- Ending – Indicates the time limit for the experiment has expired, or the number of users has been reached, but the experiment extends an additional hour to account for any experiment participants who are still engaged on the site. This ensures all data is captured for existing participants. This status does not allow new participants to join the experiment.
- Completed – An experiment that has reached the end date or number of visitors for completion. Completed experiments do not display in the CMS.
Add an experiment
Add a new experiment from the CMS. Insite retains experiment data for two years after completion.
NoteIf a user has logged in to the CMS shell during their session, they are not added to experiments
-
Go to the CMS.
-
Select Content Tree, then select Edit.
-
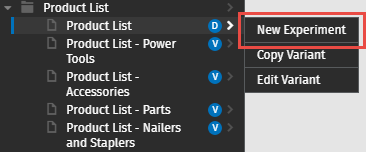
Click the chevron next to a page, and select New Experiment.
-
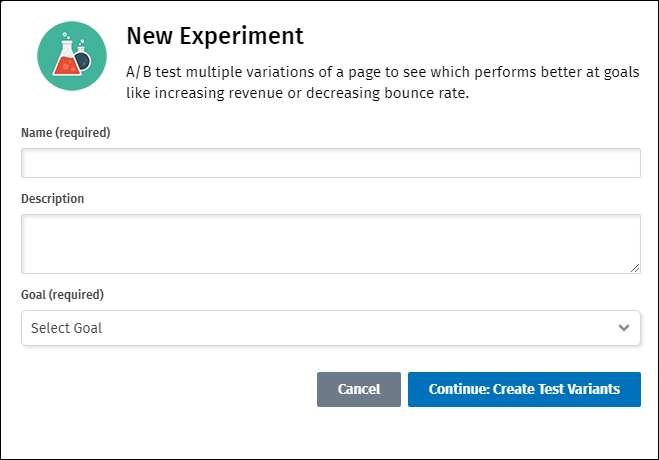
Name the experiment, and add a description.
-
Select a Goal.
-
Select a subsequent Metric:
- For Improve Sales, select Conversion Rate, Revenue Per Order, or Lines Per Order:
- Conversion: a visitor assigned as a test participant places an order on the site. One purchase per one participant is counted; if the participant places multiple orders, only the first order counts.
- Revenue Per Order: the subtotal of an order a test participant places on the site. This aggregates the subtotal of all orders from test participants, regardless if they place one or multiple orders.
- Lines Per Order: the number of lines in an order a test participant places on the site. This aggregates the number of all order lines from test participants, regardless if they place one or multiple orders.
- For Increase Engagement, select Bounce Rate:
- Bounce: a test participant abandons their session without visiting another page.
- For Improve Sales, select Conversion Rate, Revenue Per Order, or Lines Per Order:
-
Select Continue: Create Test Variants.
-
The unpublished test variant appears within the CMS along with the associated Test Variant toolbar:

-
Modify the page as needed, taking note that once the experiment begins, test variants cannot be modified.
-
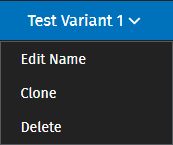
Select the Test Variant 1 option at the top of the screen to expose the test variant options: Edit Name, Clone, or Delete.
-
Select Add Test Variant- there is a maximum of 3 variants.
-
Select Exit Experiment to save the current experiment as a Draft.
-
After the test variant has been modified, select Next: Audience.
-
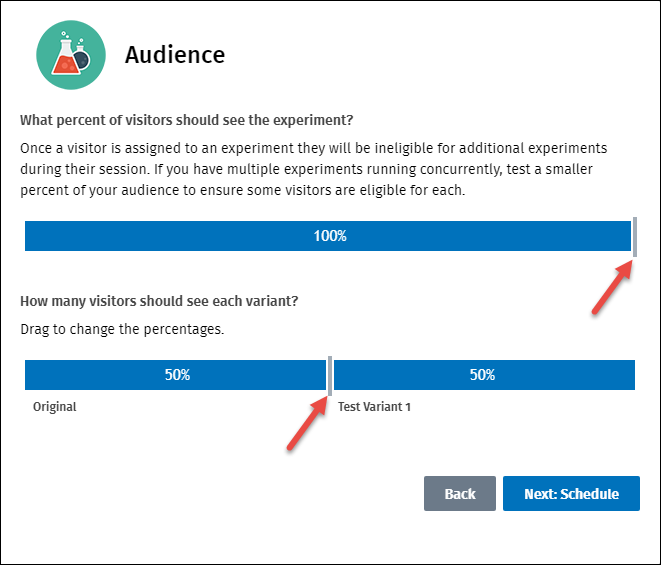
Determine the audience for the test variant. Once a site visitor is assigned to an experiment, they cannot participate in any other experiments during their session. As stated in the wizard, Insite recommends that the test audience is kept small when running multiple experiments concurrently.
-
Use the slider (indicated below) to determine the percentage of the visitors are eligible for the experiment, and how many visitors should see the original page vs. the test variants.
-
Select Next: Schedule.
-
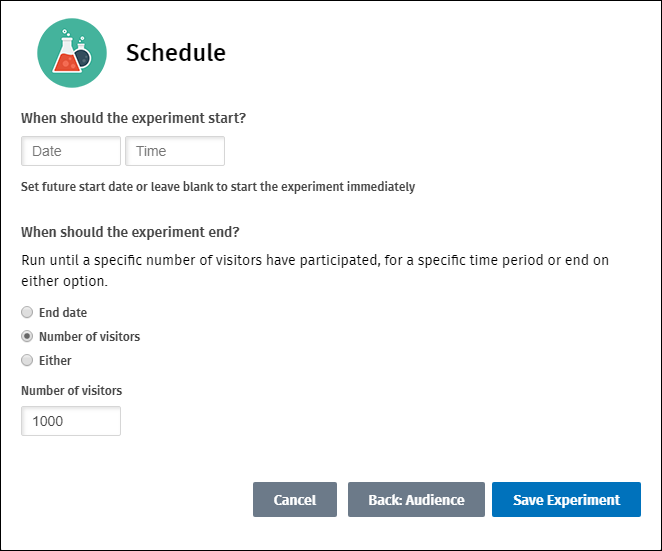
Determine the Date and Time the experiment should start. If blank, the experiment starts immediately.
-
Determine when the experiment should end. Run the experiment until a specific number of visitors have participated, until a specified date, or whichever comes first.
-
Select Save Experiment.
-
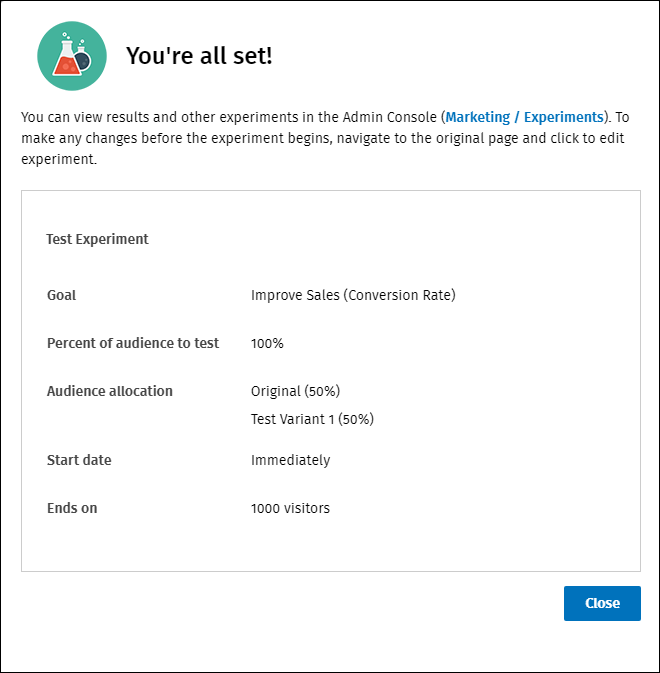
A confirmation screen appears, confirming your choices:
-
Upon selecting Close, the test variant publishes itself and, if no future time was set for the experiment to begin, the test variant and its experiment go live immediately. A notice at the top of the page within the CMS provides a notification that a test is active for the respective page:

To close an experiment before it ends or view the results, select the chevron next to the parent page in the content tree and choose the option.
View results of an experiment
View results of experiments that have completed, or check in on experiments currently running.
In the CMS, click the chevron next to the parent page in the content tree and select View Results. A new window opens, showing the correlating page in the Admin Console.
In the Admin Console:
- Go to Marketing > Experiments
- Depending on the status of the experiment, selecting View next to an experiment provides the following information:
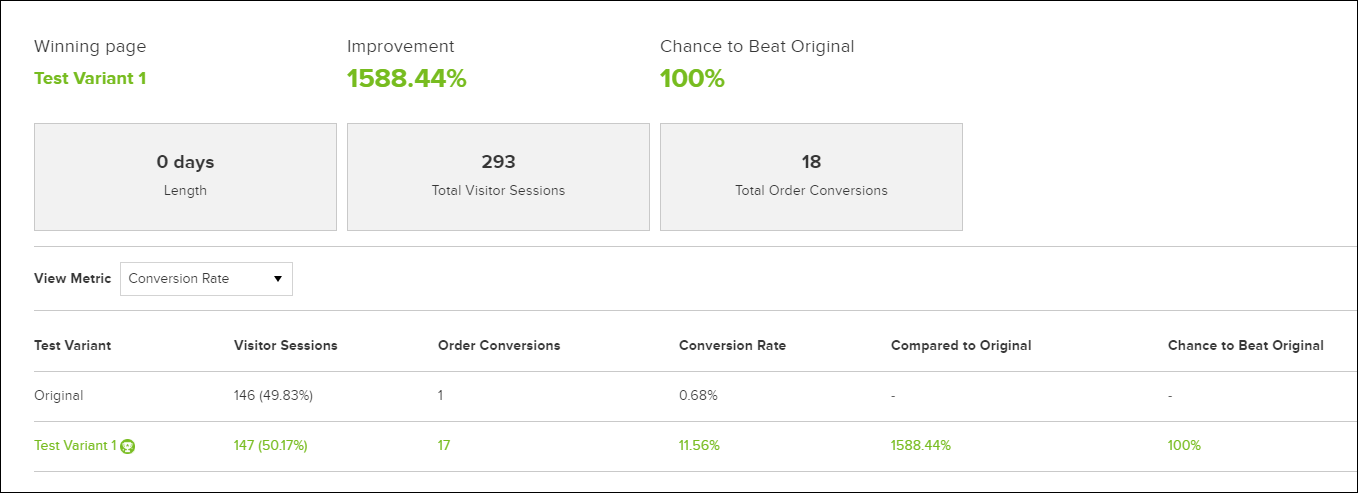
- If Status = Completed
- The length of the experiment, number of visitor sessions, and total bounce rate appear at the top. Select an option from the drop-down to view the results of the selected metric. The Experiment Details appear at the bottom of the screen.
- If Status = Draft
- A notification appears at the top: Results will display here. To modify the experiment, select View / Edit Experiment. The draft opens in a new window.
- If Status = Scheduled
- A notification appears at the top: Results will display here. To modify the experiment, select View / Edit Experiment. The draft opens in a new window, and a notification appears that the experiment is already scheduled. Proceeding resets the experiment to Draft, and requires the user to complete the experiment creation workflow to reschedule the experiment.
- If Status = Running
- The length of the experiment, number of visitor sessions, and total bounce rate appear at the top. Select an option from the drop-down to view the results of the selected metric. The Experiment Details appear at the bottom of the screen. To terminate the experiment early, click End Experiment in the upper right corner.
- If Status = Completed
View/publish the winning test variant
If a test variant has > 95% confidence level of beating the original, it is marked as the winner. If multiple test variants reach this threshold, the winner is the test variant that outperforms the winner by the highest percentage.
To view and publish the winning test variant:
-
Go to Admin Console > Marketing > Experiments.
-
Select View next to an experiment with the status of "Completed".
-
Select More Options to the right of the test variant, and select View Page. The page opens in the CMS in a new browser tab.
-
Select the down arrow next to Test Variant, and select Publish:
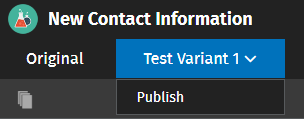
-
Set a future date and time (optional), and click Publish.
Updated 5 months ago