Install the WIS
Describes how to install Windows Integration Service in Optimizely Configured Commerce.
This step-by-step guide for installing the Windows Integration Service (WIS) assumes that you already have the SDK downloaded. To start, you will need the CommerceIntegrationServiceSetup.msi file which can be found in the \WindowsIntegrationService\x64 folder (or the \WindowsIntegrationService\x86 folder for the 32-bit version) of the SDK.
NoteIf you are running Windows Defender SmartScreen, you may need to override the security warning by selecting Show More and then selecting Run Anyway.
-
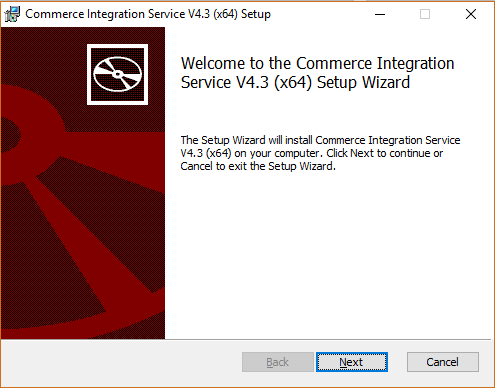
Double click to open the CommerceIntegrationServiceSetup.msi and click Next.

-
Choose the file path to install the integration service. Optimizely recommends using the default path.
Prior to installing the Integration Service on the default C: location, review the amount of available disk space. If the disk space is limited, choose a new location. Low disk space can possibly bring down your server due to large log.tx files and their respective backups.
-
Then click Next.
-
Click Install.
-
After the installation has completed, click Finish.
Start the WIS
NotePrior to starting the Integration Service, a connection must be configured. See the Configuring the WIS article.
To start the Integration Service, follow the steps below:
-
Click Start.
-
Click Run. (If you do not see the run command in your start menu, you can search for it.)
-
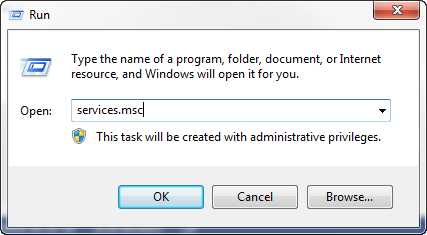
Once Run has opened, enter services.msc and click OK.

-
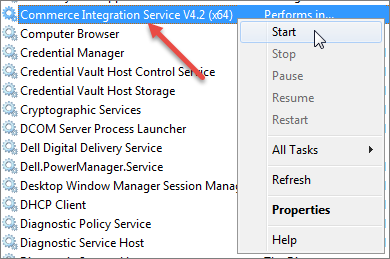
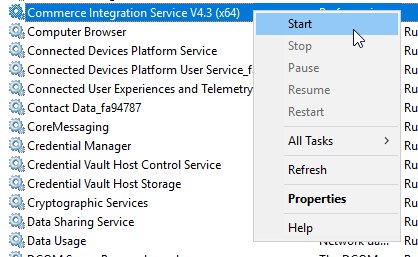
Locate Commerce Integration Service 4.2 from the list and right click it.
-
Select Start from the menu.


Once these steps have been completed, the service should show that it is running. You can now go to the folder where you installed the WIS and review the logging in the logfile.txt to address any errors. If connection information isn't set up correctly, this logfile.txt will alert you of problems encountered.
Updated 5 months ago
