Add a widget
Describes how to add widgets in Optimizely Configured Commerce.
Optimizely Configured Commerce allows content editors and administrators to design the look and feel of their website. Widgets are pre-configured content holders that allow you to rapidly add content to your pages without having to develop these elements.
Use widget templates to change the appearance of widgets on individual website pages, or create a custom template to change the appearance of a widget across all website pages.
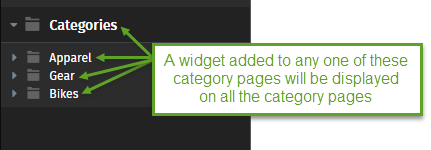
NoteIf a widget is added to a predefined page in the CMS, all pages of that same type will also display the widget. This is also true of the categories displayed within the CMS. As an example, referring to the image below, adding the Carousel widget to Apparel will also be displayed on the Gear and Bikes Category pages with the same content.

Add the default widget template to a page, or add a custom widget template.
-
To add a widget to a webpage, access the Admin Console.
-
At the top of the screen, click View Website.
-
Select the desired website from the list.
-
Hover over Show CMS in the upper left corner and select the Show CMS pencil.
-
Select Edit CMS in the upper left corner to edit.
-
Select the desired page- it may be necessary to expand the sections to view all page options.
-
Click Add Content to add a widget.

-
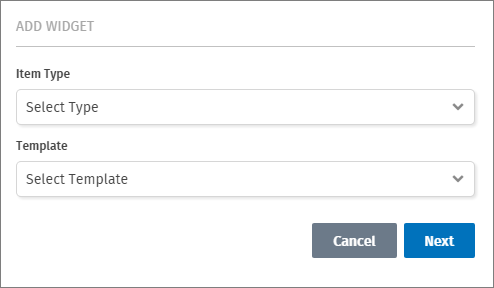
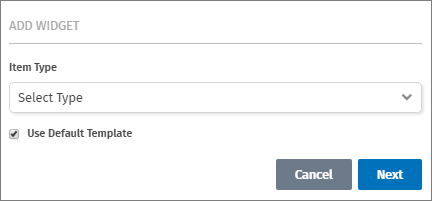
Select the Item Type, and determine if the default template should be used by checking or unchecking the Use Default Template checkbox.
NoteIf the Use Default Template checkbox is checked, the system assigns the widget template designated in the Admin Console as the default template for the selected Item Type (Content Item Class in the Admin Console). If the default template is changed in the Admin Console, it also changes in the CMS.

-
If the Use Default Template checkbox is unchecked, a drop-down appears listing all widget templates available for the selected Item Type. Select a template, and click Next.
-
If the selected Item Type requires any additional information, add it, then click Save.
Updated 5 months ago
