Themes
Describes themes in Optimizely Configured Commerce to set scripts, styles, and views for the websites.
The Themes & Content section of the Admin Console is used to set scripts, styles, and views for the websites.
In 4.2 and prior versions of Optimizely {user["product-name"]}, themes were designed in Visual Studio and stored in theme folders. If a change was needed, it was entered in Visual Studio, compiled, and then the build was pushed. With 4.3 and later versions of {user["product-name"]}, this capability exists in the database itself, and can be modified in the Admin Console.
The Theme Library section of the Themes & Content menu has two options: Themes and Theme Resources.
{user["product-name"]} Themes permit sites to use custom views and CSS while still allowing the site to be upgraded.
Go to Admin Console >Themes > Themes & Content > Themes.
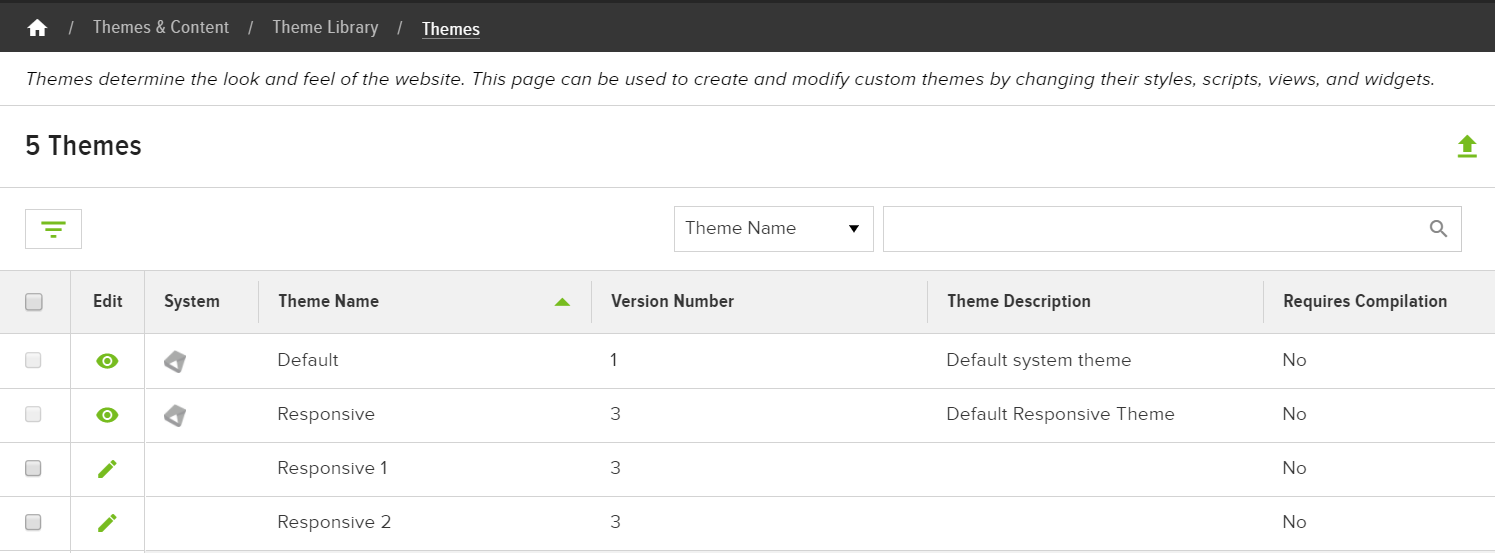
The System column displays the System Resource icon if a theme is a system theme. If a theme is a system theme, it also displays View Only in the Edit column, noting that the theme is View Only and cannot be edited. This screen also displays the Theme Name, Version Number, and Theme Description. Use the Search Bar at the top of the page to search for specific Themes.
Clone a theme
To create a new theme, clone an existing system theme and modify the clone.
NoteCloning a cloned theme is not recommended, as the version history will be inaccurate. Clone from System themes only.
-
In the Admin Console, go to Themes & Content > Themes.
-
Click View All next to the System Theme you wish to clone.
-
Click More Options in the upper right corner, and select Clone Theme.
-
Title the theme, and click Clone.
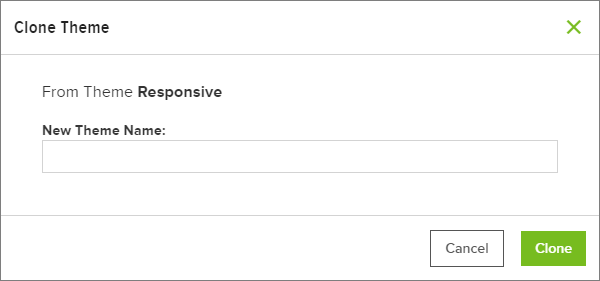
NoteTheme titles cannot be duplicated.
Upon clicking Clone, Version 1 of the theme publishes automatically. Any subsequent changes switch the theme to Draft mode.
Edit a theme
Editable themes show Edit in the Edit column. Cloned themes can be edited, while System themes cannot.
- In the Admin Console, go to Themes & Content > Themes.
- Click Edit next to the theme you wish to edit.
Editing Buttons
Editing buttons vary depending on the current theme and current state (Draft or Published). A theme's editing buttons appear at the top of the screen, or within the More Options menu.
Click Preview to view any resources in Draft mode assigned to the current theme.
- If resources that already have been published are assigned to the theme, they cannot be previewed.
- Any widgets in Draft mode automatically appear on the list regardless of the selected theme.
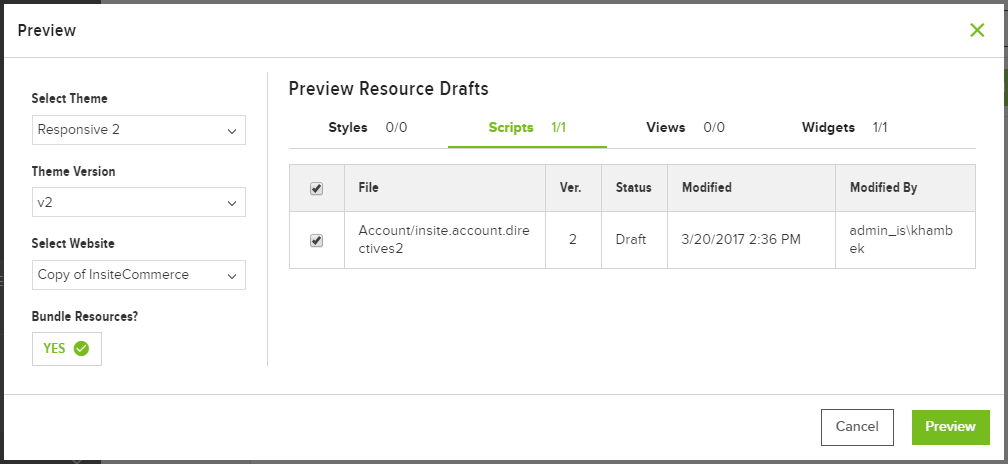
The Preview window shows the currently selected Theme, Theme Version, and Website on the left. The drop-downs default to the current theme and version; click a drop-down to change the respective options. Preview mode bundles resources by default. Click the Yes toggle to unbundle resources.
On the right side of the screen, resources are sorted by type (Styles, Scripts, Views, and Widgets). All resources in Draft mode are selected automatically; uncheck the checkbox next to a resource to exclude it from the preview. Click Preview to preview selected drafts in a new window.
A black bar displays at the top of the preview screen, and displays the theme name, if bundling is on or off, and the number of draft resources currently being previewed. Click Cancel Preview to view the website as normal.

Publish theme
The Publish Theme button appears when the theme is in Draft mode.
Click Publish Theme to view all changes made to the current draft. The Resource type is noted on the left, the File/Template name is in the center column, and the Change is described on the right. Add optional revision notes at the bottom of the screen, and click Publish.

Publish theme resources
- Click the Publish Theme Resources button to publish any/all associated theme resources and widgets currently in Draft mode.
- Select the applicable theme resources under the Styles, Scripts, Views, or Widgets tabs; add optional revision notes.
- Click Publish.
Clone theme
Click Clone Theme to clone the current theme.
NoteCloning a cloned theme is not recommended, as the version history will be inaccurate. Clone from System themes only.
Delete
Click Delete at the top of the screen to delete a theme. Remember, System themes cannot be deleted.
If the theme is assigned to a website, the delete button does not appear. Instead, the theme displays a message at the top of the screen:

NoteDeleting a theme does not delete any of the associated front-end resources.
Settings tab
On the Settings tab, modify the Theme Name or Theme Description by clicking in the respective fields. The Cloned From field is assigned when the theme is cloned, and cannot be modified.
Styles tab
Use the Styles tab to assign CSS or SCSS resources to the theme.

-
Click Arrange Columns to drag and drop a resource to a new position in the list. Changing the order of the resource files is important to ensure styles and java script are loaded in the appropriate order.
-
Click Edit to edit a resource. This action leads to the resource's Code tab (accessible under Themes & Content > Theme Resources > select a Resource).
NoteLibrary resources cannot be edited.
-
Click Unassign to unassign a resource from the theme. In the confirmation pop-up, click Unassign.
NoteIf an external link is unassigned, it cannot be reassigned.
-
As on all other theme screens, System resources are indicated with the System Resource icon.
-
Click Add Styles in the upper right corner to add additional styles to the theme.
-
Select Assign to assign a style from Theme Resources, or select Link External to link to an external URL.
- The Assign option lists all theme resources unassigned to the current theme. Select the checkbox(es) next to the appropriate resources, and click Assign, then click Done.
The Link External option provides a cell to enter an external URL. For example, you would use an external resource if you were using a CDN for javascript files, such as jQuery. Click Add to add the URL.
Scripts tab
Use the Scripts tab to assign JavaScript or TypeScript resources to the theme.
-
Click Arrange Rows next to a resource to drag and drop it to a new position in the list, or to a different grid. Move resources to the Head grid to load them into the <head> of the webpage, the Body Start grid to load them just after the <body> tag, and the Body End grid to load them just before the </body> tag.
-
Click Edit to edit a resource. This action leads to the resource's Code tab (accessible under Themes & Content > Theme Resources > select a Resource).
NoteLibrary resources cannot be edited.
-
Click Unassign to unassign a resource from the theme. In the confirmation pop-up, click Unassign.
NoteIf an external link is unassigned, it cannot be reassigned.
-
As on all other theme screens, system resources are indicated with the System Resource icon.
-
Click Add Scripts in the upper right corner to add additional scripts to the theme.
-
Select Assign to assign a script from Theme Resources, or select Link External to link to an external URL.
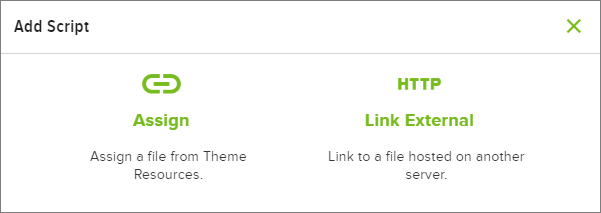
- Click the Assign option to view all theme resources unassigned to the current theme.
- Select the checkboxes next to the appropriate resources.
- Click Assign
- Click Done.
- The Link External option provides a cell to enter an external URL.
- Paste or enter the URL in to the External URL field
- Click Add.
External links are automatically added to the Styles or Scripts tab depending on the link's extension (.js links are added to the Scripts tab, and .css links are added to the Styles tab).
If adding scripts, remember to validate they are correctly ordered. This is done by clicking the Arrange Rows button and dragging the rows into the proper sequence.
- Click the Assign option to view all theme resources unassigned to the current theme.
Views tab
Click the Views tab to choose which Views are used with the theme. Views are an easy way to update pieces of widgets without updating the entire widget.
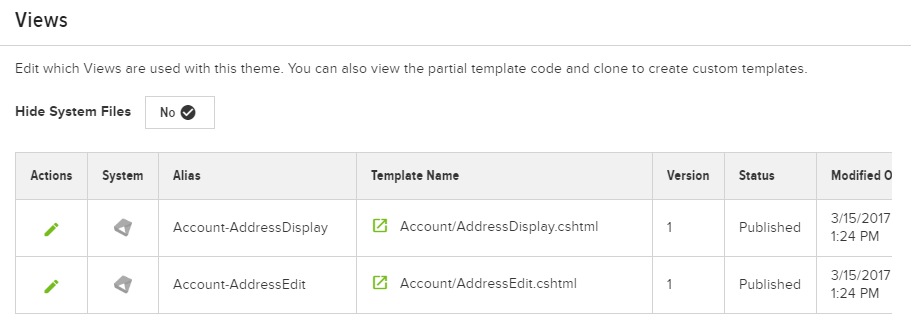
Click Edit to select which resource template is assigned to the theme. Since one of each View is necessary for the site to function correctly, Views cannot be unassigned. However, Views can be cloned in the Theme Resources section of the Admin Console, and the cloned version may be selected to replace the system default.
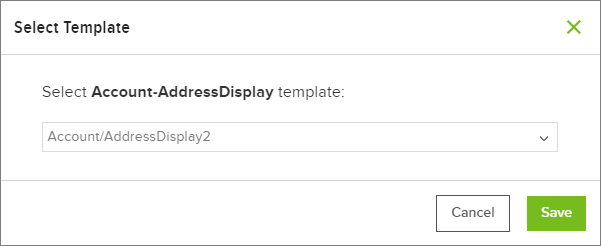
On the Select Template pop-up, select a template using the drop-down, then click Save. As on all other theme screens, System resources are indicated with the System Resource icon.
Click View Resources to view the resource's Code tab (accessible under Themes & Content > Theme Resources > select a Resource).
Widgets tab
Select the Widgets tab to select which versions of widget templates are used with the theme. Click Edit to select a widget template. Since one of each widget template is necessary for the site to function correctly, widget templates cannot be unassigned. However, widget templates can be cloned in the Widgets section of the Admin Console, and the cloned version may be selected to replace the system default.
Version history tab
Use the Version History tab to view a list of all current and previous versions of the theme (up to 25). Click View Only to view all changes made since the theme was published.
Click Discard Draft in the upper right corner of the screen to discard the current draft version of the theme. In the confirmation pop-up, click Discard Draft. Discarded drafts cannot be recovered, and do not appear in Version History.
NoteIf the current version of the theme is Published, the Discard Draft button does not appear.
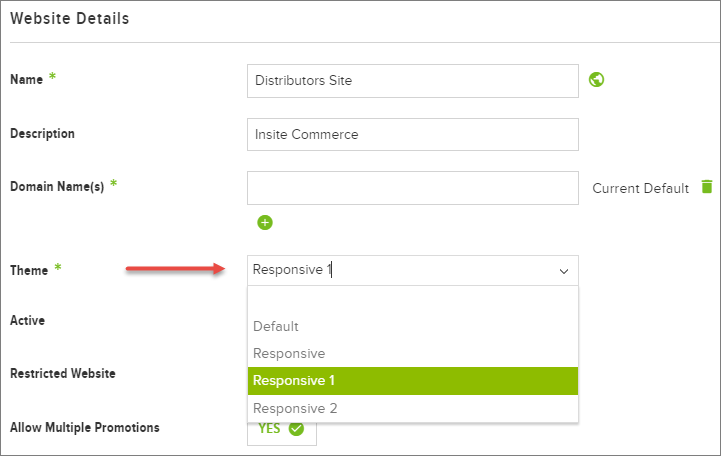
Assign a theme to a website
In order for a theme to be active, it must be assigned to a website. While multiple themes may be created, only one theme may be assigned to a website at a time.
-
In the Admin Console, go to Websites.
-
Click Edit next to a website to edit it.
-
On the Details tab, select a theme from the Theme drop-down.
-
Click Save.
Updated 19 days ago