Manage the content workflow
Describes how to work together to create, manage, and stage content for display on the website in Optimizely Configured Commerce.
Content user roles
The content management workflow affects the following user roles:
- ISC_ContentEditor - The Content Editor may add and edit page content but cannot approve/publish.
- ISC_ContentApprover - The Content Approver may approve and publish content but cannot add/edit.
Organizations may choose to assign content users both the Editor and the Approver role. This allows the user to add, edit, and publish any changes made to content on the website, without requiring additional approval. In such cases, the content management workflow is not necessary.
Workflow process
This two-tiered workflow allows a Content Editor to create and edit content throughout the website, then submit changes for approval. The Content Approver accesses the system and approves or rejects the changes, then publishes if necessary.
Content editor
The content workflow triggers when a Content Editor makes a change to the commerce site or product content.
In the admin console
Use the Admin Console to modify product content, like product descriptions.
-
Log in to the Admin Console.
-
Go to Catalog > Products > edit a Product by clicking Edit.
-
Select the Content finger tab.
-
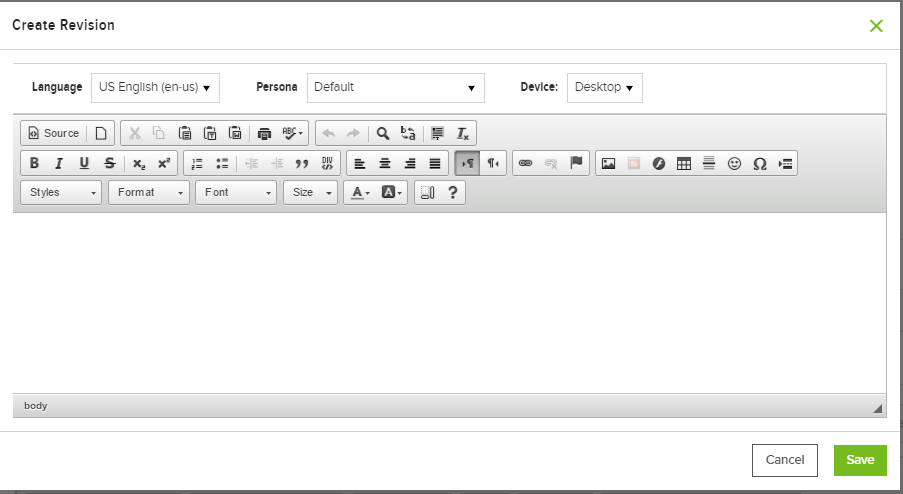
Select Create Revision.
-
Enter text or other content in the Rich Content pop-up, then click Save.
-
If necessary, click Preview Revision to preview the changes in a pop-up. The revision is submitted for approval automatically.
In the CMS
Use the Content Management System (CMS) to modify website page appearance and content.
-
Log in to the Admin Console.
-
Click View Website in the upper right corner, and click the appropriate website.
-
Click Show CMS in the upper left corner.
-
Click Content Tree, then click Edit.
-
Click a page in the Content Tree list.
-
Click Content+ to add a content widget to the page.
-
Select a widget, and populate accordingly.
-
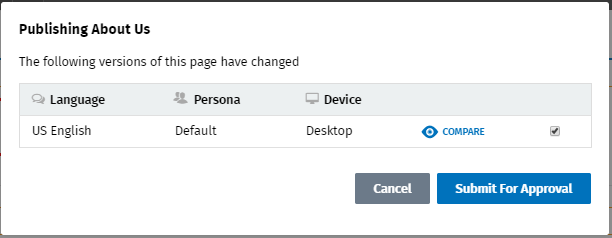
Once the widget is added, click Publish at the top of the screen.
-
Click Submit for Approval.
Modified and unpublished widgets are outlined in orange.

Content approver
The Content Approver can review and accept content changes either in the Admin Console or by using the CMS, depending on the type of content being modified.
In the Admin Console
Use the Admin Console to approve changes made to product content.
-
Log in to the Admin Console.
-
Go to Library > Content.
-
Ensure the Only Show Content Waiting to be Published toggle reads Yes.
-
Click Edit next to a product.
-
Click Preview Revision to preview changes, Delete Revision to remove changes, or Publish to push changes to the live site.
-
Choose to schedule publishing for a later date, or publish immediately. Click Publish.
In the CMS
Use the CMS to approve changes made to website page appearance and content.
-
Log in to the Admin Console.
-
Click View Websites at the top of the screen, and select the appropriate website.
-
Select Show CMS in the upper left corner.
-
Click Content Tree, then click Edit.
-
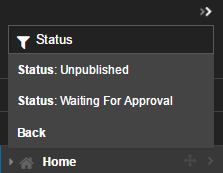
Click in the Filter box at the top of the screen, and select Status, then select Waiting for Approval.
-
Select the appropriate page in the Content Tree.
-
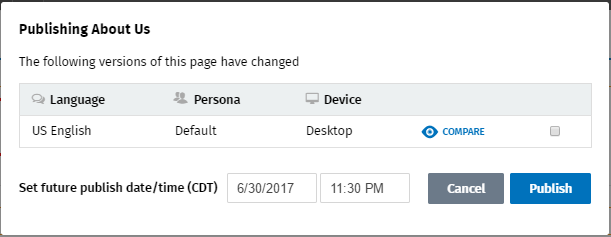
Review the changes, then click Publish .
-
Choose to schedule publishing for a later date, or publish immediately. Click Publish.
Updated 5 months ago