Import website and console users
Describes how to use the import template to import website and console users in Optimizely Configured Commerce.
Optimizely Configured Commerce provides a variety of templates to assist importing data into the Admin Console. The User import template lets you create Website Users or Console User with a Microsoft Excel spreadsheet and then import them into the Admin Console. Conveniently, upon importing users, the Console lets you automatically send an activation email to the newly added users. Depending on which User type is selected, different fields are required/included in the template (for example, the Console User template includes Display Name, First Name, Last Name, Email, Password, Roles, User Name and Phone only). Use the following steps to import Users.
Download the import template
-
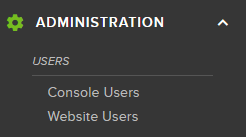
Within the Admin Console, determine and select the User type that is to be imported: Website Users or Console Users.
-
Click Import on the Primary toolbar.
-
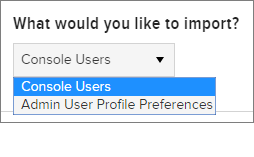
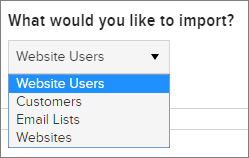
From the What would you like to import? menu, you can select different import options. Keep in mind that the Console Users Import page provides different choices than the Website Users Import page. Additionally, import templates are only provided for Console Users and Website Users.
 Note
NoteIf an import template is needed for importing data other than the Console or Website Users, go to that respective table, export the data, and use the exported spreadsheet as your template.
-
Click Download Template.
The provided template comes pre-populated with sample data, as well as the data columns representing the various User fields found in Configured Commerce. There are three column data types used in the template:
- Required (Green) – This field is a user data point necessary within Configured Commerce
- Recommended (Yellow) – This field is recommended, but not necessary to create a viable user in Configured Commerce
- Optional (No Color) – This field is optional based on the configuration of Configured Commerce features
Import users using the provided template
To import a template, complete the following steps:
-
To upload successfully, all cells in the template must be formatted as text.
-
All rows containing sample data, descriptions and requirement data should be removed- with the exception of the top row, which contains the column headers.
-
Populate the downloaded template with the necessary information. Use the provided descriptions and sample data for help.
-
Click Import on the primary toolbar.
-
Click Upload File and upload the file.
-
Make the necessary selections in the Import Options section:
- Send activation email – This option sends an automated email only to NEW users to activate their account. If an Import includes both new users and updates to existing users, only those new users will get the activation email.
- Validate file before importing – Causes the Windows Integration Service (WIS) to check the import data for errors. If any errors are found, the import process does not execute, and a notification displays providing further options.
- Ignore blank cells – The default is to ignore blanks, if this is changed to No, any blank cells will throw an error.
- Update existing records – The Username is the unique identifier. Therefore when updating existing records, the usernames must match.
- Ignore modified date – If you ignore the modified date, you could overwrite data that was changed by someone else between the time you exported the data and then imported the new/updated data. It is recommended that this toggle is left as NO unless you are certain your import data is both the most recent and most accurate.
-
Click Import.
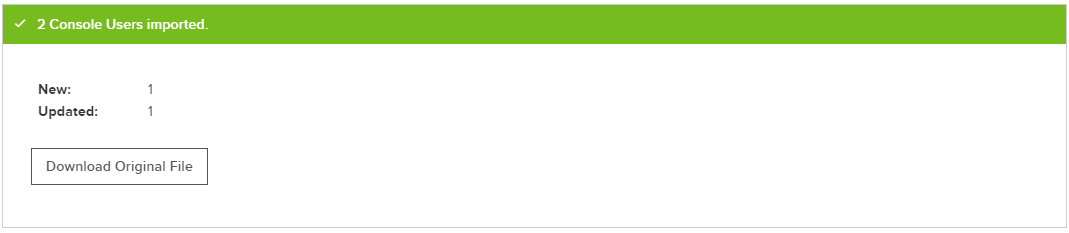
The following is an example of a successful import Admin Console message, which included adding a new user and updating an existing record:
The following is the default email a new Console User receives as a result of being added to the Admin Console:
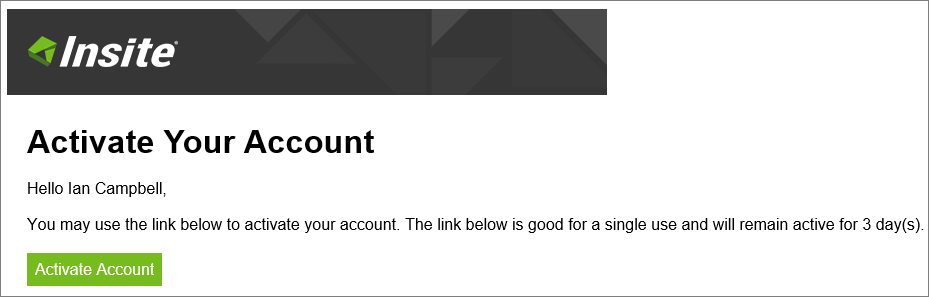
NoteThe default AccountActivation email template can be modified by going to Marketing > Communication > Email Templates and editing the AccountActivation template.
Updated 5 months ago