Manage audiences
Create and manage personalized audiences in Optimizely CMS 13. Define criteria based on site behavior, forms, and other data to target content effectively.
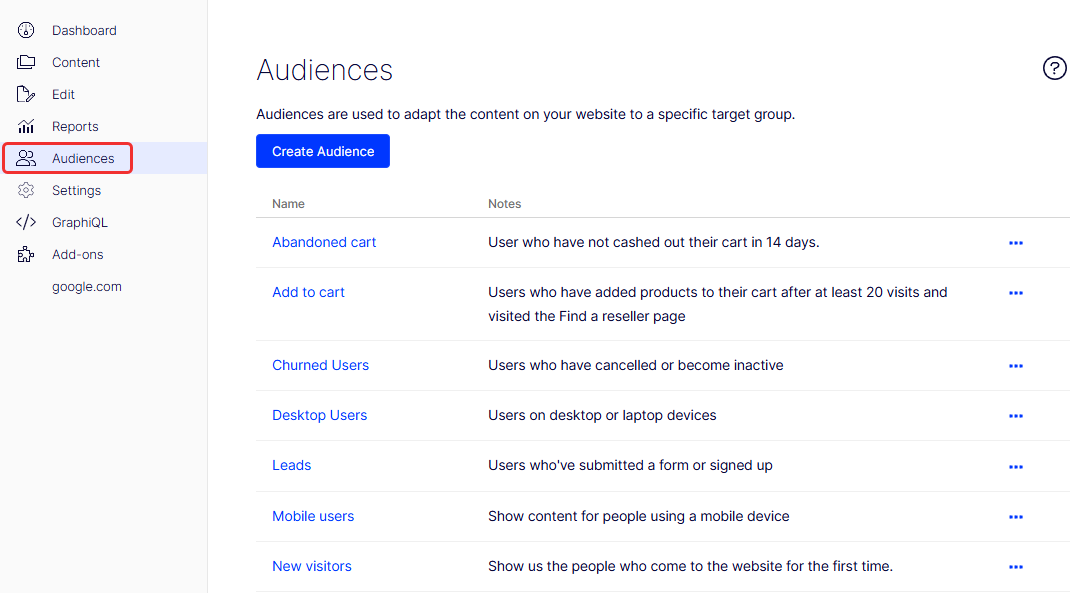
Audiences let you deliver personalized content to visitor groups based on behavior, attributes, and actions. Show different homepage banners to first-time versus returning visitors, surface campaign-specific offers, or restrict content access by visitor profile. Members of the VisitorGroupAdmins role manage audiences from the Audiences tab.
NoteAudiences work only on traditional (in-process) sites, where CMS manages both content authoring and frontend rendering. Audiences do not work on headless sites, where the frontend is an independent application that consumes content through APIs.
An audience (formerly called a visitor group) consists of one or more personalization criteria. Each criterion defines which visitors belong to the audience. Built-in criteria include the number of visits, referring search phrases, visited pages, and geographic location. Developers extend this list with custom criteria.
To create an audience, select one or more criteria and define their settings. The criteria determine whether a visitor belongs to the audience and which personalized content the visitor sees.
Create or edit an audience
Define a named audience by selecting criteria and configuring match rules. Edit an existing audience to update its criteria or settings.
-
Select Audiences.
-
Click Create Audience. The Create Audience window displays. For an existing audience, the Edit Audience window displays with the same fields.
-
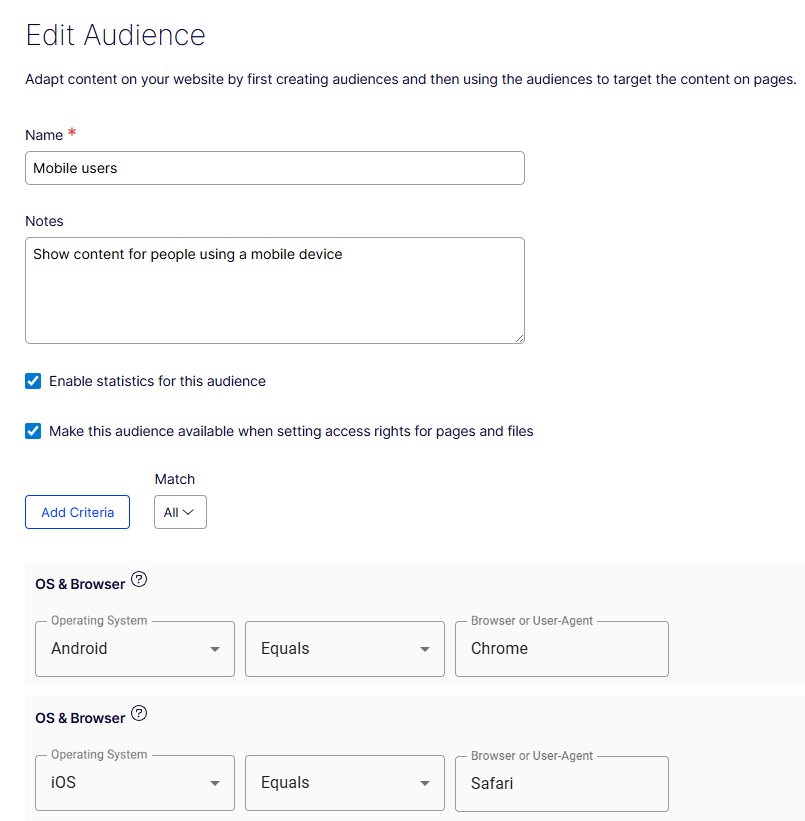
Enter a unique Name that distinguishes this audience from others. This name displays in the personalized content box when you select content on a page.
NoteChanging the name of an audience used for access rights breaks the access-rights settings for that audience.
-
Enter a description of the audience and its purpose in Notes. CMS displays this description as a tooltip when an editor adds the audience to a page.
-
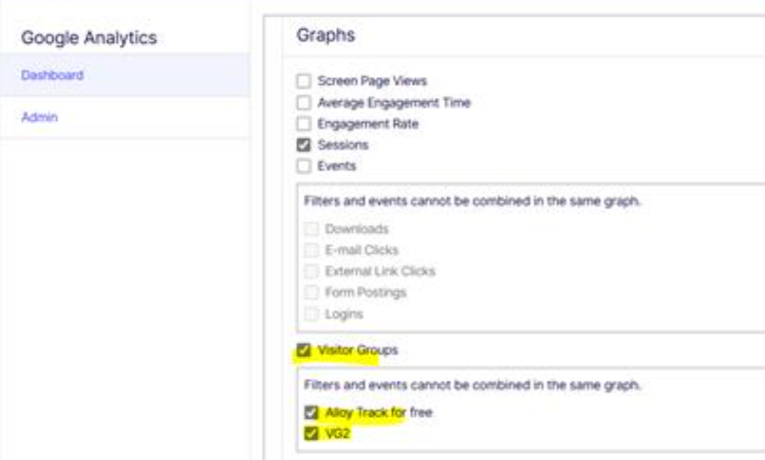
Select Enable statistics to track audience performance.
NoteWhen you enable audience statistics, Google Analytics (GA4) analyzes the traffic data for insights into website traffic and marketing effectiveness.
-
Select Make this audience available when setting access rights for pages and files to expose this audience in the admin view when you configure access rights.
NoteAudiences grant only read access.
-
Click Add Criteria. A drop-down list of available criteria displays. See Create audience criteria for definitions.
-
Select a criterion and adjust its settings. Add more than one criterion when needed.
-
Select one of the following in the Match drop-down list:
- All – The visitor joins the audience when every criterion matches.
- Any – The visitor joins the audience when at least one criterion matches.
- Points – Assign weights when some criteria matter more than others. The visitor must reach a points threshold to join the audience.
- Click Create Audience.
Copy an audience
Duplicate an existing audience to reuse its criteria as a starting point for a variation.
-
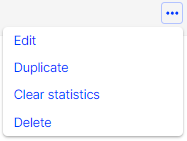
Select More (…) > Duplicate on the audience you want to copy.
-
Confirm the duplication. The copy has the same name as the original with the suffix Copy.
-
Rename the copied audience and adjust its criteria.
Delete an audience
Remove an audience that is no longer needed.
- Select More (…) > Delete on the audience you want to delete.
- Confirm the deletion.
Configure values for site criteria and points
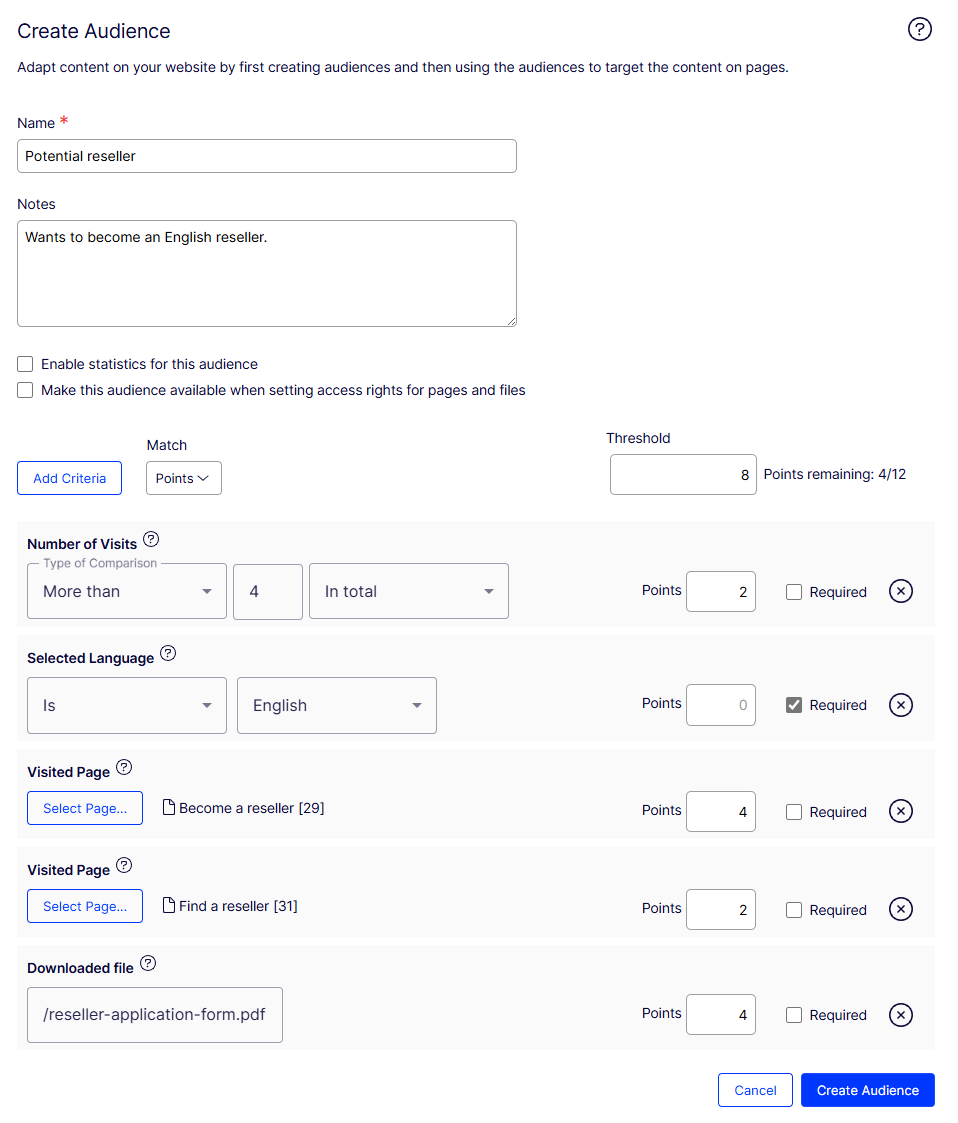
Use points to assign a weighted value to each action, such as visiting a campaign page. In the following example, a visitor who matches eight of the 12 points joins the audience.
-
Select Points in the Match drop-down list.
-
Enter a Threshold of 8 points.
NoteThe example assigns 12 points across the criteria. The visitor must match at least eight of the 12 points to join the audience.
-
Select Site Criteria > Number of Visits from Add Criteria.
- Select More than > 4 > In total. (To target visitors who have not visited the page, select Less than > 1 > Since[date].)
- Enter 2 points and select whether the criterion is required.
-
Select Site Criteria > Selected Language from Add Criteria.
- Select Is > English.
- Leave the default 0 and select Required.
-
Select Site Criteria > Visited Page from Add Criteria.
- Click Select Page and select a page (Become a reseller).
- Enter 4 points.
-
Select Site Criteria > Visited Page from Add Criteria.
- Click Select Page and select a page (Find a reseller).
- Enter 2 points.
-
Select Site Criteria > Downloaded file from Add Criteria.
-
Enter the file the visitor downloads (
/reseller-application-form.pdf). -
Enter 4 points.
NoteThe four-point values on Become a reseller and the downloaded file signal higher importance than the two-point Find a reseller criterion.
-
-
Click Create Audience.
Target referrers
Target visitors based on the referring URL to reach visitors who arrive from a specific campaign or search engine result page.
-
Select URL Criteria > Referrer from Add Criteria.
-
Select URL > Equals and enter the URL of the search engine result page, for example,
https://www.google.se/#hl=sv&source=hp&biw=1338&bih=790&q=optimizely+cms.
-
Click Save.
Target visitors by form submission
ImportantInstall Optimizely Forms and the Optimizely Forms Samples package to enable the forms audience criteria.
- Base an audience on whether a visitor submitted a particular form or form value. For example, target content to a visitor who Has submitted a Job Application.
- Target content to visitors who give a low rating on a Satisfaction Survey:
- Selected form – Satisfaction Survey
- Selected field – Multiple or single choice
- Condition – Equals
- Value – 1
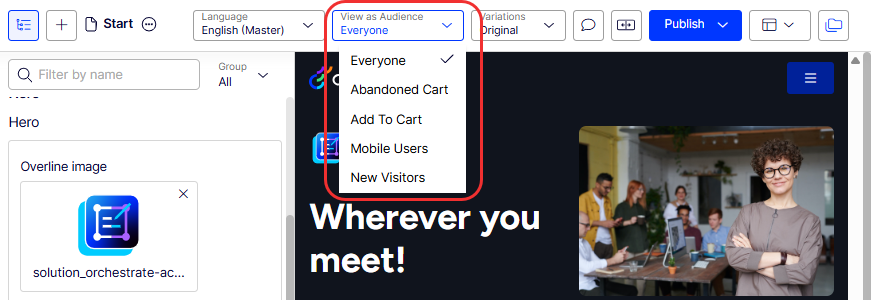
View as Audience preview
The View as Audience feature previews a page as a specific audience sees it, based on that audience's criteria. Verify that personalized content displays correctly before publishing.
NoteThe View as Audience preview is available for sites where audiences are configured. It is not available for decoupled frontend deployments where personalization is evaluated client-side or at the CDN layer.
Select View as Audience. A list of available audiences displays. Select an audience to render the page from that audience's perspective.
NoteThe audience preview renders the page with the same criteria evaluation logic used for live visitors. Content that requires session state (such as cart data or login status) does not reflect the full personalized experience in preview mode.
Select View as Audience again and choose No audience selected to return to the standard edit view.
Commerce Connect audience criteria
Commerce Connect adds audience criteria for customer properties, markets, and order frequency. See Personalization for Commerce Connect.
Marketing automation audience criteria
Marketing automation adds dedicated audience criteria. See Marketing automation for details.