Work with projects
Create and manage projects in Optimizely CMS 13. Coordinate publishing for multiple content items, collaborate with comments, manage versions, and schedule releases.
Projects group related content items for coordinated publishing and version management. Create a project, add content items, collaborate with other editors, and publish everything together or on a schedule.
Create a project
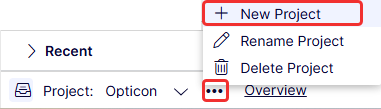
Create projects to organize related content items for coordinated publishing. Start from the context menu on the Project bar.
The project becomes active when you create it. Any editing change (creating a page, updating content, or uploading an image) automatically associates the content item with the active project. Drag and drop items from the navigation or asset panes into the project overview to associate them with a project.
NoteA specific content version belongs to only one project. Adding the same version to another project prompts you to create a draft. CMS then adds that draft to the project.
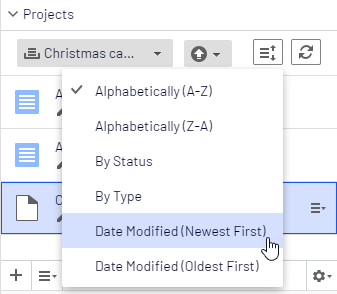
Create a project from the Projects gadget menu and add content items through drag and drop. Prepare draft versions of the content items first and then create the project, or vice versa. Click Sort to reorder content items. Click Refresh to reload the view when multiple editors work on the same project.
Edit project content
Editing content in a project context ensures version control and prevents conflicts with other projects.
When the version you edit is associated with the active project, CMS displays a notification.

Content not associated with the active project but with another project is locked for editing. Even when a version is locked, create a draft by clicking New Draft from Here. That draft is associated with the active project or no project if None (use primary drafts) is selected.
When you open a version not associated with any project, CMS displays a notification linking to projects that hold other versions of the item.
Another content version is already part of Opticon, Opticon Europe X
To make a change without associating it with the active project, select None (use primary drafts) or another project from the project bar. With None (use primary drafts) selected, create drafts and publish content as long as the content version is not associated with a project.
Content items that are part of a project remain so even after publication.
Upload project media
Media uploads follow the same project association rules as other content items. When you upload media while a project is active, CMS automatically associates it with the project.
NoteWhen a project is active, media uploads require manual publishing, even when the site auto-publishes media by default.
Preview project content
Preview your project to verify all content items display correctly before publishing.
Click Preview to view the website as if the active project were published. Change the project in the project bar to preview a different project. The preview displays the draft associated with the project. If no draft exists, the preview shows the published version.
Collaborate on projects
Project collaboration lets teams coordinate content changes through comments and replies on project items. Add comments on project items in the project overview to request reviews or provide feedback. For details, go to Collaborate with comments.
Publish project items
Publishing project items lets you release all related content together or on a schedule. When items are ready, publish the entire project directly or schedule it for later. Publishing requires publishing access rights.
To change content in a scheduled project, select Remove Scheduling and Edit, modify the content, and reschedule. Published projects do not support further editing.
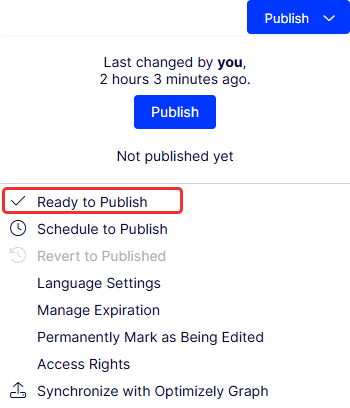
Publish multiple items from the project overview with status Ready to Publish. Set items to Ready to Publish in the following ways:
Publishing menu
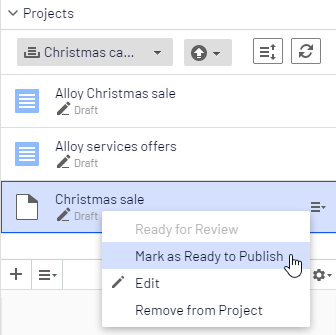
Context menu in the overview
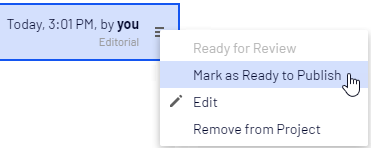
Project Items tab in the navigation panel
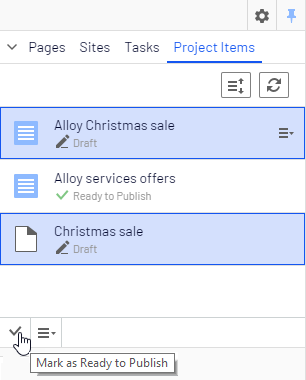
Mark as Ready to Publish in the content menu
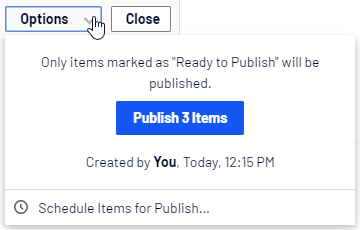
When all items are ready, click Options to publish them or schedule them for later.
NoteAdding items to a project with a publishing schedule does not automatically schedule the added items. Set the publishing time for added items manually to match the existing schedule.
To edit scheduled content, select Remove Scheduling and Edit, then modify the content and reschedule.
Continue working with a project after publishing it.
Remove project content
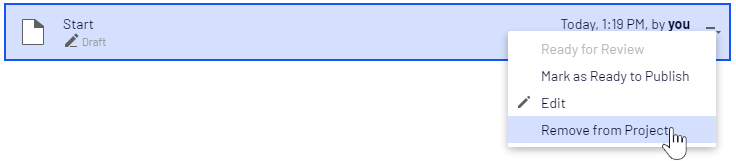
Remove content items from a project without deleting them from the website. Select the item in the project overview or the project items navigation panel, then select Remove from Project from the context menu. The item loses its project association but remains on the website.
Delete a project
Delete a project when it is no longer needed. Select the project in the project bar and click Delete Project from the context menu. Content items previously associated with the project remain on the website but lose their project association. Deleted projects cannot be recovered. When you delete a project with scheduled items, CMS prompts you to keep or remove the scheduling for each item.
