Manage content with Content Manager
Content manager lets you find, filter, and manage content in CMS 13.
The content tree in the Edit view and in the Assets panel shows Optimizely Content Management System (CMS) content that is organized in a hierarchical structure. As the number of contents in CMS grows, finding content can become more of an issue unless you are familiar with the hierarchy.
The CMS Content manager view addresses these scaling issues by displaying all content (pages, assets, and media) in a "flat" view table structure that you can filter, search, and sort to get to the content you want.
NoteYou can make quick edits to content when you select a content item in the Content manager view. For full editing functionality, go to Edit view.
Content context
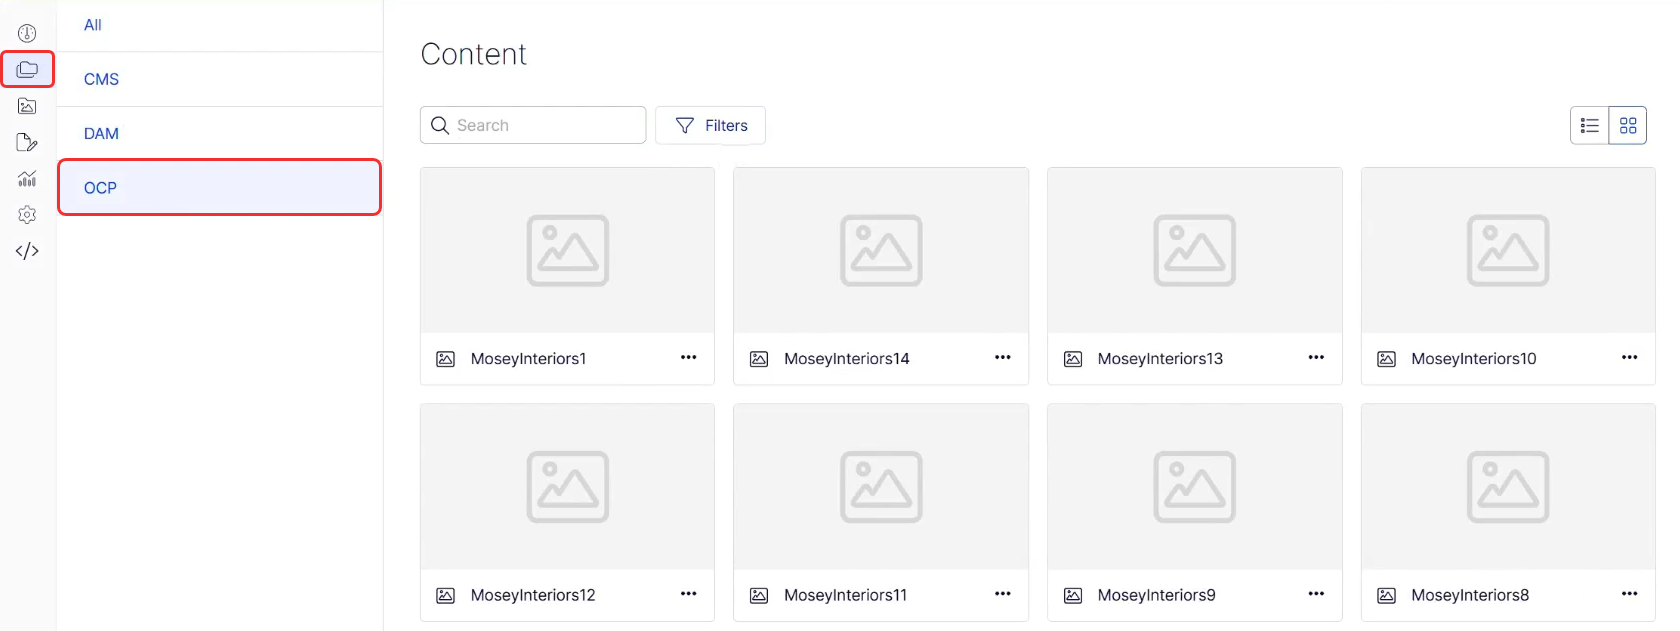
The following image shows three content contexts: CMS (built-in), DAM (added), and OCP (added and highlighted). To integrate other content contexts, see Integrate external content sources with CMS.
Select a view
Select a view by selecting the buttons as shown and described in the following list.

-
List view – Displays content in a multi-column list (a table) that you can customize. The image shows the content filtered by the letter O.
-
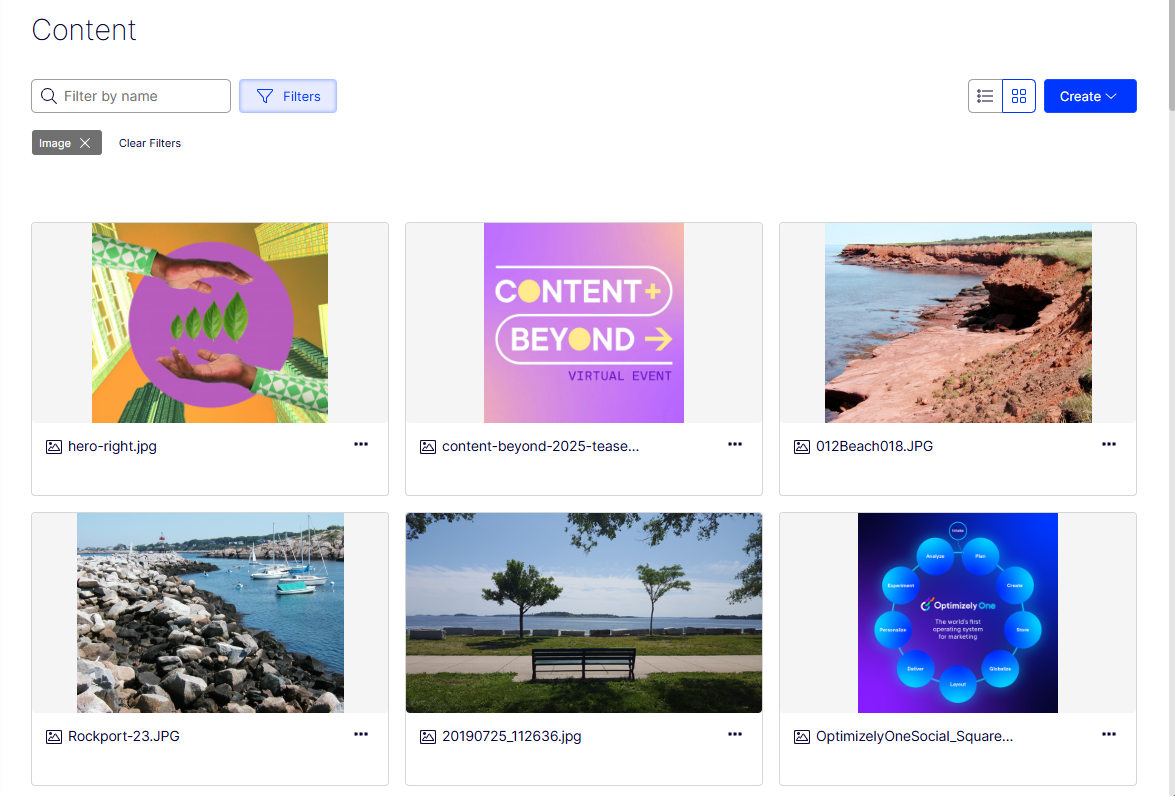
Grid view – Displays content as cards with thumbnail images to find content. The view below is filtered by images.
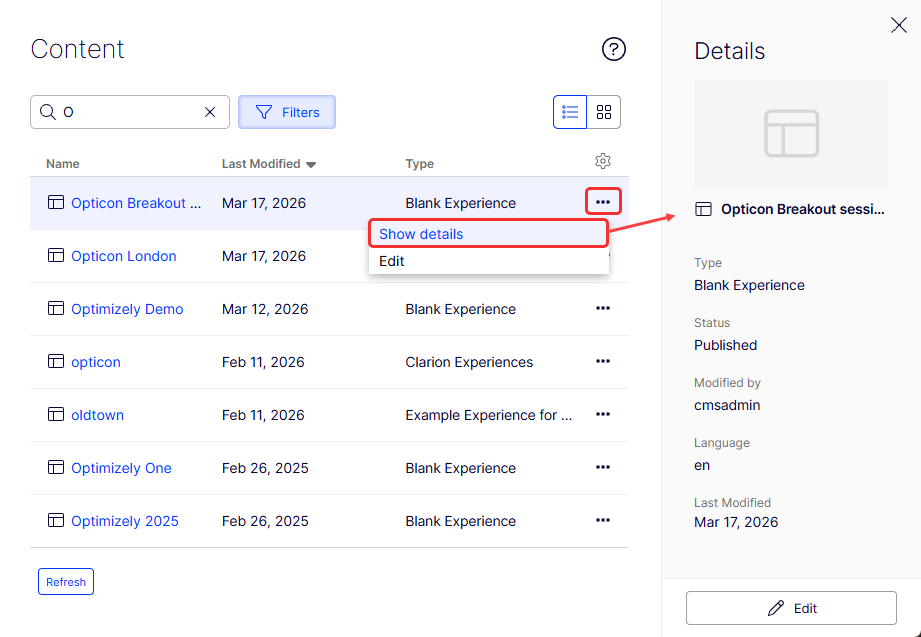
Show details
Select More (...) > Show details to display a Details panel for the content item.
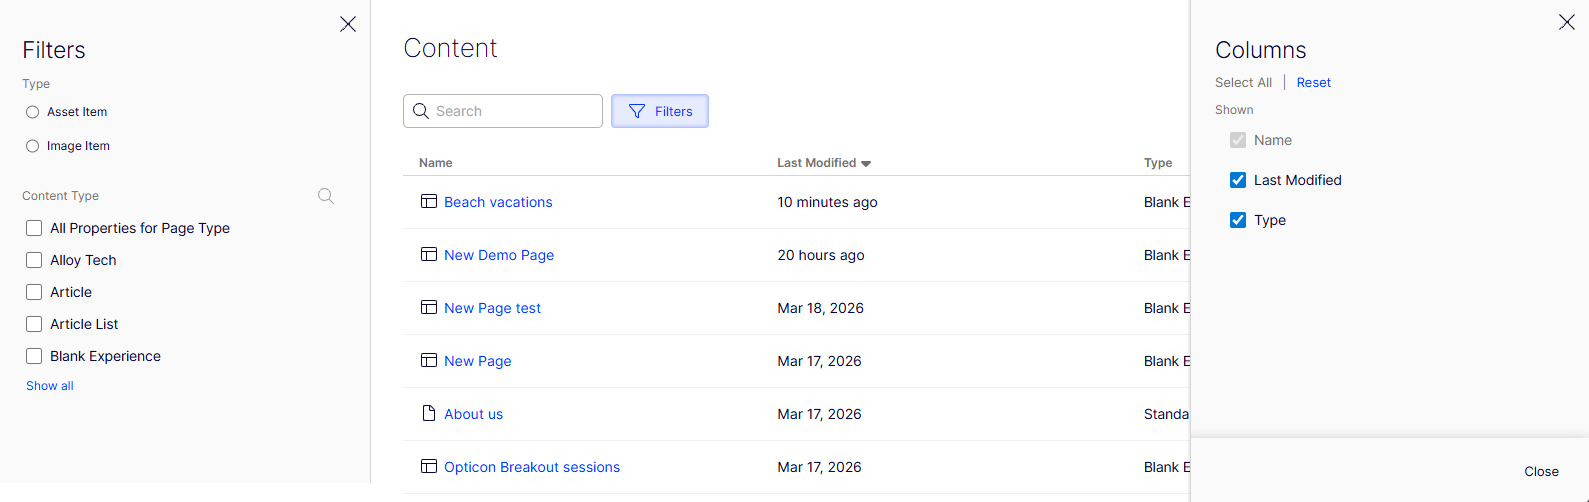
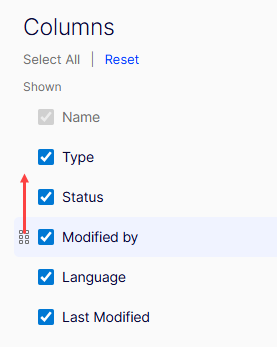
Edit columns
The gear icon opens a panel that lets you select the columns you want to see in List view. You can also arrange your columns by dragging them into the order you want.
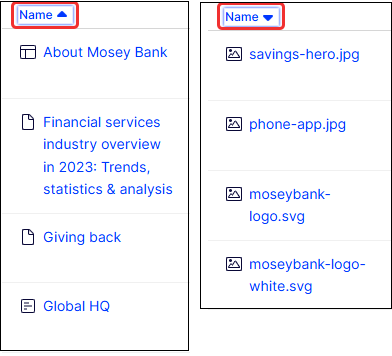
Sort columns
Sort content in List view by selecting a column header. The following image shows two views of the Name column sorted ascending and then descending.
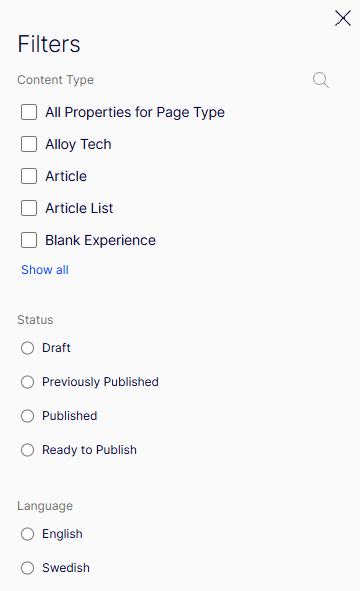
Filter content
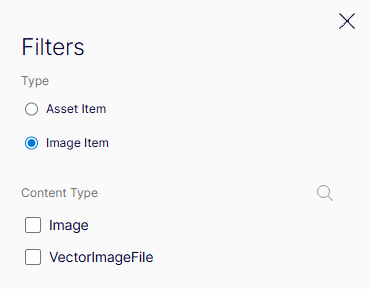
Select Filter to access the Filters panel, which changes by the context you are in. The CMS content context shows these filters:
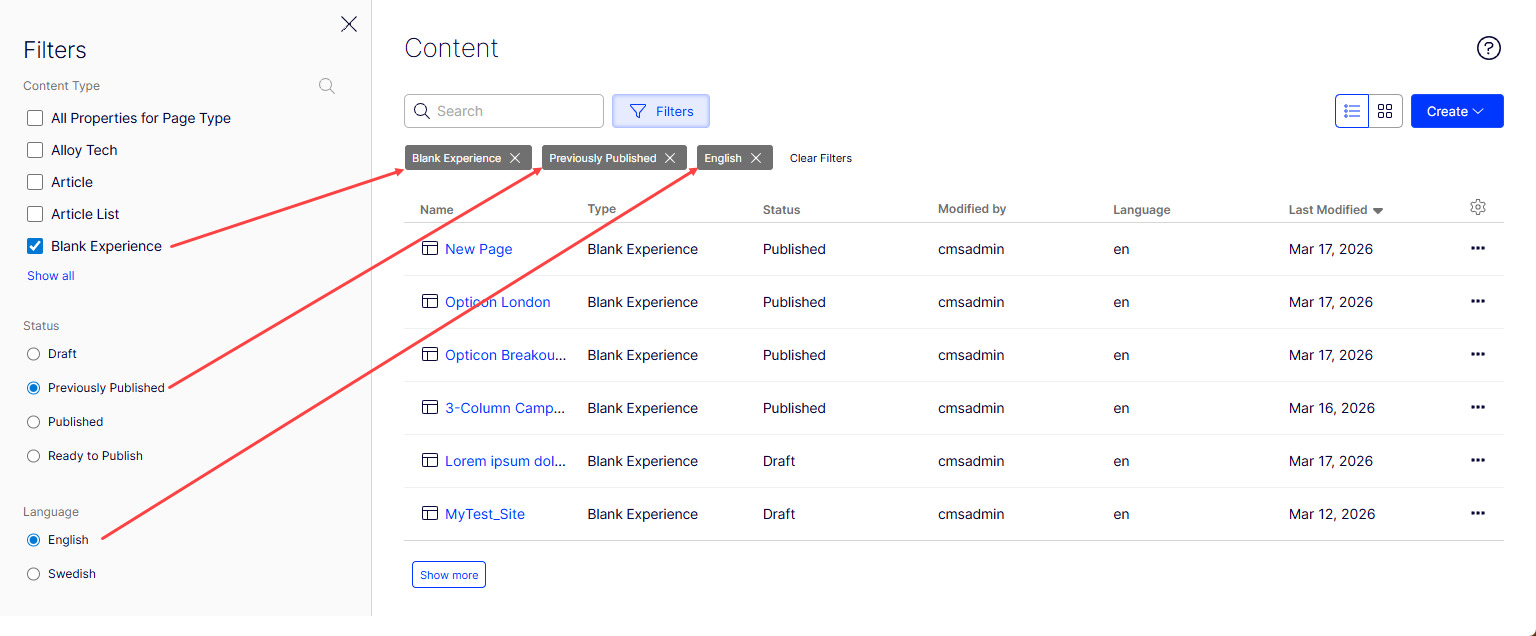
The following image shows how to use multiple filters to refine your results.
The All content context shows these filters.

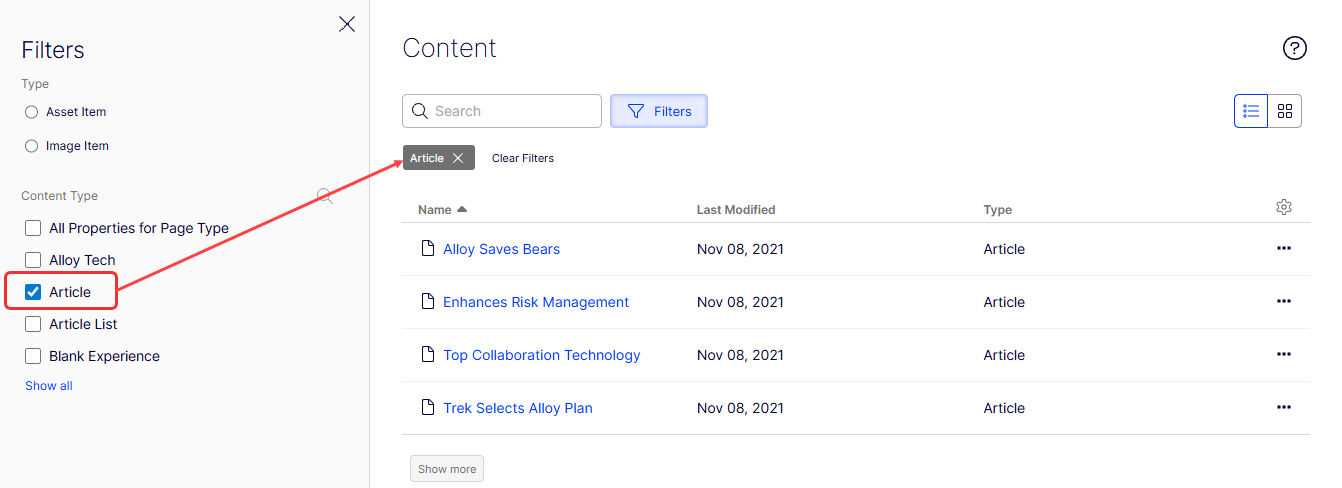
When you do not apply a Type (Asset Item or Image Item), you get Content Type filters. The following image shows the content list with the Article content type filter applied. Select Show all to show more content types.
If you apply the Asset item filter, the Content Types change.
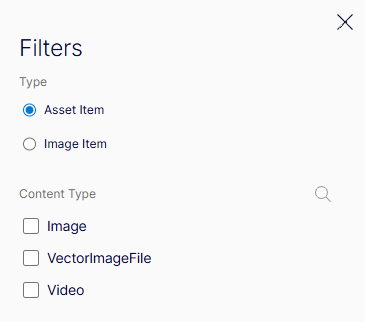
If you apply the Image item filter, the Content Types change again.
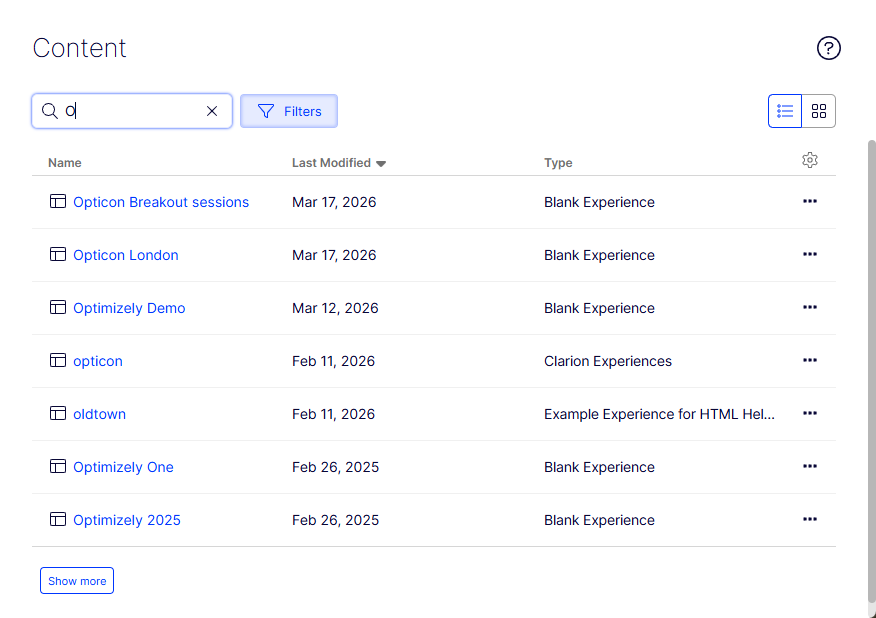
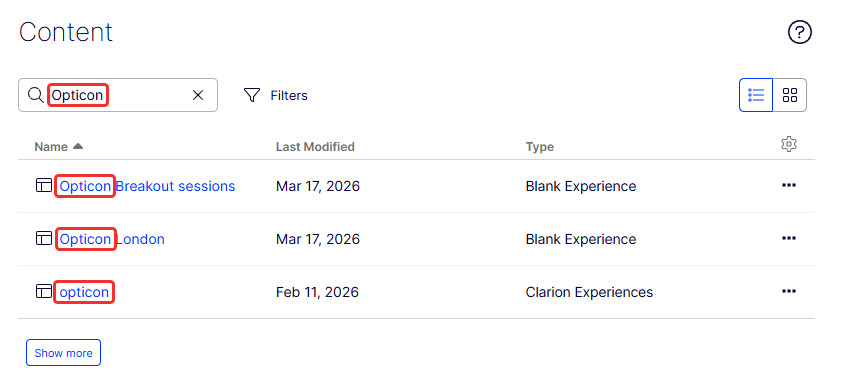
Search content
Use the Search box to find content by typing a few letters. The following images shows items found by typing Optimizely in the box. Search is powered by Optimizely Graph.
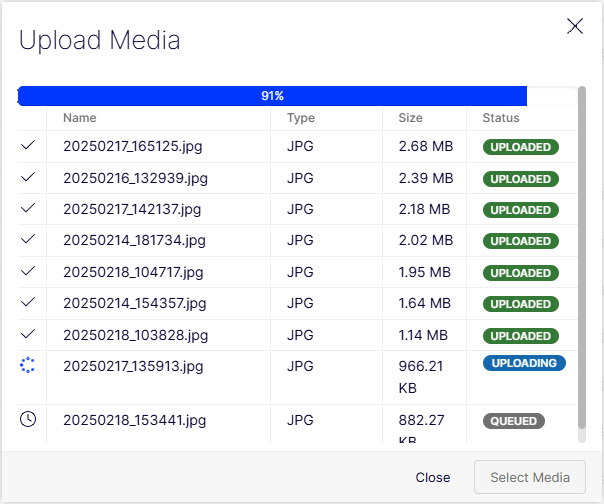
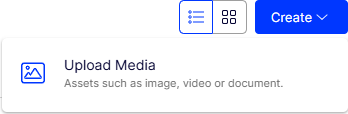
Upload media
To add media from the CMS content view, select Create > Upload Media.
The Upload Media window displays. Select Select Media and choose the files you want.