Refactor content type classes
Explains how to work with refactoring, when you rename, delete, or change content types in Optimizely.
Rename a content type by GUID
Renaming a content type by GUID preserves existing data and avoids creating duplicates. Use this approach when the content type already has a GUID assigned.
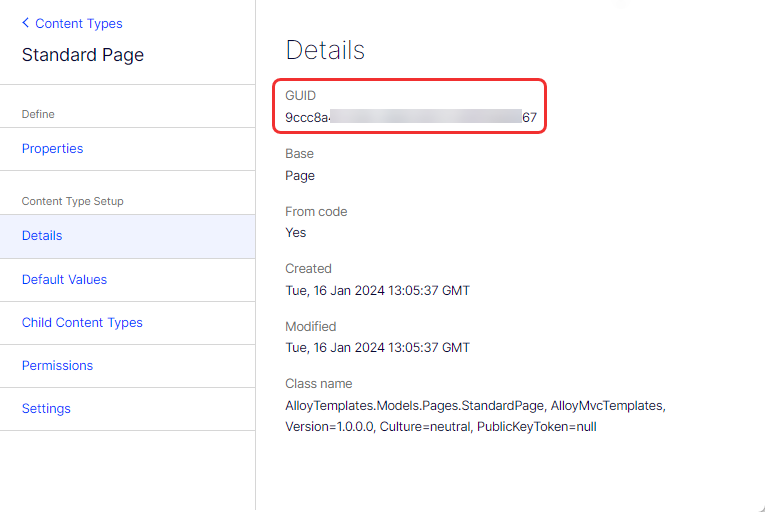
If you specify a GUID in ContentTypeAttribute and the GUID matches an existing content type, the content type is renamed, and any previous data uses the renamed content type. The admin view displays the GUID of an existing content type when you edit the basic information for a content type.
If you do not specify a GUID in ContentTypeAttribute of the class when you rename a content type class, the system creates a new content type. If there is no data in the previous content type, it is deleted. However, if pages exist with the previous content type, the previous type remains, and those pages continue to use it. When you view the content type in admin view under the Page Type or Block Type tab, the previous content type is marked as missing its code.
Rename a content type by API
The MigrationStep API lets you rename content types and properties while preserving their existing values. The API uses string-based names to identify previous types and properties.
Create a MigrationStep class with an AddChanges method where you specify the names of the content types or properties. This ensures that the existing properties are renamed and retain values they had before they were renamed.
NoteYou do not need to manually register the
MigrationStepclass, because it is automatically detected.
The following example shows how to rename a content type and a property on that content type:
using EPiServer.DataAbstraction.Migration;

namespace CodeSamples {
  public class MigrationStepExample: MigrationStep {
    public override void AddChanges() {
      RenameContentType();
      RenameProperty();
    }

    private void RenameContentType() {
      //The content type formerly known as "Velocipede" should hereby be known as "Bicycle".
      ContentType("Bicycle")
        .UsedToBeNamed("Velocipede");
    }

    private void RenameProperty() {
      ContentType("Bicycle") // On the Bicycle content type...
        .Property("PneumaticTire") // ...PneumaticTire is an existing property...
        .UsedToBeNamed("WoodenTire"); // ...that was previously called WoodenTire.
    }
  }
}
Delete a content type class or property
Deleting a content type or property from code does not automatically remove stored data. The system preserves data integrity by keeping types that have existing content.
When you delete a content type or property from the code, the system synchronizes the database without deleting data (values saved on any page). The content type or property is deleted from the database if there is no data. If any data is present, the content type or property remains and is marked in the admin view as missing its code.
Delete a culture-specific attribute on a property
Changing a property from culture-specific to non-culture-specific requires careful handling to avoid data inconsistencies.
When you manually change a property from being culture-specific to not being culture-specific in the admin view, the change is not reflected on the site when culture-specific data is stored in the database. If this occurs, an error is logged but no change is made to the property in the database.
Change the type of a property
Replace obsolete property types or change property names and types when you refactor or improve your code.
Before you change the type of a property (from XhtmlString to String, for example), you must meet the following criteria to ensure that a change of type in the code does not lose data:
- The previous or new property type cannot be a block.
- If the new type is
String, any previous value cannot be longer than 255 characters. - You must be able to set the previous value to the new type, or you can parse it in the
ParseToSelfmethod of the new type's backingPropertyData. - The value of the backing
PropertyDatayou are changing to must implement theSystem.IConvertibleinterface. - The backing
PropertyDataalso must have itsTypeproperty set to any of the eight first values of thePropertyDataTypeenumeration.
If you need a change of type and any data loss is acceptable, change the property type in admin mode, but you must temporarily remove the property from the code.
If the conversion of existing data to the new type fails, an error is logged, and nothing is committed.
Changing an obsolete property type to refactor it in code involves several steps. The following guide describes the approach:
- Locate the property in your code, such as one marked with an
[Obsolete]attribute or flagged by a warning from your IDE. - Decide what the new property type should be. Base this on updated requirements or the availability of a more suitable type.
- Change the type of the property in your class definition to the new type. Update any attributes or metadata associated with the property if necessary.
- Search for instances where the property is used and update them to accommodate the new type. This involves changing method calls, data assignments, or logic that interacts with the property.
- Ensure any documentation referencing the old property type is updated to reflect the changes. Update or add unit tests to cover the new property type and verify it behaves as expected.
- Thoroughly test your application to ensure that the refactoring does not introduce any bugs or regressions. Pay particular attention to areas of the code that heavily relied on the obsolete property.
- If the old property still exists in your code (for backward compatibility, for example), consider marking it as obsolete with a warning message for future removal. If it is no longer needed, safely remove it after you update all its dependencies.