Categories
Classify content in Optimizely CMS. Create, delete, and manage categories to enhance filtering, search, and navigation features for your website visitors.
In Optimizely Content Management System (CMS), a category classifies content. For example, use categories to build filtering features for search and navigation. A category is also known as a taxonomy, which is a system of classification. Categories let editors apply a consistent classification scheme across pages, blocks, and media.
A category is a built-in property in CMS. Apply categories to content. Build the filtering and navigation functionality to display the results on your website. Do not confuse content categories with Commerce Connect categories. For information about catalog entries, go to Work with catalog entries.
Create a category
Categories group related content so editors can apply a consistent classification scheme across pages, blocks, and media. Create a category whenever the site needs a new tag for filtering, search, or navigation features.
To create a top-level category:
-
Go to Settings > Categories and click Create Category. A window opens.
-
Fill in the following fields.
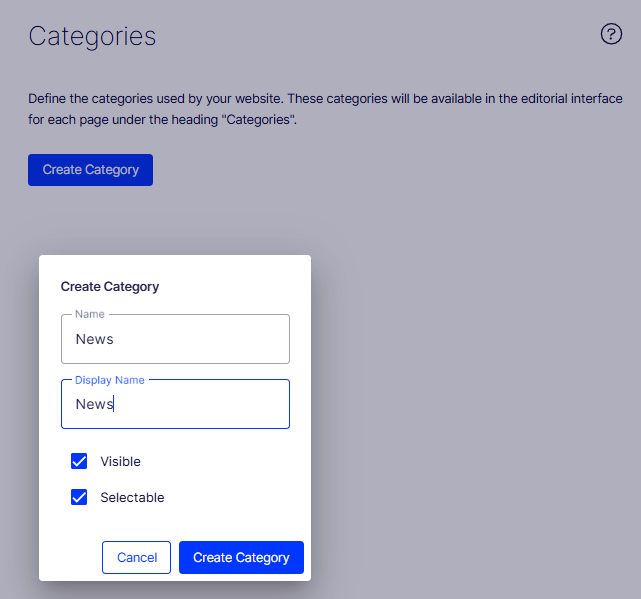
- Name – Specify a name used in code when building category-based functionality.
- Display name – Enter a name visible in edit view when a user selects categories. Language-encode this field to support multiple locales.
- Visible – Select to display the category in the Select Categories dialog box in edit view.
- Selectable – Select to make this category selectable in the Select Categories dialog box in edit view.
-
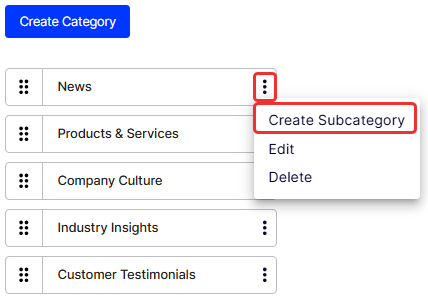
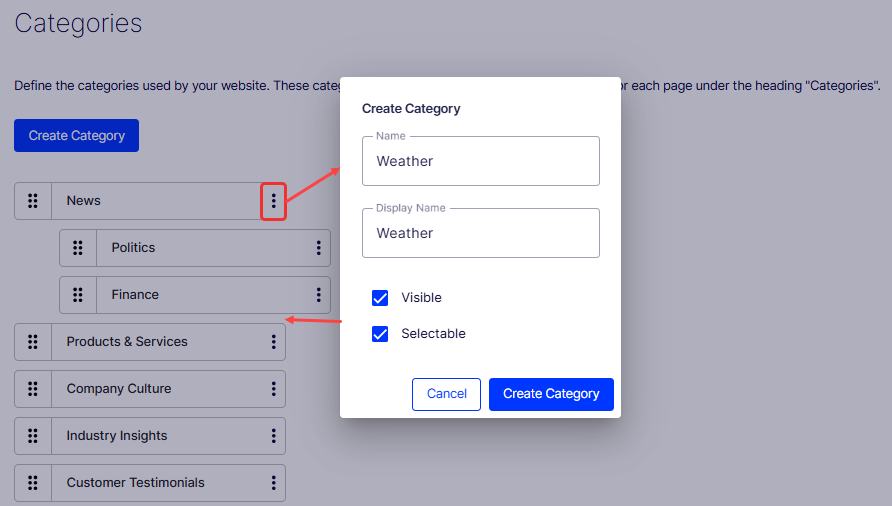
Select Create Subcategory to add a subcategory.
-
Add the subcategory in the same way as the top-level category.
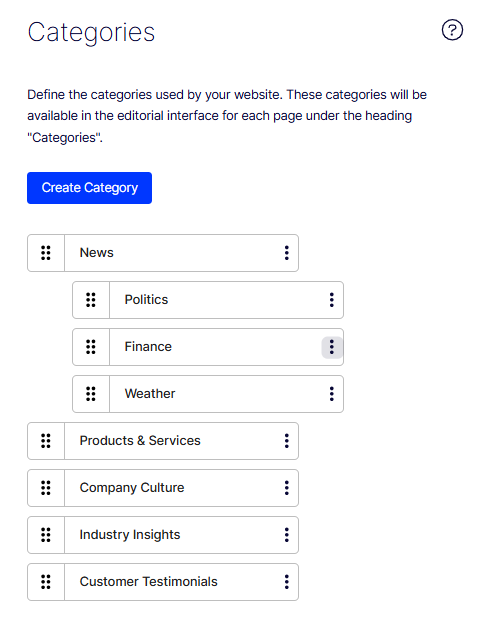
Drag a category to reorder it in the list. This order controls how categories display in the Select Categories dialog box.
Delete or change a category
Removing or editing a category retires obsolete classifications and keeps the taxonomy aligned with the current site structure. Coordinate with developers first, because front-end filters and navigation components might depend on the category.
WarningDepending on how a category is used on your website, changing or deleting a category may cause things to stop working. Check with your developer before changing or deleting a category.
-
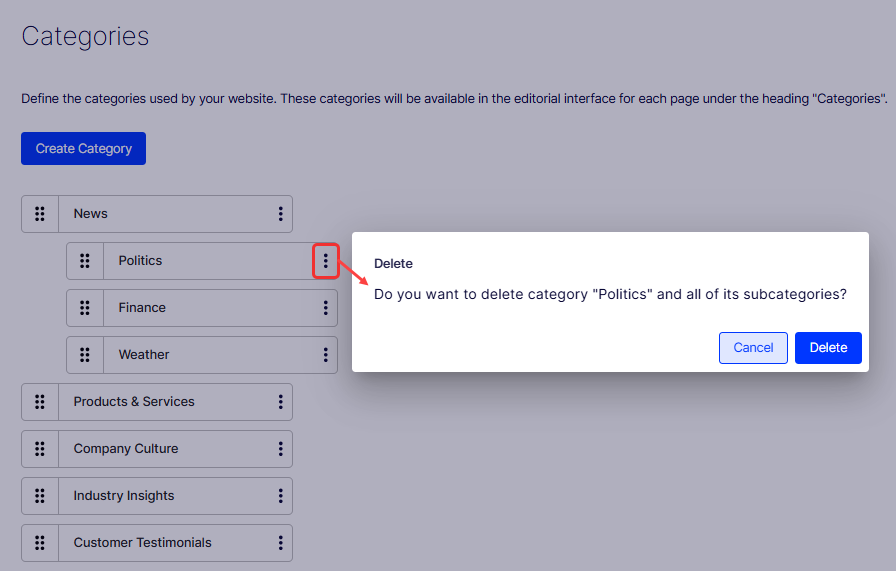
Go to Settings > Categories.
-
Select More (...) > Delete. A confirmation window opens.
-
Click Delete to confirm.
Add categories to a page
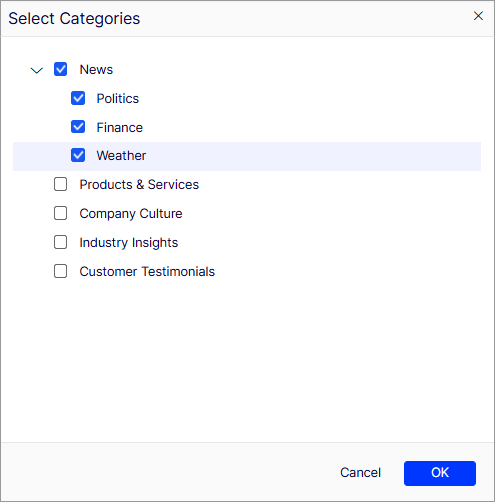
Assigning categories to a page tags it for the filtering, search, and navigation features that surface related content to visitors. Apply categories during editing so the page joins the correct taxonomy. Only categories marked as Visible and Selectable display in the Category panel.
-
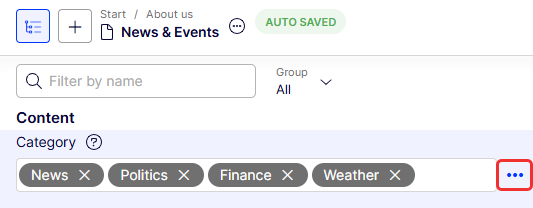
Open a page for editing and click Category.
-
Select the categories for the page and click OK.
The categories display in the Category field.