Install Opal Chat in CMS 13
How to install Opal Chat in CMS 13.
Install the Optimizely.Cms.OpalChat package to surface the Opal chat widget in the CMS 13 editorial UI, giving editors AI-powered assistance without leaving CMS.
Optimizely Opal is an agent orchestration platform. It helps you explore complex questions, find answers about the Optimizely platform, and access step-by-step instructions. Opal automates tasks, surfaces insights, and guides decision-making.
Prerequisites
- CMS 13 in Optimizely Digital Experience Platform (DXP).
- Opti ID enabled for your CMS instance.
- Opal provisioned at the organizational level. Contact your Customer Success Manager (CSM) to request Opal access.
- Third-party cookies enabled in your browser.
See Add-ons platform compatibility for package and version information.
Install the Optimizely Opal NuGet package
Install Opal through NuGet.
Connect CMS 13 to Opal
Configure CMS site
Install and configure the Opal Chat add-on for your CMS site.
- Add the following NuGet package to your project.
Optimizely.Cms.OpalChat - In
Startup.cs, register Opal Chat.services.AddOpalChat(); - Configure your local environment.
-
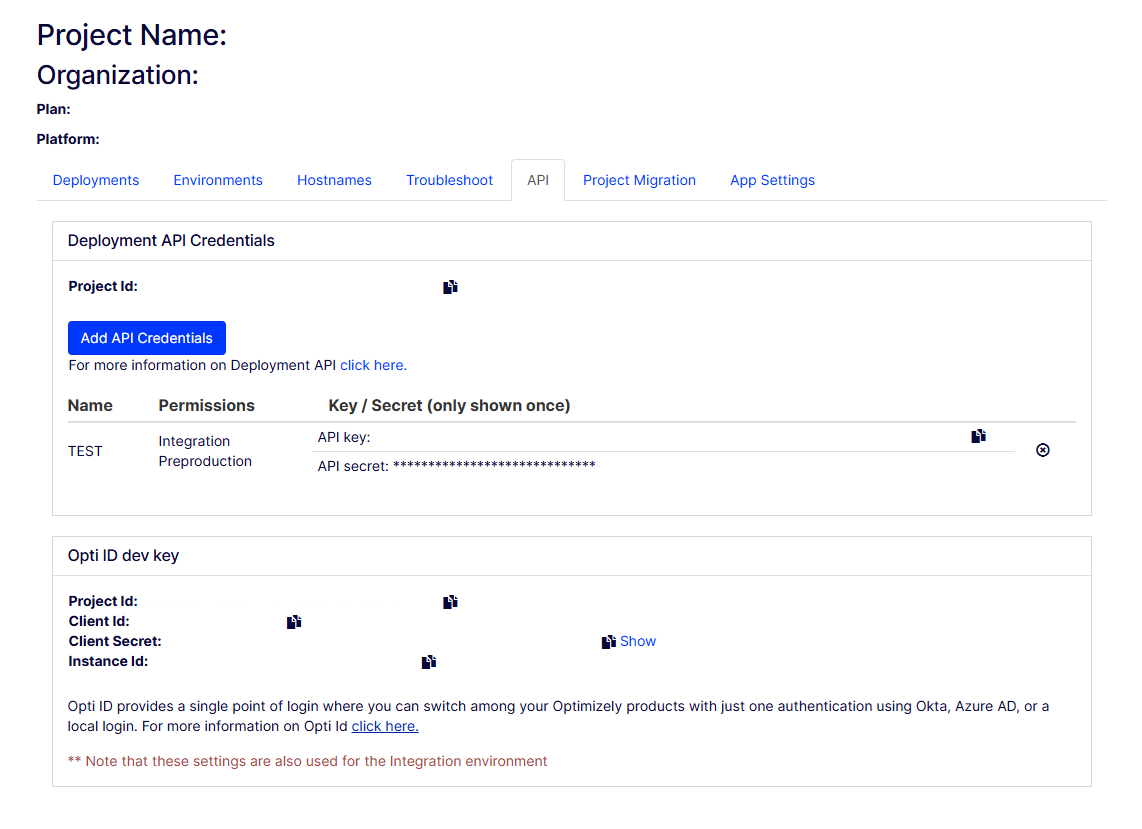
Configure Opti ID login on your local machine. Access the PaaS Portal to locate your Client Id, Client Secret, and Instance Id, as shown in the following screenshot.
-
Copy your Client Id, Client Secret, and Instance Id, and paste them into the configuration as follows:
"EPiServer": { "Cms": { "OptimizelyIdentity": { "Authority": "https://login.optimizely.com/oauth2/default", "InstanceId": "INSTANCE_ID", "ClientId": "CLIENT_ID", "ClientSecret": "CLIENT_SECRET" } } } -
Configure Opal Chat.
"Optimizely": { "OpalChat": { "InstanceId": "INSTANCE_ID", "ServiceUrl": "https://opal-backend.optimizely.com" } } -
Grant your login username access rights to the CMS instance.
-
NoteProduction environments require no additional configuration.
After completing the configuration, deploy your CMS site to your PaaS Portal project.
Associate CMS with Opal
The following screenshot shows the Connections tab in the Admin Center, where you associate your CMS instance with Opal.
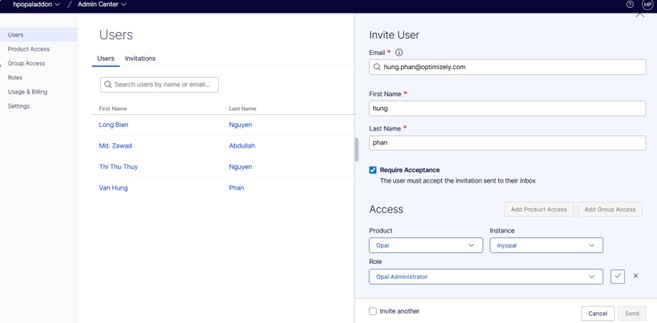
- In your organization's Admin Center, ensure you have the Opal Administrator role.
Note
Contact Optimizely Support if you need access or role assignment.
- From the main menu, select Opal.
- Open the Connections tab.
- Select the instance associated with your CMS site.
- Click Save to complete the association.
After you save, your CMS 13 site connects to Opal. You can chat with Opal and call agents that do not require CMS tools.
Updated 20 days ago