Optimizely Languages gadget
Manage multilingual content and translations in Optimizely CMS 13 with the Optimizely Languages gadget. Activate languages, auto-translate, compare versions, and import or export XLIFF files.
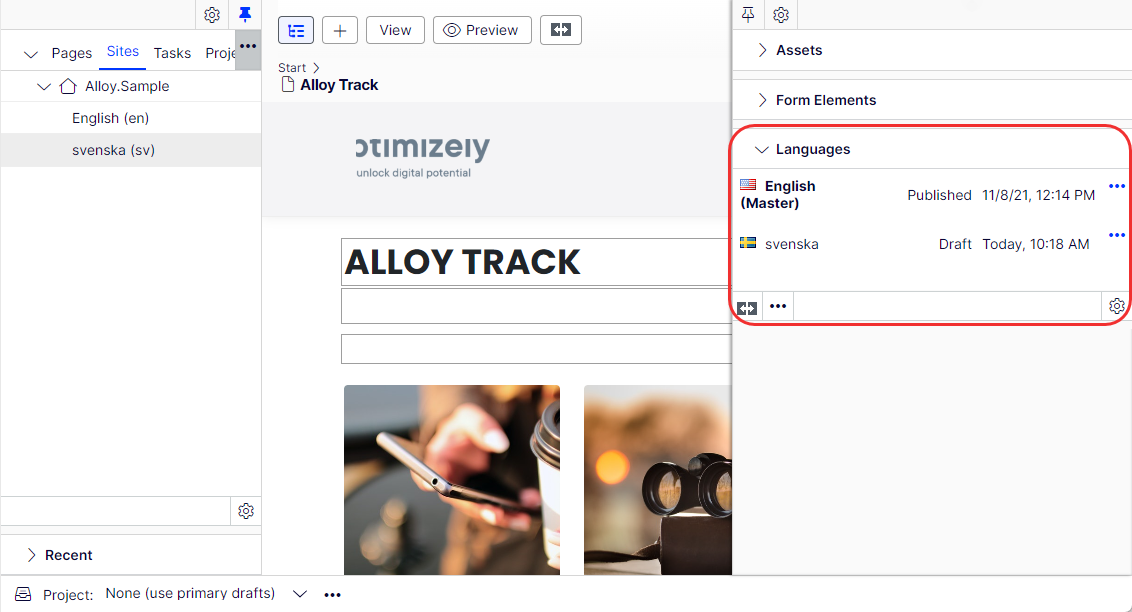
The Optimizely Languages gadget manages languages and content translations on multilingual websites. Activate languages, manage language branches, translate content, and compare language versions from a single gadget. The gadget also supports automated content translation through a third-party service.
NoteThe Optimizely Digital Experience Platform (DXP) contains features to support your daily work. Depending on how your solution is configured, some features described in this documentation are not available.
An administrator installs and configures the Optimizely Languages add-on. After configuration, add Optimizely Languages as a gadget to your workspace.
Configure languages in the gadget
Configure languages in the gadget to enable content creation in additional languages and to assign editor access rights.
A system administrator adds a language to the website and activates it before editors create content in that language.
Activate a language from the gadget
-
Select Manage Languages from the Optimizely Languages gadget options.
-
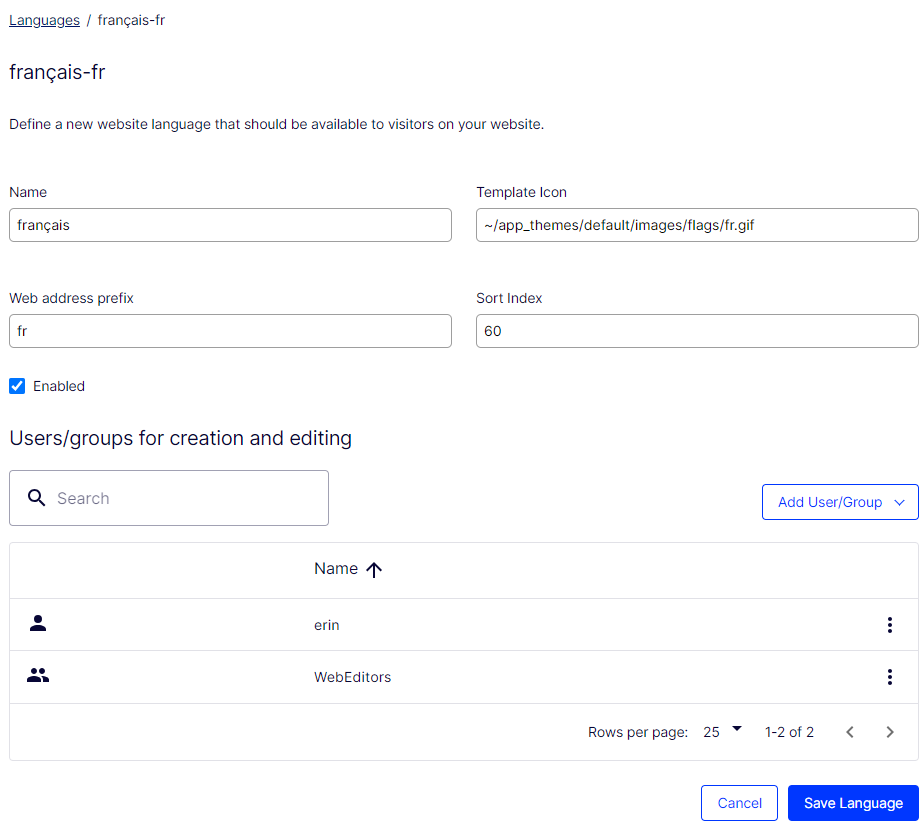
Click the language link in the list. Add a missing language if needed.
-
Select Enabled to activate the language. Under Users/groups for creation and editing, assign access rights for a specific editor (such as erin) or group (such as CmsEditors). Each language is available to the Everyone group by default. Remove this group to restrict access.
-
Click Save Language to close the Manage Website Languages dialog box. The language is active on the website and displays in the Optimizely Languages gadget but is not yet available for content creation.
Enable a language for editing from the gadget
Languages inherit settings from the parent page by default. When you enable a language for a parent page, the language is also enabled for subpages. Override this behavior at any level of the page tree.
-
Select the page from which you want the language setting to apply in the page tree navigation.
-
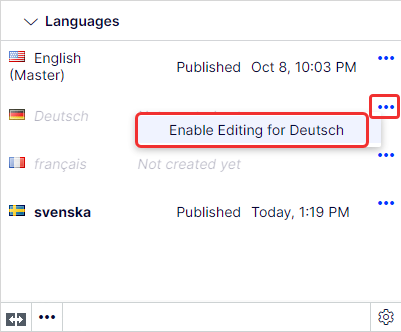
Select the language to activate in the Optimizely Languages gadget.
-
Select Enable editing for [language] from the context menu.
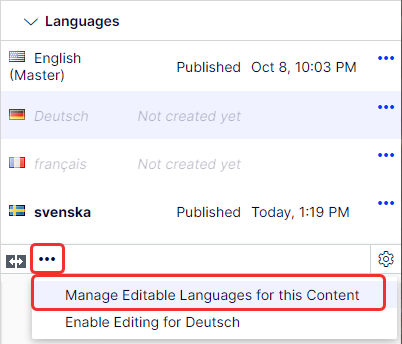
Select Manage Editable Languages for this Content in the Languages gadget to open the Language Settings dialog box. This dialog box is also where you define fallback and replacement languages for the website. Go to Configure a fallback language for details.
Connect to the auto-translation service
Configure the auto-translation service to enable automated content translation through Microsoft Azure Cognitive Services.
-
Subscribe to Azure.
-
Register Translator from Cognitive Services.
-
Configure the auto-translate component in Optimizely Languages. Go to Settings > Languages.
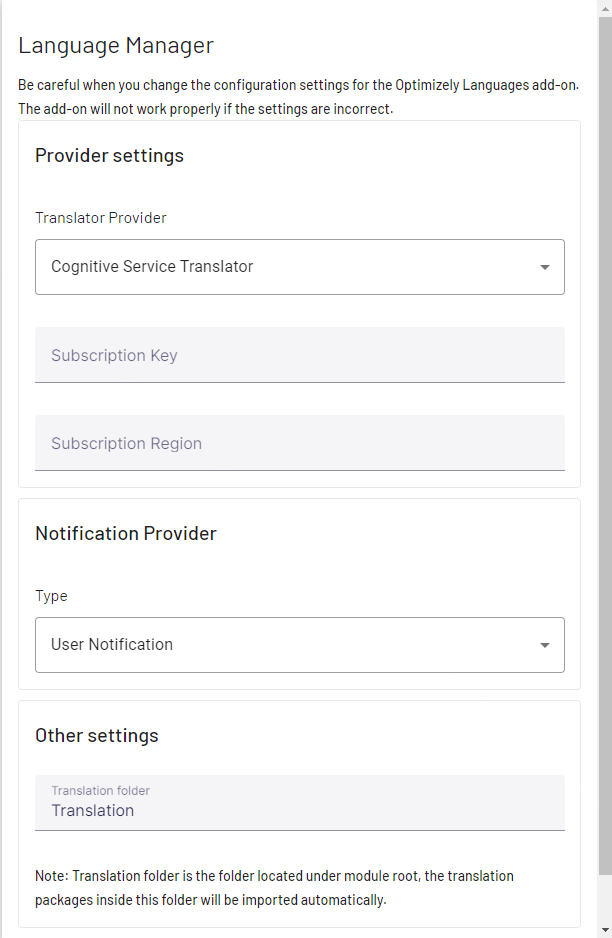
- Translator Provider – Select Cognitive Service Translator.
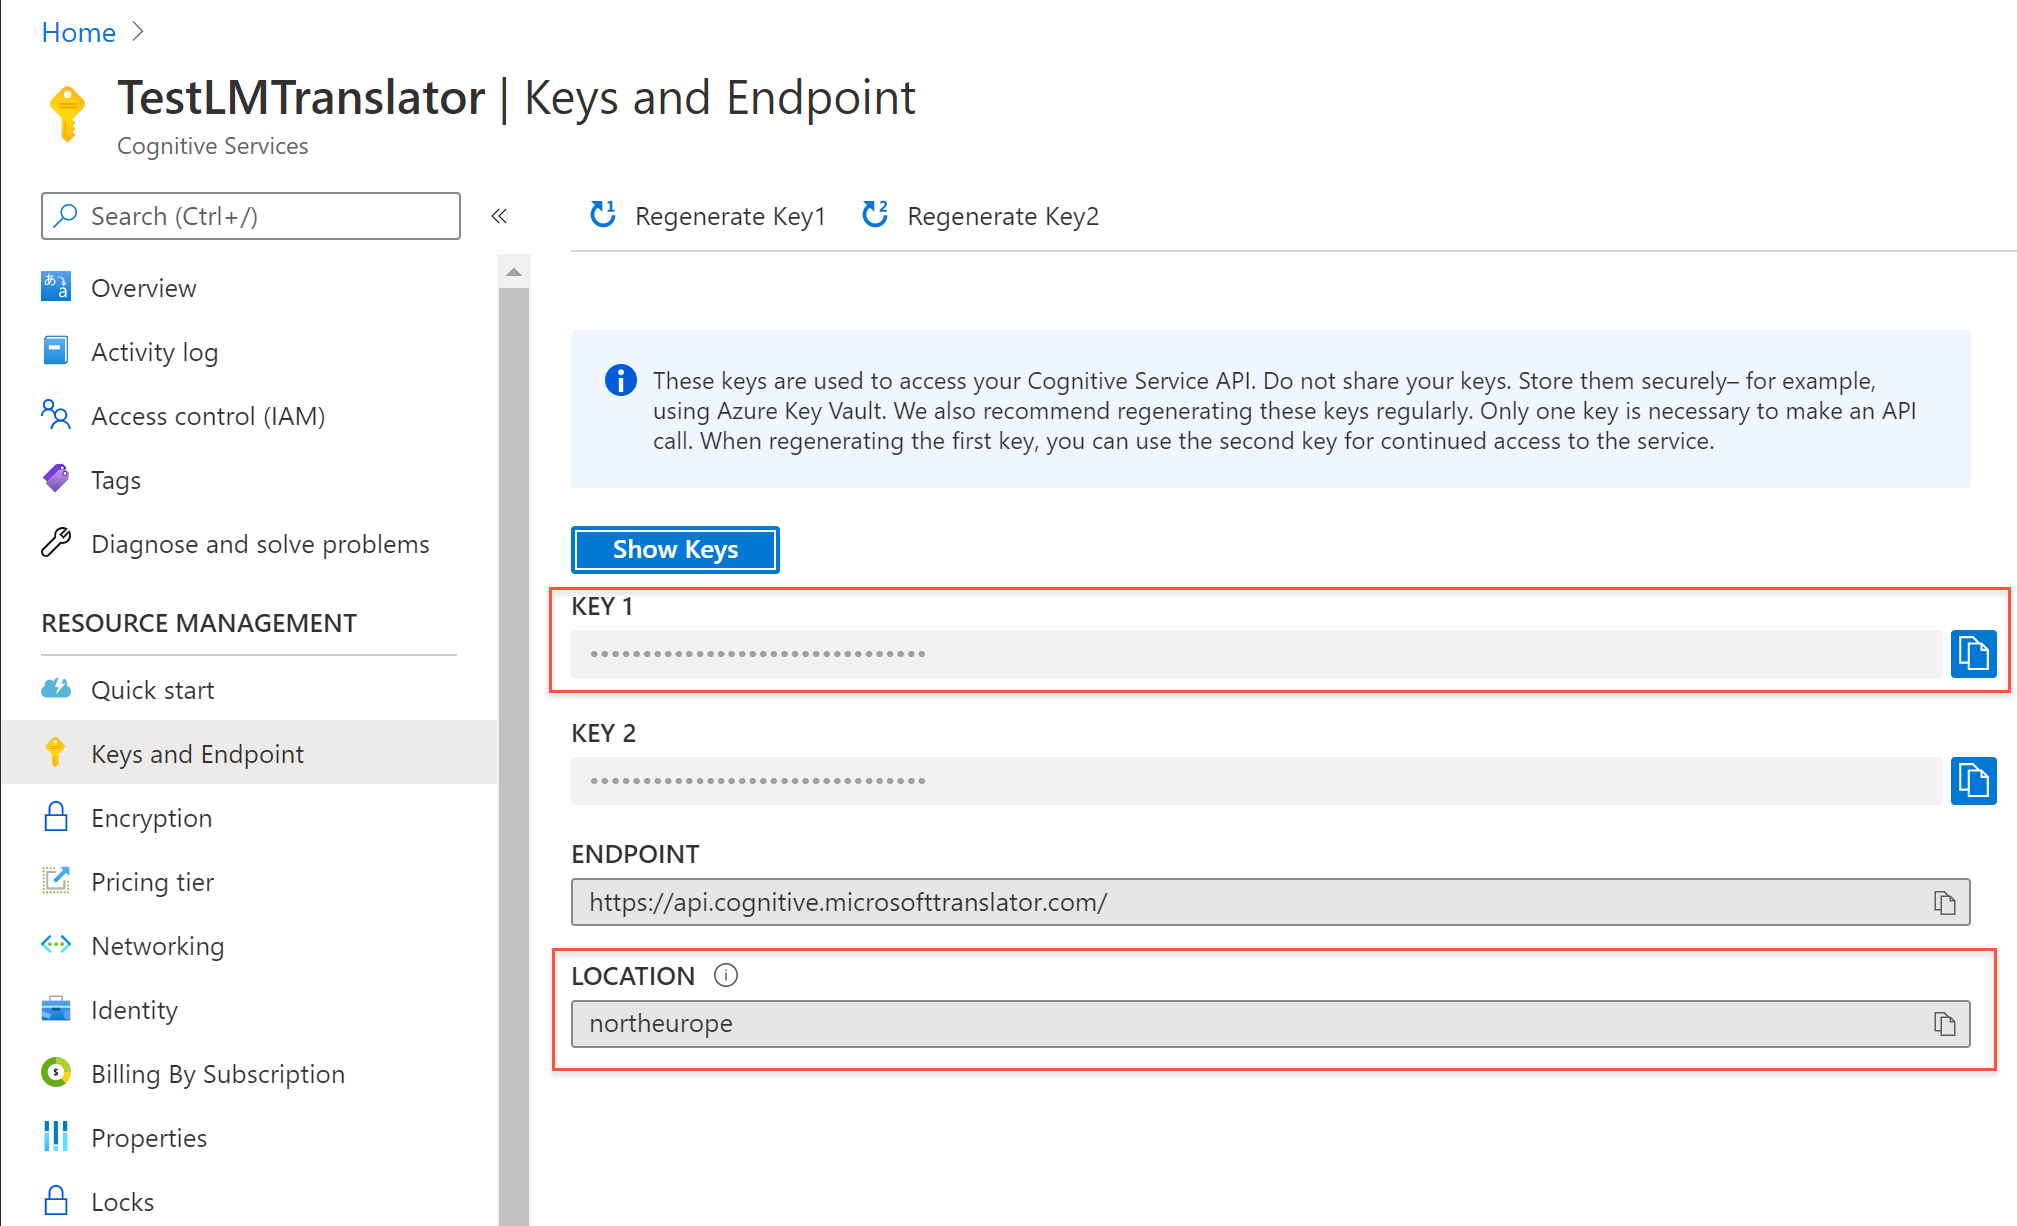
- Subscription Key – Enter the Microsoft subscription key (Key 1) from the Azure subscription service.
- Subscription Region – Enter the Location value from the Azure subscription service.
-
Click Save.
Use Optimizely Languages
Use the Optimizely Languages gadget to translate pages and blocks, compare language versions, and manage content across languages.
View parts of a website in a selected language
-
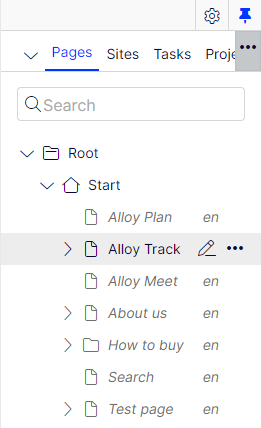
Select a page from the page tree.
-
Click Show All Languages in the navigation panel to see pages that do not exist in the selected language. Untranslated pages display in italics. Replacement or fallback languages (if applied) also display.
Translate content
Translate a page or block using one of the available translation methods.
-
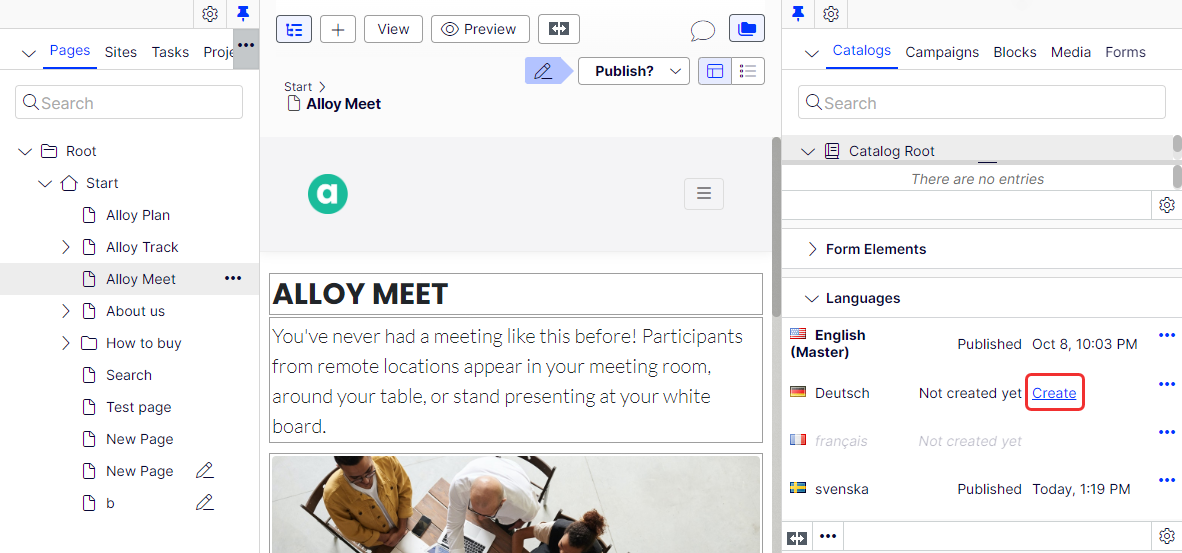
Select the page to translate in the page tree, or open a block from the assets panel.
-
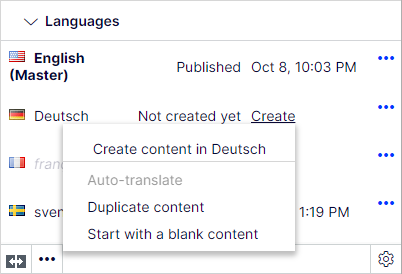
Click Create in the Optimizely Languages gadget.
-
Select from the following translation options:
-
Auto-translate – CMS translates content from the master language. This option is available only when the auto-translate component is configured on your website. Go to Configure auto-translation for details. Review the result before publishing.
-
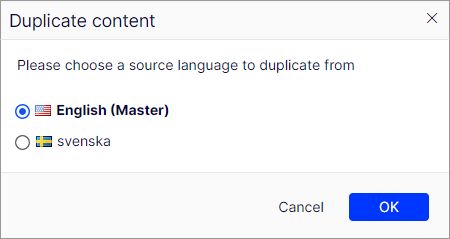
Duplicate content – Copies content from the master language for manual translation.
-
Start with a blank page – Creates a blank page or block with the title from the master language. Add translated content manually.
-
-
Add translated content as appropriate.
-
Review and publish the page or block according to the publishing flow in Optimizely CMS.
NoteLanguage versions are created as drafts. Review and publish them manually.
Replace content with the master language
Replace translated content with the original master language content when a translation is outdated or incorrect.
-
Select the translated page in the page tree.
-
Select the language to replace.
-
Click Replace Content to confirm the action.
WarningThis action cannot be undone.
Create a page in a different master language
Create a page that exists only in a specific master language.
- Select the target language in the Optimizely Languages gadget or the tab in the navigation panel.
- Select the parent page where you want to create the page in the page tree navigation.
- Select the page type and enter a page name.
- Review and publish the page according to the publishing flow in Optimizely CMS.
Compare language versions
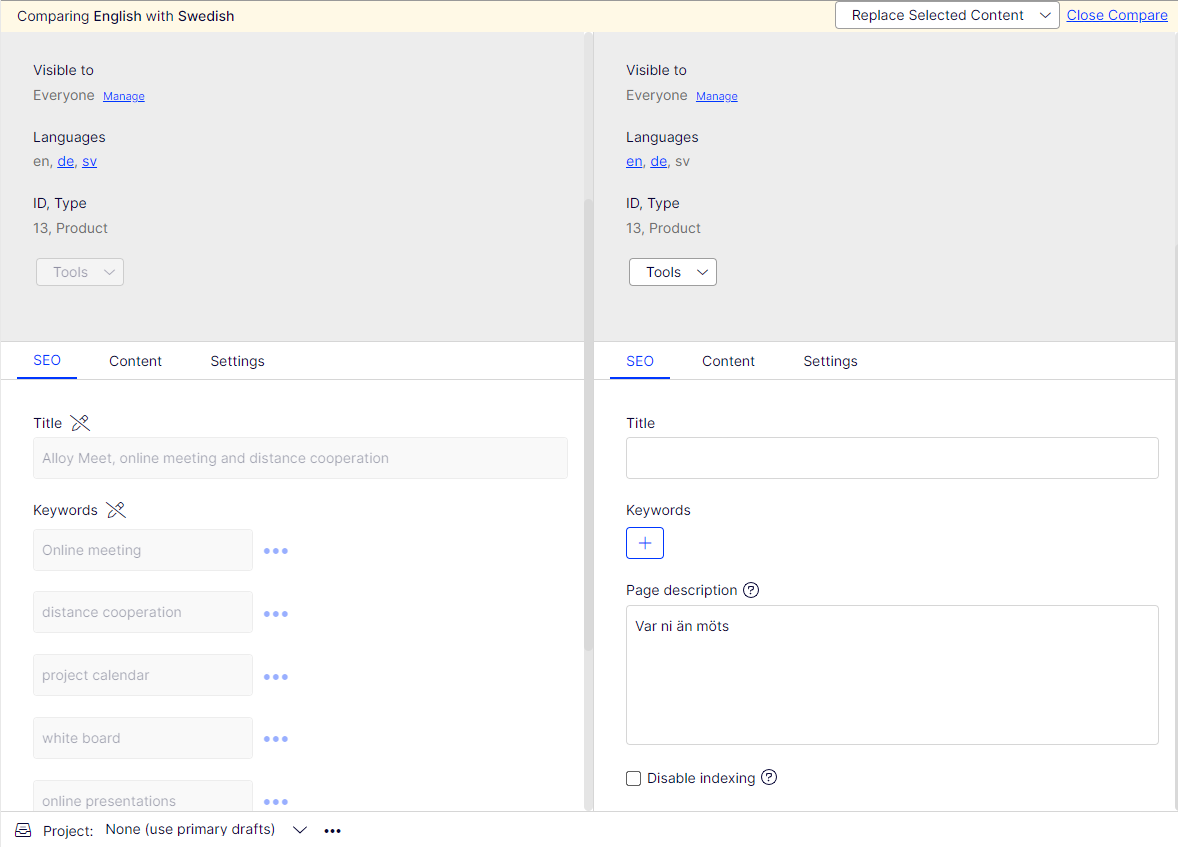
Compare a page side by side in two language versions to review auto-translated content or translate content manually.
-
Select an existing page to translate in the page tree.
-
Select the translation language and the Compare with [master language] option in the Optimizely Languages gadget.
-
Edit the content in the selected language. The master language page is read-only in this view.
-
Review and publish the page, or click Close Compare or Replace Selected Content.
Delete a language version
WarningThis action cannot be undone.
- Select the page from which you want to delete a language version in the page tree.
- Open the Versions gadget and select the language version.
- Confirm the deletion.
NoteDeleting the master language version requires deleting the entire page.
Import and export XLIFF files
Use XML Localization Interchange File Format (XLIFF) files to send content for external translation and import the translated content back into CMS. This workflow is useful when working with professional translation services or tools.
Add a content item (such as a page or block) to a translation project by drag and drop or through its context menu. Download a zip file containing the project items in XLIFF format and send it for translation.

When translations are complete, upload the translated zip file to the server. A scheduled job imports the content. The following behaviors apply:
- CMS displays a notification in the UI after importing a translation package.
- CMS stores uploaded translation packages in the translation folder under the module root.
- The translation process affects only draft versions.
To create a translation project and add content, follow these steps:
-
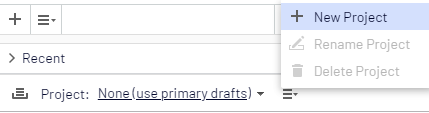
Select New Project from the Project menu to create a project for the translation.
-
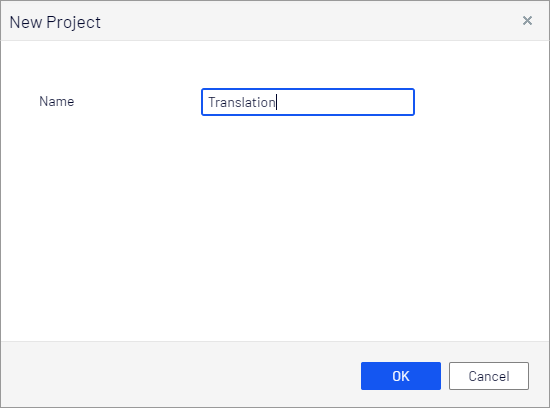
Enter a project name and click OK. The project is enabled automatically.
-
Select the page to translate in the page tree.
-
Click Create for the language to translate in the Languages gadget.
-
Select Duplicate English content. Starting with a blank page is also an option. CMS adds the version to your translation project automatically.
NoteDo not publish the page during this step.
-
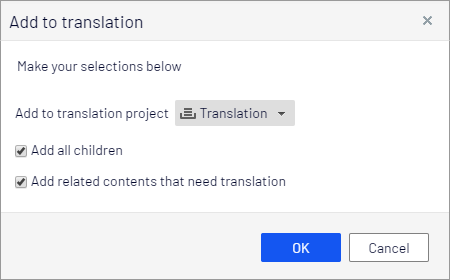
(Optional) Select More > Add to Translation Project to add an existing target language version to a translation project. An Add to translation dialog box displays.
-
Specify the content to add to your translation project.
-
Add to translation project – Select the project to work with.
-
Add all children – Add references to the descendants of the content to the project.
-
Add related content that needs a translation – Add related content items to the project.
NoteCombine children and related content in the translation project. CMS notifies you if an item is already part of another project.
-
-
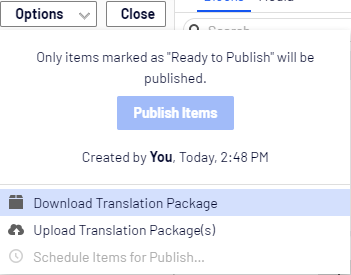
Go to the Project menu and click Overview after adding content to your translation project.

-
Select Options > Download Translation Package. CMS downloads a zip file containing XLIFF-formatted content. Send the package for translation.
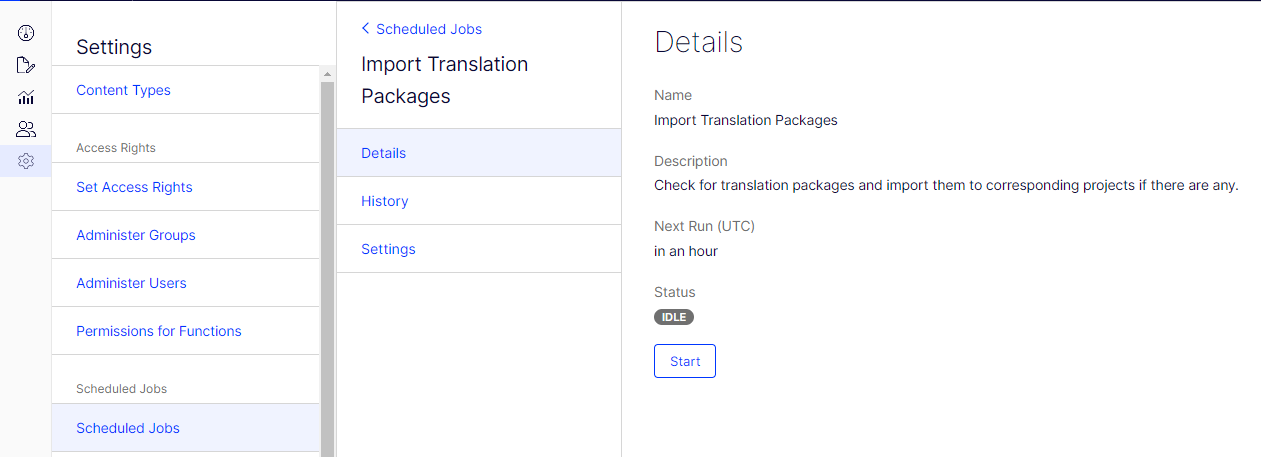
Import translation package
Import translated content back into CMS after external translation is complete.
ImportantVerify the zip file does not include any folders before uploading.
-
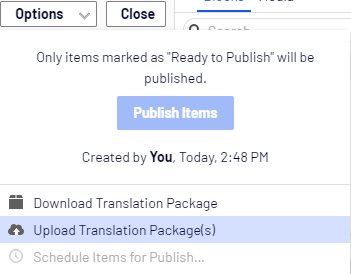
Enable your translation project and select Options > Upload Translation Package(s) to upload the zip file to the server.
-
Wait for the scheduled job to import the packages. To start the import manually, go to Settings > Scheduled Jobs > Import Translation Packages > Details > Start.
CMS sends a notification to the project owner when the import is complete.