Export data from CMS 13
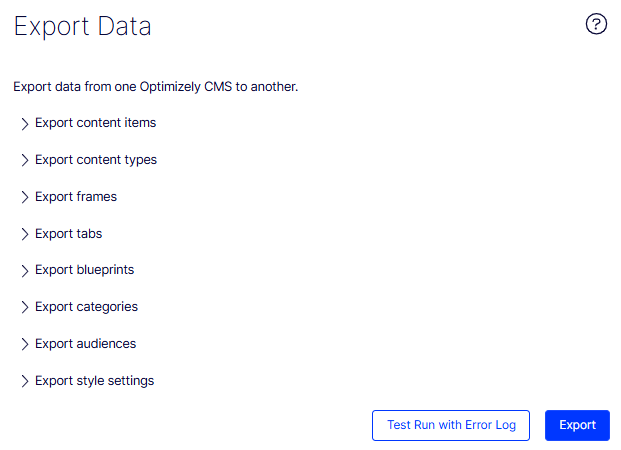
Export content items, content types, frames, tabs, blueprints, categories, audiences, and style settings for site migrations and environment promotion.
Export data from Optimizely Content Management System (CMS) applications. Developers use this function frequently when building functionality in a test or development environment. When work is complete, use export and import to transfer data between environments. CMS exports content as .episerverdata files. Import them to another CMS application. See Import data to CMS 13.
Export one or more of the following items to customize the exported content: content items, content types, tabs, blueprints, and style settings. The process is similar for each.
NoteEach export type supports an optional test run. See Test run with error log to validate the package before committing to the export.
Export content items
Export content items to move pages, blocks, and folders between Optimizely CMS environments. Use this to seed a target site with curated content or to back up a portion of the content tree.
-
Go to Settings > Export Data.
-
Click Export content items.
-
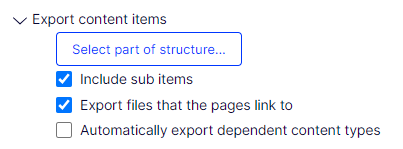
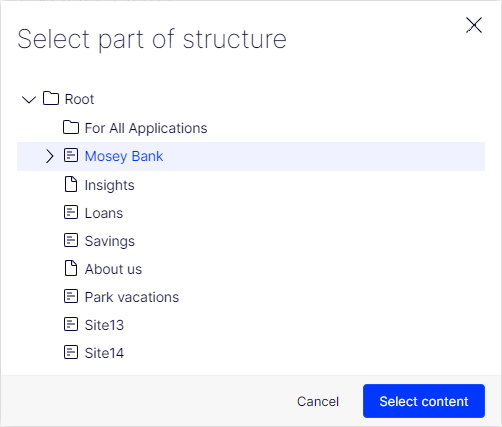
Click Select part of a structure to limit the export to a section of the content tree. The following image shows the Mosey Bank branch selected as the export scope.
-
(Optional) Select any of the checkboxes:
-
Include sub items – Exports the item's children also.
-
Export files that pages link to – Exports global assets such as shared blocks and images that the selected item links to.
NoteCMS includes local assets saved under For this Page in the export automatically.
-
Automatically export dependent content types – Includes the content type in the export. Use this for older untyped pages. For typed pages, or when the target application already has this content type, skip this option.
-
-
Click Export to download the file package. The export package downloads to the browser's default download location.
NoteTo update a single content item through export and import, deselect Include sub items and export the item. Then import the item and make sure Update existing content items with matching ID is selected.
Export content types
Export content types to share page, block, and media type definitions across environments. Use this to keep schemas in sync between development, test, and production.
-
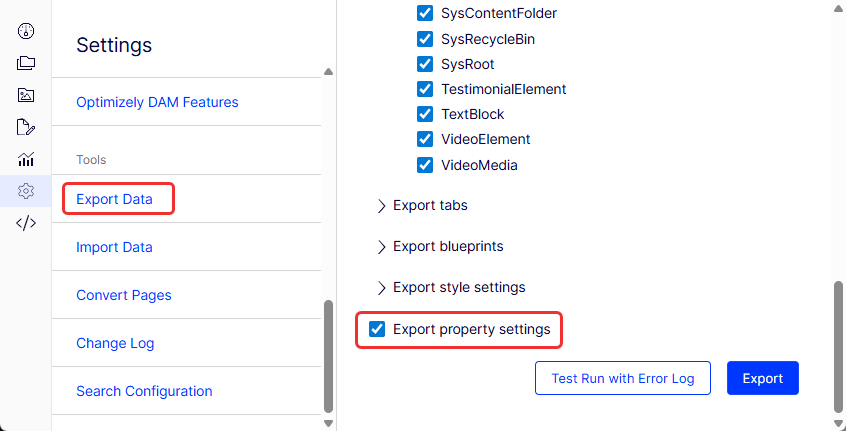
Go to Settings > Export Data.
-
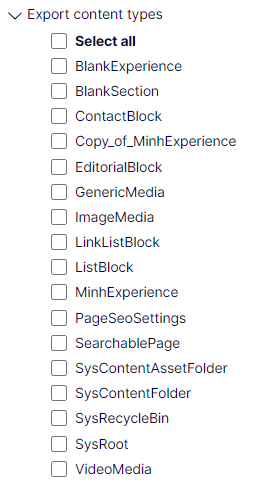
Click Export content types. Select any or all content types to export.
-
Select Export property settings at the bottom of the list. This option includes property settings (such as drop-down list or choice field values) in the export.
-
Click Export to download the file package. The export package downloads to the browser's default download location.
Export frames
Exporting frames transfers the metadata, properties, and structural definitions of layout components or templates. Use this to migrate layouts, back up configurations, and share common structures.
-
Go to Settings > Export Data.
-
Click Export frames. Select any or all frames to export.
-
Click Export to download the file package. The export package downloads to the browser's default download location.
Export tabs
Export tabs to reuse tab definitions across CMS instances. Use this to keep editing layouts consistent when promoting work between environments.
-
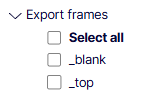
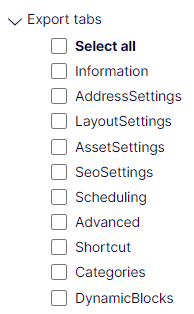
Go to Settings > Export Data.
-
Click Export tabs. Select any or all tabs to export.
-
Click Export to download the file package. The export package downloads to the browser's default download location.
Export blueprints
Export blueprints to transfer reusable page layouts between CMS instances. Use this to standardize page composition patterns across environments.
-
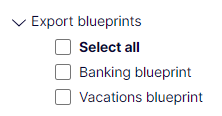
Go to Settings > Export Data.
-
Click Export blueprints. Select any or all blueprints to export.
-
Click Export to download the file package. The export package downloads to the browser's default download location.
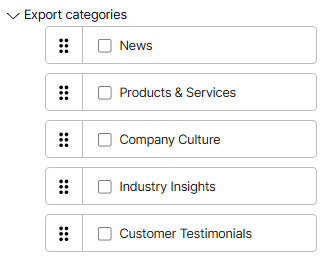
Export categories
Export categories to share content classification taxonomies between CMS instances. Use this to maintain consistent tagging when content moves across environments.
-
Go to Settings > Export Data.
-
Click Export categories. Select any or all categories to export.
-
Click Export to download the file package. The export package downloads to the browser's default download location.
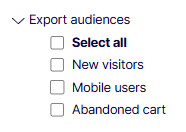
Export audiences
Export audiences to move visitor group definitions between environments. Use this to apply the same personalization rules in test and production sites.
-
Go to Settings > Export Data.
-
Click Export audiences. Select any or all audiences to export.
-
Click Export to download the file package. The export package downloads to the browser's default download location.
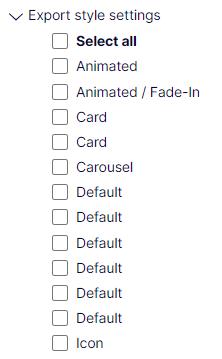
Export style settings
Export style settings to share visual styling configurations between CMS instances. Use this to keep formatting options consistent across environments.
-
Go to Settings > Export Data.
-
Click Export style settings. Select any or all style settings to export.
-
Click Export to download the file package. The export package downloads to the browser's default download location.
Test run with error log
A test run validates the export package before committing to it. Use this to catch missing dependencies or invalid items and avoid failed imports in the destination environment.
Click Test Run with Error Log to preview the export result before committing.