On-page edit
Edit pages and shared blocks directly in Optimizely CMS 13 using on-page editing. Update content, manage properties, and publish drafts with ease.
> 📘 Note
>
> If you also want the **On-page edit** view, a developer must enable it in code. In `Startup.cs`, configure `CmsFeatureOptions` so that `SectionsVisibility.OnPageEditing` is true.
>
> ```csharp
> using EPiServer.Cms.Shell.UI.Configurations;
>
> services.Configure<CmsFeatureOptions>(options =>
> {
>     options.SectionsVisibility.OnPageEditing = true;
> });
> ```
On-page editing lets you edit content directly on the rendered page rather than in the Visual Builder outline. This editing mode is useful when you want to see exactly how your changes look in context as you make them.
All content displays in the Visual Builder by default. Switch to on-page editing for pages and shared block content only. Experiences use only Visual Builder.
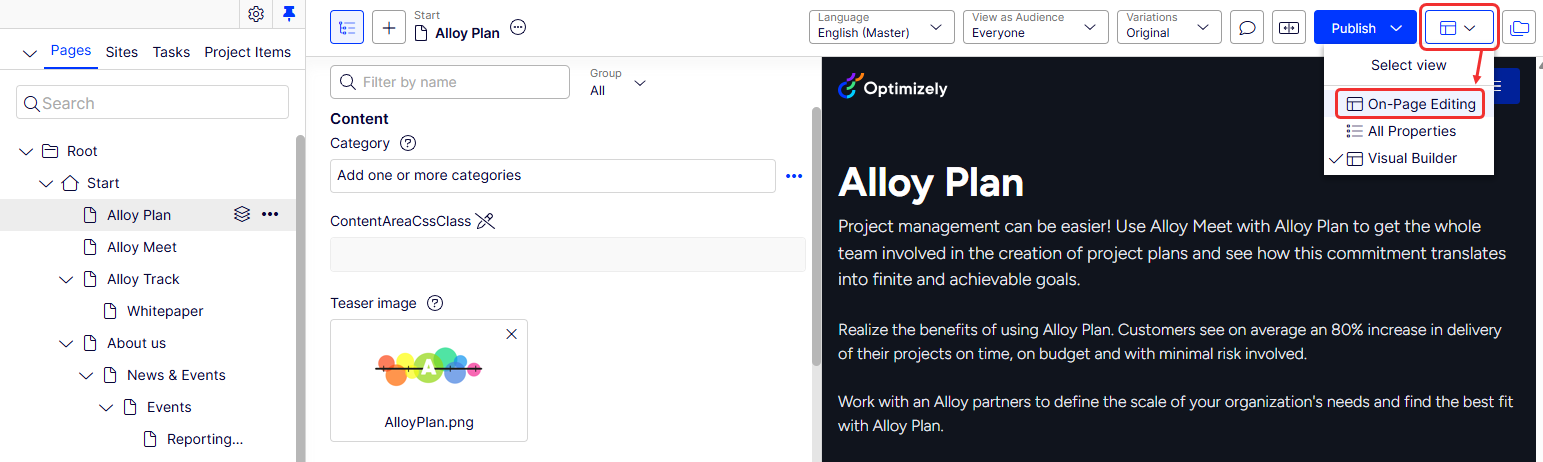
For pages and shared block content, you can switch from the Visual Builder to on-page editing by clicking Select view > On-Page Editing.
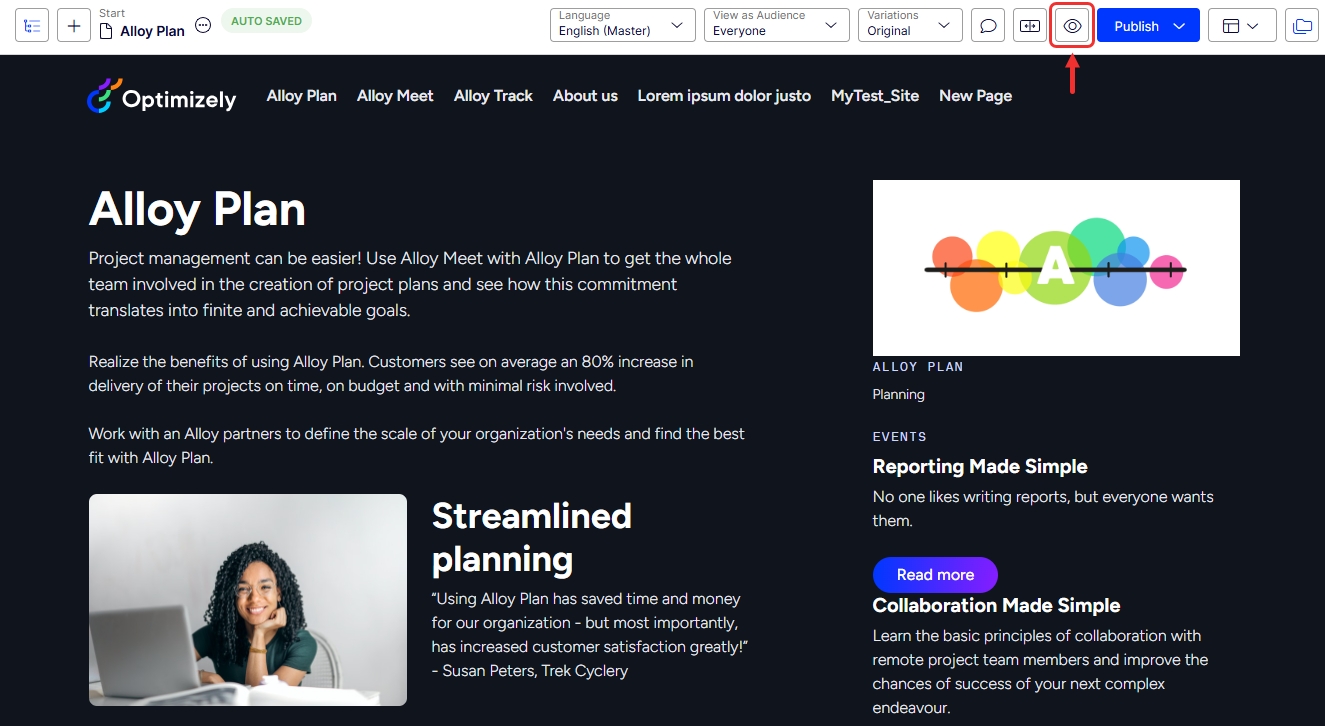
From here, you can start editing content; the areas available for editing are highlighted, as shown in the following image.
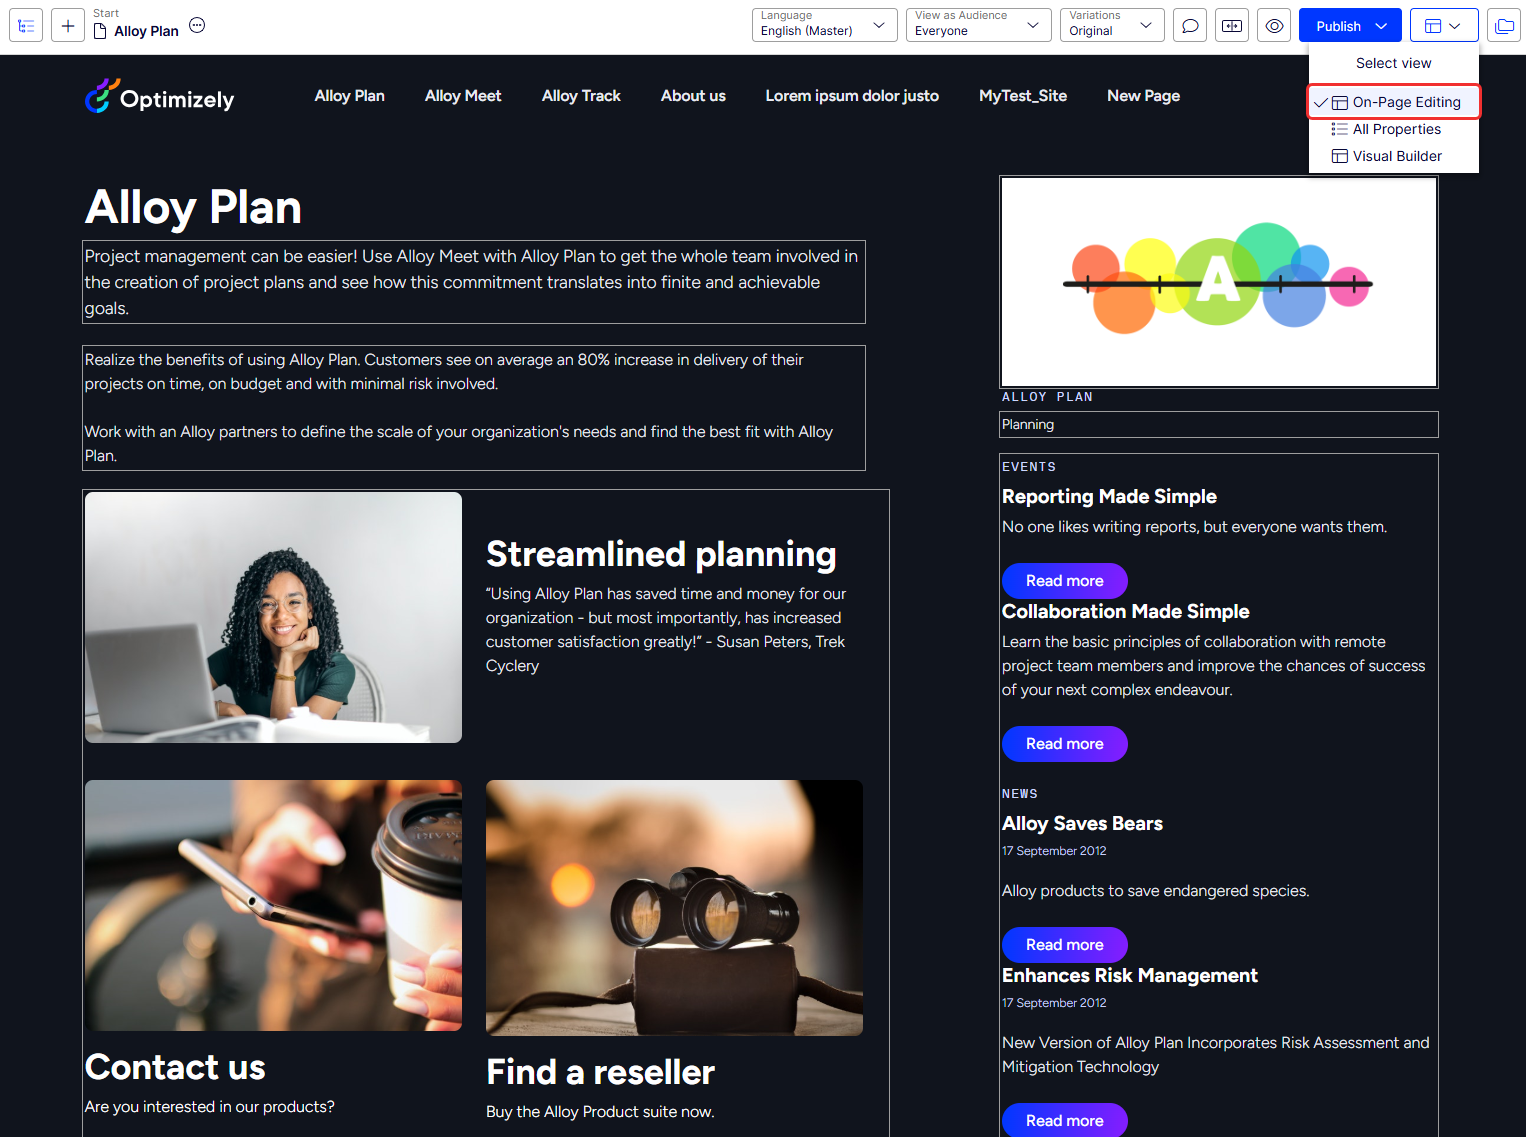
The available areas depend on how the page type is defined. Each area is configured with a property type that controls what you edit in that area. For example, one area has an image property type for images. Another area has a page description property for text. The editing options when clicking an area depend on the property type. Typically, for a page, edit the page name, description, the main editorial area, and a content area with shared blocks.
NoteAreas and properties available for editing are implementation-specific and depend on the property type and how the rendering is built on your application.
Edit a page with on-page editing
This example describes how to edit a page, but the procedure is similar when editing shared blocks.
-
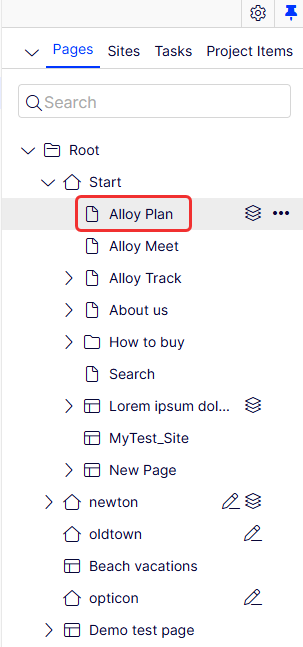
Select the page to edit from the page tree in the navigation pane.
-
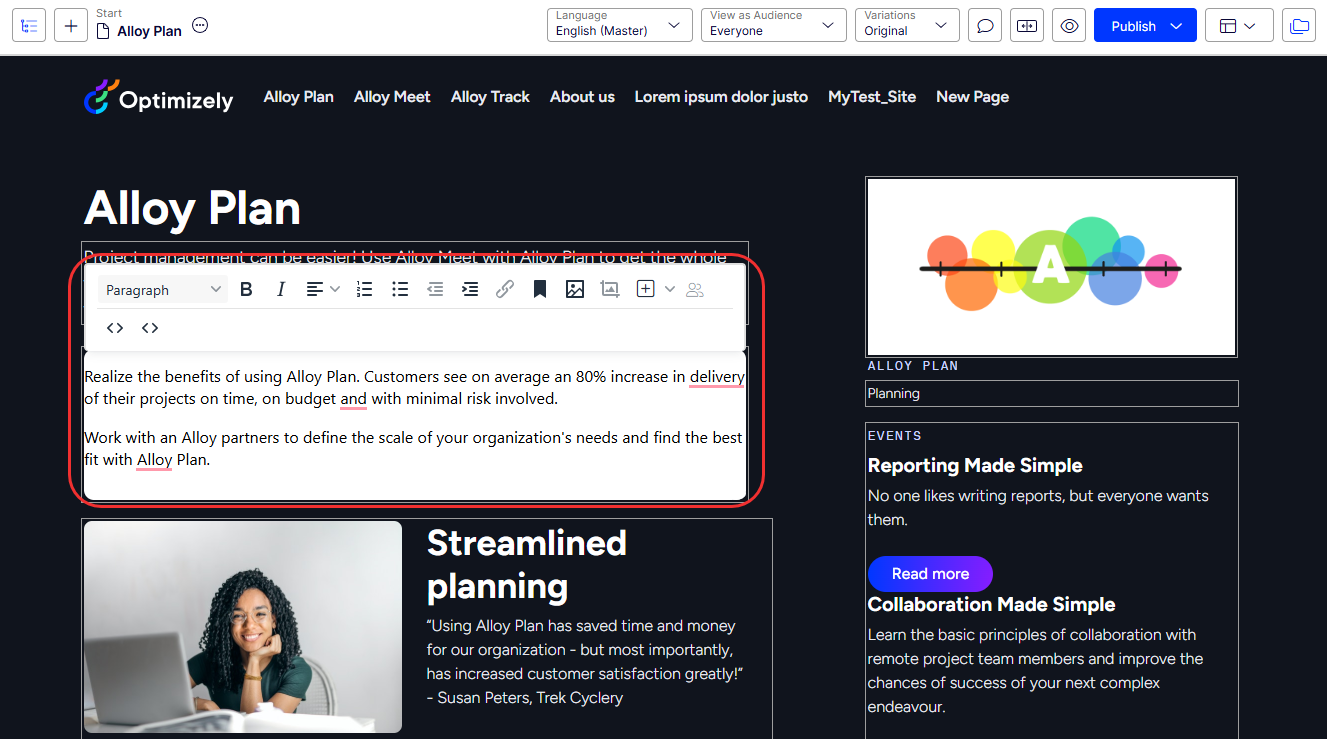
Click an area to edit (property names are displayed on mouse-over).
-
Make your changes by updating the content properties as needed. For updating rich text content, see Edit content using TinyMCE.
Your changes save automatically in a draft version of the content.
-
Click Preview at any time to see what the published version will look like.
-
Click Publish > Publish Changes to publish the content when ready.