Add and edit images
Add and edit images in Optimizely CMS 13 using the image editor. Upload, align, crop, resize, and transform images for your content.
Webpages link to images stored in the media library rather than embedding them directly. Images must be available in a folder under Media in the assets pane to display in your content. Upload an image to a folder in the assets pane and then add it to your content, or drag and drop an image from your computer to a content area. When you drag and drop, the image uploads automatically and is stored in the For This Page (or For This Block) folder.
Edit images directly in Optimizely Content Management System (CMS 13) using the image editor, which provides cropping, resizing, and transformation features.
Add images to content
Add images to your content through image link properties, the rich-text editor, or content areas.
Image link property
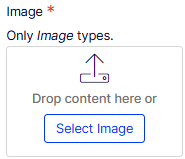
Add images to content through an image link property by dragging an image from the assets pane or your computer to the property. If you drag and drop from your computer, the image uploads automatically and is saved in the For this Page or For this Block folder in the assets pane. See Media for information on uploading images to the assets pane.

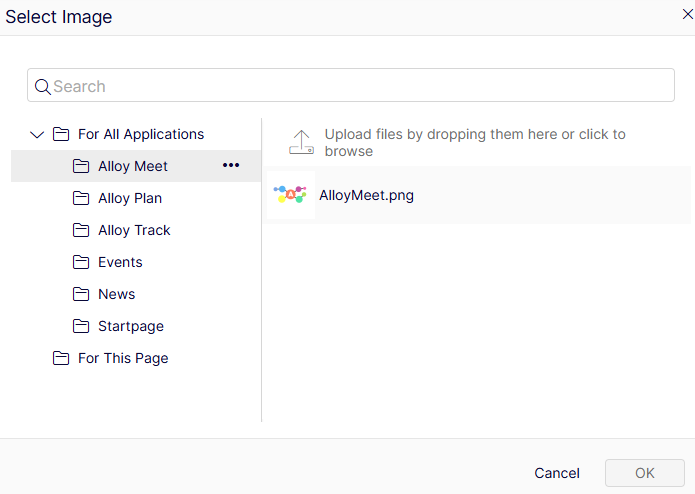
To replace an already added image, drag and drop another image into the image property or click the image and select another image in the Select Image window.
Rich-text editor or content areas
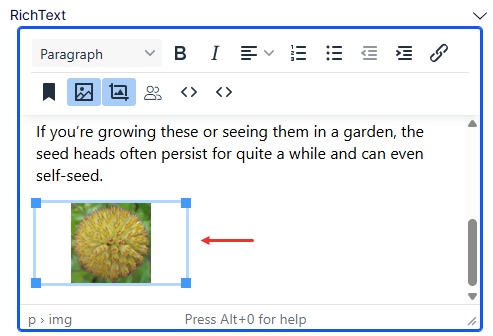
Add images to the rich-text editor or content areas in pages or blocks. Drag and drop the image from your computer into the rich-text editor. The image is stored automatically in the For This Page (or For This Block) folder with its original file name. Alternatively, upload the image to a folder under Media in the assets pane and then drag it from the folder or use the Insert/edit image option in the rich-text editor.
-
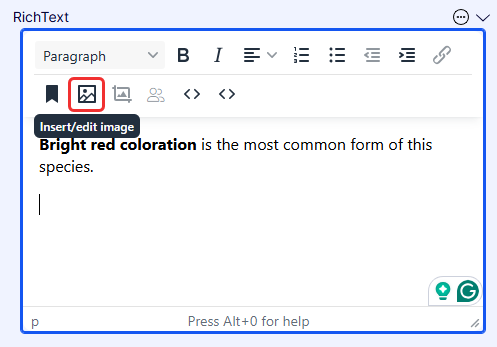
Place the cursor in the editor area where you want the image.
-
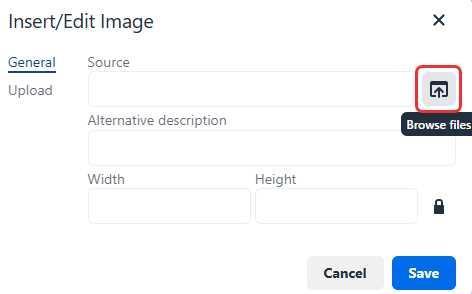
Click Insert/edit image.
-
Click Browse files next to the Source field and select the desired image.
-
(Optional) Enter an Alternative description for the image, which gets added as an HTML
<a>tag to the image. This is important when a reader has turned off the display of images in the browser or when a visually impaired user is using a screen reader. -
Click Save.
NoteThe TinyMCE editor supports the following image formats:
jpeg,png,gif, andbmp.
Find image location
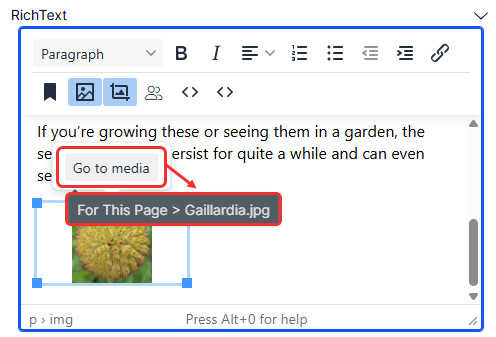
Locate the storage path of an image that is already in the rich-text editor. Select the image and hover over Go to media.
Edit image metadata
View and edit the metadata for an image, including the image name, content ID, and copyright information.
Access an image's metadata using one of the following methods:
-
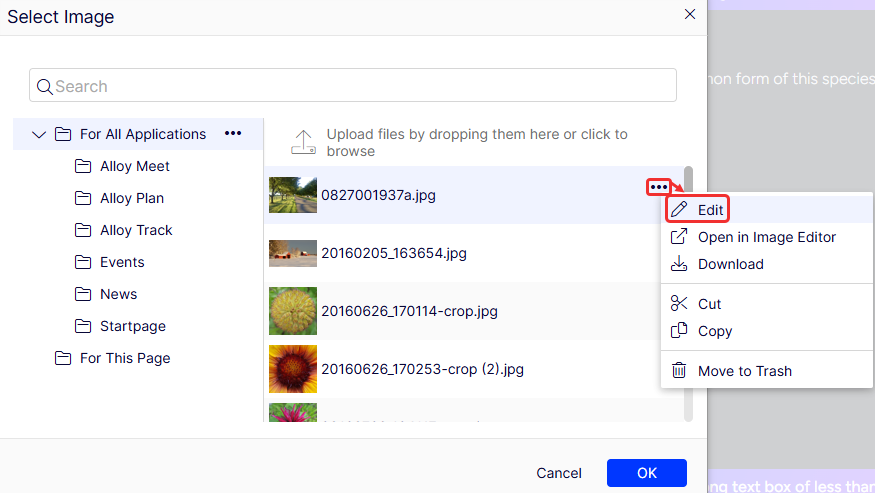
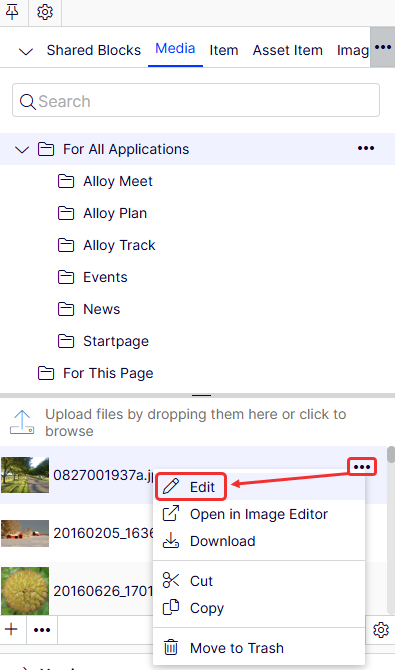
In an image link property, click in the image to open the Select Image window, and then click More (...) > Edit for the image.
-
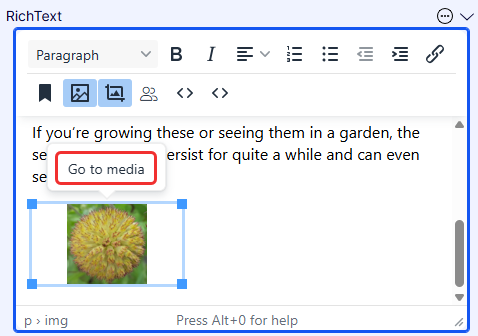
In the rich-text editor, select the image and then click Go to media.
-
In the Media tab of the assets pane, click More (...) > Edit for the image you want to edit.
Edit images
Use the Image Editor in CMS 13 to crop, resize, and transform an image. Access the Image Editor using one of the following methods:
-
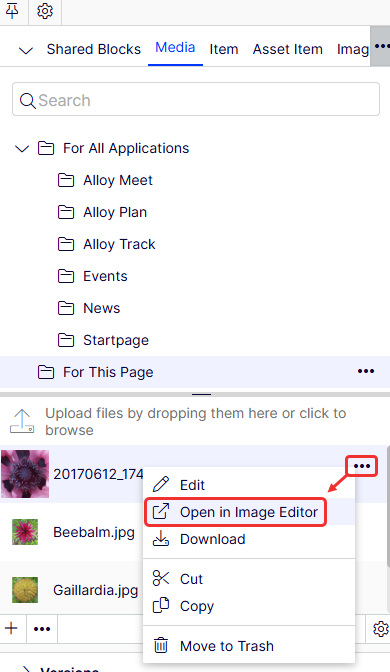
In an image link property, click in the image to open the Select Image window, and then click More (...) > Open in Image Editor for the image.

-
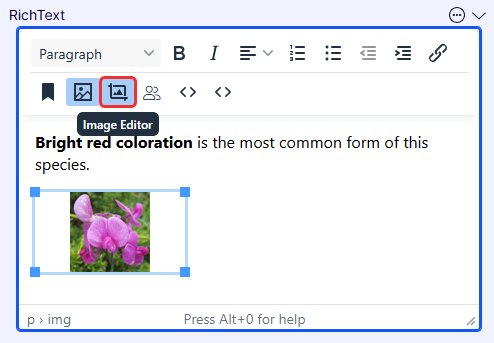
In the rich-text editor, select the image and then click Image Editor in the toolbar.
-
In the Media tab of the assets pane, click More (...) > Open in Image Editor for the image you want to edit.
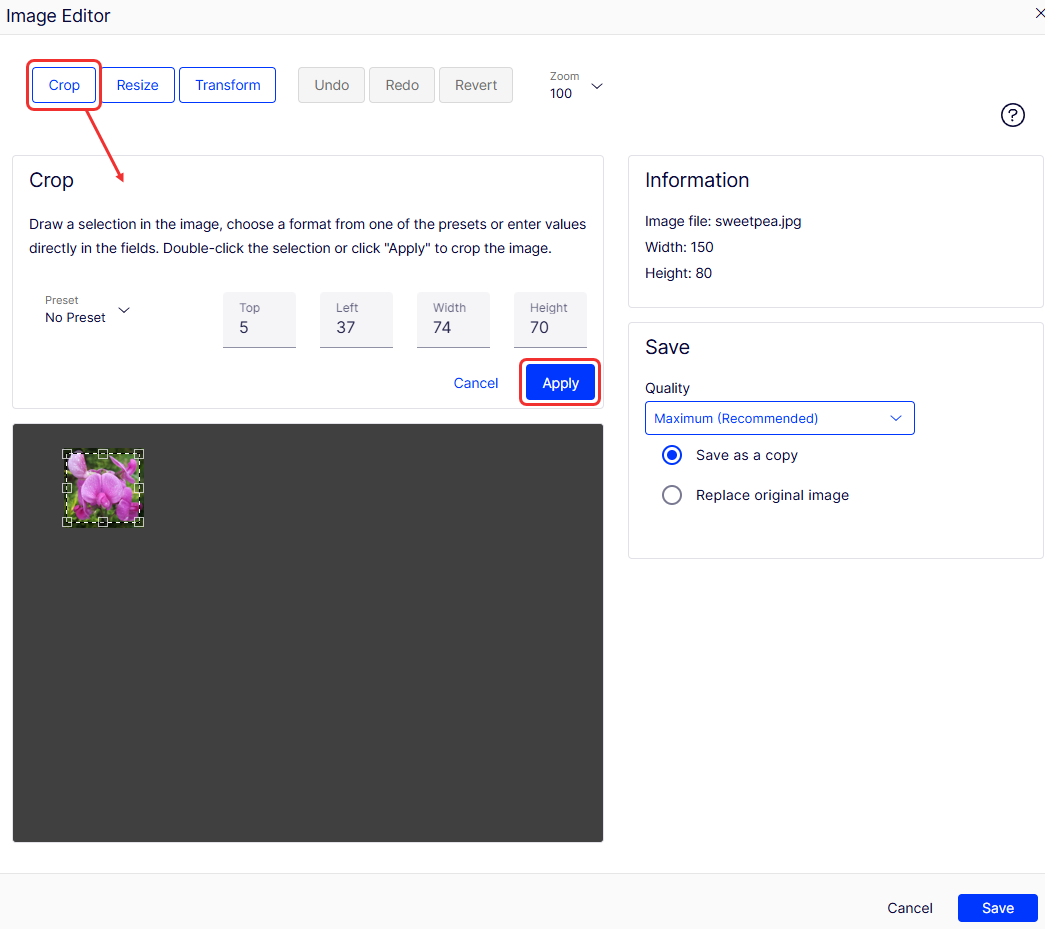
Crop
- Select Crop in the Image Editor.
- Enter values for Top, Left, Width, and Height, or draw a selection in the image to crop. You can also apply Preset values if such values are configured for the website.
- Click Apply to save the changes before proceeding.
- Continue editing the image as desired, and then save your changes.
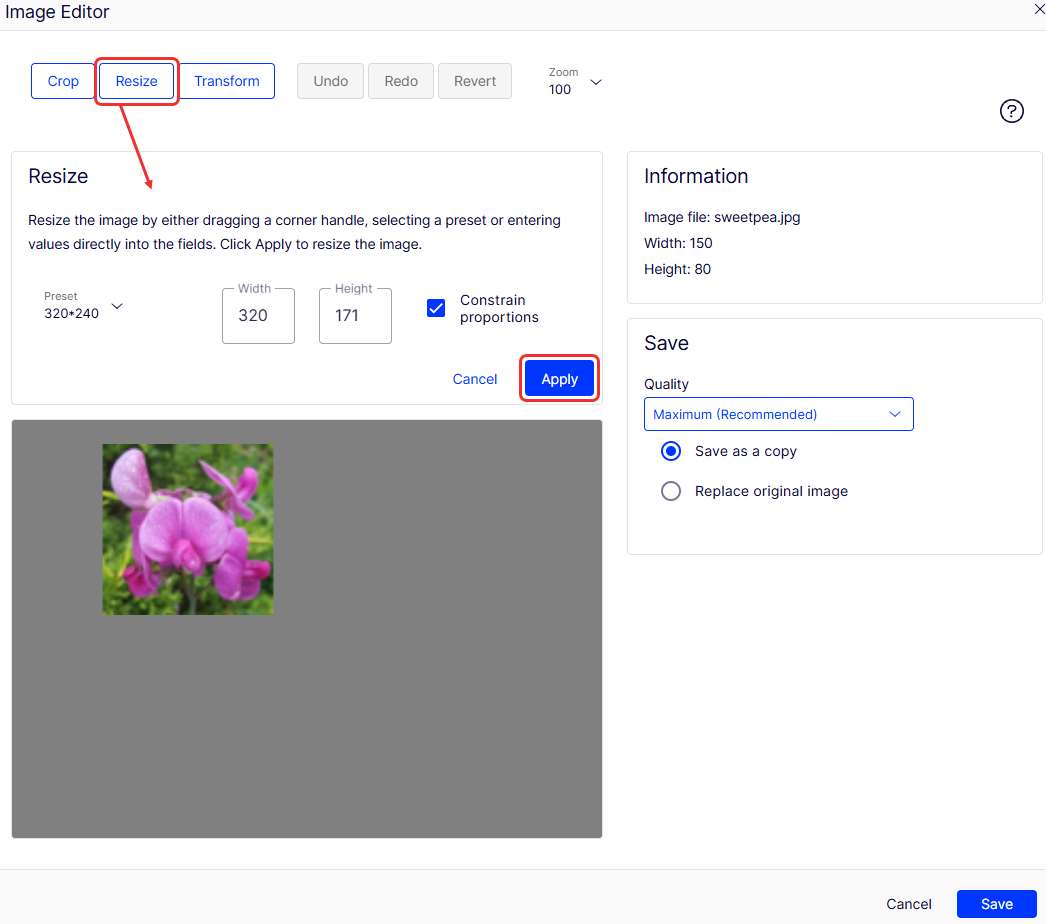
Resize
- Select Resize in the Image Editor.
- Enter values for Width and Height. You can also apply Preset values if such values are configured for the website.
Note
Constrain proportions is selected by default to retain the image proportions as you resize.
- Click Apply to save the changes before proceeding.
- Continue editing the image as desired, and then save your changes.
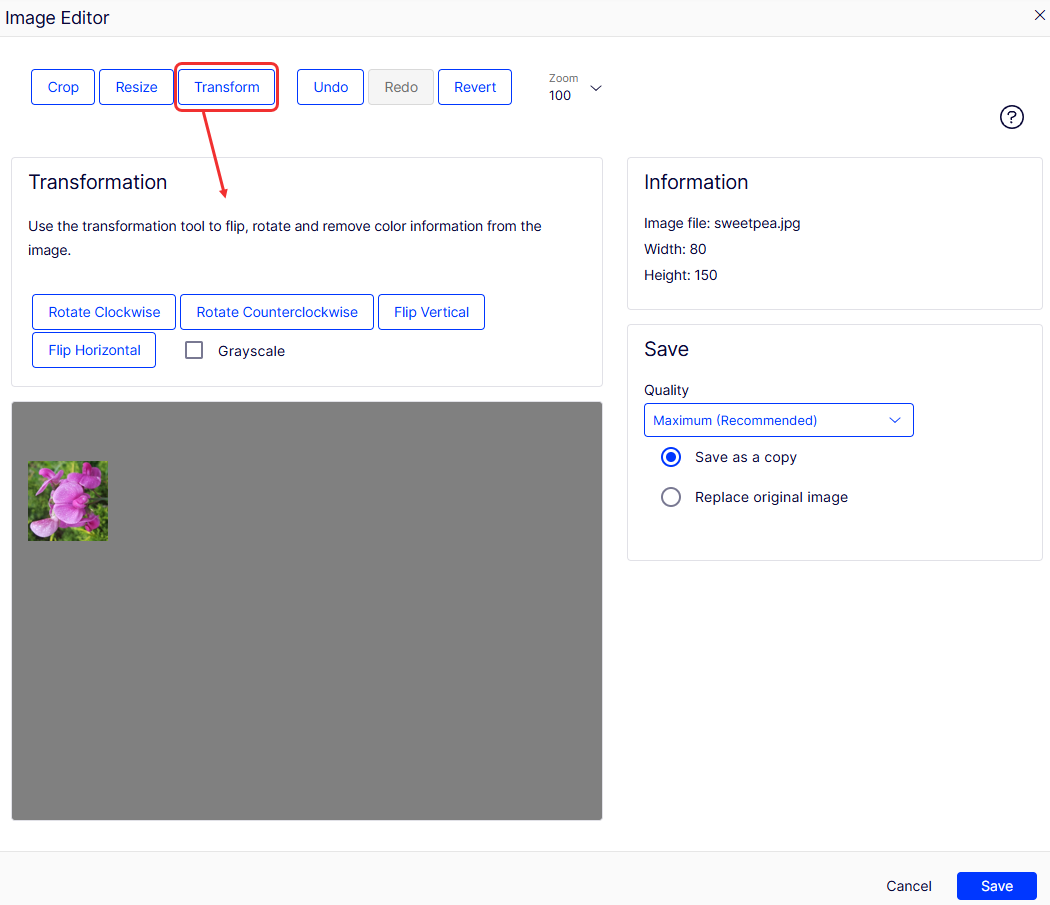
Transform
- Select Transform in the Image Editor.
- Rotate or flip the image as desired.
- (Optional) Select Grayscale to convert the image to grayscale.
- Continue editing the image as desired, and then save your changes.
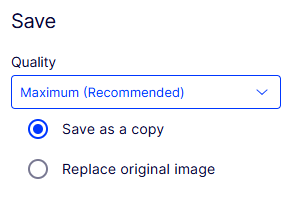
Save as copy or replace the original
Save an edited image file as a copy or replace the original file:
- Save as a copy – If you selected the image on a page or block, the copy is saved in the local folder. If you selected the edited image in the media structure, the renamed copy is saved in the same folder as the original.
- Replace original image – This action affects all places on the website where the image is used.
Select the Quality for the image before saving.
Alt text in CMS images
The site developer handles alt text.
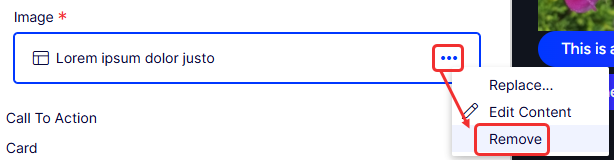
Remove images from content
Remove an image from the content to hide it from visitors. The image remains in Media for future use. Use one of the following methods to remove an image:
-
In an image link property, click More (...) > Remove for the image.
-
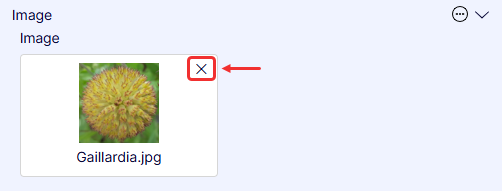
In a content area, click Close (x) for the image.
-
In the rich-text editor, select the image or place your cursor after the image and delete it.