Edit tabs
Administrators manage tabs in Optimizely CMS. Create, edit, and delete tabs, define their display order, and apply access levels to control property visibility for editors.
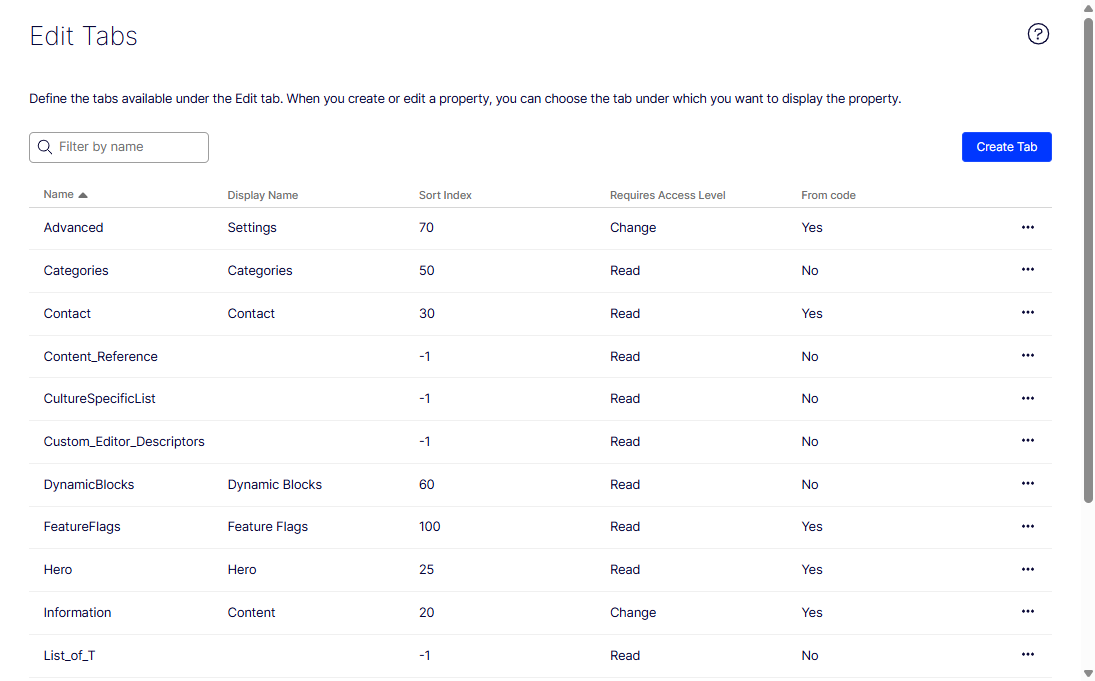
The Edit Tabs function lets administrators manage how properties are organized in CMS. Tabs group related content type properties into sections in the All Properties editing view, helping editors find and fill in related fields.
From Settings > Edit Tabs, perform the following actions:
- Add, edit, and delete tabs.
- Define the display order of tabs.
- Apply access levels to control tab visibility.
- Sort the list by a column header. Available columns: Name, Display Name, Sort Index, Requires Access Level, and From Code (whether the tab was created in code or in the UI).
Tab name validation in CMS 13
Tab name validation prevents invalid identifiers from breaking startup in CMS 13. Review this rule before defining tabs in code or in the UI to avoid registration failures.
WarningCMS 13 enforces strict validation on tab identifiers. Tab Name values must start with a letter and contain only letters, digits, and underscores. Spaces, hyphens, and other special characters are not permitted. Names must be at least 2 characters. Names that do not conform to this rule fail validation and prevent the tab from being registered.
Use the Display Name field (or the [Display(Name = "...")] attribute in code) to provide a human-readable label for the tab. The Name field is an internal identifier only and is never shown directly to editors.
Valid tab definition in code
[TabDefinition]
[Display(Name = "SEO Settings", Order = 100)]
public class SeoSettingsTab : TabDefinition
{
    // Name (identifier): "SeoSettings" (letters, digits, and underscores only)
    // Display name: "SEO Settings" (set via [Display(Name = ...)])
}
Invalid name with a hyphen
// This will fail CMS 13 validation at startup
[TabDefinition]
[Display(Name = "SEO Settings")]
public class SeoSettingsTab : TabDefinition
{
    public SeoSettingsTab() { Name = "Seo-Settings"; }
    // Name "Seo-Settings" contains a hyphen
}
Create a tab
Create a tab to group related properties into a labeled section in the All Properties view. Editors locate fields faster, and administrators control which roles see each section.
-
Go to Settings > Edit Tabs.
-
Click Create Tab.
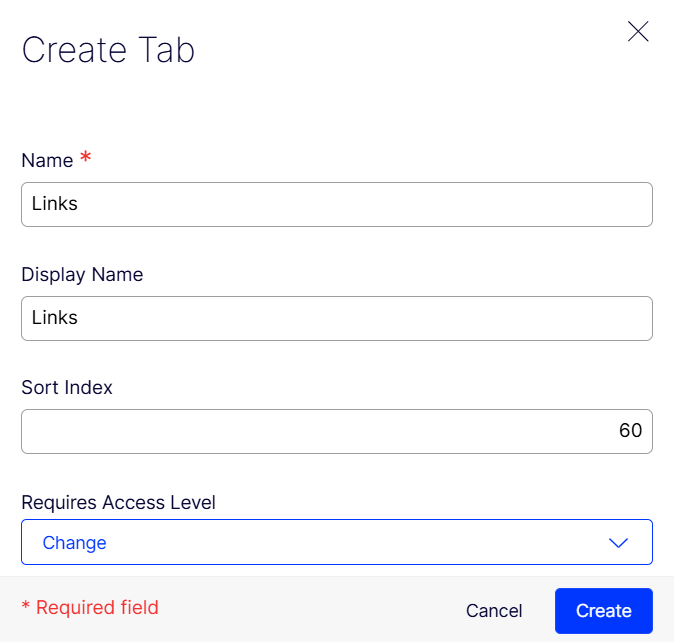
- Name – Enter the name of the tab.
- Display Name – Enter how the tab name is displayed.
- Sort Index – Specify the index value for the tab. The lower the value, the further left the tab displays.
- Requires Access Level – Select the access level an editor must have to see the tab. This value corresponds to the editor's access level for the page.
-
Click Create. The new tab displays in the tab list.
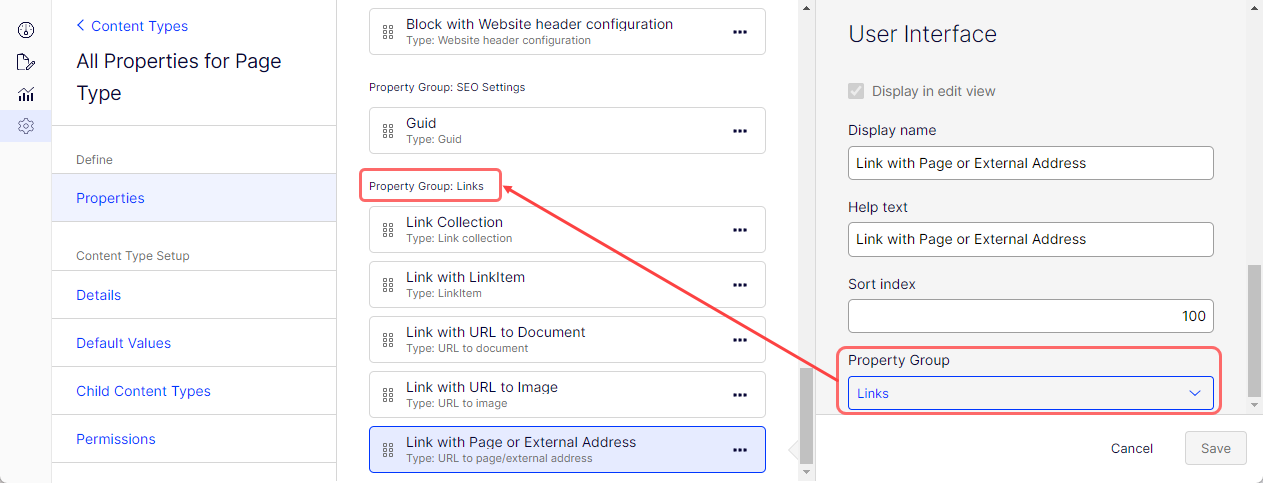
The new tab displays as an option in the Property Group setting of a content type.
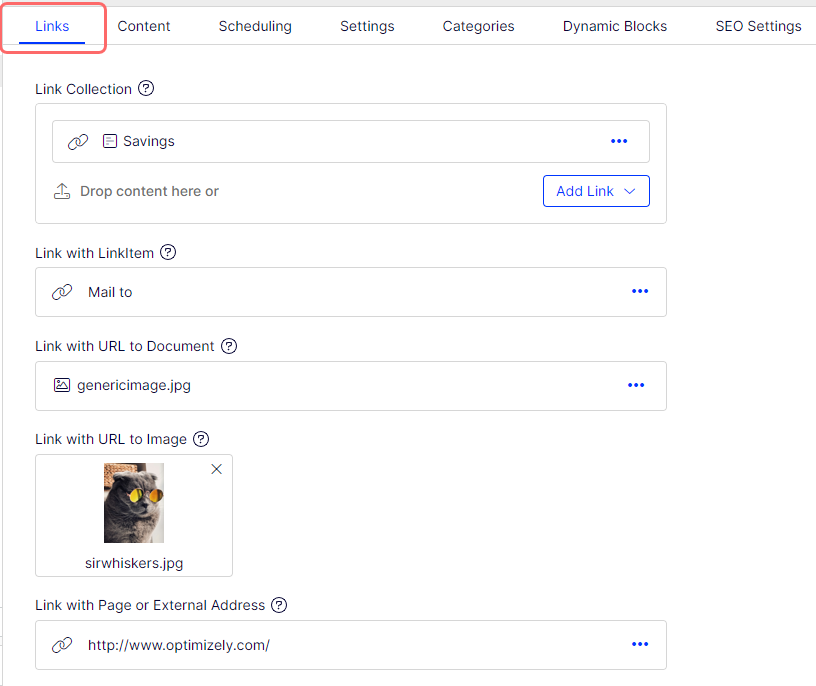
The new tab displays in the All Properties view. If the Sort Index is set to 0, the tab displays to the left of the other tabs.
Edit a tab
Edit a tab to change its display name, sort order, or required access level.
- Go to Settings > Edit Tabs.
- Click More (...) next to the tab and select Edit.
- Update the tab fields:
- Name – The internal identifier for the tab.
- Display Name – The label editors see in the All Properties view.
- Sort Index – The display position of the tab. Lower values place the tab further left.
- Requires Access Level – The minimum access level an editor must have to see the tab.
- Click Save.
NoteTabs defined in code (
From Code= Yes) cannot be edited from the UI. Update code-defined tabs in your content model code and redeploy.
Delete a tab
Delete a tab to remove it from the All Properties view. If properties reference the tab, reassign them to a different tab before deletion completes.
- Go to Settings > Edit Tabs.
- Click More (...) next to the tab and select Delete.
- If no properties reference the tab, the tab is deleted immediately.
- If properties reference the tab, a confirmation dialog displays. Select a replacement tab from the list to reassign the properties, then confirm the deletion.
WarningSystem tabs (Content, Settings) and tabs defined in code cannot be deleted from the UI.
Automatic migration and the G_ prefix
G_ prefixAutomatic migration renames legacy tab identifiers that contain spaces or special characters during a CMS 13 upgrade. The migration prevents startup failures and signals which tab references in code must be updated.
WarningWhen upgrading an existing implementation to CMS 13, tab records already stored in the database with names containing spaces or special characters fail CMS 13 name validation. To prevent a hard startup failure, the automatic migration process renames non-conforming tab identifiers by prepending a
G_prefix and removing invalid characters.
For example, a tab previously named SEO Settings is migrated to G_SEOSettings in the database. The Display Name is preserved and continues to display correctly in the UI. Any code that references the old tab name by its identifier (for example, via [PropertyTabAssignment("SEO Settings")] or equivalent) breaks after migration and must be updated to use the new prefixed name.
Post-upgrade checklist for tab identifiers
- Review all tab definitions in code and confirm Name values start with a letter and contain only letters, digits, and underscores (no spaces, hyphens, or other special characters).
- Check Settings > Edit Tabs after upgrading for any tabs with a
G_prefix. These were auto-migrated and their identifiers have changed. - Update all
[PropertyTabAssignment]usages, tab group assignments, and any other references to the old identifier to use the newG_-prefixed name, or rename the tab to a clean alphanumeric identifier and update references accordingly. - Redeploy and verify that all properties display on the correct tabs in the editing interface.