TinyMCE spellchecker
Describes the Optimizely Spellchecker for TinyMCE, which adds spell-checking functionality for the rich-text editor in Optimizely Content Management System (CMS) 13, with possibility to configure language dictionaries.
Version information
EPiServer.TinyMCESpellChecker3.0.2 works only withEPiServer.CMS.TinyMce3.x.
EPiServer.CMS.TinyMce4.x and above have the spellchecker built into TinyMCE. You do not need to install spellchecker for TinyMCE 4.x. Add the following code inStartup.csto enable the spellchecker:services.AddTinyMce().AddTinyMceSpellChecker();
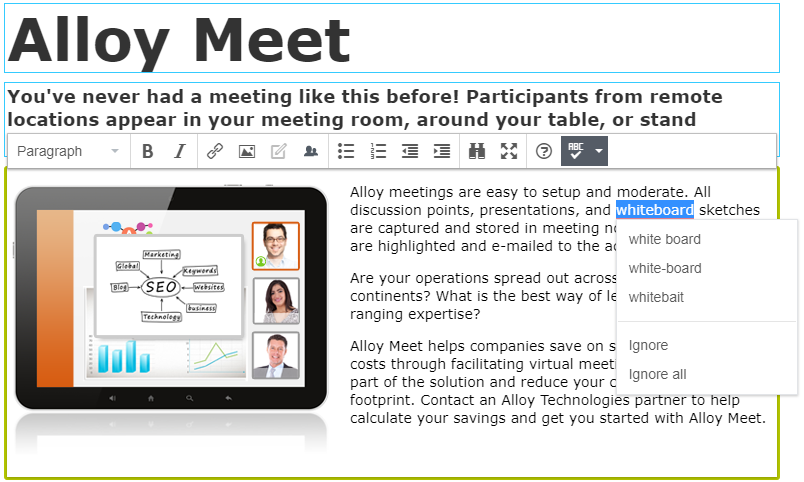
The Optimizely spellchecker for TinyMCE adds spell-checking to the rich-text editor in CMS. Content authors see inline spelling suggestions as they type, reducing errors before publishing.
Requirements
Confirm that your environment meets the following requirements before installing the spellchecker add-on.
- No additional license fee.
- An Optimizely Content Management System (CMS) 13 or Optimizely Customized Commerce installation.
- See Apps platform compatibility for package and version information.
- Installed
EPiServer.CMS.TinyMceNuGet package.
Install
Install the spellchecker by registering it in your application startup pipeline.
In the Startup.cs file, add the following call to AddTinyMceSpellChecker:
services.AddMvc();
services.AddAlloy();
services.AddCmsHost()
  .AddCmsHtmlHelpers()
  .AddCmsUI()
  .AddAdmin()
  .AddVisitorGroupsUI()
  .AddTinyMce()
  .AddTinyMceSpellChecker()
  .AddAdminUserRegistration(options => options.Behavior = RegisterAdminUserBehaviors.Enabled |
                                                          RegisterAdminUserBehaviors.LocalRequestsOnly);
Configure
The spellchecker add-on includes predefined language dictionaries. Add dictionaries for additional languages to support your content authors.
The following sections describe how to configure the Optimizely spellchecker for the TinyMCE add-on.
Default language dictionaries
The following dictionaries are included with the add-on by default:
- Danish (da)
- German (de)
- English (en-US)
- Spanish (es)
- French (fr)
- Italian (it)
- Dutch (nl)
- Norwegian Bokmål (nb-NO)
- Norwegian Nynorsk (nn-NO)
- Polish (pl)
- Portuguese (pt)
- Russian (ru)
- Swedish (sv)
Add dictionaries
Add dictionaries to the website. Download dictionary file sources, for example, from Mozilla Language Tools. Language packages from these sources are not designed for the spellchecker, but the .aff and .dic files they contain are compatible.
- Download the desired language package.
- Rename the downloaded file to
.zipand extract the.affand.dicfiles. - Create a folder named by language code (for example,
en-GB) in the website root folder\EPiServer.TinyMCESpellChecker\SpellChecker\Dictionaries\. This path persists across add-on updates. - Paste the extracted
.affand.dicfiles into the created folder.
Important
- Enable the language on the website before the dictionary appears in the spellchecker language list.
- The dictionary file name must match the language code of the language branch enabled in Optimizely. For example, if you enabled
en-GB, name your dictionary filesen-GB.dicanden-GB.aff.- Check which language variations your dictionaries cover. A dictionary named
en.dicoften covers US English, which in Optimizely isen-US. Similarly,no.dicoften coversNorwegian Bokmal, which in Optimizely isnb-NO. Most downloadable dictionaries include a README with this information.- Place only one dictionary in each language folder to avoid conflicts. For example, do not place both
en.dicanden-US.dicin theenfolder.
Use spellchecker for specific properties
The spellchecker applies to all XhtmlString properties by default. To restrict the spellchecker to specific properties, configure the site as shown in the following example.
The following example enables the spellchecker only for the MainBody property on ProductPage:
const string SpellCheckerPluginName = "spellchecker";
services.Configure<TinyMceConfiguration>(config =>
{
    var defaultSettings = config.Default();

    // Add the plugin but NOT to the default toolbar
    defaultSettings.AddTinyMceSpellCheckerPlugin();

    // Apply spellchecker toolbar only for ProductPage.MainBody
    var defaultToolbar = defaultSettings["toolbar"] as string[] ?? [];
    var toolbarWithSpellChecker = defaultToolbar.Length > 0
        ? defaultToolbar[0] + " " + SpellCheckerPluginName
        : SpellCheckerPluginName;

    config.For<ProductPage>(p => p.MainBody)
        .Toolbar(toolbarWithSpellChecker);
});