
Smooth rebuild
Perform a smooth rebuild for your Optimizely Graph data source. Re-sync content, verify changes, and swap slots seamlessly to ensure continuous service availability.
Use smooth rebuild to refresh your Optimizely Graph deployment without downtime. This option follows a Blue-Green deployment strategy, letting you create a new deployment (green slot) while the current deployment (blue slot) remains active. Optimizely populates the green slot with the latest Content Management System (CMS) content. After testing, you can promote the green slot to live. Use smooth rebuild when your content model has changed significantly, content is out of sync, or you want to rebuild the index without disrupting live traffic.
A configured Optimizely Graph deployment is required to perform a smooth rebuild.
Start a smooth rebuild when you need to:
- Re-sync all content and content types for your data source.
- Perform this re-sync in the background without any downtime to your live service.
- Verify the rebuilt data source in a new slot before it goes live.
- Ensure that when verified and swapped, the changes take effect immediately and all subsequent updates are continuously synced.
Start a smooth rebuild
-
Go to Settings > Smooth Rebuild. The Graph Data Rebuild window displays.
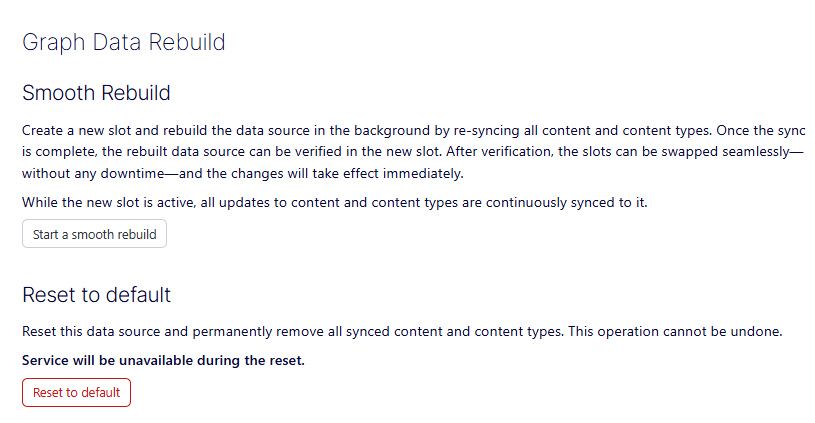
- Start a smooth rebuild – The Details window displays.
- Reset to default – Click Reset to default only if you need to completely wipe the data source and start entirely from scratch, for example, due to data corruption or a fundamental change in your data configuration. It permanently removes all synced content and content types and makes the service unavailable.
-
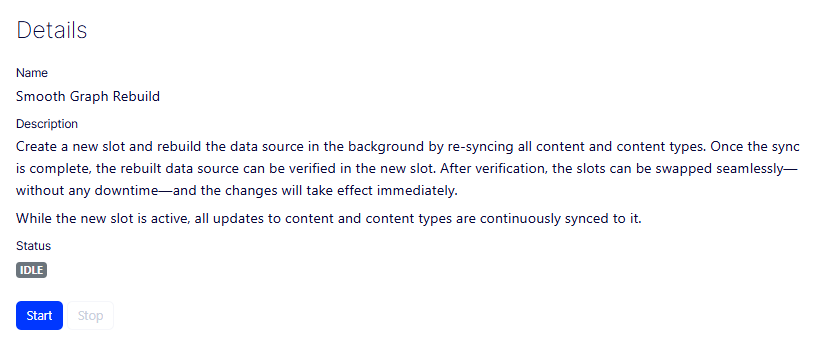
Click Start. A Status displays above the Start and Stop buttons.
-
Click Accept or Abandon when the rebuild is complete.
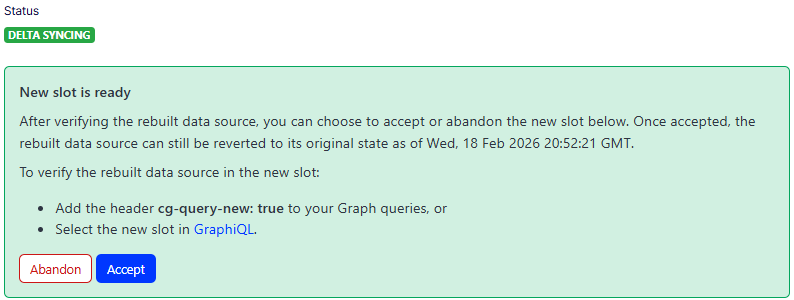
Click Abandon to discard the new slot if the rebuilt data source has errors or does not meet your requirements.
-
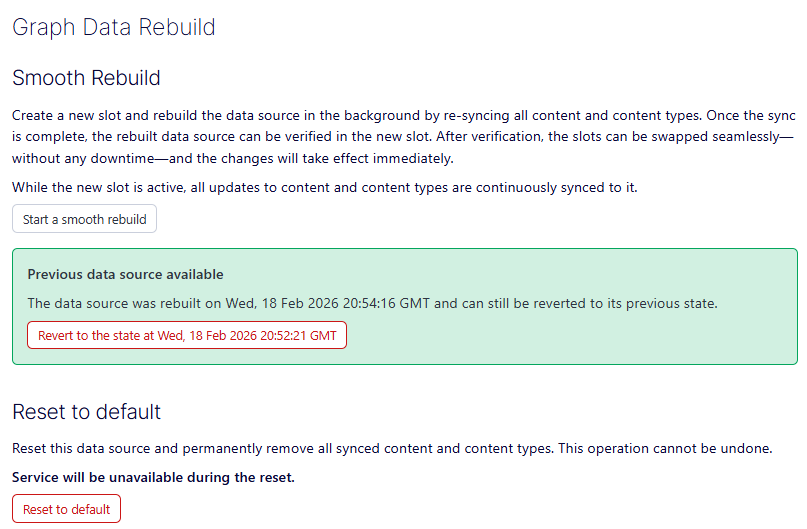
Click Accept. The new slot displays on the Graph Data Rebuild window. To revert, click the revert option before the slot goes live.
Smooth rebuild process
The smooth rebuild process shows the status transitions that confirm the new slot is syncing correctly. Administrators monitor these transitions to know when the rebuilt slot is safe to verify and promote.
- After you click Start, the Status changes from
IDLEtoRUNNING. - Optimizely Graph creates a new deployment slot, and the system syncs the CMS database to the new slot.
- Test the new slot during the rebuild. The slot might have missing content until the sync completes.
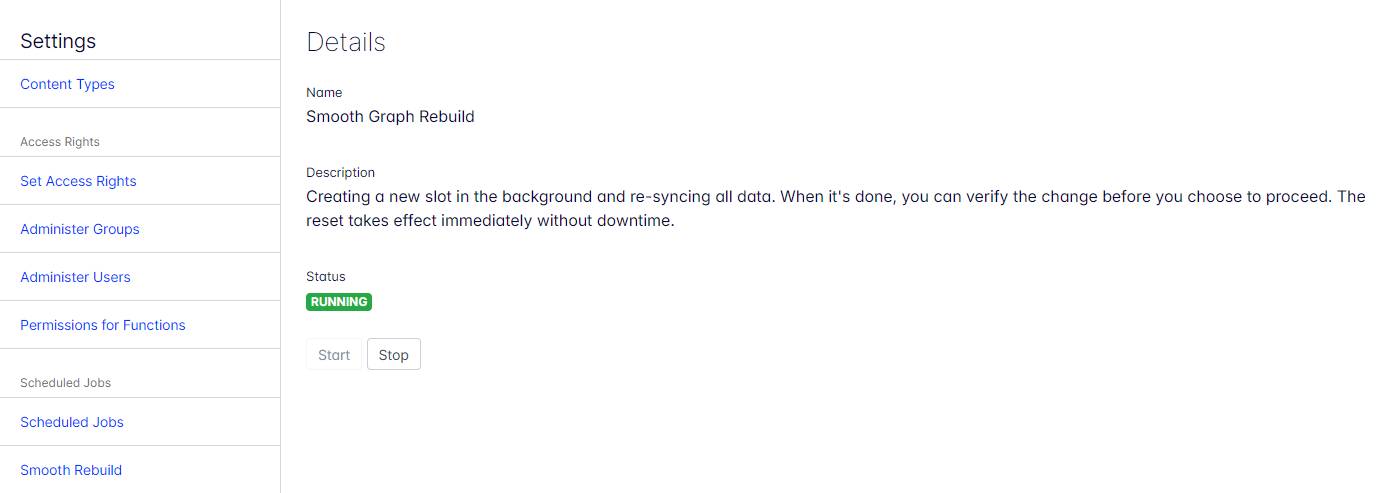
After the CMS database syncs at least once, the status changes to DELTA SYNCING. Any changes made after the rebuild started are also synced to the new slot.
Hard reset for Optimizely Graph
Use the hard reset (reset account) option during development when you can schedule maintenance windows or accept downtime. A hard reset deletes your indexed data that the Optimizely Graph service uses to retrieve results and lets you start from a default state, which can help sync content faster.
Use this option when:
- your Optimizely Graph tenant syncs with multiple sites with different content and content types
- your data models have significantly changed.
The hard reset removes indexes and creates new standard indexes for the current tenant.
ImportantHard resetting the account deletes your indexed data and is not a routine maintenance procedure. After resetting, manually run the Content type indexing job and Content indexing job again.
Use the CMS Admin UI or a GraphQL call (account mutation) to perform the reset account procedure. Use the CMS Settings UI for routine resets. Use the GraphQL mutation only if you have API access and need to automate the reset. The mutation is also the option when you do not have access to the CMS UI.
Reset with Content Management System
- Go to Settings > Smooth Rebuild. The Graph Data Rebuild window appears.
- Click Reset to default, and confirm the reset procedure for the current account.

Reset account with a GraphQL mutation (advanced)
Reset your account by sending a GraphQL call to the reset account mutation.
{
    "query": "mutation { resetAccount }"
}
To use the reset account mutation, use HMAC authentication for data integrity and message authentication. Set your request's confirmation header RemoveAllData to true.
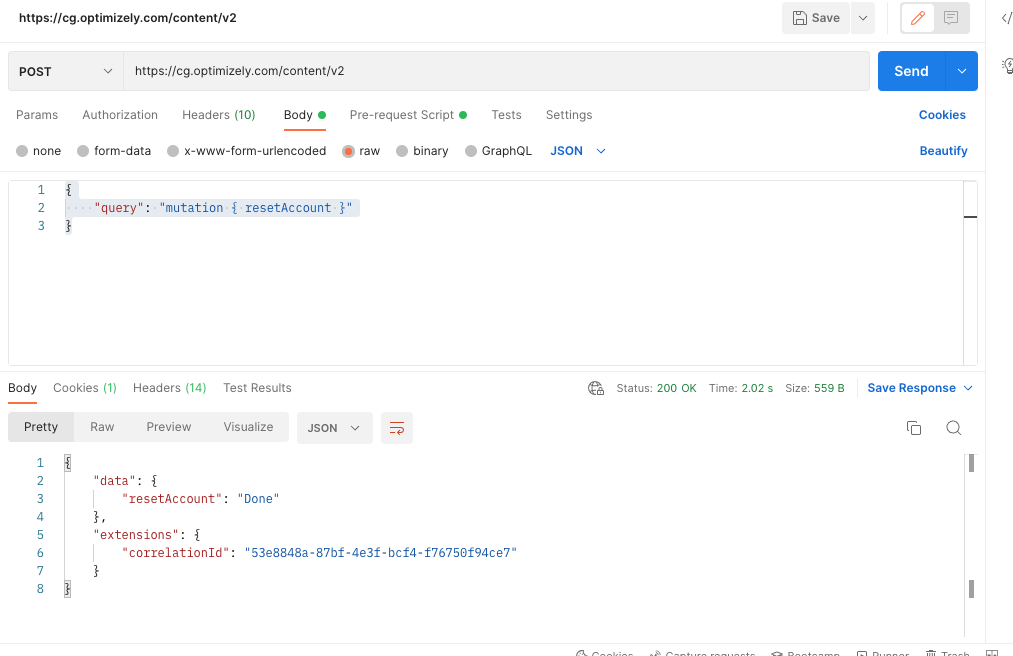
The following example uses Postman:
- URL
POST https://cg.optimizely.com/content/v2- Headers
RemoveAllData: true- Body (JSON)
{
    "query": "mutation { resetAccount }"
}- Pre-request Script
var crypto = require("crypto-js");
var sdk = require('postman-collection');
var method = pm.request.method;
var key = "yourProvidedSecret";
var secret = CryptoJS.enc.Base64.parse("yourProvidedSecret");
var target = new sdk.Url(request.url).getPathWithQuery();
var timestamp = (new Date()).getTime();
var nonce = Math.random().toString(36).substring(7);
var body = "";
if( pm.request.body )
{
    body = pm.request.body.raw;
}
var bodybase64 = crypto.MD5(body).toString(CryptoJS.enc.Base64);
var hmac = crypto.HmacSHA256(key + method + target + timestamp + nonce + bodybase64, secret);
var base64hmac = CryptoJS.enc.Base64.stringify(hmac);
var header = "epi-hmac " + key + ":" + timestamp +":" + nonce + ":" + base64hmac;
// Add Authorization header with computed HMAC to the request
pm.request.headers.add({
    key: "Authorization",
value: header});- HMAC keys
var key = "yourProvidedAppKey"
var secret = "yourProvidedSecret"
In the pre-request script, replace yourProvidedAppKey and yourProvidedSecret with the corresponding keys from your site's web.config or appsettings.json.
The following is an example of a successful result:
For background on GraphQL mutations, see GraphQL mutations.
Updated 2 months ago