Products and variants
Add products and variants to a catalog and configure their properties, pricing, assets, and related entries.
Add a product
Add products and variants to catalogs in Optimizely Commerce Connect.
-
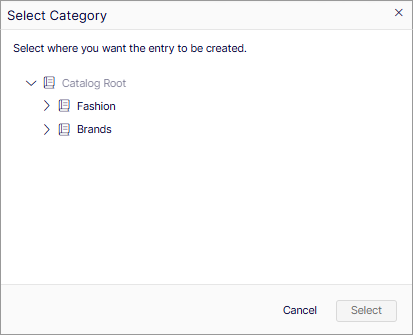
Go to Catalogs and click Add > Product or Variant/SKU. The Select Category window displays.
-
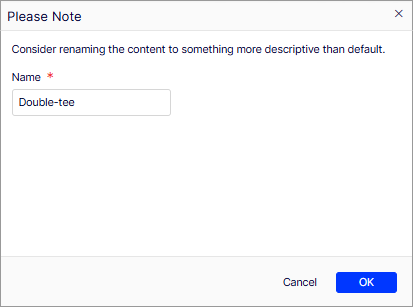
Select a category, for example Fashion, and click Select. A naming window displays.
-
Click OK. The Product window displays.
The following sections describe the properties available for your product.
Publishing properties
The Publishing section provides an overview of catalog entry information. Much of it is created automatically and rarely needs to be changed unless you manually create catalog entries. Click Change to edit a property value.
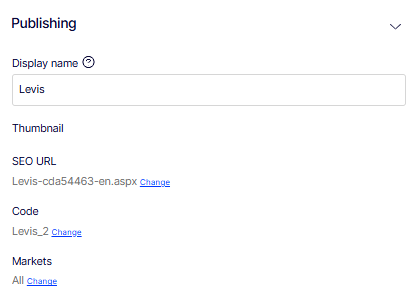
- Display name – The human-readable name for this product as it appears on the content display page and in catalog listings.
- SEO URL – Automatically generated based on Display name. Whether it displays in site links depends on your implementation.
- Code – The product code or identification key, often provided by an external system.
- Markets – Markets where the item is available. By default, a product or variant is available in all markets.
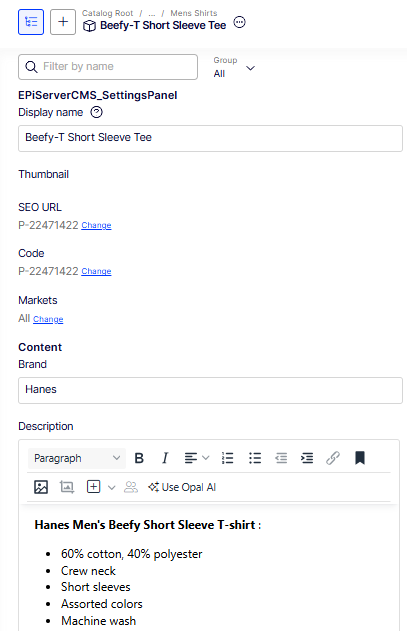
Content properties
The Content section contains the core descriptive fields for the product, which depend on the product or variant type. Expand it to add brand information, marketing copy, sizing guidance, and available size options. Descriptions can include formatted text, images, and links using a rich text editor.
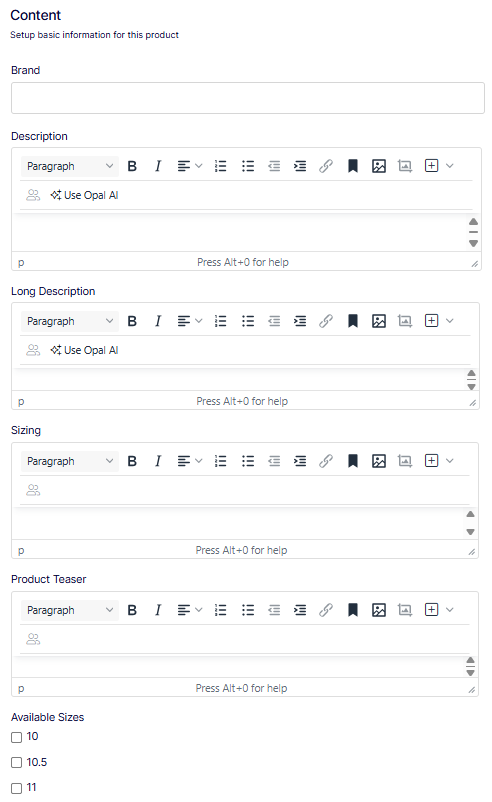
- Brand – A text field for the brand name associated with this product (for example, Levis). This value may display on the product page and supports filtering and faceting in catalog search.
- Description – A rich text editor for the primary product description displayed on the product detail page. The toolbar includes paragraph style, bold, italic, alignment, ordered and unordered lists, indent controls, link, bookmark, image, and media insertion. Click Use Opal AI to generate or refine description content using AI. Press
Alt+0for editor help. - Long Description – A rich text editor for an extended product description. Use this field for detailed product information that supplements the short Description, such as material composition, care instructions, or technical specifications. Includes the same toolbar options and Use Opal AI assistance as the Description field.
- Sizing – A rich text editor for sizing guidance specific to this product, such as a size chart, fit notes, or measurement instructions. Use this field to help customers select the correct size at the point of purchase.
- Product Teaser – A rich text editor for a short promotional blurb used in product listing pages, search results, or featured product widgets where the full description is not displayed.
- Available Sizes – A checkbox list of sizes that can be selected for this product. Each size corresponds to a value defined in the AvailableSizes dictionary. Check all sizes that apply to this product. In this screenshot, sizes 10, 10.5, and 11 are visible, with additional sizes available by scrolling.
SEO properties
The SEO section controls how this product appears in search engine results pages. Completing these fields improves the product's discoverability and ensures search engines display accurate, compelling information in listings.
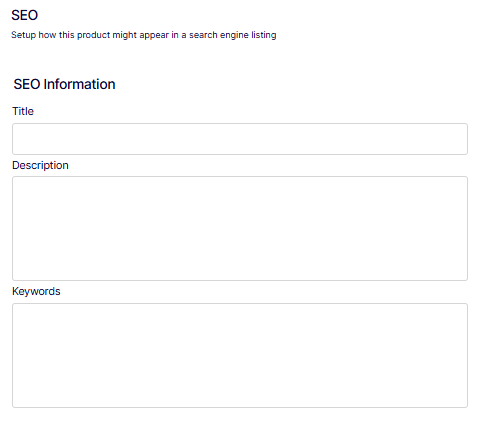
- Title – A text field for the SEO page title that search engines display as the clickable headline in search results. Keep the title under 60 characters and include the primary keyword near the beginning. If left blank, the search engine may use the product display name instead.
- Description – A text field for the meta description that search engines display below the title in search results. Write in active voice, keep it under 158 characters, and include a clear value proposition to encourage clicks. If left blank, the search engine may pull text from the product page automatically.
- Keywords – A text field for the keywords associated with this product. Enter relevant search terms as a comma-separated list. While most search engines do not use the meta keywords field for ranking, internal site search or third-party integrations may use this field.
Belongs To properties
The Belongs To section defines the catalog hierarchy this product belongs to, including its primary category, any additional categories, and any parent products, packages, or bundles that include it. See also Categories.
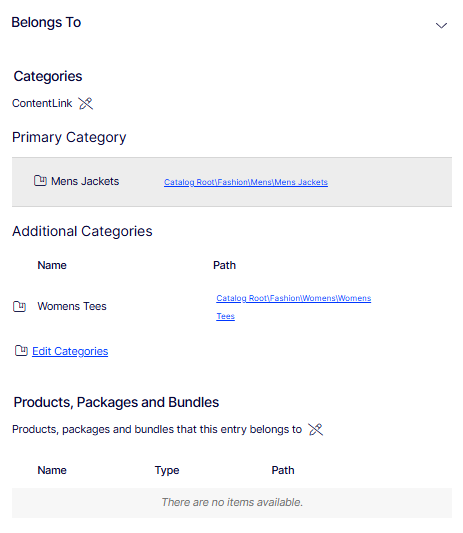
Categories
- ContentLink – A system reference identifier that links this product to its catalog node.
- Primary Category – The main catalog node this product is assigned to. The product inherits the navigation path and URL structure of this category. In this screenshot, the primary category is Mens Jackets, located at
Catalog Root\Fashion\Mens\Mens Jackets. - Additional Categories – A table listing any secondary categories this product is also assigned to. Assigning a product to additional categories makes it display in multiple catalog nodes without duplicating the product record. The table displays the category Name and full catalog Path. In this screenshot, no additional categories have been added. Click Edit Categories to add or remove category assignments.
Products, packages, and bundles
- A read-only table listing any parent products, packages, or bundles that include this entry as a component. The table displays the Name, Type, and catalog Path of each parent entry. In this screenshot, no parent entries are associated with this product. This table is populated automatically when this product is added as a component of a package or bundle elsewhere in the catalog.
Variants properties
The Variants section lists all SKU-level variations of this product, such as different sizes, colors, or styles. Each variant is a child entry that inherits the parent product's attributes while defining its own unique combination of options, price, and inventory.
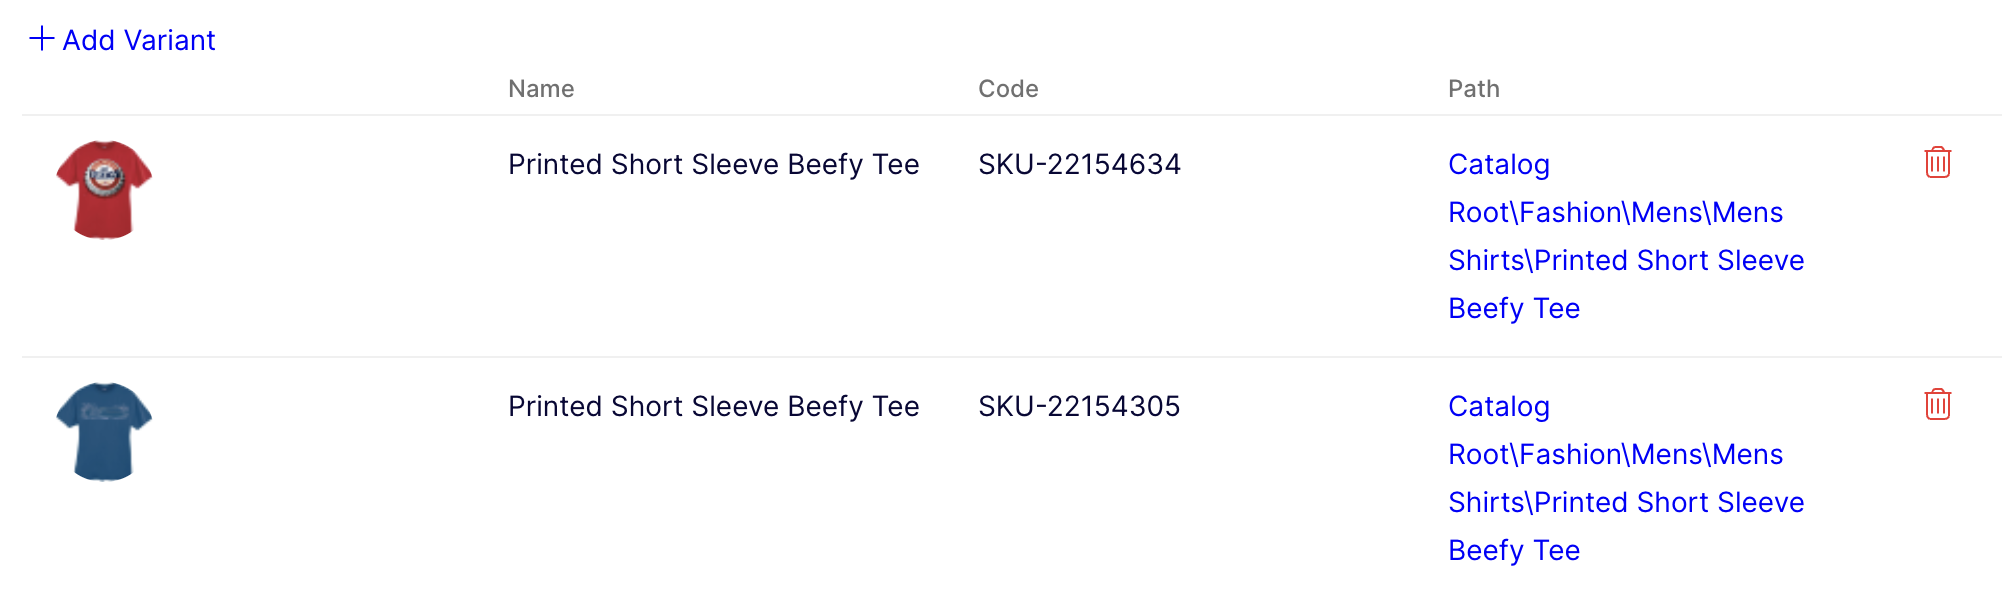
- Add Variant – Creates a variant record as a child of this product. Click to open the variant creation form where you define the SKU code, attributes, and pricing for the variation.
- Name column – Displays the name of each variant as a clickable link. Clicking the name opens the variant record for viewing or editing. In this screenshot, the variant is Printed Short Sleeve Beefy Tee.
- Code column – Displays the unique SKU code assigned to each variant (for example,
SKU-22154634). This code is used in order management, inventory tracking, and integrations. - Path column – Displays the full catalog path to the variant entry (for example,
Catalog Root\Fashion\Mens\Mens Shirts\Printed Short Sleeve Beefy Tee). - Delete icon (🗑) – Removes the variant from this product. Use with caution, as deleting a variant that has existing order history or active inventory may affect reporting and fulfillment.
Assets properties
The Assets section manages the media files associated with this product, such as images, videos, and documents. Each attached asset displays as a card in the grid. In this screenshot, one asset is attached: an image labeled default and truncated as 20% off this s...
Click Add asset (+) to attach a media asset to this product. It opens the asset picker to select an existing file from the media library or upload a new one.
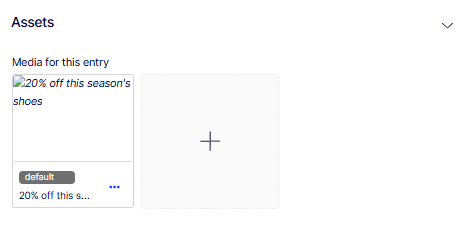
A thumbnail grid displays media assets currently attached to this product. Each tile shows a preview of the asset, its label, and a truncated file name. The default tag indicates this is the primary asset displayed when the product is rendered on the storefront. Only one asset can be marked as default.
Open the context menu (⋯) to edit, reorder, set as default, or remove the asset.
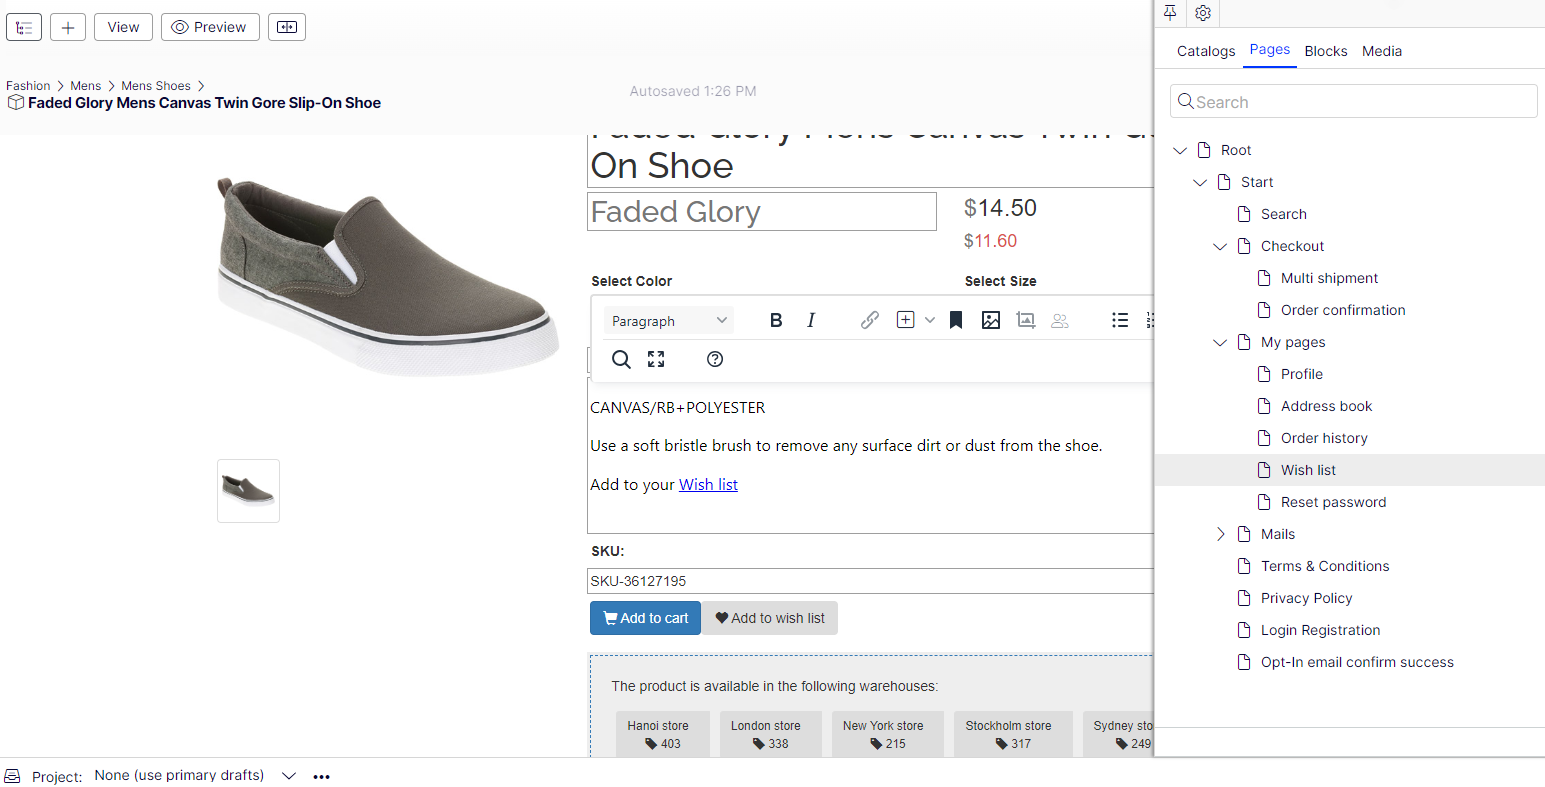
When assigning media files to a variant, assign them to a group, such as Banner. Sort the files by clicking the Group column header. To rearrange items, click Move Up or Move Down from the context menu. On the Optimizely Commerce Connect sample site, the item assigned to the default group at the top of the list serves as the main display image.
To link to another CMS page, open the Assets tab, select Pages, and drag and drop the page you want to link to in the description.
Related Entries properties
The Related Entries section lists other catalog entries associated with this product, such as bundles, packages, or complementary products. Use related entries to surface associated items on the product detail page for cross-selling or bundling purposes.
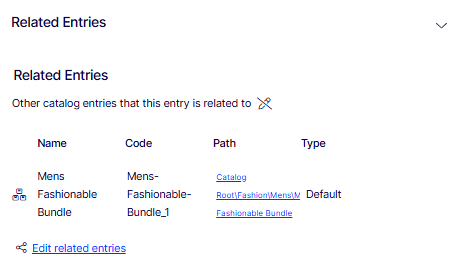
- Related entries table – Displays all catalog entries currently related to this product. Each row includes the following columns:
- Name – The name of the related catalog entry as a clickable link. Clicking the name opens that entry for viewing or editing. In this screenshot, the related entry is Mens Fashionable Bundle.
- Code – The unique identifier of the related entry (for example,
Mens-Fashionable-Bundle_1). - Path – The full catalog path to the related entry (for example,
Catalog Root\Fashion\Mens\Fashionable Bundle). - Type – The relationship type between this product and the related entry. In this screenshot, the type is Default.
- Entry type icon – The icon to the left of each row indicates the catalog entry type (for example, bundle, package, or product).
- Edit related entries – Opens the related entries editor to add, remove, or change the relationship type for associated catalog entries.
Typical relationship types are cross-sell and upsell. A developer configures the relationship types during implementation. See Related entries.
In a typical cross-sell scenario, a customer views a page for a specific television model. A section titled People who bought this also bought shows HDMI cables and wall mounts compatible with that television. To configure those relations, a merchandiser opens the television product, clicks Related Entries, and adds suitable cables and wall mounts using the type cross-sell.
Settings properties
The Settings section displays system-level metadata for this product entry, including its URL identifier, content type, and key timestamps. Most fields in this section are read-only and managed by the system.
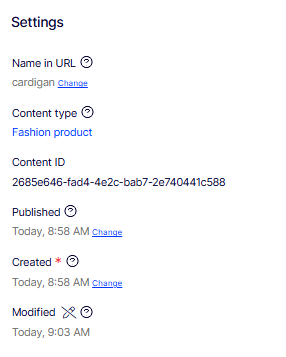
- Name in URL – The URL segment used to identify this product in the storefront address. In this screenshot, the value is cardigan. Click Change to update the URL name. Changing this value after the product is published may break existing links and affect SEO.
- Content type – The catalog entry type assigned to this product, which determines which attributes and sections are available. In this screenshot, the content type is Fashion product. This value is set at creation and cannot be changed.
- Content ID – A read-only system-generated unique identifier for this entry (for example,
2685e646-fad4-4e2c-bab7-2e740441c588). Use this value when referencing the entry in API calls or integrations. - Published – The date and time this product was first published to the storefront. In this screenshot, the value is Today, 8:58 AM. Click Change to adjust the publication date. The help icon (?) provides additional guidance on how publishing dates affect visibility.
- Created – The date and time this product entry was created. In this screenshot, the value is Today, 8:58 AM. Click Change to adjust the creation date if needed. The asterisk (*) indicates this is a required system field.
- Modified – The date and time this product entry was most recently saved. In this screenshot, the value is Today, 9:03 AM. This field is updated automatically by the system each time the entry is saved. The wrench icon opens advanced modification settings.
Existing products
After saving the product, select it from the catalog to view its properties in the detail panel. Use the Group drop-down list to select a section, or type in the filter field to find a specific property.
Add a product variant
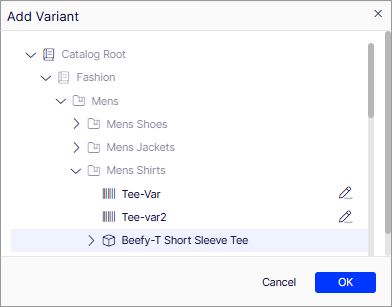
Create a product from a catalog. Create a variant from an existing product by clicking Add Variant in the Variants section, making the variant a child of that product. The Add Variant window opens for you to configure the new variant.
- A product has the full set of sections: Publishing, Content, SEO, Belongs To, Variants, Assets, Related Entries, and Settings. A variant has a reduced set focused on SKU-level differentiation (code, price, inventory, size, color, and other attributes) because it inherits descriptive content from the parent product.
- A product requires a primary category assignment in Belongs To. A variant inherits its catalog path from the parent product and does not have its own category assignment.
- A product has a dedicated SEO section for meta title, description, and keywords. A variant does not have its own SEO fields because it is not indexed as a standalone page.
- A product has market assignment in Publishing. Variants inherit market availability from the parent.
A variant has additional Pricing and Inventory sections.
Variant pricing
The Pricing section defines the price of this variant for each configured market, including the validity period, sale type, and optional sale code.
- Tax category – A drop-down list specifying the tax category applied to this variant at checkout. In this screenshot, the value is General Sales. The tax category determines which tax rules apply when this variant is sold.
- Pricing table – Lists one price row per market. Each row includes the following columns:
- Market – The market this price applies to (for example, Australia, Brazil, Japan). Each market uses its own currency.
- Price – The price of the variant in the market's currency (for example, A$7.50, BRL18.50, ¥710).
- Valid – The date and time range during which this price is active. In this screenshot, all markets show a validity period from 4/22/15, 7:51 AM to 4/22/35, 7:51 AM.
- Sale Type – The customer segment this price applies to. In this screenshot, all rows are set to All Customers.
- Sale Code – An optional promotional or discount code associated with this price. No sale codes are set in this screenshot.
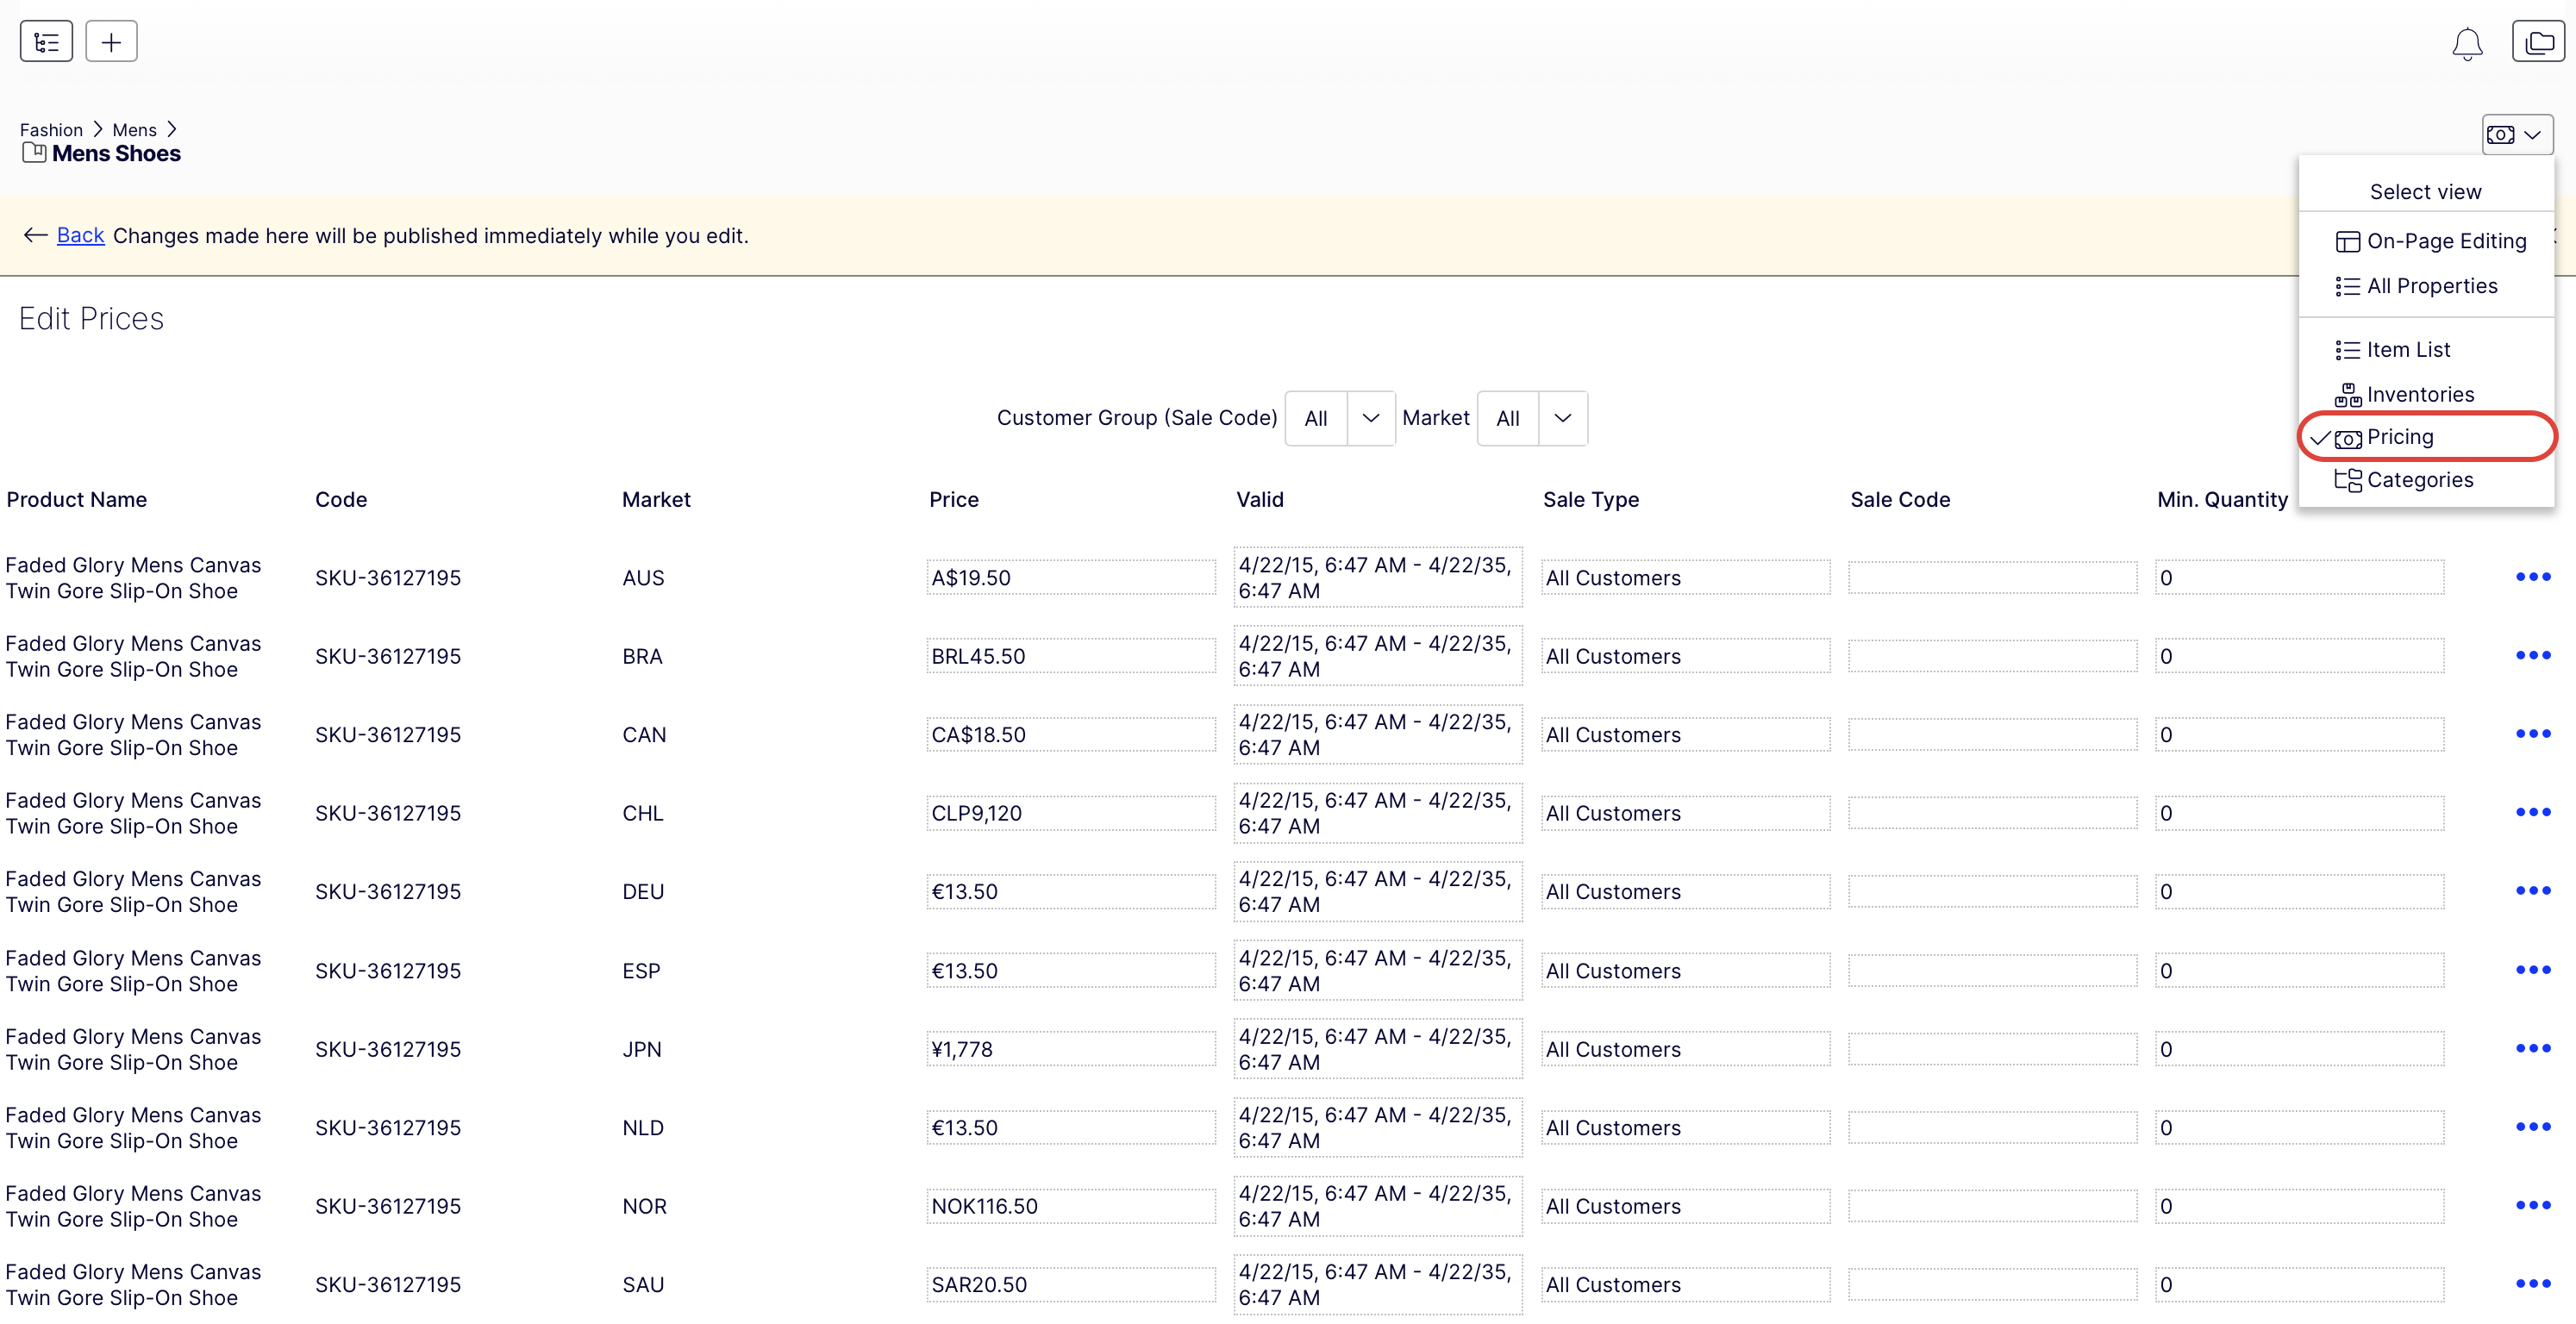
The Edit Prices view lets you view and update pricing for packages and variants. It displays a compact list of prices, which can be filtered by market or customer group. Market filtering displays both active and inactive markets.
The same item is available in several markets. Each market supports multiple currencies, and you can establish a different price for each one. If you enter no value for a currency, customers cannot place an order for the item in that currency.
Define the following pricing information for each product or variant:
- Market
- Price
- Valid date range
- Sale type
- Sale code
- Minimum quantity
In many cases, pricing information comes from an external system, which may prohibit modifications in Optimizely Commerce Connect.
NotePrice changes are immediately available on the website. They are not part of a product's publishing workflow.
View prices
-
Select a category or product.
-
Click Pricing from the View selector.
-
(Optional) Use the Customer Group (Sale Code) and Market filters for pricing information. Only packages or variants with a price display in the list.
Add and edit prices
Modify these fields:
-
Market – The market for the price.
-
Price – The item's price and currency for that market.
NoteThe list of currencies is determined by those available for the selected market.
-
Valid – The time interval when this price is available. Create a future price change by selecting the item, clicking Duplicate from the context menu, changing the pricing information, and setting the available dates.
-
Sale Type – Price availability to All Customers, a specific Customer, or a Customer Price Group. With the last option, create tiered pricing (also known as differentiated pricing).
-
Sale Code – A price for a specific customer group. For example, create a price, select Customer Price Group as its Sale Type, and then insert the customer group name into the Code field.
-
Minimum quantity – The minimum number of units that must be purchased for the listed price. Use this feature to provide a bulk rate. For example, if a customer purchases 10 or more, the cost is $50.00 each. If fewer than 10, the cost is $60.00 each.
From a product's or variant's context menu, click Duplicate to create a copy of price information, or click Delete to remove a set of price information. You cannot undo the deletion of price information.
Set customer group pricing
Use customer groups to configure permissions and create marketing campaigns.
- Go to the Edit Prices view.
- Click Add Price.
- Click Customer Price Group.
- Select the customer group to which the price applies.
Variant inventory
The Inventory section controls the physical and logistical properties of this variant, including order quantity limits, weight, shipping dimensions, and stock levels across warehouse locations.
- Minimum quantity – The minimum number of units a customer must purchase in a single order. Defaults to 1.
- Maximum quantity – The maximum number of units a customer can purchase in a single order. In this screenshot, the value is 100.
- Weight – The weight of the variant used for shipping rate calculations. In this screenshot, the value is 5. The unit (for example, kg or lbs) is determined by your system's global unit settings.
- Shipping Package – A drop-down list for selecting the predefined shipping package type used to ship this variant. Populates from the packages defined in Settings > Shipping Packages.
- Shipping Dimensions – The physical dimensions of the variant used for dimensional weight calculations and carrier size validation:
- Length – In this screenshot, the value is 1.
- Height – In this screenshot, the value is 2.
- Width – In this screenshot, the value is 3.
- Tracked checkbox – When selected, Commerce Connect tracks inventory levels for this variant across warehouse locations. In this screenshot, tracking is enabled.
- Inventory locations – A table listing stock levels for this variant at each configured warehouse. Each row includes the following columns:
- Location – The human-readable name of the warehouse location (for example, Hanoi store, London store).
- Warehouse – The system code of the warehouse (for example,
hanoisstore,londonstore). - Quantity – The current stock level at that location. In this screenshot, Hanoi store has 197 units and London store has 200 units.
- Preorder Av... – The date until which preorders are accepted at this location. In this screenshot, both visible locations show 12/31/99, 7:00 PM.
- Is Tracked – A checkmark indicates that Commerce Connect actively tracks inventory at this location. Both visible locations are tracked.
Updated 12 days ago