Organizations
Create, edit, and delete organizations and set up hierarchies with customer groups.
Create organizations in Optimizely Commerce Connect and categorize them into different types, such as regional branches and departments, or business categories, such as Computer and Electronics or Clothing and Accessories.
Assign an organization to a customer group and apply specific pricing and personalization.
Structure an organization as a tree, with sub-units and different permissions assigned to each branch. For example, set your company as a parent-level organization with departments as organization units, such as Sales and Marketing, IT or Development, and Operations. You can then restrict user access to appropriate functionality in Commerce Connect.
Create and edit organizations
-
Go to Customers > Organizations.
-
Click Create to add an organization, or click Edit under More Options to modify one.
-
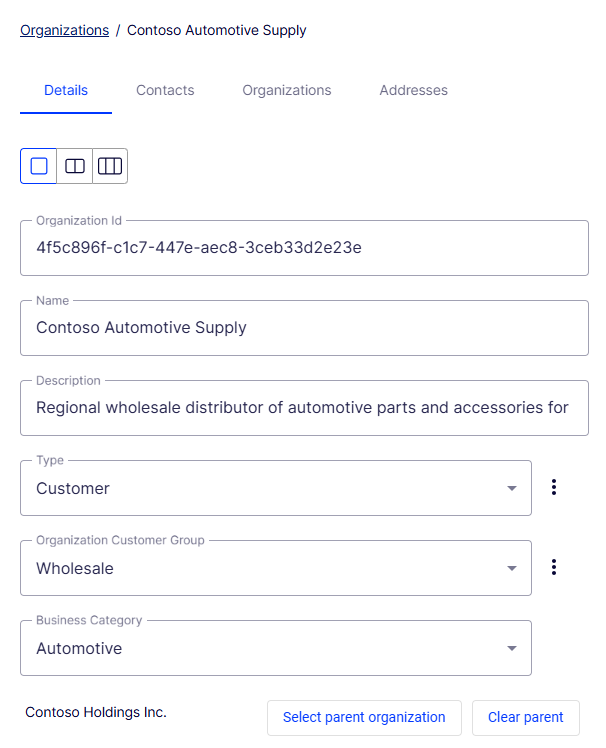
Enter the following information:

- Name – Enter the organization name. (This is the only required field.)
- Description – Enter details about the organization.
- Type – Assign a type to the organization. If the organization is a parent organization, click Organization. If the organization is a sub-organization, click Organization Unit. To add more types to the list, click the More Options icon.
- Organization Customer Group – Select a customer group to assign for the organization, which lets you apply pricing, discounts, and personalization of content to this group.
- Business Category – Assign a category to the organization, or add more categories.
- Select parent organization – Assign a parent organization, if desired. This opens a dialog box to select the one you want. You can create an organization hierarchy by assigning a parent organization to a child organization and then another organization to the child. Set permissions for users to determine which organizations they can view.
-
Click Save. The Organizations page displays.
-
Select the organization again. The Details tab displays.
-
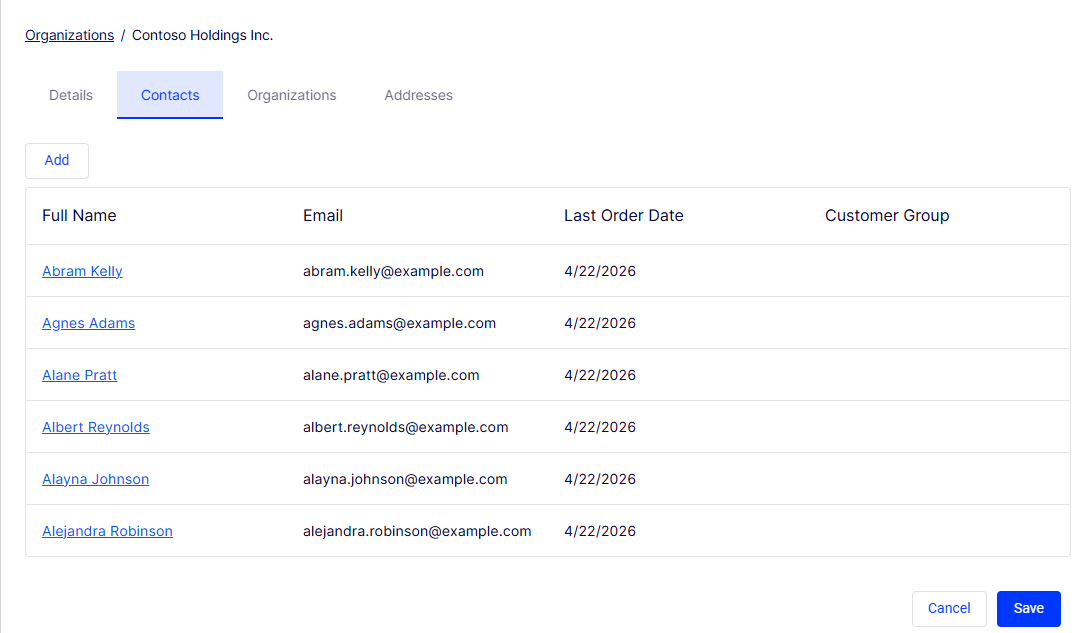
On the Contacts tab, click Add to create contacts for the organization. Click Save when done.
-
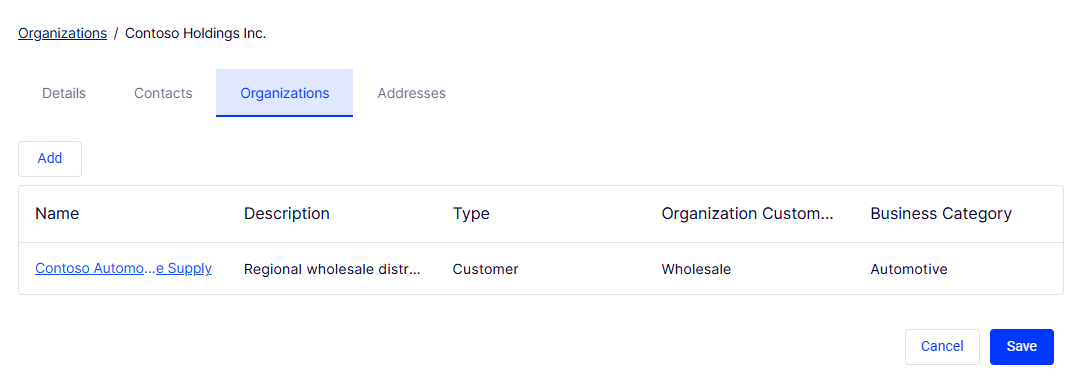
On the Organizations tab, click Add to create an organizational hierarchy. Click Save when done.
-
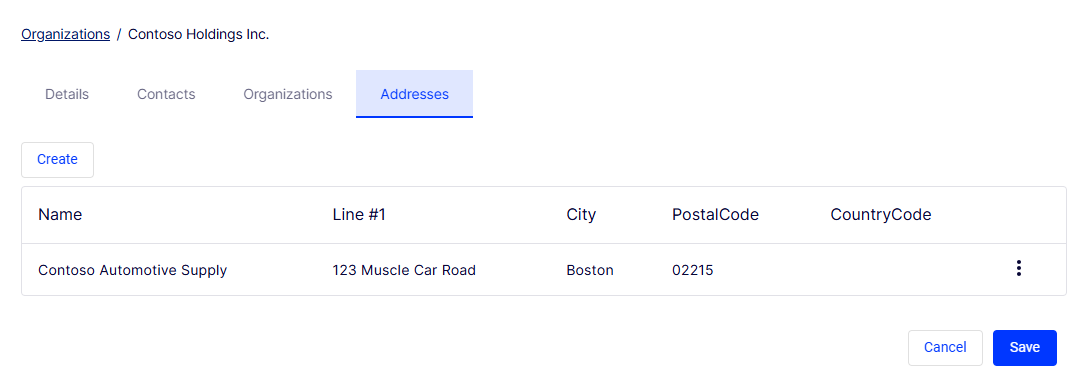
On the Addresses tab, click Create to enter address information for the organization. Click Save when done.
Delete organizations
Delete organizations with children without deleting the child organizations and contacts. The contacts and child organizations become orphans, and you can reassign them to a parent later.
- Go to Organizations > More Options > Delete for the organization you want to delete.
- Choose whether to Delete Organizations Only or Delete Organizations, Child Organizations, and Contacts.
- Click Delete.
Updated 12 days ago