Customize views for catalogs
Choose columns, apply filters, and save custom views for your catalog
Unless an administrator changes it, Optimizely Commerce Connect presents an unfiltered list of catalogs, categories, products, and variants with default columns.
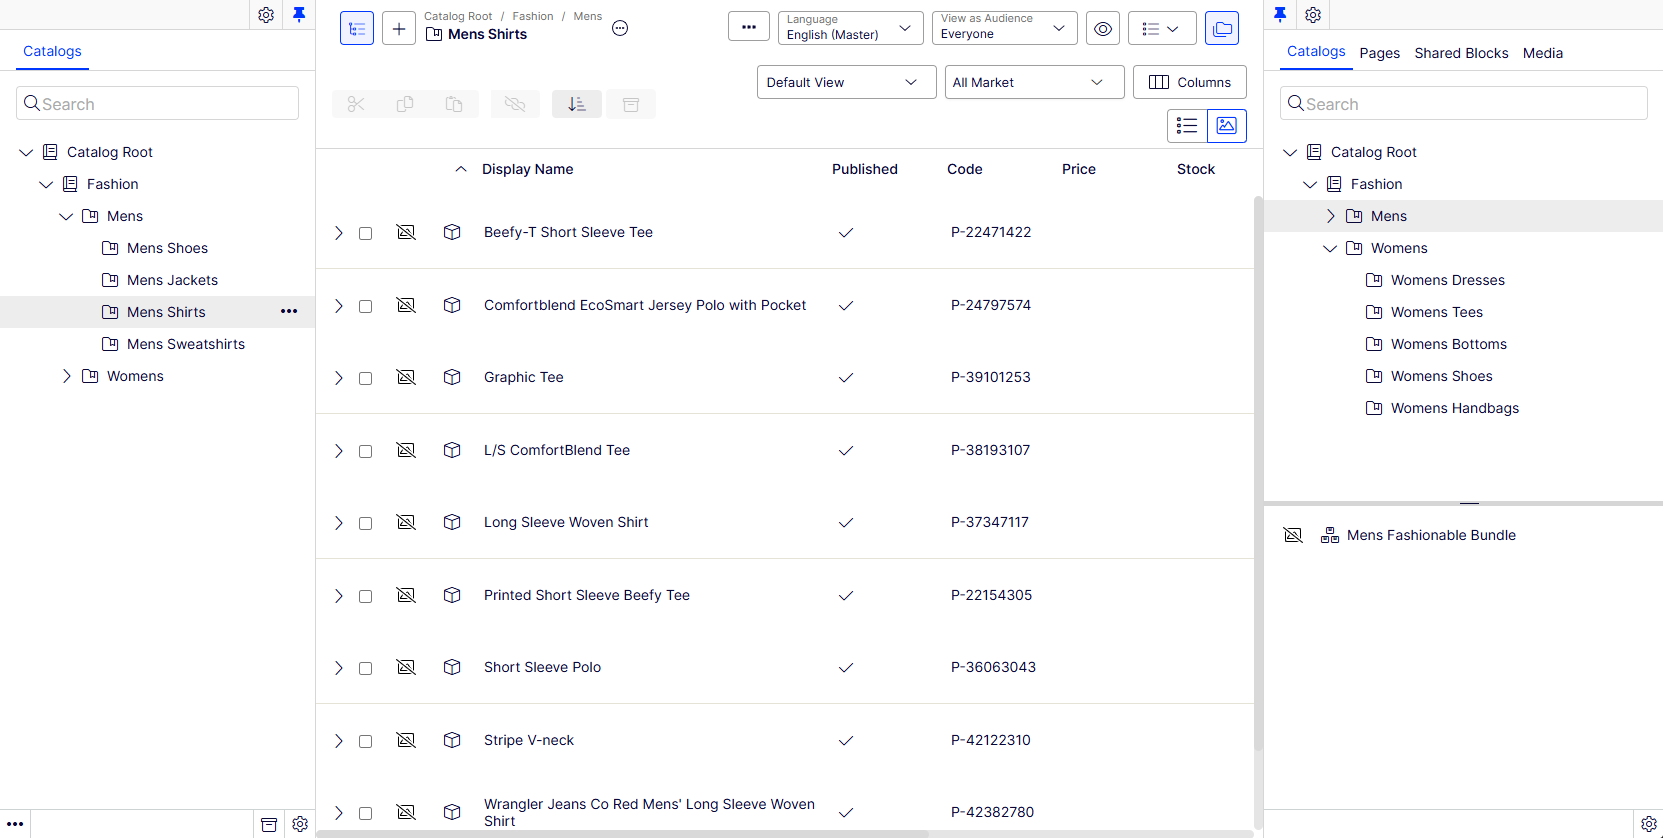
As the list gets longer, create and customize views by choosing which columns to show and what filters to apply.
Define columns
-
Click Columns.
-
Use the Table options modal to edit the columns that display.
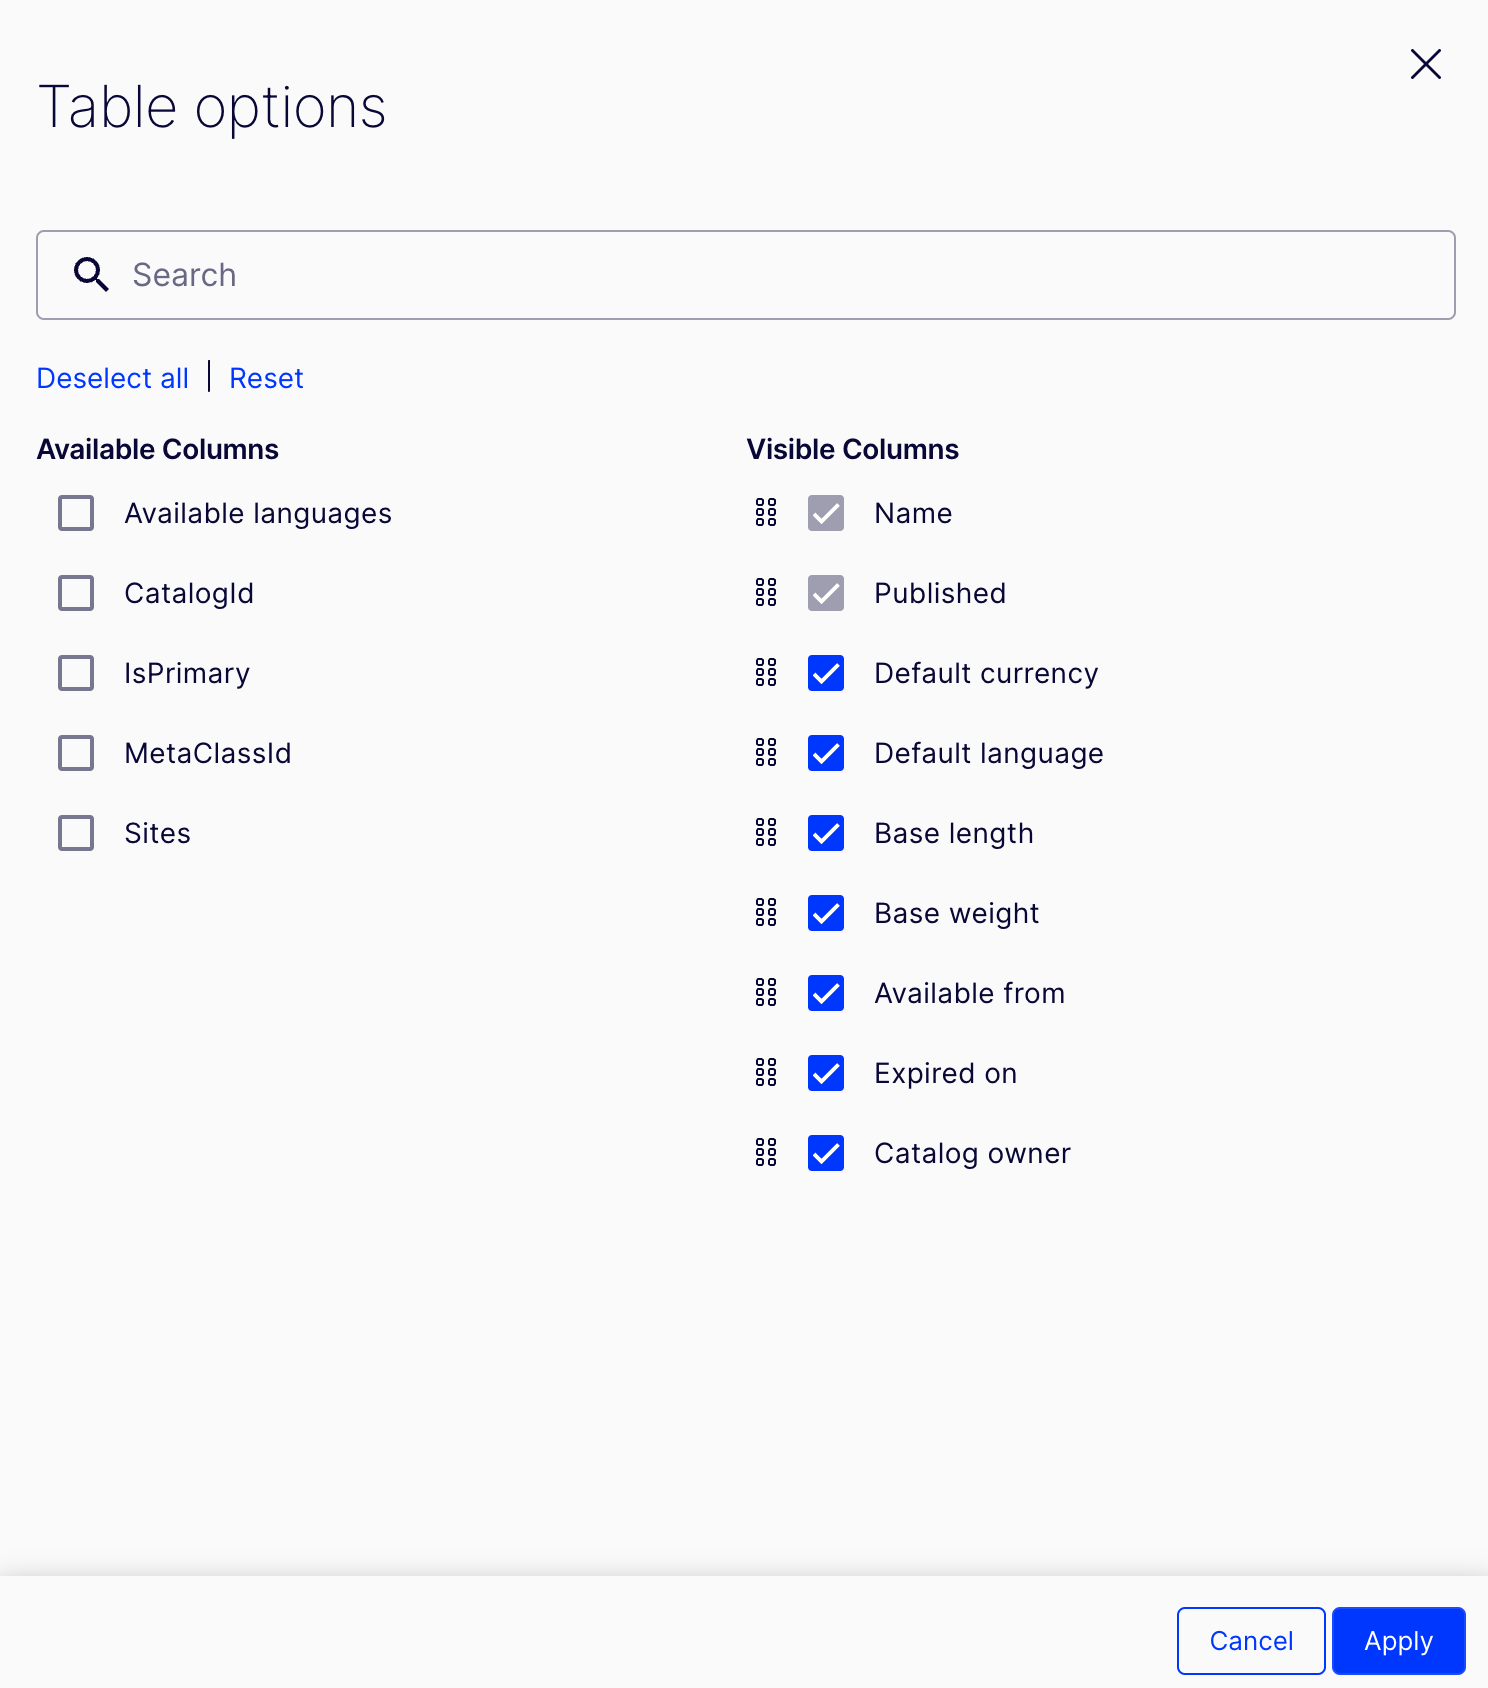
- Select the columns to add or remove.
- Drag and drop to reorder the columns.
- Use the search bar to search for a specific column.
- Click Deselect all to clear all available columns.
- Click Reset to reset your selections.
-
Click Apply to apply your selection. Click Cancel to exit without applying the changes.
Save view
-
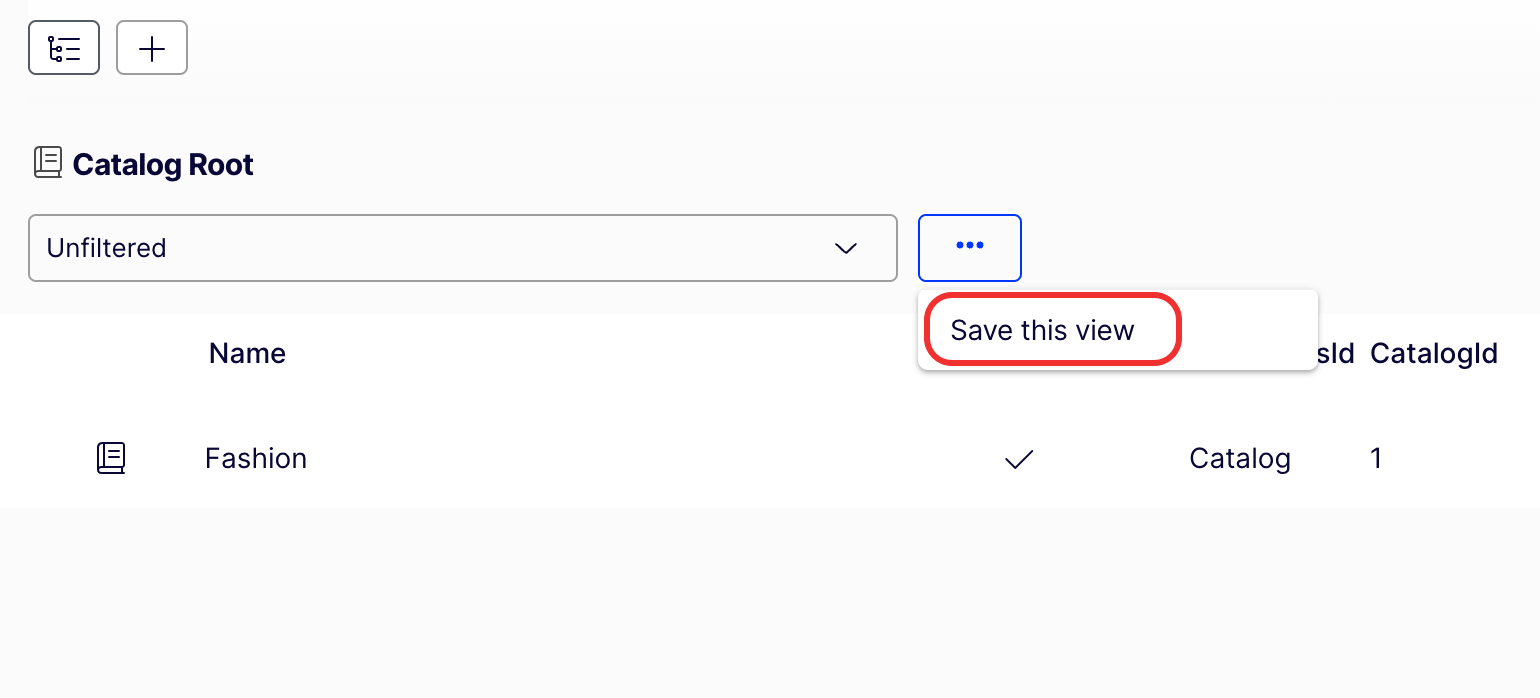
Click More (...) > Save this view to save the view for others to use.
-
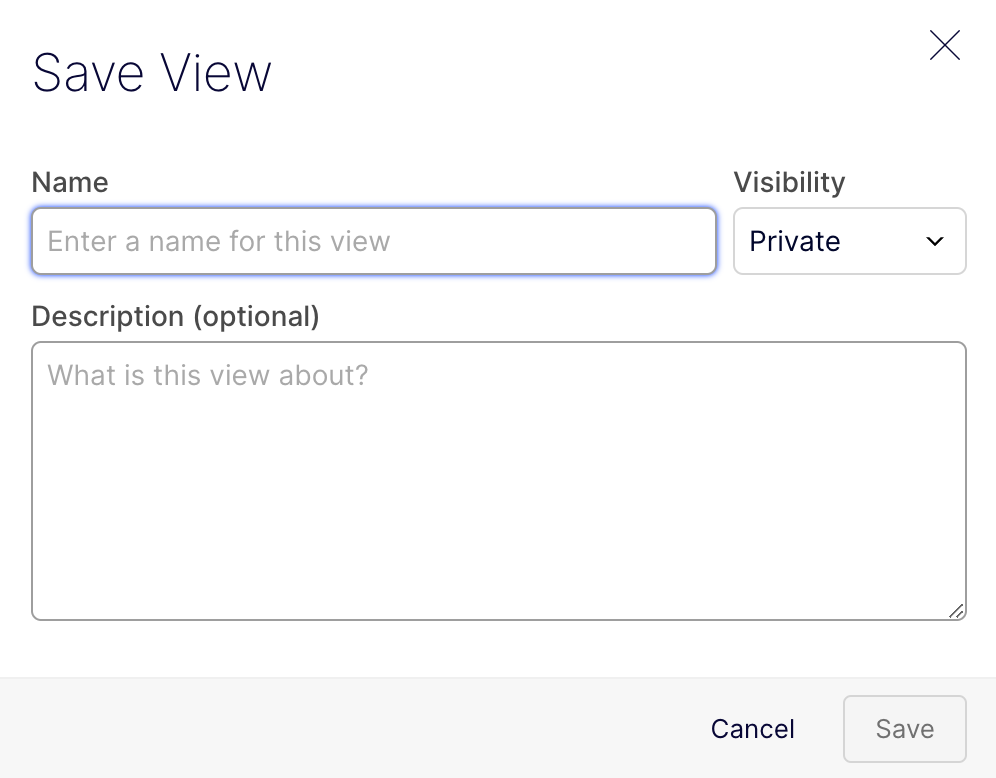
Give the view a Name.
-
Use the drop-down list to select the Visibility. Choose Private to make it available only to you or Public to let other users see the view.
NoteOnly administrators can create public views.
-
(Optional) Enter a description for the view.
-
Click Save to save the view, or click Cancel to exit without saving.
Edit and delete views
- Select the view from the drop-down list.
- Click More (...) > Update this view or Delete this view.
- Update this view – Displays a modal for you to edit the name, visibility, or description for the view. Click Save to update or click Cancel.
- Delete this view – Displays a message asking you to confirm the deletion. Click OK to delete or click Cancel.
Updated 12 days ago