Categories (UI)
Create, edit, delete, and assign categories to products in a catalog.
Applying a category to a product adjusts a catalog's structure and range to optimize the selling potential of its products. Categorization also lets you:
- Create categories.
- Edit or delete existing categories.
- Change a product's primary and secondary categories.
NoteWhen managing a catalog, consider the maintenance and performance of its structure. Do not create hierarchies of categories, products, or variants that are too deep. On the other hand, a flat catalog structure with too many entries in a category can negatively impact performance.
Categorization involves the following tasks:
- Move – Lets you restructure a catalog by moving a catalog entry to another primary category. Related products and variants are also moved. Links to other categories and catalog entries are kept intact.
- Duplicate – Creates a copy of a catalog entry in a catalog location.
- Link – Another term for assigning additional categories.
- Detach – Removes a link.
Create a category
A category typically organizes catalog entries, such as women's shoes. Categories can also hold their own rich content, including assets and descriptions of wine regions for a subset of wine products.
-
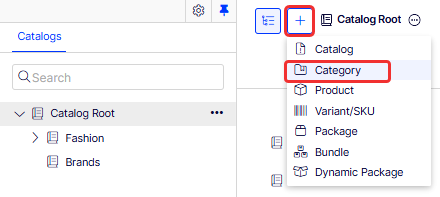
From the Commerce > Catalog interface, go to the catalog or category node where you want to create the category.
-
Choose + > Category.
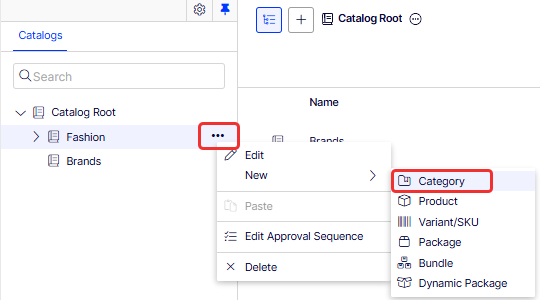
Or, from a catalog node, click to open the context menu and select New > Category.
-
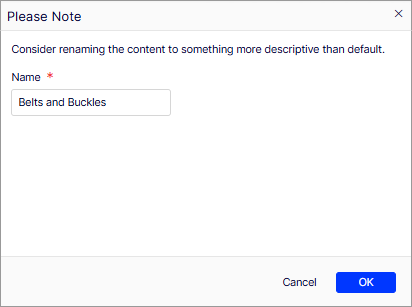
Enter a Name for the category.
-
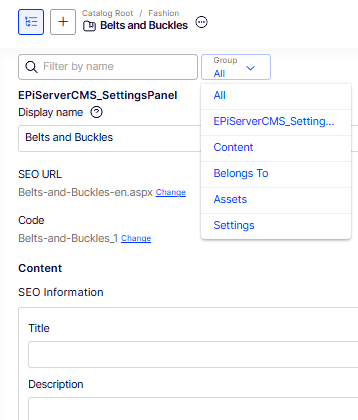
Complete the category properties. The system saves the category automatically, but does not make it available on the website until you publish it. Use the Group drop-down list to select a section, or type in the filter field to find a specific property.
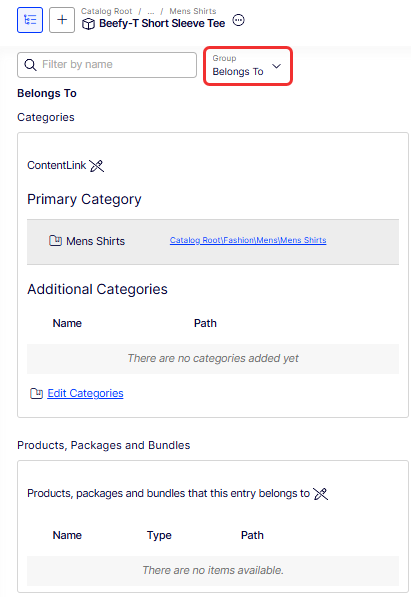
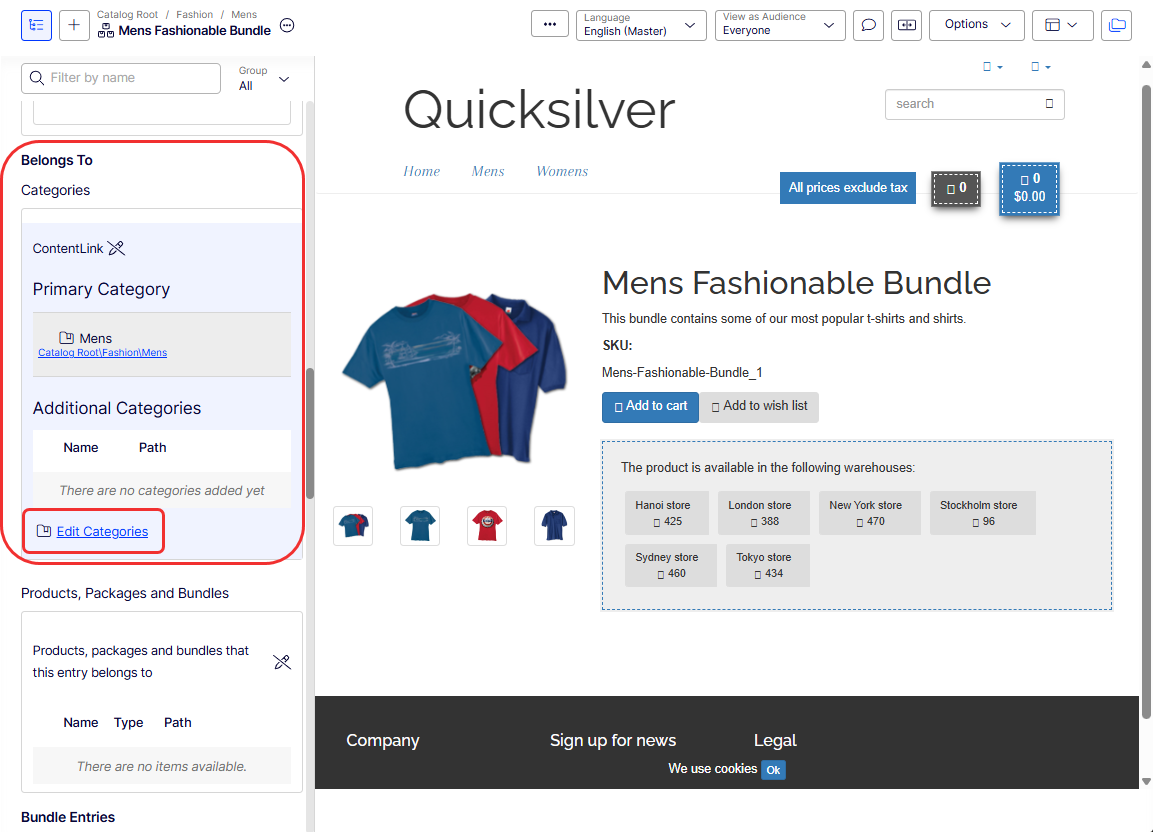
View an item's categories
To view an item's categories, select a catalog entry. In the details panel, select Group > Belongs to.
View items assigned to a category
To view all items assigned to a category, such as Mens Shirts, select it from the catalog tree. Its items display in the center of the page.
Edit a category
- In the Catalog tree, select the category, such as Mens Shirts.
- From the context menu, click Edit.
- Update the category information you want to change, such as the name, SEO information, or description.
- Publish the changes, or schedule for later publishing using the save and publish flow for content.
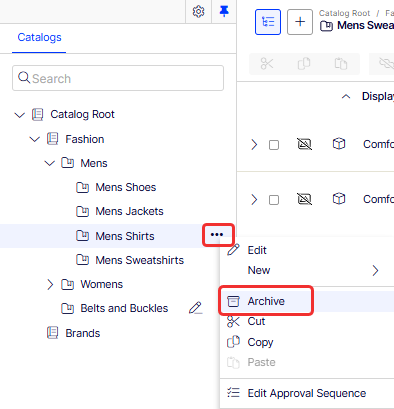
Archive a category
Archiving a category triggers different outcomes depending on how the category links to catalog entries or other categories:
- If a category links to other categories, the system removes links to the archived category but leaves other category links intact.
- The system also deletes categories, products, and variants linked only to the archived category.
CautionIf you archive a category with many subitems, the deletion may take a while.
To archive a category, select it in the catalog tree, then click Archive from the context menu.
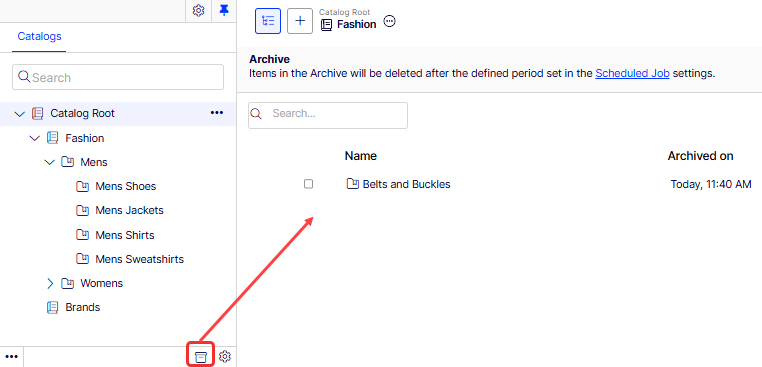
To restore archived content, click Archive from the Catalogs panel. See Catalog entries for more information about Archive operations.
Assign additional categories
Assign one primary category and any number of additional categories to a catalog entry. Both appear in two places on the product:
-
On the product's Categories page.
-
In the product's Belongs to section.
The primary category is the product's home location — the single category where the product actually lives. If a product's URL derives from the Name in URL property, the URL uses the primary category's path. Moving a product to another primary category changes its URL accordingly.
Additional categories let the same product appear in more than one place in the catalog without creating a duplicate. The product record stays in its primary category, and any edits you make propagate to every location where the product is linked.
For example, consider a product named Men's Black Puma Sneakers whose primary category is Men's Shoes. To feature the sneakers in a seasonal promotion:
- Create a Summer Sale category.
- Open the Men's Black Puma Sneakers product and add Summer Sale as an additional category.
The sneakers now appear in both Men's Shoes (their primary category) and Summer Sale. Shoppers browsing either category see the same product, and the product's URL still reflects the Men's Shoes primary path.
How primary category affects its variants
Moving a catalog entry does not move its variants' primary categories. Expanding the moved catalog entry in its new location still shows its variants, which can make it look like the variants moved too — but each variant keeps its original primary category.
If you want to move a catalog entry and its variants, expand the entry, then select it and all variants before moving.
Assign a primary category
When you create a catalog entry, you typically first select its category. That becomes the entry's primary category.
Change a catalog entry's primary category
- Pin the catalog tree so it does not move.
- Select the catalog entry whose primary category you want to change.
- Drag it to the new primary category.
- In the Select Action dialog box, click Move.
As an alternative, select the catalog entry, select Cut, move to the new category, and select Paste.
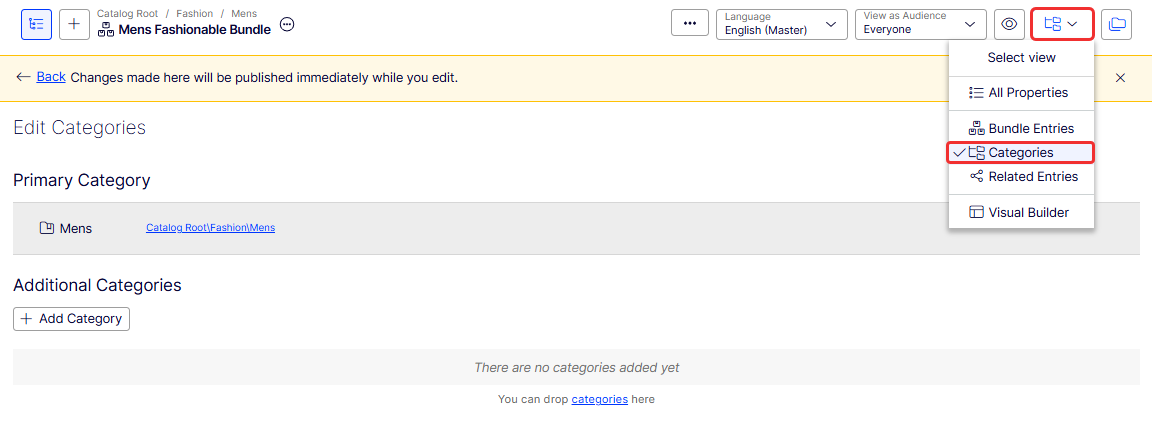
Assign additional categories
- Go to the catalog entry you want to link.
- Click Select view, then Categories.
- Click + Add Category.
- Go to the category you want to add, then click Add.
As an alternative, select the catalog entry, select Copy, move to the new category, select Paste, and in the Select Action dialog box, choose Link.
Edit additional categories
- Go to the category entry whose additional categories you want to edit.
- Click Select view, then Categories.
- To add an additional category, click + Add Category. To remove an additional category, click the corresponding Remove.
Assign a category to another category
You can also assign a category as an additional category of another category. When you do, every catalog entry linked to the original category is also linked to the new category.
- Go to the category where you want to add an additional category.
- Click Select view, then Categories.
- Click + Add Category.
- Go to the category you want to add, then click Add.
Updated 12 days ago