Order management (dev)
Extend the Optimizely Commerce Connect CSR UI with custom React components and customize Order Management search results through IEntryInformation.
Extend components
This section describes the Order Management user interface that lets customer representatives manage orders manually when needed in Optimizely Commerce Connect.
Optimizely Commerce Connect 14 and 15 support extensibility for creating and editing carts, orders, and subscriptions.
The Customer Service Representative (CSR) extended components are added as extra views in CSR UI. CSR UI supports three order types for these components:
- Cart
- Order
- Subscription
Each order type has three placeholder locations where extended components are displayed:
- Header
- Footer
- Tab
These extended components are pre-built from ReactJS to CommonJS. After you install the extension package, placeholders in the CSR UI read the information required for each component, including order type, location, and the URL where the CommonJS code is hosted. At runtime, the CSR application uses the URL to retrieve and load the CommonJS file for each component.
Configure extended components
Use the ExtendedComponentOptions class to register extended components with CSR. This class contains the information that a CSR needs to work with.
Name– The display name of the component.ScriptUrl– The URL of the pre-built component.Order– The display order in the UI.ComponentLocation– The location of the component, specified as an enum value.Header = 0Footer = 1Tab = 2
OrderTypes– The order types the component applies to, specified as a flag enum value.Cart = 1PurchaseOrder = 2Subscription = 4
Step 1 – Register component configuration
- Create a class library project.
- Create an
InitializableModuleclass for this library and useServiceConfigurationContextto add components.context.Services.Configure<ExtendedComponentOptions>(x => { x.ExtendedComponents.AddRange(new [] { Name = "CartOrderSubscriptionTab3", ScriptUrl = Paths.ToClientResource(GetType().Assembly, "clientResources/dist/CartOrderSubscriptionTab3/CartOrderSubscriptionTab3.js"), Order = 3, ComponentLocation = ComponentLocation.Tab, OrderTypes = OrderTypes.Cart | OrderTypes.PurchaseOrder | OrderTypes.Subscription }); });
Step 2 – Build and bundle React components
-
Configure a React Application in the class library project.
-
In
srcfolder, create a folder, each folder will correspond to a component. -
Create a component file that is built into a remote component.
-
Create an index file for local development to start
webpack-dev-serverand develop the component. For example:yarn dev:server --config-name config-CsrExtensionCartTab2yarn dev:server --config-name config-{folder name of the component}
localhost runs on port 9090.
-
When development is complete, run
yarn build:releaseto generate a CommonJS file for the component.
Other commands:yarn build: debug => build in debug mode, mapping file will be generated for debugging.yarn build: watch => build in debug mode, watch changes and re-build each changes.
Step 3 – Add a component controller
For more complex usage, a controller should be created.
Create a folder in the project root. To make management easier, use the same folder name as the component's folder in the src folder, although this is not required.
Step 4 – Package and publish the NuGet library
Run build.cmd to build the TypeScript code and the solution.
Run pack.cmd to create the NuGet package.
Alternatively, reference the class library project from the site.
Step 5 – Deploy and verify the commerce site
Run the commerce site, and the component is loaded at runtime.
Configure components directly in the web app
Instead of creating extended components in a separate module, you can add pre-built component JavaScript files directly to the web app (for example, place the JS file in the wwwroot folder).
Step 1 – Register component configuration
You can configure the web app in two ways:
-
Use
InitializableModulein the web app:context.Services.Configure<ExtendedComponentOptions>(x => { x.ExtendedComponents.AddRange(new [] { Name = "CartOrderSubscriptionTab3", ScriptUrl = "/js/CartOrderSubscriptionTab3/CartOrderSubscriptionTab3.js", Order = 3, ComponentLocation = ComponentLocation.Tab, OrderTypes = OrderTypes.Cart | OrderTypes.PurchaseOrder | OrderTypes.Subscription }); }); -
Using
appsettings.json:{ ... "EPiServer": { ... "Commerce": { ... "ExtendedComponentOptions": { "ExtendedComponents": [ { "Name": "CartOrderSubscriptionTab3", "ScriptUrl": "/js/CartOrderSubscriptionTab3/CartOrderSubscriptionTab3.js", "Order": 2, "ComponentLocation": 2, "OrderTypes": 7, } ] } }, ... }
OrderTypes uses a flag enum. If a component belongs to more than one type, combine the values. For example, OrderTypes = 7 means the component belongs to Cart, PurchaseOrder, and Subscription.
Step 2 – Build and bundle React components
- Create a client app to build extended components to commonJS files.
- Copy these files to the commerce site (for example: wwwroot folder).
Step 3 – Add a component controller
Add controllers to the commerce site if necessary.
For an example implementation, see the Commerce CSR extensions repository.
Extend search result display
This section describes the Order Management user interface that lets customer representatives manage orders manually when needed.
Order Management is accessible from the Optimizely Commerce Connect menu.
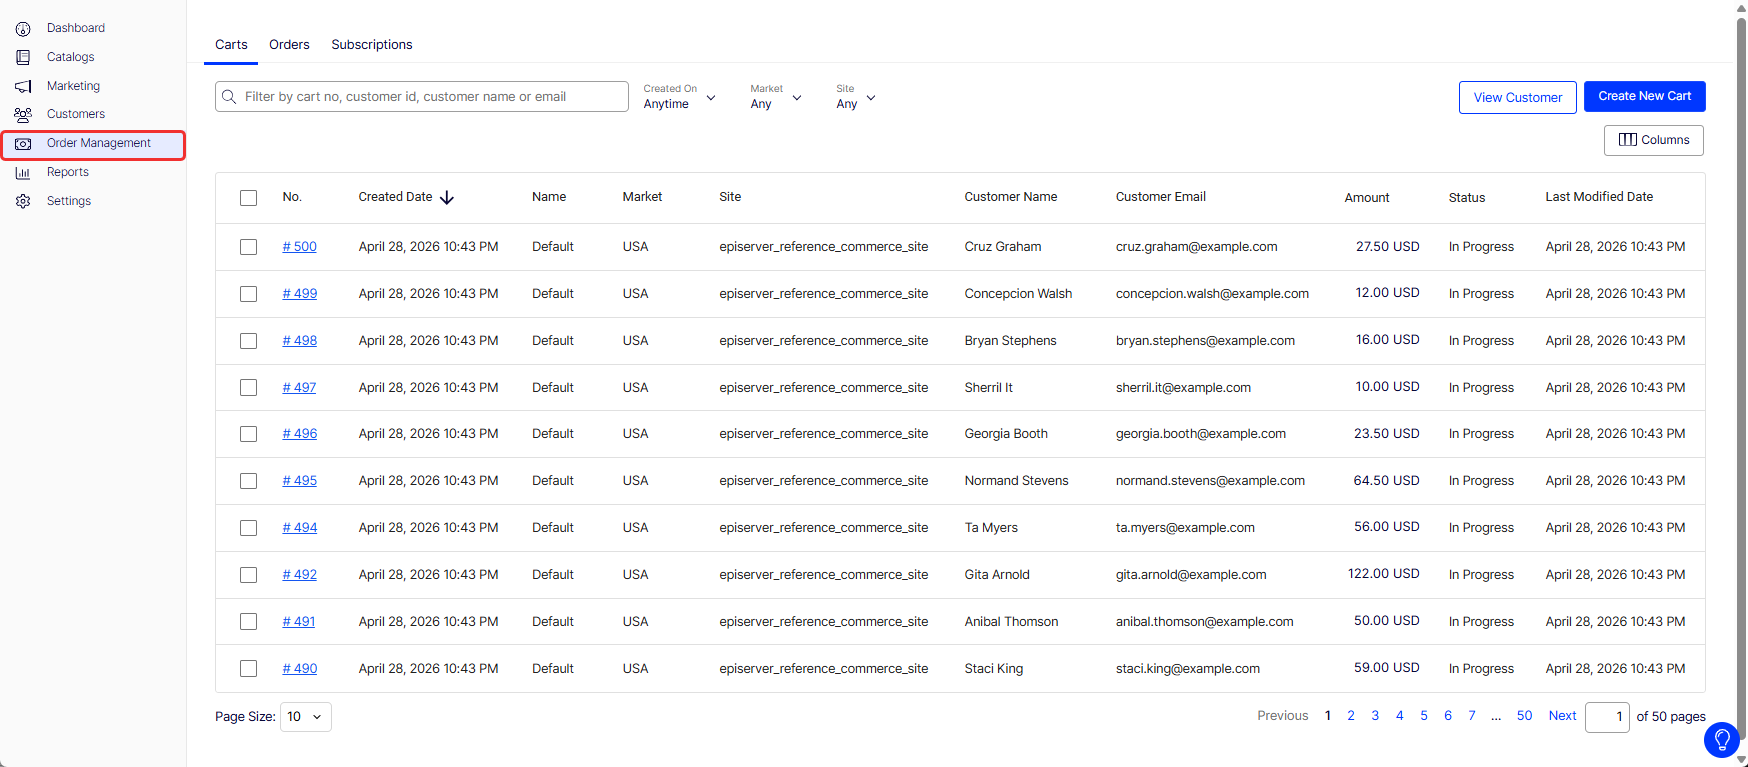
From Order Management, you create and modify carts and purchase orders, and access information on customer profiles.
When adding a new line item to a cart or an order, a user finds the correct one by searching for it. If a product has many variants, the system helps the user select the correct one by displaying variant-specific information (for example, size or color) for each search result. Because variant properties differ from site to site, the system inspects content types to make a best-guess selection.
If you want more control over what is shown, use the EPiServer.Commerce.Catalog.IEntryInformation interface. By implementing IEntryInformation and replacing the default implementation (Dependency injection), you can customize which properties are displayed. The interface returns a dictionary that should contain the names of properties to show, as well as a string representation of their value, suitable to be shown to the user.
In addition to the displayed variant-specific information, each search result contains a More Details link. This link directs you to the corresponding product page on the website. To change the URL the link points to, modify the GetProductUrl method and register the IEntryInformation class with [ServiceConfiguration(typeof(IEntryInformation), Lifecycle = ServiceInstanceScope.Singleton)].
public class CustomEntryInformation: IEntryInformation {
  IRelationRepository _relationRepository = ServiceLocation.ServiceLocator.Current.GetInstance<IRelationRepository>();
  IUrlResolver _urlResolver = ServiceLocation.ServiceLocator.Current.GetInstance<IUrlResolver>();

  IEntryInformation _defaultImplementation;
  public CustomEntryInformation(IEntryInformation defaultImplementation) {
    _defaultImplementation = defaultImplementation;
  }

  public IDictionary<string, string> GetCustomProperties(EntryContentBase entry) {
    var myVariant = entry as MyVariant;
    if (myVariant == null) {
      return _defaultImplementation.GetCustomProperties(entry);
    }

    return new Dictionary<string, string>() {
      {
        nameof(myVariant.Size), myVariant.Size.ToString()
      }, {
        nameof(myVariant.Color),
        myVariant.Color
      }
    };
  }

  public string GetProductUrl(EntryContentBase entry) {
    var productLink = entry is VariationContent ?
      entry.GetParentProducts(_relationRepository).FirstOrDefault() : entry.ContentLink;
    if (productLink == null) {
      return string.Empty;
    }

    var urlBuilder = new UrlBuilder(_urlResolver.GetUrl(productLink));
    if (entry.Code != null) {
      urlBuilder.QueryCollection.Add("variationCode", entry.Code);
    }

    return urlBuilder.ToString();
  }
}

public class MyVariant: VariationContent {
  public virtual int Size {
    get;
    set;
  }
  public virtual string Color {
    get;
    set;
  }
  public virtual int IntegrationCode {
    get;
    set;
  }
}