Manage discounts
Describes how to create, edit, copy, and delete discounts and set eligible items and redemption limits in Optimizely Commerce Connect.
Discounts in Optimizely Commerce Connect let you offer customers reduced prices, free items, or free shipping based on rules you define. Use built-in discount templates to set up common offers, or attach discounts to a campaign to run targeted promotions.
Create a discount
NoteYou can only add discounts to campaigns.
-
Go to Marketing > Create New > Discount.
To add a discount directly to a campaign, in the row of the campaign, select More > New Discount.
-
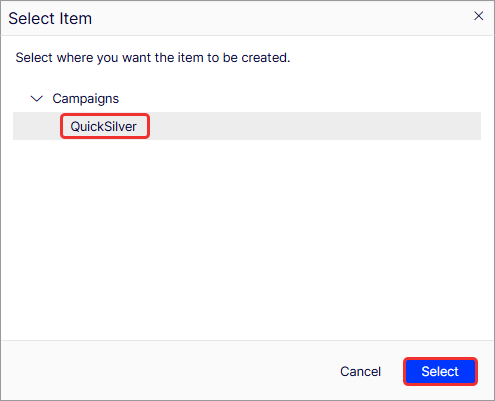
Choose the campaign where you want to create the discount, then click Select.
-
Select one of the discount types. For information, see Built-in discounts.
-
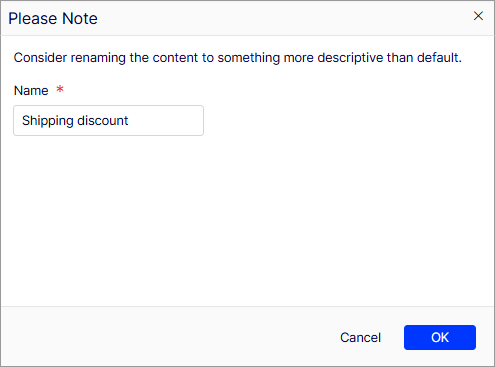
Enter a Name for the discount, such as Shipping discount, and select OK. The Edit Discount window displays.
-
In the Edit Discount window, complete the following fields.
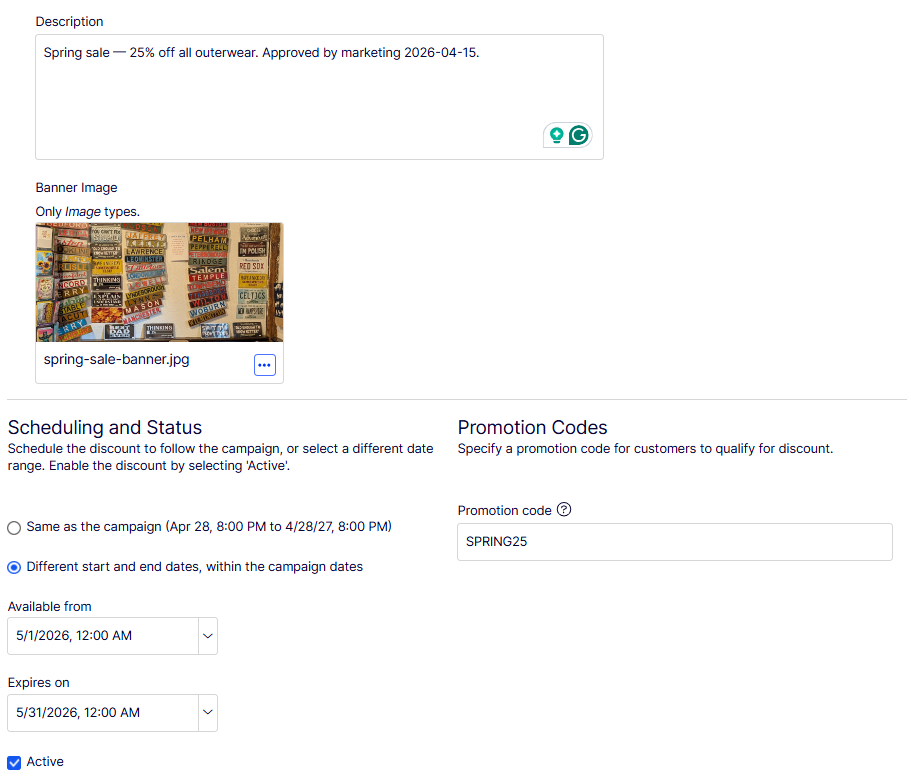
- Description – Internal notes and comments about the discount. Not visible to customers. Example: Spring sale — 25% off all outerwear. Approved by marketing 2026-04-15.
- Banner Image – Image to display alongside the discount on the storefront. Only
Imagecontent types are accepted. Drop a file into the upload area or select Select Image to choose existing media. Example:spring-sale-banner.png. - Scheduling and Status – Controls when the discount is active.
- Same as the campaign – The discount uses the parent campaign's start and end dates.
- Different start and end dates, within the campaign dates – Set a custom date range that falls inside the campaign's date range. Example: May 1, 2026, 12:00 AM to May 31, 2026, 11:59 PM.
- Active – Enables the discount. Clear the checkbox to disable it without deleting it. Example: selected.
- Promotion code – Code that customers enter at checkout to qualify for the discount. Leave blank to apply the discount automatically to all qualifying orders. Example:
SPRING25.
-
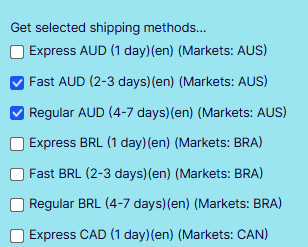
Complete the discount components that display.
-
Gray – Products or categories that customers must purchase to activate the discount. Select one or more categories so that every product in those categories is eligible.
Select individual products, SKUs, packages, or a catalog (available for specific discount types only). A package counts as one item when calculating the X in Buy at least X items. If a customer purchases a bundle, the system treats those items as if the customer ordered them separately.
Select the Include subcategories checkbox to include products in subcategories of the selected categories. The checkbox is selected by default.

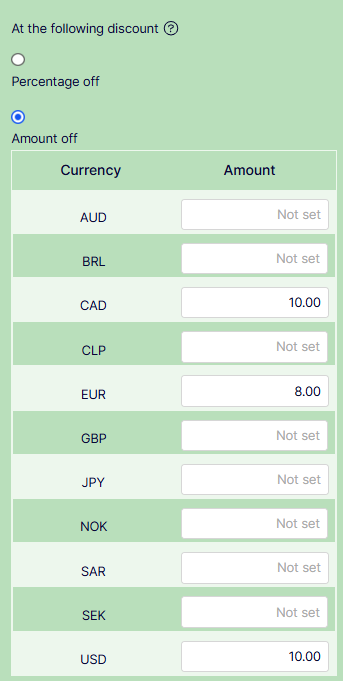
- Blue – Discounted items.
- Green – Discount percentage or amount.

-
-
Enter any Redemption Limits, such as how many times customers can redeem a discount across all orders or per customer. Change this number at any point without affecting the number of redeemed discounts.
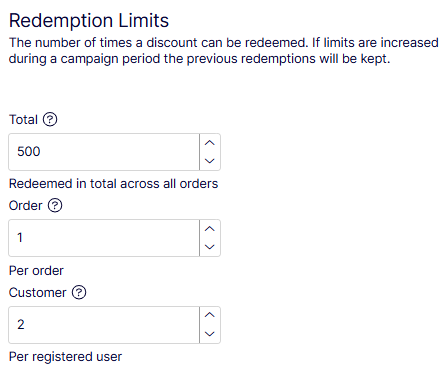
- Total – Maximum number of times the discount can be redeemed across all orders. Leave as Unlimited for no cap. Example:
500. - Order – Maximum number of times the discount can be applied to a single order. Example:
1. - Customer – Maximum number of times each registered user can redeem the discount. Leave as Unlimited for no per-user cap. Example:
2.
- Total – Maximum number of times the discount can be redeemed across all orders. Leave as Unlimited for no cap. Example:
-
Click Save.
Copy a discount
Copy or cut any discount and paste it into another campaign or the same campaign. Select More > Copy or More > Cut. You can also drag and drop discounts between campaigns. When you copy and paste a discount, Commerce Connect appends a number to the new discount's name to distinguish it from the original.
Copying a discount copies all field values except for status and dates:
- The copied discount is inactive by default.
- If the scheduling value is Same as the campaign, the value is maintained, and the dates are adjusted to match the active dates of the campaign to which you are copying the discount.
- If the scheduling value is Different start and end dates, those dates are copied to the discount.
- If one or both dates are outside of the date range of the campaign to which you are copying the discount, a warning displays next to that date. No other warning is issued either initially or if you later edit the discount.
- If a conflict exists between a campaign's and a discount's active dates, the campaign's active dates override the discount's active dates. For example, a campaign runs from June 1 until June 30 at midnight, while one of its copied discounts has a start date of June 15 and an end date of July 15. As of July 1, that discount is no longer active.
Edit a discount
- Expand a campaign to view its discounts.
- Select the discount name, or select More > Edit.
- Edit the discount fields and click Save.
Delete a discount
- Expand a campaign to view its discounts.
- Select More > Delete.
- A confirmation message displays. click Delete.
Updated 12 days ago