Create a custom product widget
Describes how to create a customized product widget that uses the existing product service without any data changes.
ImportantClassic CMS reached end-of-life in January 2025 and is no longer receiving feature updates or bug fixes. You should migrate to Spire CMS.
This widget lets marketers and merchandisers add products to the page without requiring any development work.

-
Add a new TypeScript controller to the Scripts/Custom folder in the B2B Commerce.Web project.
Name:
custom.special.controller.ts -
Create the constructor that initializes the controller. Within the initialization use the injected product service to retrieve the product data based on the product id.
module insite.special { "use strict"; export class SpecialController { currentSpecial: ProductDto; productId: string; static $inject = ["$scope", "$window", "productService", "coreService"]; constructor(protected $scope: ng.IScope, protected $window: ng.IWindowService, protected productService: IProductService, protected coreService: core.ICoreService) { this.init(); } init() { var expandParameter = ["documents", "specifications", "styledproducts", "htmlcontent", "attributes", "crosssells", "pricing"]; this.productService.getProductData(null, this.productId, expandParameter).then( (result: ProductModel) => { this.currentSpecial = result.product; }, (error) => { }); } } angular .module("insite") .controller("SpecialController", SpecialController); } -
Add a new TypeScript directive definition to the Scripts/Custom folder in the B2B Commerce.Web project.
Name:custom.special.directives.tsmodule insite.account { "use strict"; angular .module("insite") .directive("iscSpecialProduct", ["coreService", function (coreService) { return { restrict: "E", replace: true, templateUrl: coreService.getApiUri("/Directives/Special/SpecialSaleView"), controller: "SpecialController", controllerAs: "vm", scope: { productId: "@" }, bindToController: true }; }]) }
This will allow you to use the <ISC-special-product> directive within the widget.
-
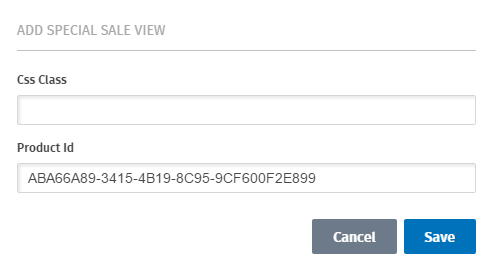
Add a new class to the project called SpecialSaleView and add a property called ProductId with the TextContentField attribute
public class SpecialSaleView : ContentWidget { [TextContentField] public virtual string ProductId { get { return GetValue("ProductId", "", FieldType.General); } set { SetValue("ProductId", value, FieldType.General); } } } -
If you haven't already created a new theme, create a new theme and add a new MVC View to the Views/Directives/Special folder called SpecialSaleView. This needs to be the same name as defined in the custom.special.directives.ts.
-
In the SpecialSaleView.cshtml view add an image and span that will use the Angular model.
<div style="width:150px;"> <h3>Product Sale</h3> <img ng-src="{{vm.currentSpecial.mediumImagePath}}" style="clear:both;" /> <span ng-bind="vm.currentSpecial.name"></span> </div> -
In the custom theme add a folder for Widgets. In the widget folder add a new sub-folder called SpecialSaleView. This will also use the naming convention of the widget.
-
Add a new MVC View called Standard.cshtml. In the new Standard.cshtml file reference the special product and set the product id attribute to the model that will be set in the CMS.
-
Add a reference to the AngularJS template for the SpecialSaleView.
@model B2B Commerce.Web.Extensions.Widgets.SpecialSaleView <ISC-special-product product-id="@Model.ProductId"></ISC-special-product> <script type="text/ng-template" id="/Directives/Special/SpecialSaleView"> @Html.ThemedPartial("/Views/Directives/Special/SpecialSaleView.cshtml") </script> -
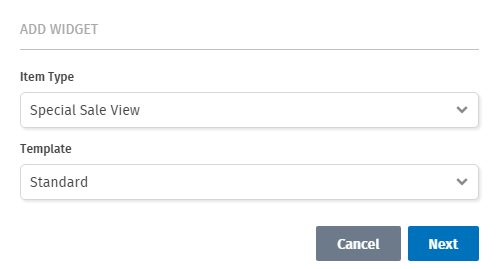
Rebuild the solution and navigate to the Configured Commerce site with ContentAdmin rights. Add the Special Sale View widget to an existing Content zone.


Updated 3 months ago
