Configure JavaScript SDK
Configure the Optimizely CMS CLI to authenticate with your CMS (SaaS) instance and prepare your project for content modeling.
Configure Optimizely Content Management System (CMS) Command Line Interface (CLI) by creating API credentials, configuring required environment variables, validating the connection, and defining a configuration file so the CLI can discover and manage your content models.
Prerequisites
- An Optimizely CMS (SaaS) instance.
- Node.js installed.
- The Optimizely CMS CLI available through
npx. See Install JavaScript SDK.
Create an API client in Optimizely CMS (SaaS)
The CLI authenticates with Optimizely CMS (SaaS) using an API client.
-
Log in to your CMS (SaaS) instance at
https://[your-instance].cms.optimizely.com. -
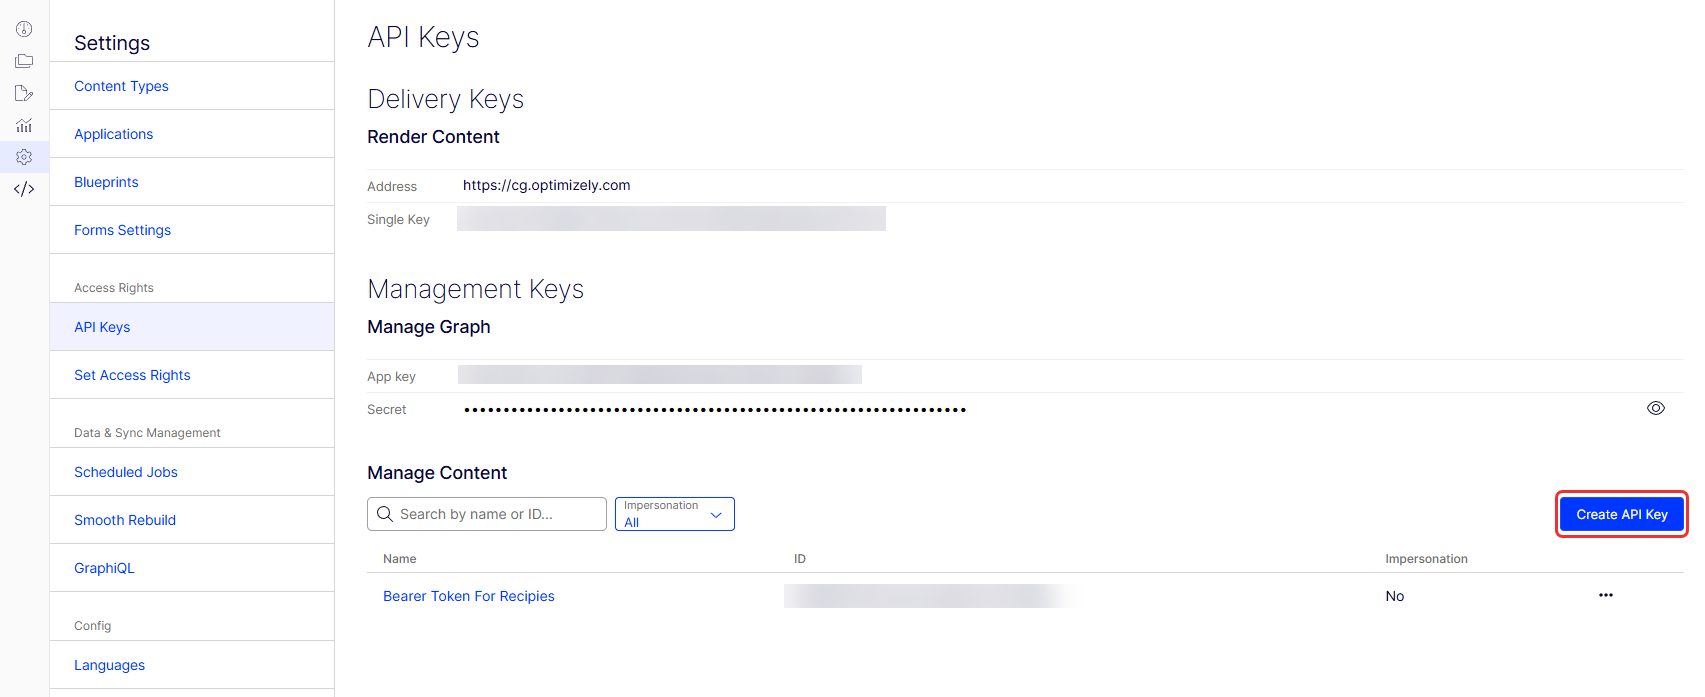
Go to Settings > API Keys.
-
Click Create API key.
-
Enter a name for the API key.
-
Select Impersonation if you want to create a token with the role of another account.
-
Click Create API key.

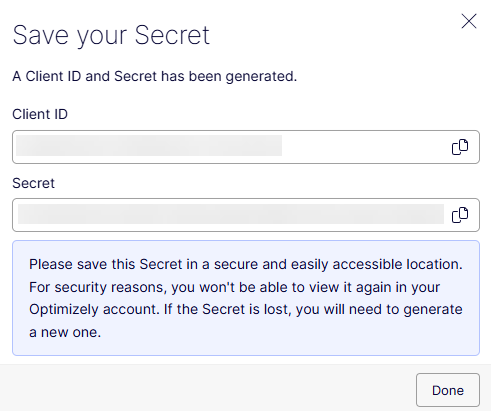
CMS (SaaS) displays a Client ID and Client Secret.
ImportantSave the client secret securely. You cannot retrieve it again after closing the window.
Create environment variables
Create an .env file in the root of your project and add the following variables:
OPTIMIZELY_CMS_CLIENT_ID=<YOUR_CLIENT_ID>
OPTIMIZELY_CMS_CLIENT_SECRET=<YOUR_CLIENT_SECRET>
NoteDo not commit the
.envfile to source control. It contains sensitive credentials.
Verify the connection
Verify that the CLI can connect to your CMS (SaaS) instance.
npx @optimizely/cms-cli@latest loginIf the connection succeeds, the CLI confirms successful authentication.
Create the CLI configuration file
Create an optimizely.config.mjs file in the root of your project. This file tells the CLI where to find your content type definitions.
Basic configuration
import { buildConfig } from '@optimizely/cms-sdk';

export default buildConfig({
  components: ['./src/components/**/*.tsx'],
});
Example project structure
.
├── src/
│   ├── app/
│   └── components/
│       └── Article.tsx
├── public/
├── .env
├── optimizely.config.mjs
└── …
Configure property groups (optional)
Property groups organize fields in the CMS (SaaS) editor. Use them to group related properties, such as SEO or metadata fields.
Example configuration
import { buildConfig } from '@optimizely/cms-sdk';

export default buildConfig({
  components: ['./src/components/**/*.tsx'],
  propertyGroups: [
    {
      key: 'seo',
      displayName: 'SEO',
      sortOrder: 1,
    },
    {
      key: 'meta',
      displayName: 'Metadata',
      sortOrder: 2,
    },
  ],
});
Property group fields
key– Unique identifier for the group.- (Optional)
displayName– Label displayed in the CMS (SaaS) editor. - (Optional)
sortOrder– Display order in the editor.
Reference property groups in your content type definitions using the group field.
Use a non-production API environment (optional)
The CLI uses the production API endpoint by default.
https://api.cms.optimizely.comTo use a different environment, such as a test endpoint, set the following environment variable:
OPTIMIZELY_CMS_API_URL=https://api.cmstest.optimizely.comNext steps
You are now ready to model content and sync your content types with Optimizely CMS (SaaS).
Updated about 2 months ago