Export data from CMS (SaaS)
Information on how to export data from Optimizely CMS (SaaS).
ImportantThis topic is for CMS administrators and developers with administrative access rights.
You can export and import data between Optimizely Content Management System (CMS) applications. This function is widely used by developers building functionality in a test or development environment. When you complete work, and the information is ready for the production environment, use the export and import features to transfer the data between applications.
You can export from one or more of the following items to customize the exported content: content items, content types, tabs, blueprints, and style settings. The process is similar for each.
Export content items
-
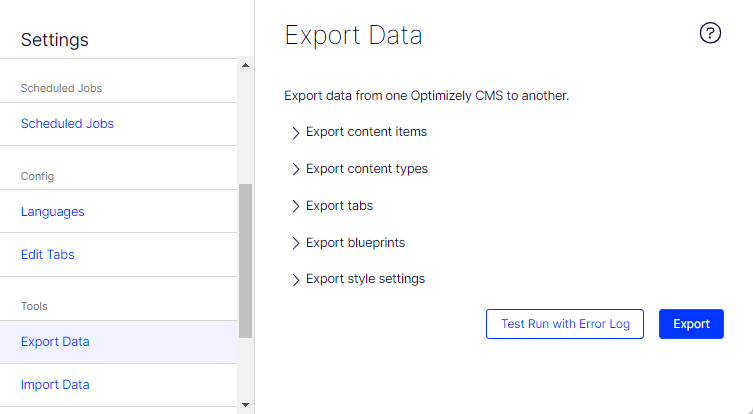
Go to Settings > Export Data.
-
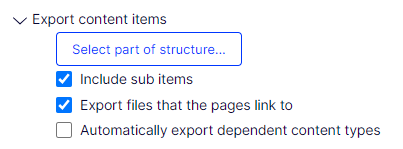
Select Export content items.
-
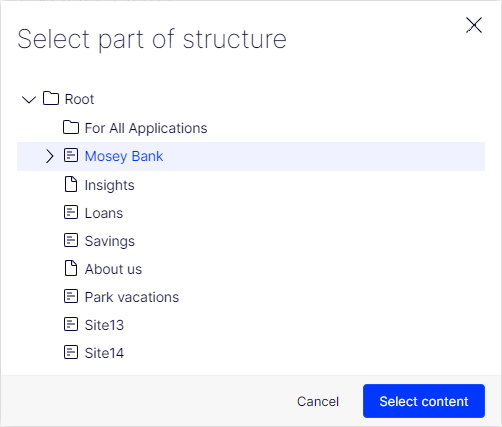
Click Select part of a structure to limit the exported data to part of the content tree. The following image shows that exporting occurs only for the Mosey Bank branch.
-
Optional: Select any of the checkboxes:
-
Include sub items – Exports the item's children also.
-
Export files that the pages link to – Exports global assets (such as shared blocks and images and so on) that the selected item links to.
NoteLocal assets (saved under For this Page) are included in the export.
-
Automatically export dependent content types – This option is mostly used for older untyped pages and specifies that the content type is included in the export. For newer, typed pages or if the import application already has this content type, selecting this option is unnecessary.
-
-
Optional. See Test run with error log in this article.
-
Click Export to download the file package. Your export package is saved to your web browser's default download location. See also Import data into CMS (SaaS).
NoteTo update a single content item through export and import, deselect Include sub items and export the item. Then import the item and make sure Update existing content items with matching ID is selected.
Export content types
-
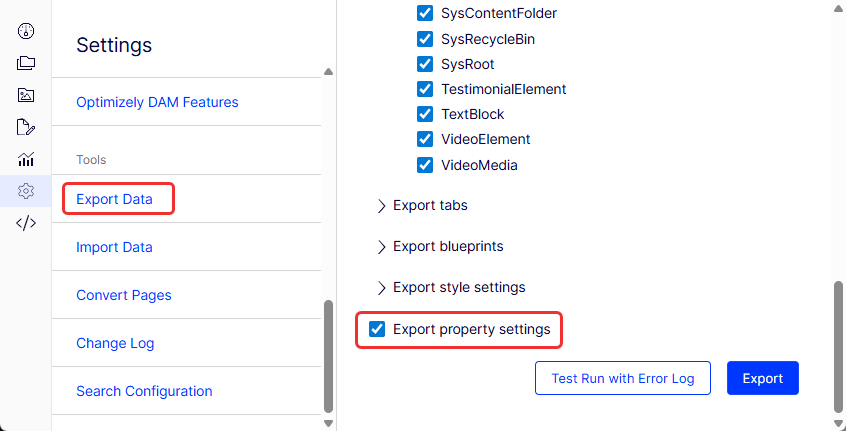
Go to Settings > Export data.
-
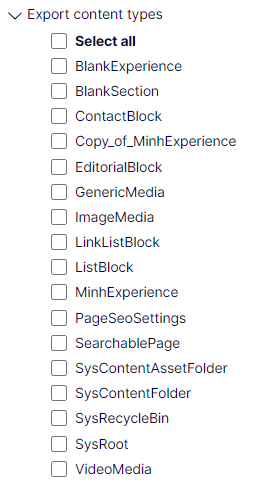
Select Export content items. Select any or all content types to export.
-
If you select one or more content types, you see an Export property settings option at the bottom of the list. Select this option to ensure that property settings, such as dropdown or choice field values, are included in the export.
-
Optional. See Test run with error log in this article.
-
Click Export to download the file package. Your export package is saved to your web browser's default download location. See also Import data into CMS (SaaS).
Export tabs
-
Go to Settings > Export data.
-
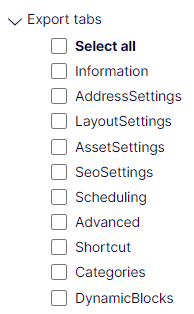
Select Export tabs. Select any or all tabs to export.
-
Optional. See Test run with error log in this article.
-
Click Export to download the file package. Your export package is saved to your web browser's default download location. See also Import data into CMS (SaaS).
Export blueprints
-
Go to Settings > Export data.
-
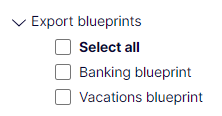
Select Export blueprints. Select any or all blueprints to export.
-
Optional. See Test run with error log in this article.
-
Click Export to download the file package. Your export package is saved to your web browser's default download location. See also Import data into CMS (SaaS).
Export style settings
-
Go to Settings > Export data.
-
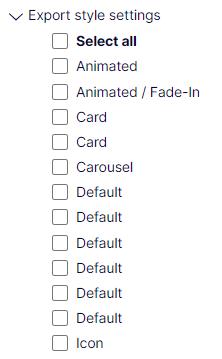
Select Export style settings. Select any or all style settings to export.
-
Optional. See Test run with error log in this article.
-
Click Export to download the file package. Your export package is saved to your web browser's default download location. See also Import data into CMS (SaaS).
Test run with error log
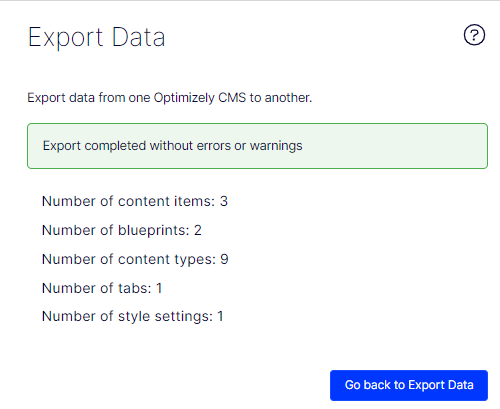
Click Test Run with Error Log to preview how the export will turn out before you export the content.
Updated 3 months ago
