Save as blueprint
Steps to save an experience as a blueprint in Optimizely CMS (SaaS).
When you create an experience or section you want to reuse, you can save the experience or section as a blueprint. To rename or delete a blueprint, see Blueprints.
Save experience blueprint
-
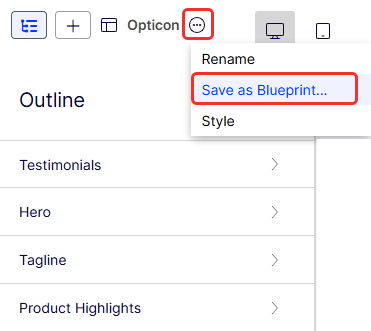
At the experience title, select More (...) > Save as Blueprint...
-
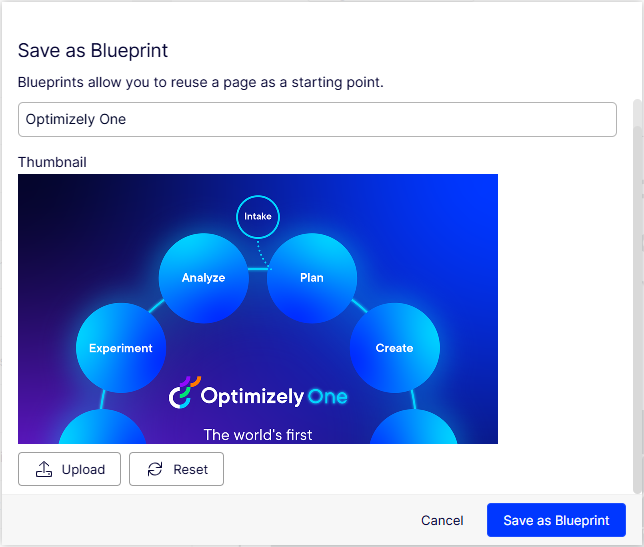
Enter a name for the blueprint.
-
Visual Builder creates a thumbnail image for the blueprint, but you can click Upload to change it with another image.
-
Optionally click Reset to revert to the original thumbnail image.
-
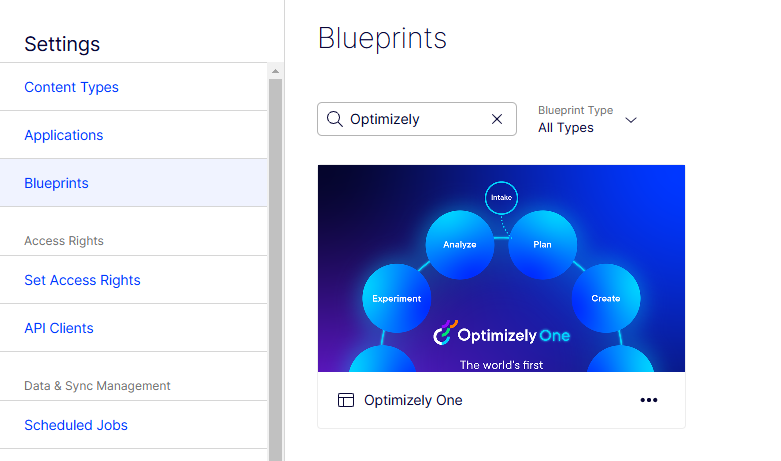
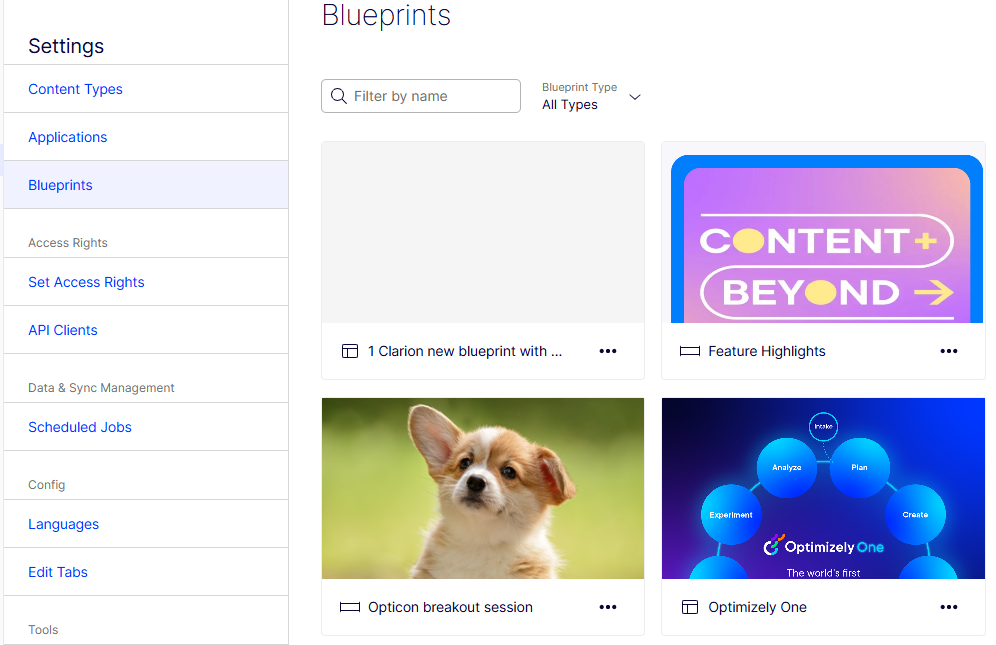
Click Save as Blueprint and your blueprint displays in the list among the other blueprints when you create an experience. You can filter by enter a partial blueprint name in the search box, and filter by experience, section, or all types to find the blueprint you want.
Save section blueprint
-
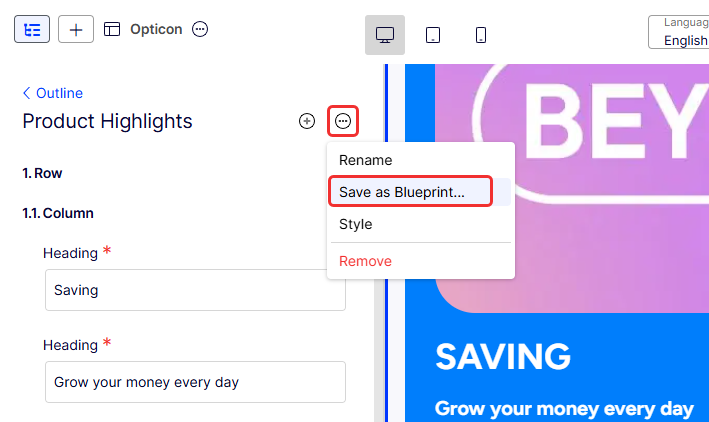
At the section title, select More (...) > Save as Blueprint...
-
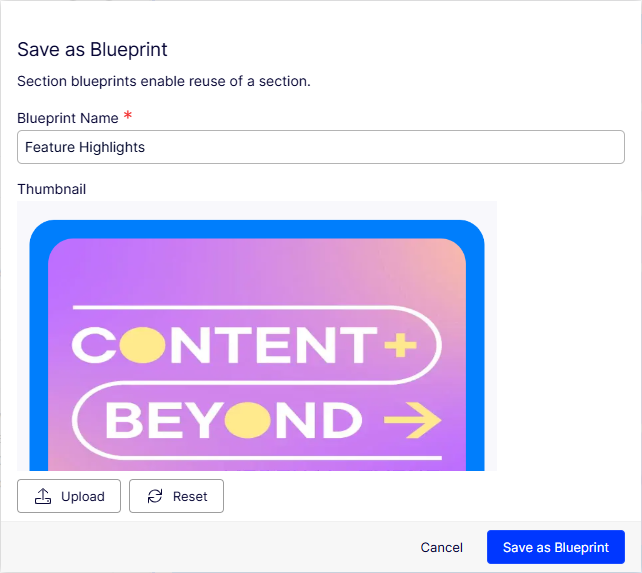
Enter a name for the blueprint.
You can also optionally upload an image to replace the thumbnail image. You can click Reset to revert to the original thumbnail image.
-
Click Save as Blueprint and your section blueprint displays in the list among the other section blueprints when you create an experience.
Updated 6 months ago
