Get started with CMS (SaaS)
Get started with CMS (SaaS) for content managers.
Optimizely Content Management System (CMS) (SaaS) provides powerful web content management capabilities through an intuitive user interface, letting users work efficiently with content.
NoteBefore editors can create content in CMS (SaaS), administrators and developers must implement a content model that is modular and reusable to ensure consistency and reduce redundancy. A robust content model supports your project's immediate needs and its long-term evolution.
See an interactive demo on how to approach content modeling in Optimizely CMS (SaaS) and Visual Builder.
Enter your username and password in the Optimizely login dialog box, and click Log In.
After logging in, your implementation and access rights control the options you see.
General features
- Context-sensitive actions – Some features are only available in certain contexts. The toolbar (for example) presents relevant actions depending on what you are currently doing, and the add (+) button also offers context-sensitive options.
- Primary actions – Some actions open in a window, such as a page delete confirmation. The background is then dimmed, meaning you must finish the primary action to continue.
- Action feedback and notifications – Successful actions are confirmed by a message in the notification bar. A notification may also display if an error requires you to take action.
- Drag-and-drop operations – Drag-and-drop is supported in many areas. For example, you can drag pages, media files, and shared blocks into the rich-text area or content areas or rearrange the page tree structure using drag-and-drop.
- Tooltips – Hover over a button or field, and a short tooltip displays.
- Keyboard commands – Standard keyboard commands are supported in many areas, such as moving pages in the page tree or the rich-text editor.
- Search – Supported in many areas to locate, such as pages in the page tree or media in the folder structure.
- Adaptable work environment – Resize and pin the panes depending on what you are currently doing, and add and remove gadgets of your choice for quick access to functionality.
- Support for time zones – Publishing actions in the edit view is done in your local time zone, whereas administrative actions are based on server time.
- Context menus – Available in many areas, such as the panes, page tree, and item listings. The menu displays different options depending on where you are in the interface and what you are doing.
CMS (SaaS) dashboard
NoteYou must have at least edit privileges to see the CMS (SaaS) dashboard. See Access rights.
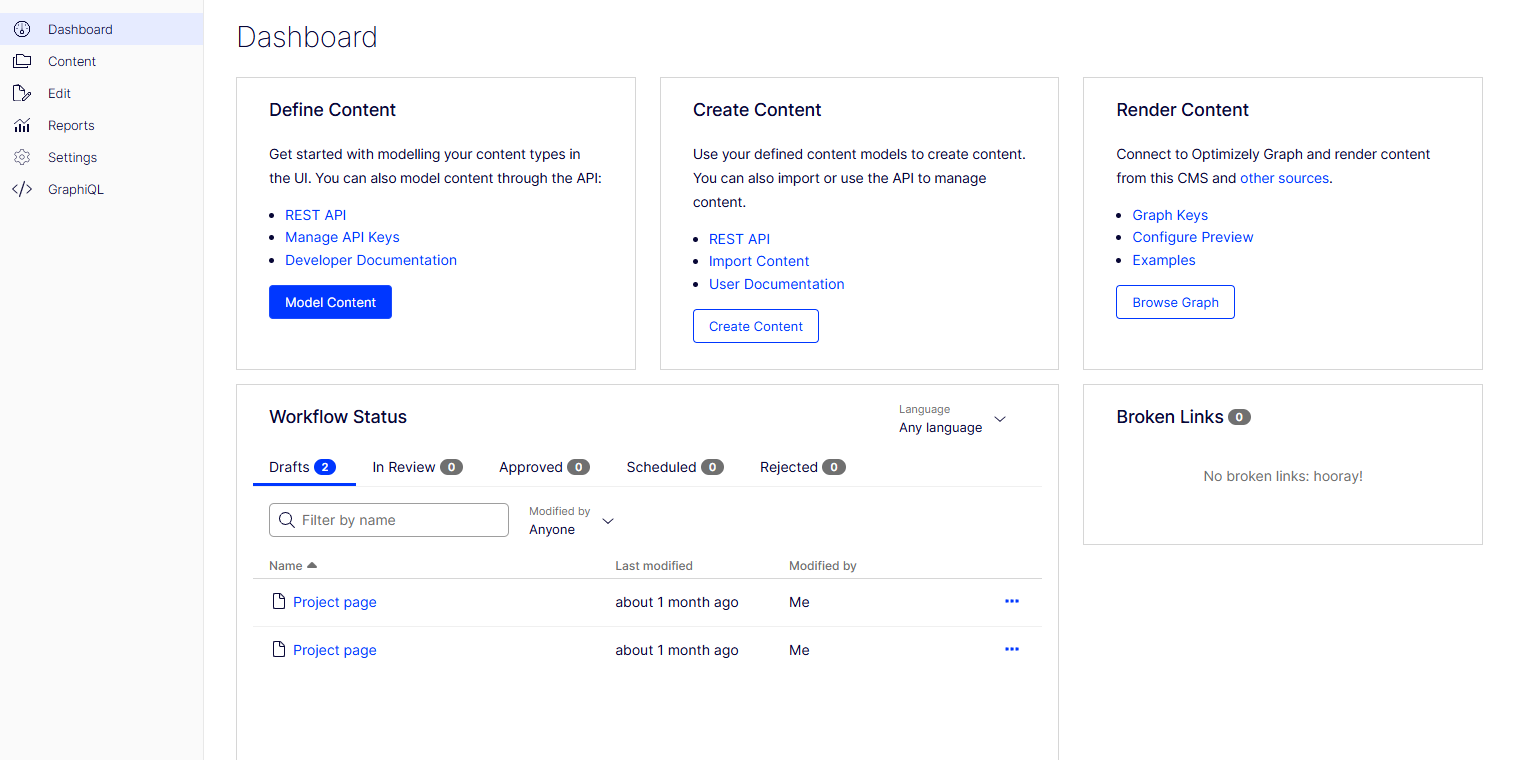
The CMS (SaaS) dashboard provides a centralized view of your content that lets you access and manage information from a single location. Each tab displays key information about your CMS (SaaS) instance.
-
Define Content – Click Model Content to open the CMS (SaaS) settings. You can also access the following links:
- REST API – Opens Introduction to the CMS (SaaS) REST API.
- Manage API Keys – Opens Settings > API Keys. See API Keys.
- Developer Documentation – Opens the developer Get started documentation.
-
Create Content – Click Create Content to open the Edit view. See Get started with Visual Builder and All Properties editing view. You can also access the following links:
- REST API – Opens Introduction to the CMS (SaaS) REST API.
- Import Content – Opens Settings > Import Content. See Import data into CMS (SaaS).
- User documentation – Opens this document.
-
Render Content – Open Optimizely Graph to render content with the following links:
-
Graph Keys – Opens Settings > API Keys. See API Keys.
-
Configure Preview – Opens Enable Live Preview.
-
Examples – Opens Github with examples of Optimizely Graph.
-
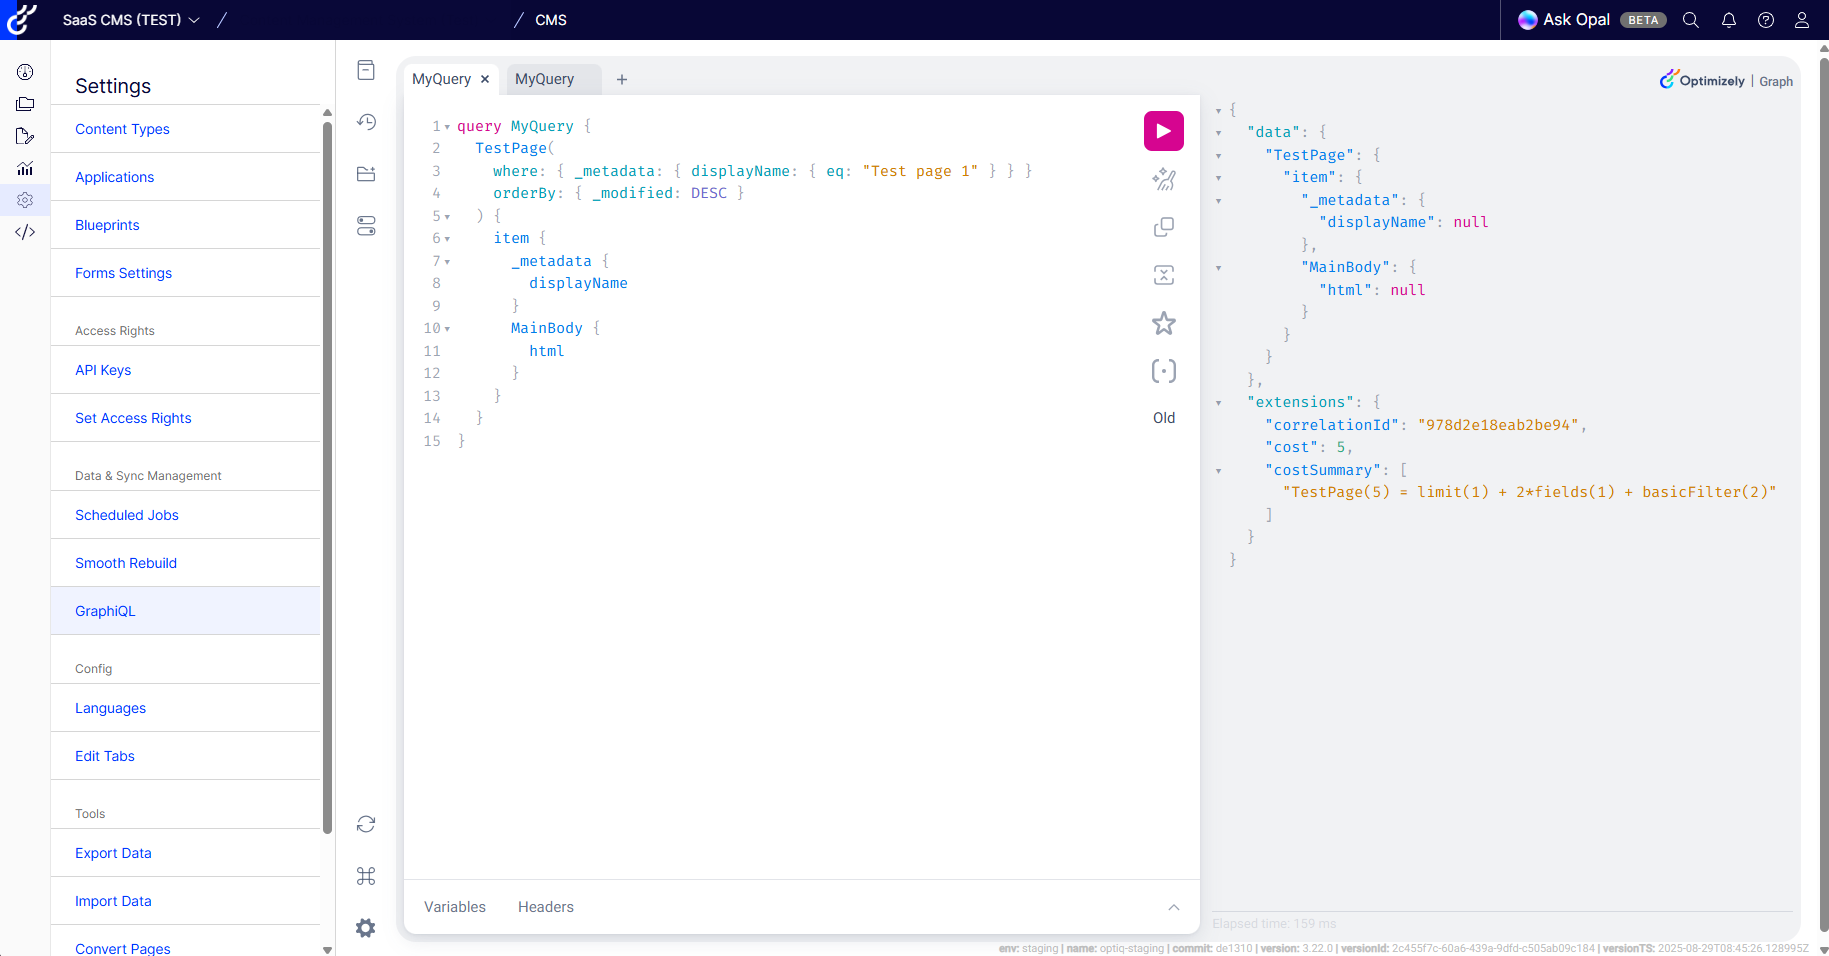
Browse the graph – Opens Optimizely Graph.
-
Note
- Access the Standard GraphQL API through the URL https://cg.optimizely.com/content/v2?auth={singlekey}. Use the single key you received when your account was created.
- Access the Latest GraphQL API through the URL https://latest.cg.optimizely.com//content/v2?auth={singlekey}. Use the single key you received when your account was created.
-
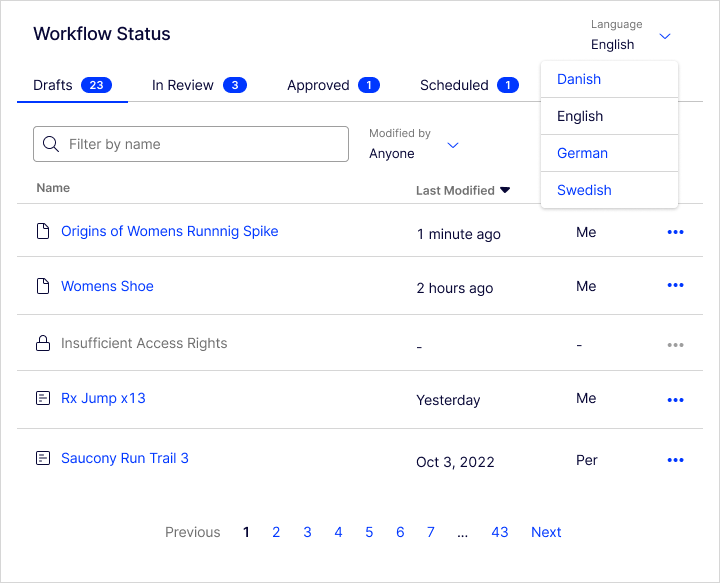
Workflow Status – Click on any of the tabs, and click any link names to go directly to edit the page. You can sort the Name, Last modified, and Modified by columns by clicking on them. You can also select More (...) to edit the page or edit the workflow for that page. See Approval sequences.
The following image shows workflow status activity on 29 pages: 23 Drafts, three In Review, and one each of Approved, Scheduled, or Rejected status. It also shows 22 broken links. When the dashboard is loaded, each tab displays numbers; to update the numbers, click on the tab titles. It also shows the languages in which you can view the information.
-
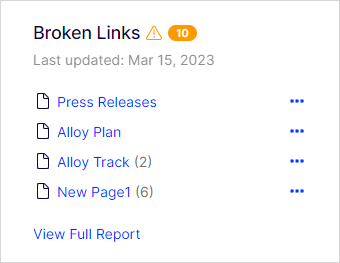
Broken Links – Click a content link to fix any broken links, if applicable. This section shows the number of broken links in the database and lists the pages with at least one broken link. If there is more than one broken link on a page, the page is listed only once. For example, if you have only one page with 25 broken links, it displays 25 with a list of only one page. If you have 25 pages with one broken link each, it displays 25 broken links with a list of 25 pages (five at a time). If you do not have any broken links, you see a message that there are no broken links.
 Note
NoteBroken links are not automatically updated. You need to refresh the dashboard to update the broken links gadget.
-
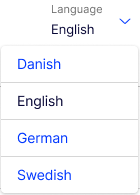
Language – Select from the available languages to see the dashboard in that language. The content list in every tab in the workflow status displays only content of that language.
 Note
NoteAdministrators can enable the language filter options. Also, if you go to the dashboard and select Swedish (for example), you can go to another page and Swedish is maintained when you return to the dashboard. However, if you log out, the language filter is reset to the default language.
CMS (SaaS) Content Manager
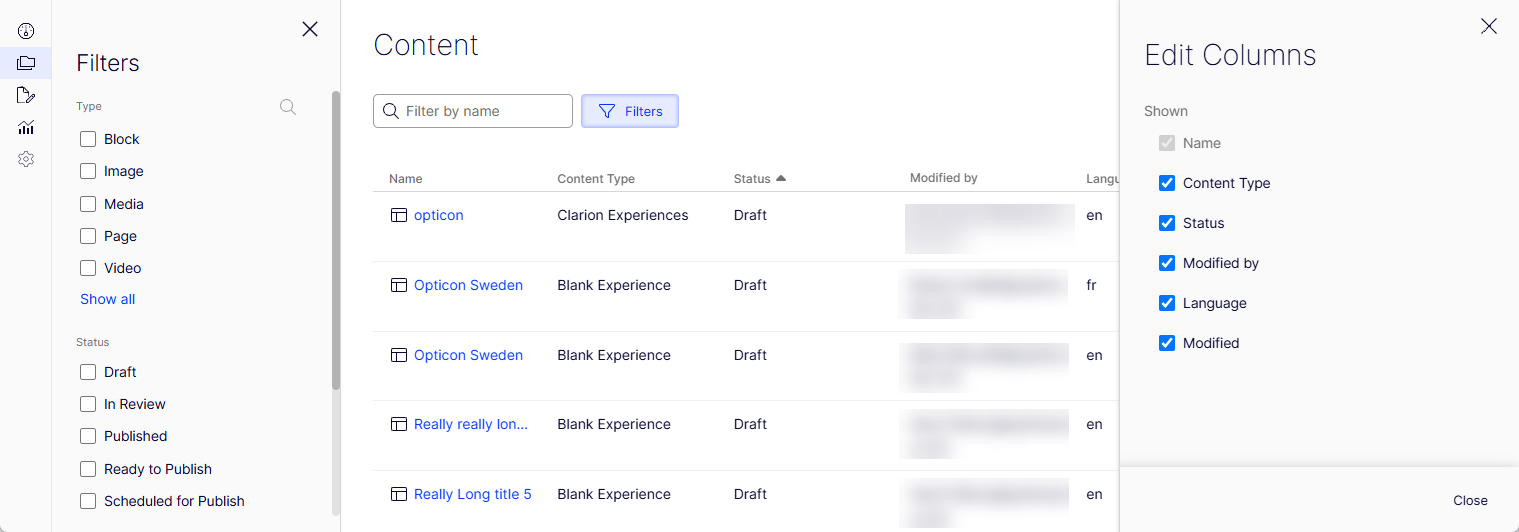
The CMS Content view addresses these scaling issues by displaying all content (pages, assets, and media) in a "flat" view table structure that you can filter, search, and sort to get to the content you want. See Manage content with Content Manager.
CMS (SaaS) Edit view
Content managers primarily use CMS (Saas) to edit their content using Visual Builder and the All Properties editing view. Visual Builder is the editor interface in CMS (SaaS) that makes content creation and layout building intuitive and accessible to non-technical users.
Content managers can design, modify, and reuse layout templates (blueprints) directly in Visual Builder and create adaptable experiences for any channel without developer involvement. Front-end developers can also create styles that you can pick to help you adhere to your brand's guidelines.
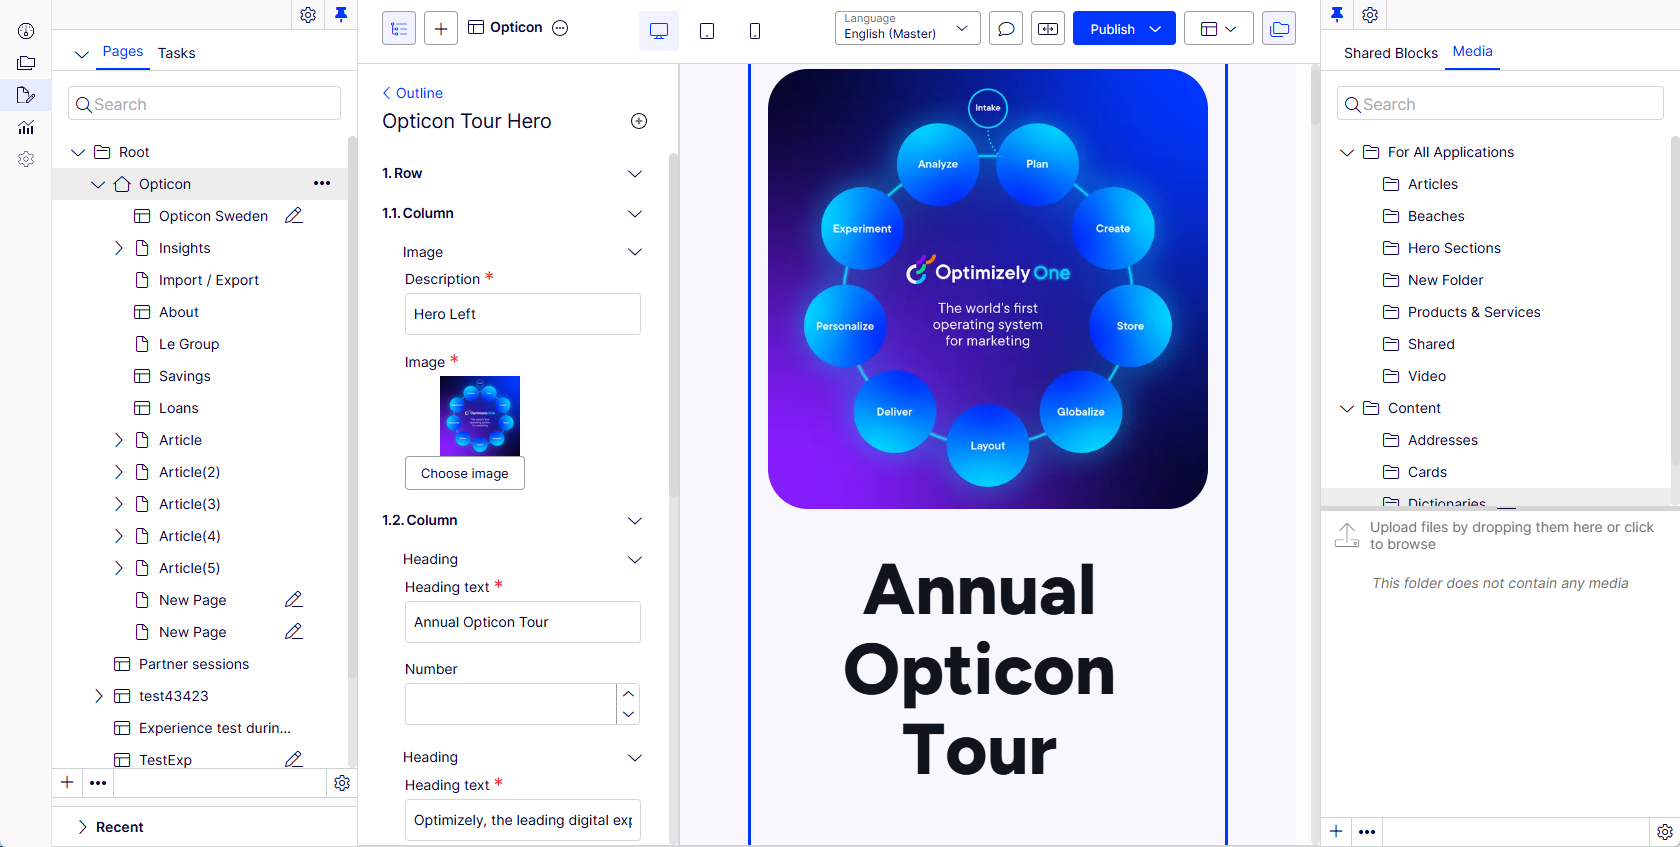
The toolbar and the panes in the CMS (SaaS) edit view provide access to functions when working with content. When entering the edit view, you have the top menu and the toolbar at the top, and adjustable panes to the left and right.
CMS (SaaS) Reports view
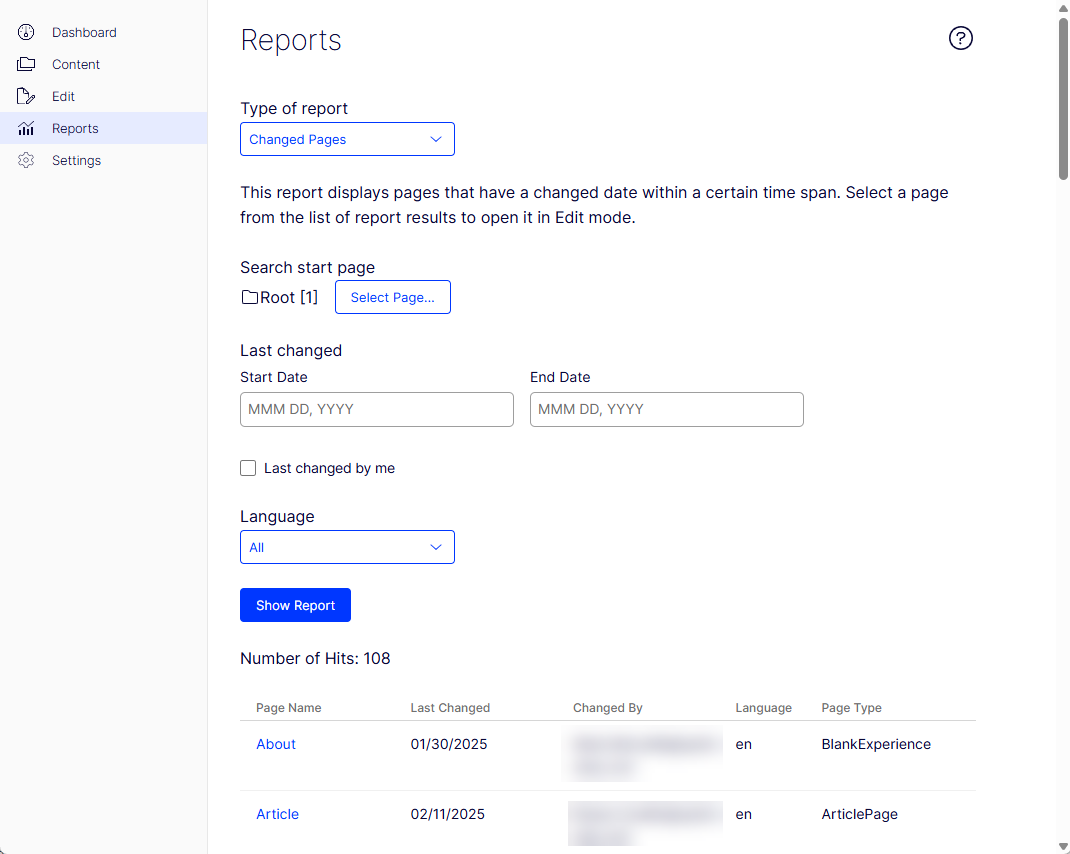
Reports are valuable tools for content editors, application owners, marketers, and merchandisers to monitor various application activities. CMS (SaaS) has built-in reports.
When you generate a report, select the desired report and the starting point in the page tree from where you want the report to include data, then click Show Report. You can filter data by time and language, and pages included in the report results open in edit page when you click a page link.
NoteSome reports rely on scheduled jobs running in the background to generate report data. See Scheduled jobs.
Select Type of Report to display a report about one of the following subjects:
- Not Published Pages – Displays pages that have not been published and have a last changed date within a certain period. Select a page from the list of report results to open it.
- Published Pages – Displays pages published within a certain period. Select a page from the list of report results to open it.
- Changed Pages – Displays pages with a changed date within a certain period. Select a page from the list of report results to open it.
- Expired Pages – Displays pages with a stop publish date within a certain period. Select a page from the list of report results to open it.
- Simple Addresses – Displays published pages that have a simple address. Select a page from the list of report results to open it.
- Link Status – Displays unreachable links, perhaps due to a page being moved, an application shut down, or a momentary outage of a target link.
CMS (SaaS) Settings view
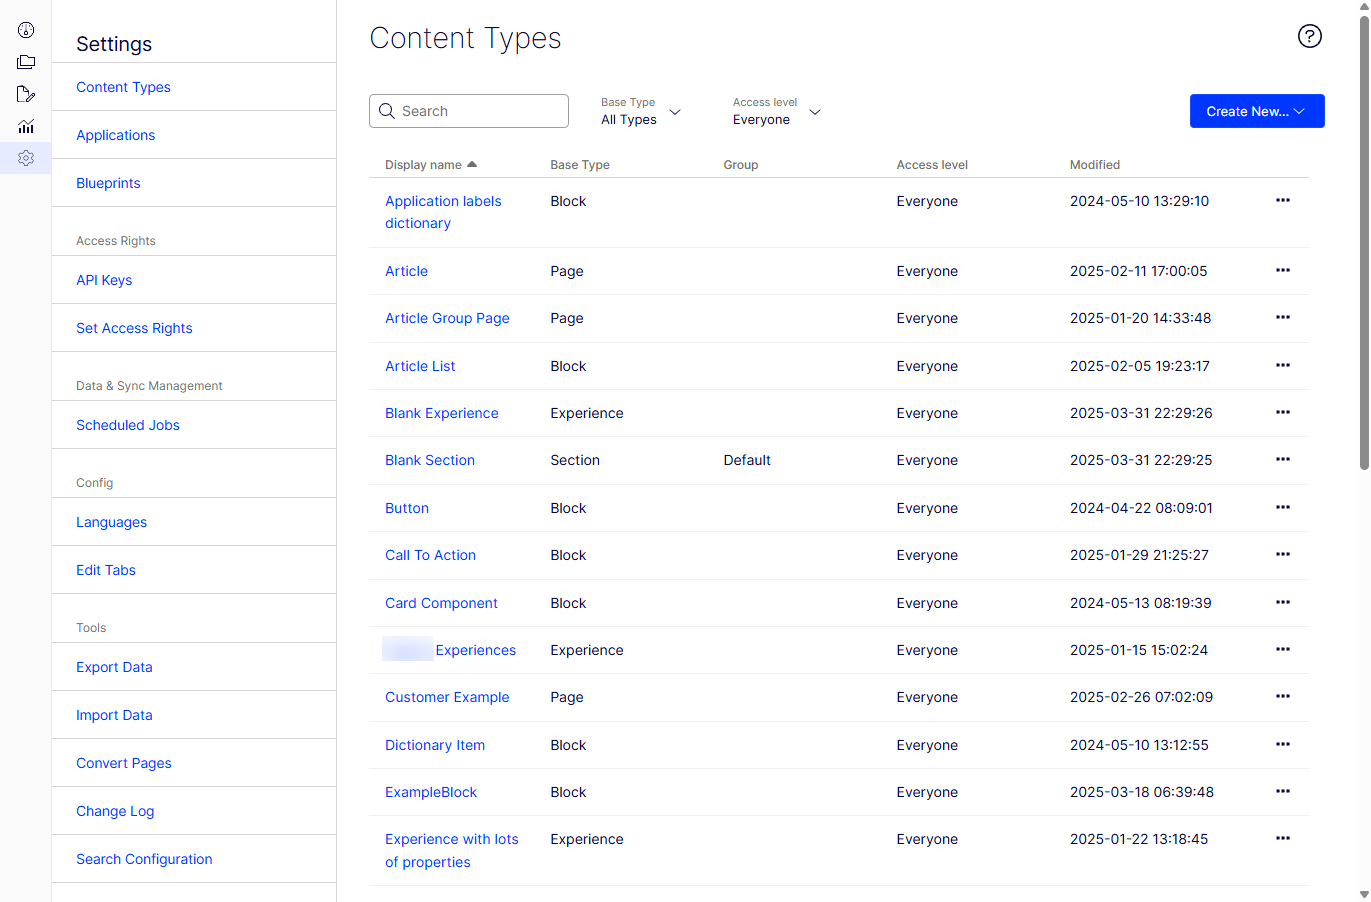
NoteCMS (SaaS) administrators and developers with administrator access rights manage the following CMS (SaaS) user interface settings.
- Content Types
- Applications
- Blueprints
- Access rights
- Scheduled jobs
- Config
- Tools
My settings
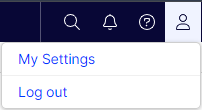
You can change some of your personal account settings by going to the top menu > your avatar > My settings.
NoteYour username is set in an external system, such as Windows or an SQL database, and cannot be changed in CMS.
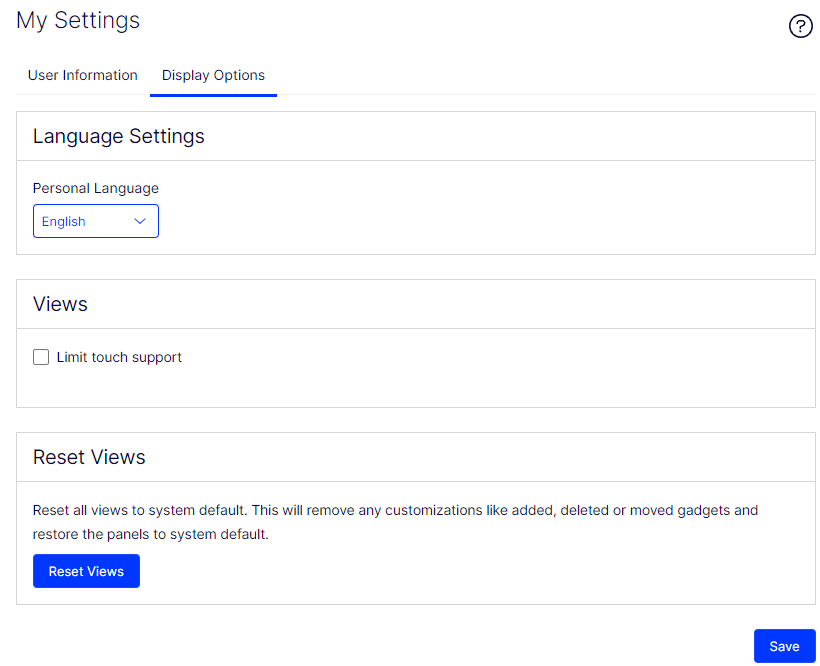
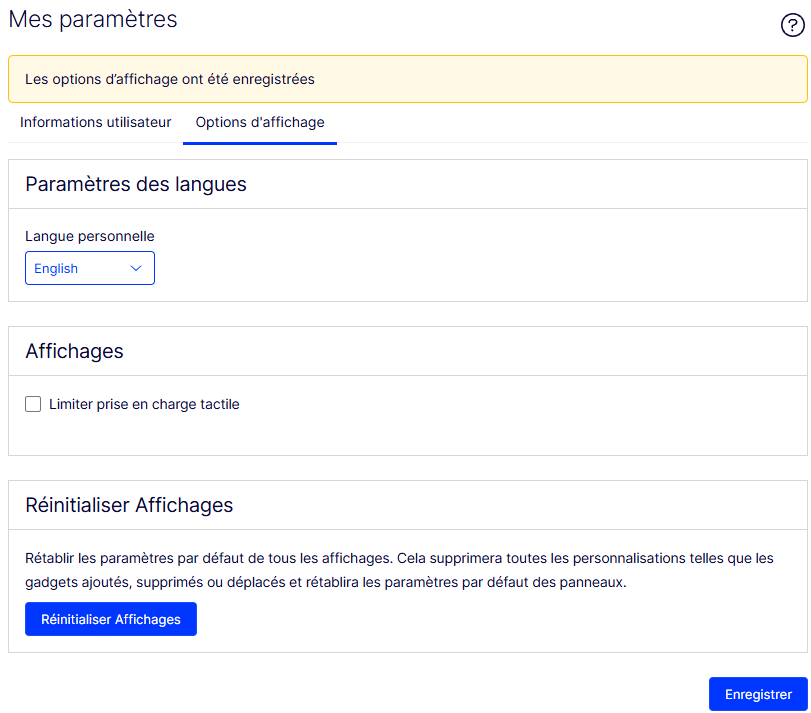
In the Display Options tab, you have the following settings:
-
Personal language – You can select your desired user interface language from the drop-down list. This setting affects the language of the user interface, such as text in buttons and dialog boxes. It does not affect the language of your website.
CMS (SaaS) supports 12 user interface languages. English is the master language, and the others are translated languages. You can have many more content languages.
- DA – Danish
- DE – German
- EN – English
- ES – Spanish
- FI – Finnish
- FR – French
- IT – Italian
- JA – Japanese
- NL – Dutch
- NO – Norwegian
- SV – Swedish
- ZH – Simplified Chinese
See the Set a personal language preference section.
-
Views – Limit touch support – On touchscreen devices, browsers may have difficulties prioritizing between input from the screen and the computer mouse, which may cause problems such as making it impossible to resize panes using the computer mouse. If you experience problems with CMS and the touchscreen, enable the Limit touch support feature. This feature prioritizes computer mouse input over touchscreen input and enables the computer mouse to interact with drag and drop, resizing panes, and so on.
-
Reset Views – You can reset your user interface views to the settings. If you have changes to the user interfaces, such as added, moved, or deleted gadgets, these changes are undone, and the default views are displayed.
Set a personal language preference
You can set the preferred UI language in your user profile.
-
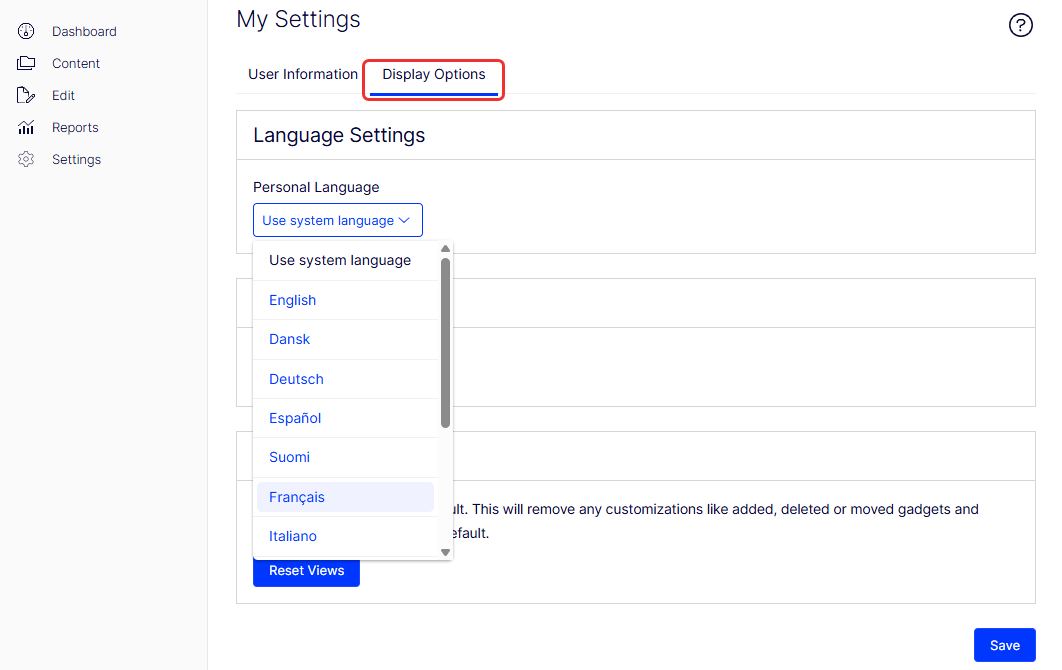
Select your user profile avatar > My Settings.
-
Select your preferred language from the Personal Language drop-down list in the Display Options tab.
-
Click Save. The user interface displays the selected language.
Gadgets
A gadget is a small application added to the assets and navigation panes in CMS (SaaS).
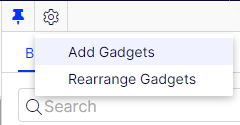
Select Add Gadgets, and select a gadget to add from the list of available gadgets.
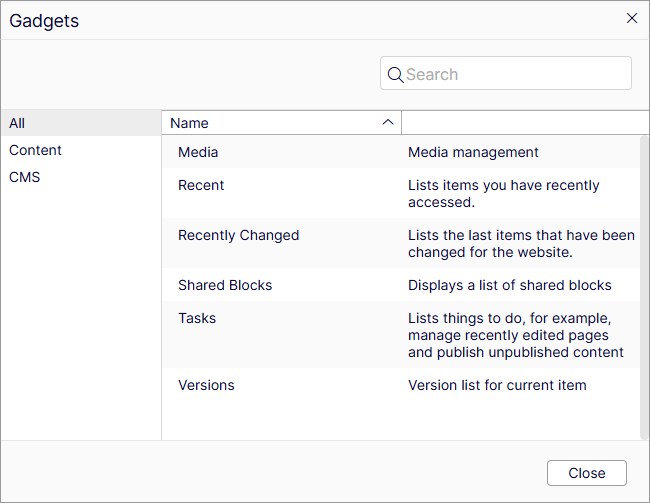
The Gadgets dialog box displays.
-
Media – Used to access media files (default in the assets pane).
-
Recent – Displays items you have viewed during your current browser session.
-
Recently changed – Displays recently changed content on the application.
-
Shared Blocks – Used to access shared blocks (default in the assets pane).
-
Tasks – Displays tasks to be done on the application. This gadget lets you filter items on status. You can, for example, see a list of items set as Ready to Publish.
-
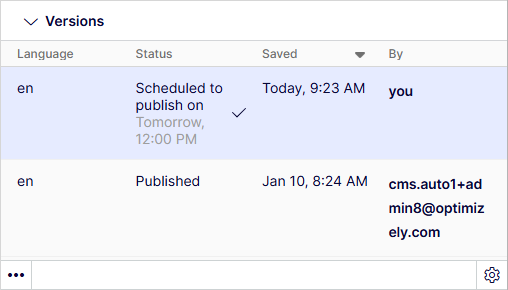
Versions – Lets you manage content history, track changes, and control publishing workflows to ensure content governance and collaboration. See also Compare versions of content for information on working with versions. The Versions gadget can display the following statuses for content versions:
To move or remove a gadget:
- Select Rearrange Gadgets, select a gadget, and drag it to the desired position on the dashboard or in a panel.
- Select Rearrange Gadgets, and click the Remove gadget symbol next to the gadget you want to remove from the dashboard or pane.
User interface elements
-
Product chooser – Select which Optimizely product to work with if you have more than one.

-
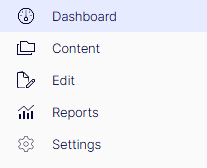
Left navigation bar – Access to Dashboard, Edit, Reports, and Settings.
-
Settings – Edit settings for the Content tree.

-
Panel pin – Expand and lock the Content tree or Assets panels in an open position.

-
Toggle navigation pane – Toggle to display or hide the Content tree.

-
Create content – Create a page or shared block.

-
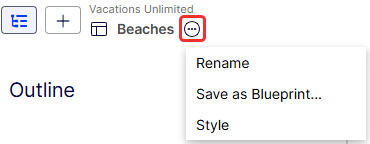
Breadcrumb – See the hierarchy of the content tree and click for quick access. For example: Vacations Unlimited / Beaches). Click the title to rename it or open the More (...) menu for other options.
-
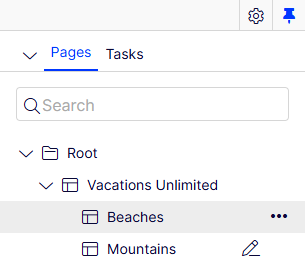
Content tree – See the page tree structure (Pages) and tasks management (Tasks).
-
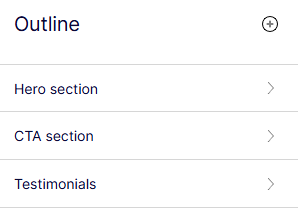
Outline pane – See a list view of your sections. You can drag and drop a section in any order or go to the content you want to edit by hovering over the section in the preview or the outline.
-
Preview selectors – Select an icon to view content as it displays on that device (Desktop, Tablet, or Mobile).

-
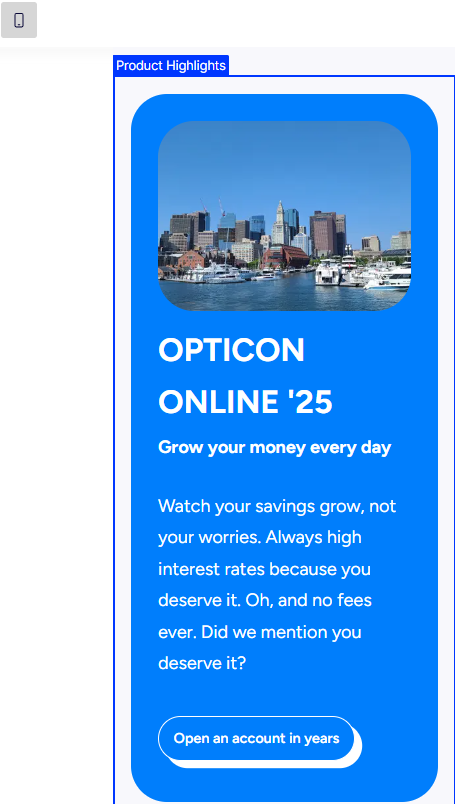
Preview panel – See content in the selected device rendering. The following image shows a Mobile preview:
-
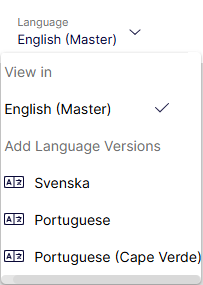
Language selector – Select the language if you have more than one installed.
-
Comments – Click to open a pane to add comments about the page. See Collaborate with comments.

-
Compare different versions – Work with versions. See Compare versions of content.

-
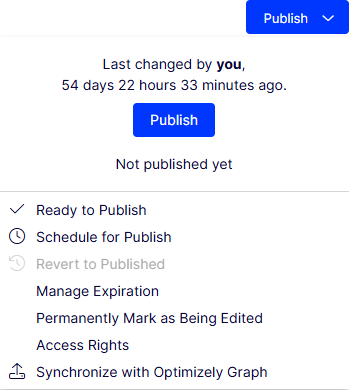
Publish or Options – Access an actions menu with context-sensitive publishing options, which vary depending on content status and user access rights. When you have unpublished content open, this button says Publish. Otherwise, it is called Options. When there is unpublished content, you can publish it (if you have publishing rights) from this button. You can also schedule it for later publishing or revert to the published version. Revert to Published discards the current draft and displays the last published version.
-
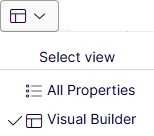
Visual Builder and All Properties – Open the Visual Builder and the All Properties editing view to access available properties. The All Properties editing view provides access to advanced properties, such as access rights and language settings. When editing content properties, you can add, delete, or select items such as a category, an image in a media folder, or a page in the content tree.
NoteWhen you work with experiences, element-enabled or section-enabled shared blocks, select Select view > Visual Builder. See Get started with Visual Builder
-
Toggle assets panel – Toggle to display or hide the Assets panel.

-
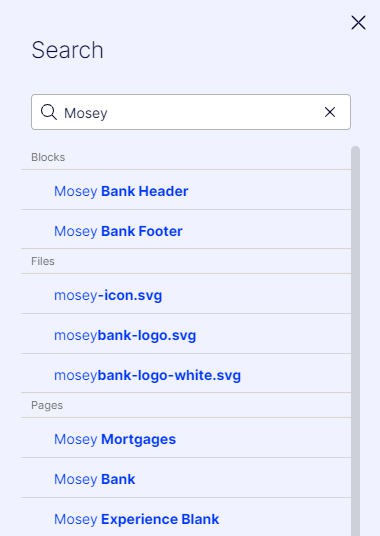
Search – Open a panel to search CMS (SaaS).
-
Notifications – View notifications when you have them.

-
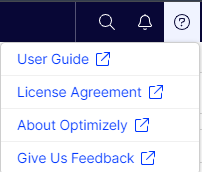
Help – See links to product documentation.
-
Account – See the My settings section.
-
Assets pane – View the Media and Shared Blocks folder structures. Drag and drop one or multiple items from the assets pane into the content you are currently working on.
-
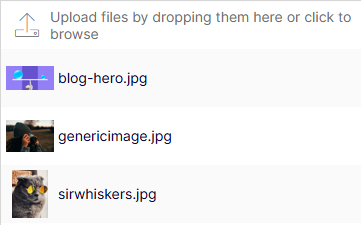
Assets – View assets associated with the selected Shared Blocks or Media folder.
-
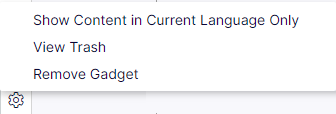
Settings (Content tree, lower) – Access options to Show Content in Current Language Only, View Trash, and Remove Gadget.
-
Settings (assets) – View assets in the Trash.

-
New page or shared block – Create a page in the content tree, or create a shared block in your assets.

-
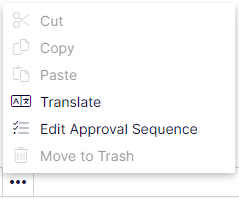
More options (Content tree, lower) – Access options such as Translate and Edit Approval Sequence.
-
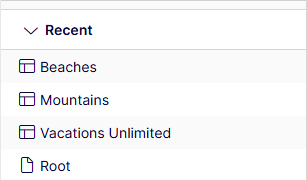
Recent – You can add a gadget to the navigation pane and expand and collapse with the arrow. The following image shows a Recent gadget that shows items you have viewed during your current browser session:
CMS users and related tasks
A user is someone who logs in to the CMS (SaaS) user interface to work with different parts of the platform. Users can belong to one or more user groups and have different roles, depending on which parts of the Optimizely platform they use, their tasks, and the size and set up of the organization.
NoteAdministrators manage users and groups through Opti ID.
- To add users, see Manage users in the Opti ID documentation.
- To add groups, see Manage groups in the Opti ID documentation.
- To set roles and permissions for users and groups, see Manage roles and permissions in the Opti ID documentation.
Content Managers
- Content editor – A content editor is someone with access to the editorial interface who creates and publishes content on the application. Content editors, who understand the application content, work with search optimization for selected content in search results. Editors may also want to follow up on content with unusually high or low conversion rates to update or delete this content.
- Marketer – A marketer creates omnichannel campaigns and content with targeted banner advertisements to ensure customers get a consistent on-site experience. The marketer also monitors campaign KPIs to optimize page conversion. A marketer who understands the application content may also optimize search for campaigns and promote content using personalization features.
Content administrators
- Administrator – An administrator configures system settings from the administration user interface, including search, languages, personalization, and user access. Administrators usually have extended access rights compared to other user groups and can access all parts of the Optimizely platform. They may also have administration access to integrated third-party systems. The administrator may also be the contact person to communicate with the application developers.
- Application owner – A application owner is someone with overall business or technical responsibility for the content and performance of one or more applications. The application owner may monitor reports for activities such as page conversions, customer reviews, or sales progress; rarely creates content but can be involved in the approval of content created by others. An application owner may also have administrative access and be the owner of mailing clients used for organizing campaign mailings.
Developers
- Developer – A developer is someone with source code access and programming skills. Developers work with application configuration, implementation, maintenance, and functionality development. Developers may also install integrations and third-party extensions. Developers may be associated directly with the organization owning the application or with an external partner company.
Additional roles
- Community member and moderator – A community member or a visitor can add content if social features and community functionality are available for the application. This content includes forum and blog postings, reviews, ratings, and comments, in which case an editor or a specific moderator role for large applications and online communities may need to monitor this type of content on the application.
- Recipient – A recipient is an individual who has opted-in to receive emails from a business, for example, when purchasing from the application. Recipients and their associated data are managed in recipient lists used for omnichannel marketing. You can track and analyze recipient actions, such as clicking links in an email and providing input to application owners and users for further marketing actions.
- Visitor – A visitor is someone who visits an application to find information or to use services. Visitors may also contribute to application content as community members, which usually requires registration of an account profile.
Updated about 2 months ago

