Create content types
Explains the content types used in CMS (SaaS) and how to create and edit them.
ImportantThis section is for CMS administrators and developers with administrator access rights. For developer information see Define content types.
Content types are structured models of content. They can be simple or complex. For example:
- You can have a simple Title content type that consists of a single text field.
- You can create something more complex like an Address content type that has a text field for the street, city, and state and a number field for the zip code. See Content modeling for an overview. See also a demonstration of Visual Builder content types.
The content type is the foundation for creating one to many page, shared block, media, and experience instances. You must map the content type and its properties to the corresponding rendering to display content to visitors.
A CMS (SaaS) instance comes with empty content types to get you started.
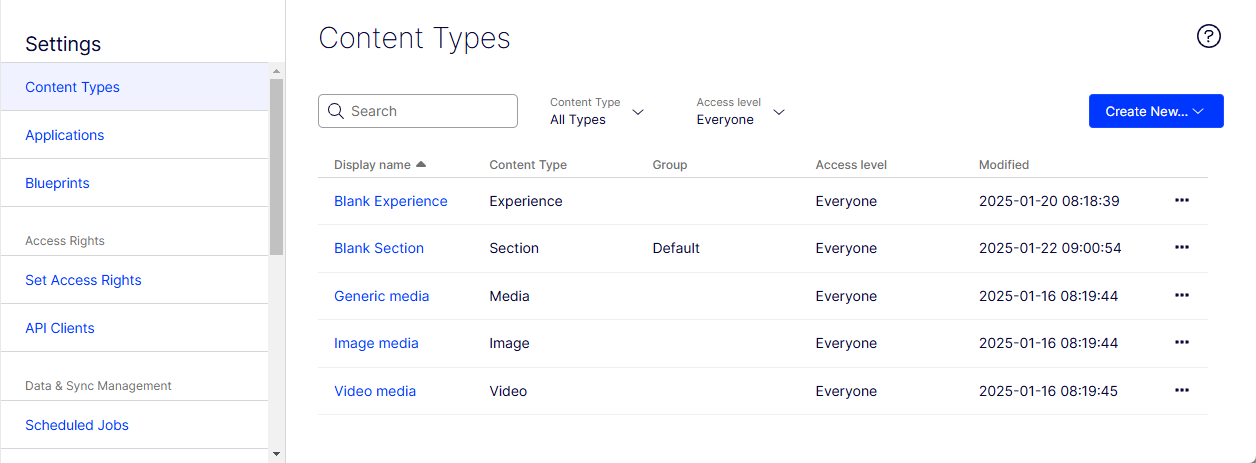
You can build up the content types you need. Go to Settings > Content Types to see a list of existing content types and to create them.
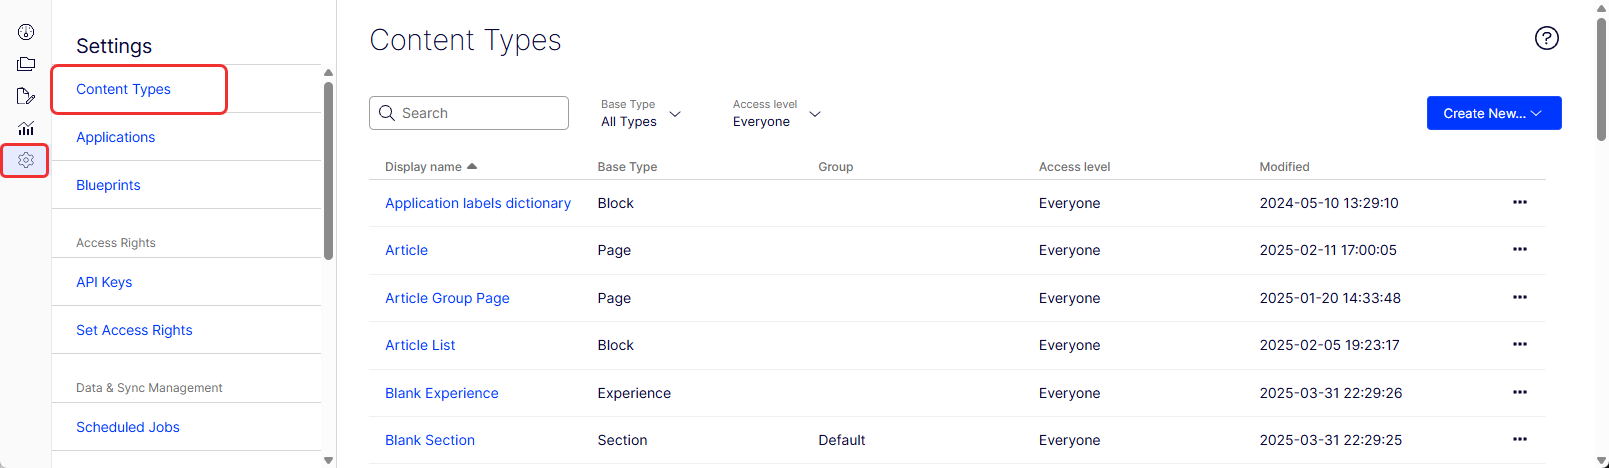
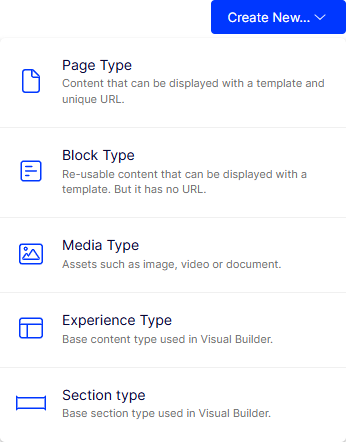
The main structure models for content types are Page, Block, Media, Experience, and Section. Media types are items such as Images, Video, and other Media content. To create a content type, go to Settings > Content Types > Create New > {select the content type you want}.
You can customize content types into specific models for your purposes, such as Article, Article List, Call to Action, Card, and more by defining each model's properties. Each type contains properties where editors enter information. To modify an existing content type's properties, go to Settings > Content Types > {select content type} > Properties.
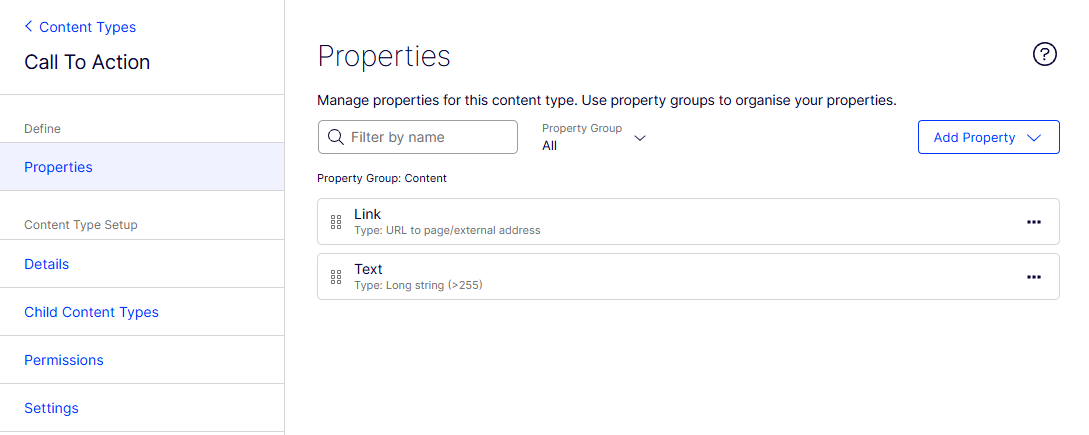
Properties can hold information, such as a link to an image, a page, or editorial text. A typical application has a set of content types that match the identified functions needed on that application.
Page type
A page type is content that you can display with a template and unique URL, used to represent a webpage on your application. You can have multiple webpages using the same page type, but each webpage must be a page type. The following list shows typical uses of the page type:
- A template for a page where the layout is defined and you fill in content, such as a search result page or a product listing page.
- A container page where there is no set layout, and you can modify the layout and content, such as a special campaign page or terms and conditions page.
- A mix of template and container where there is some set layout defined, but you have some freedom for certain layouts or structures such as a homepage with predefined areas for content, but you can change two, three, or four columns in certain areas.
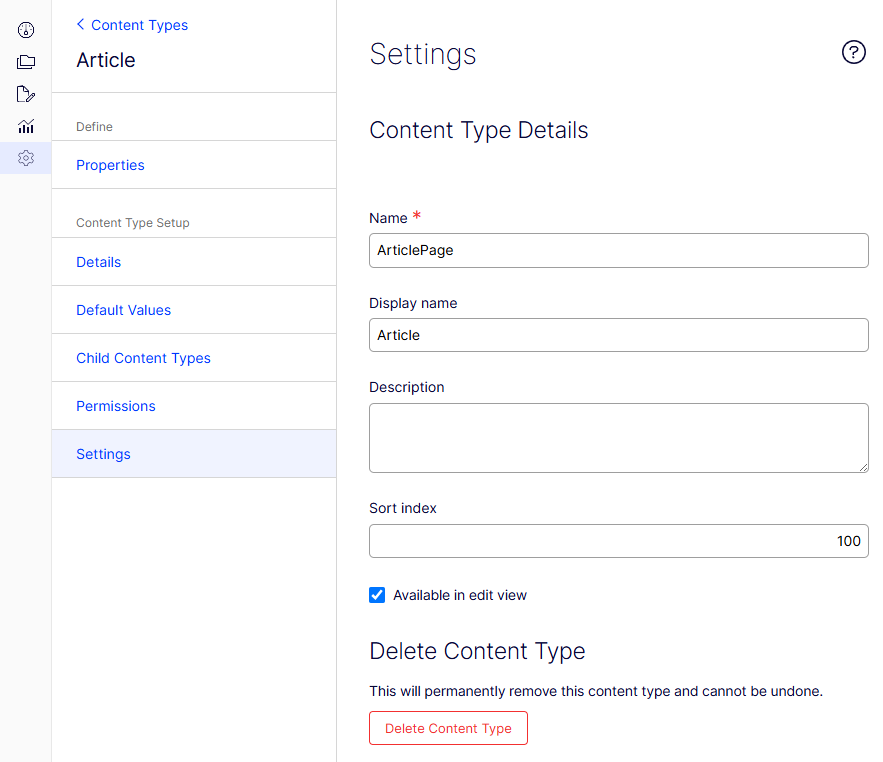
Edit a page type
To edit settings for an existing page type, perform the following steps. See Define page properties for details about page settings.
-
Go to Settings > Content Types.
-
Select the page type from the list.
-
Click Settings.
-
Modify the form.
-
Click Save.
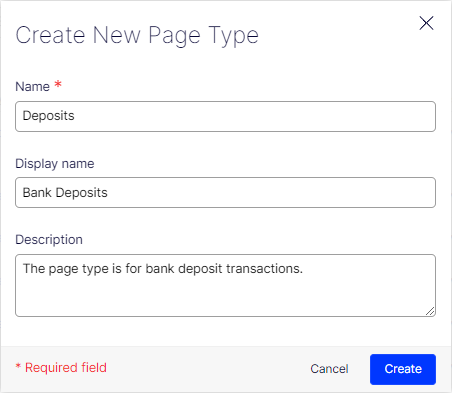
Create a page type
-
Go to Settings > Content Types, and select Create New > Page Type.
-
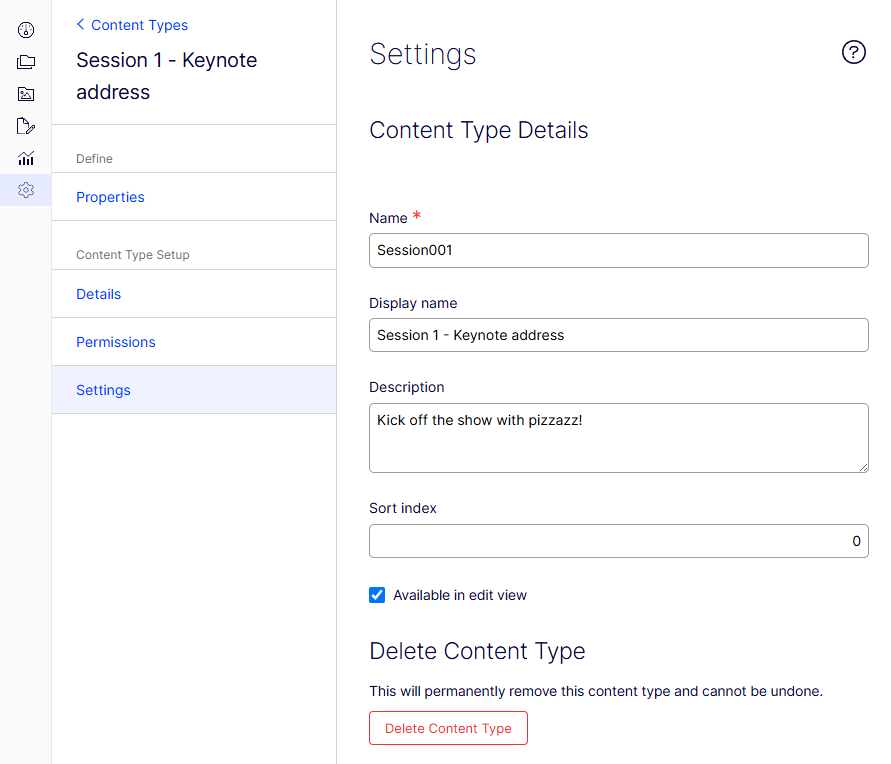
Set values in the new page Settings tab.
- Name (required) – Enter a name for the page type.
- Display name – Enter the name to be displayed in the list of available page types.
- Description – Enter the text describing the page type also displays in the list of available page types.
- Sort index – Enter a number to determine the (ascending) sort order for content types listed on the Content Types page.
- Available in edit view – Select to make the page type available when creating pages in the editorial interface. You should hide rarely used page types, such as the start page type. You can make these available when needed and then hide them again.
-
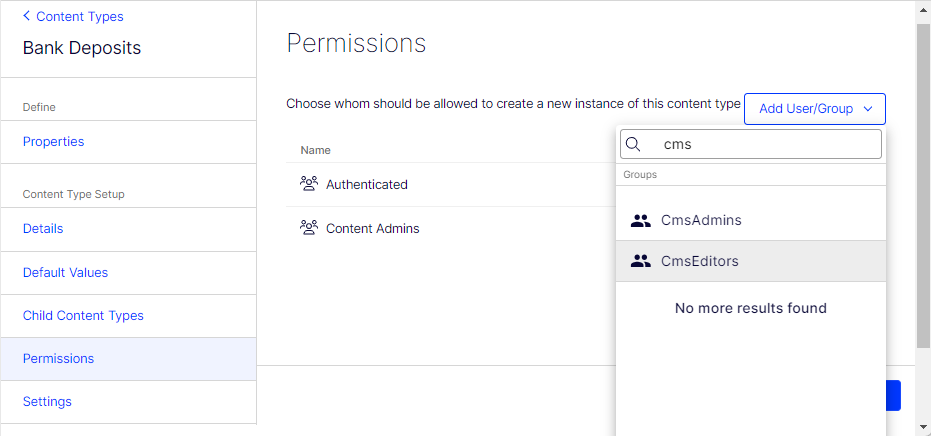
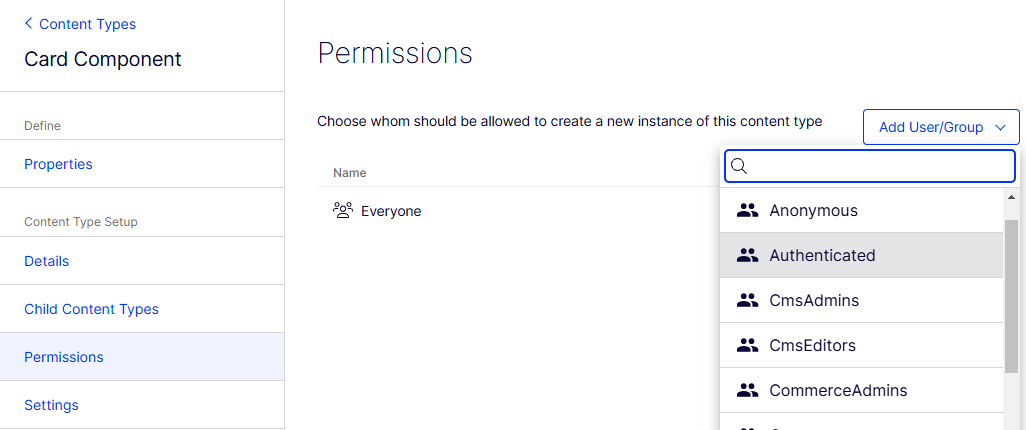
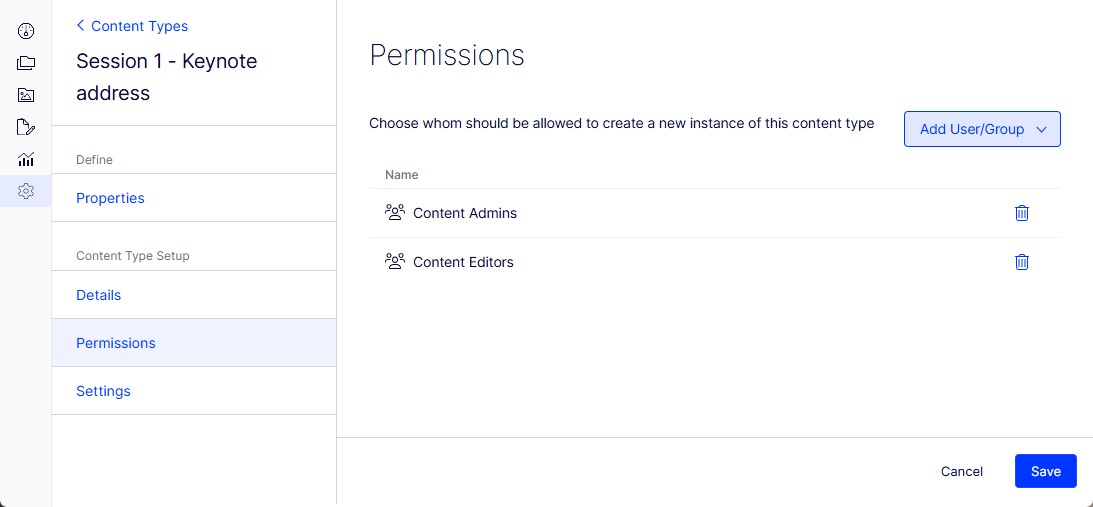
Set the values on the Permissions tab.
You can use the Search box to filter and find users and groups to which you want to give access.
-
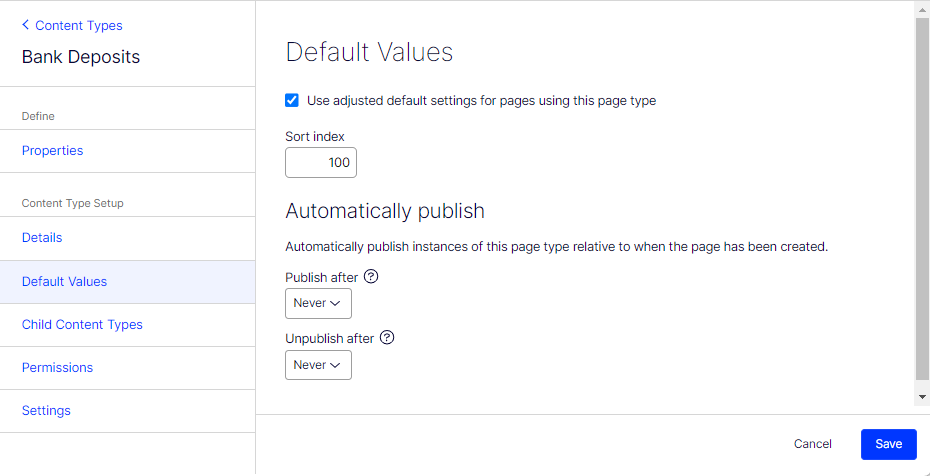
Set values on the Default Values tab for some of the built-in properties.
-
Set values on the Child Content Types tab.
When creating pages, limit the available page types in the page type list to make it easier for editors to choose the correct page type. For example, for a Bank Deposits parent page, you can specify that the only available page type is a Bank Deposits page and not on others.

-
Click Save.
Copy an existing page type
Copying a page type also copies its properties. You can then edit the information for the page type and its properties. Copy a page type as follows:
- Select Copy Page Type in the Manage Page Types tab in the Settings view.
- Select the page type you want to copy from the drop-down list and click Copy. A window displays the same properties.
- Edit the page type information to suit your requirements and click Save.
NoteCopied page types are untyped, and you need to add the path to the display template; otherwise, pages based on the page type do not have a preview.
Make a page type available for only some users
The following example shows how to make the News Page page type available to only some users to ensure that only authorized users can create news articles for the organization.
-
Create a group for users who can edit new articles.
-
Go to Settings > Administer Groups.
-
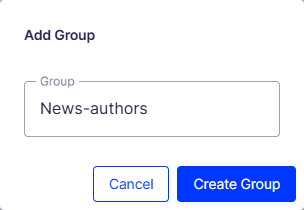
Click Create Group.
-
Enter News-authors and click Create Group. The group is added to the groups list.
-
-
Add users to the News-authors group.
-
Go to Settings > Administer Users.
-
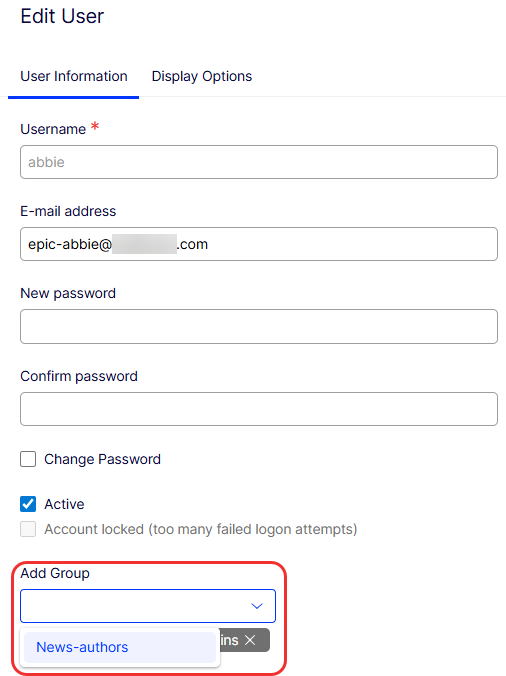
Click the user (Abbie for this example) to edit the user.
-
Select Add Group > News-authors.
-
Click Save User.
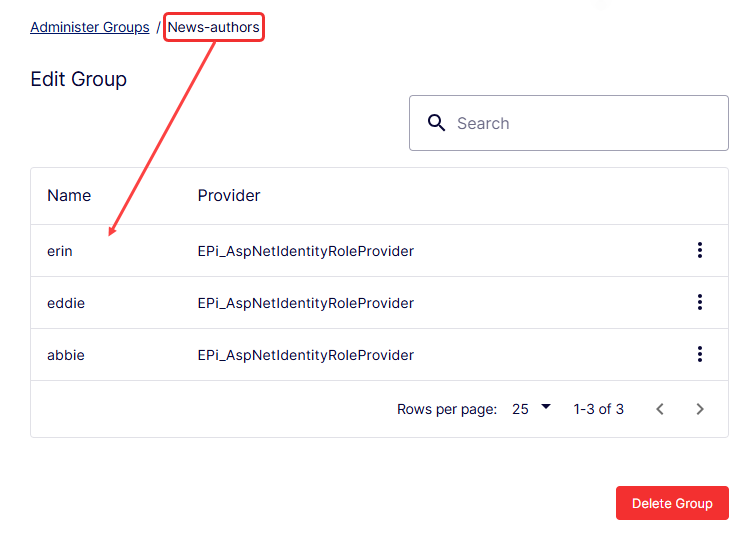
Repeat for users Eddie and Erin.
Go back to Administer Groups > New-authors to see Abbie, Eddie, and Erin in the group.
-
-
Set permissions for the News Page page type so that the News-authors group has access to it.
-
Go to Settings > Content Types and click the News Page page type. The Page Type window opens with a Properties view.
-
Select Permissions.
-
Select Add User/Group > News-authors.
-
Delete group Everyone.
-
Click Save. Now, only Abbie, Eddie, and Erin (because they are in the News-authors group) have access to the News Page page type.

-
-
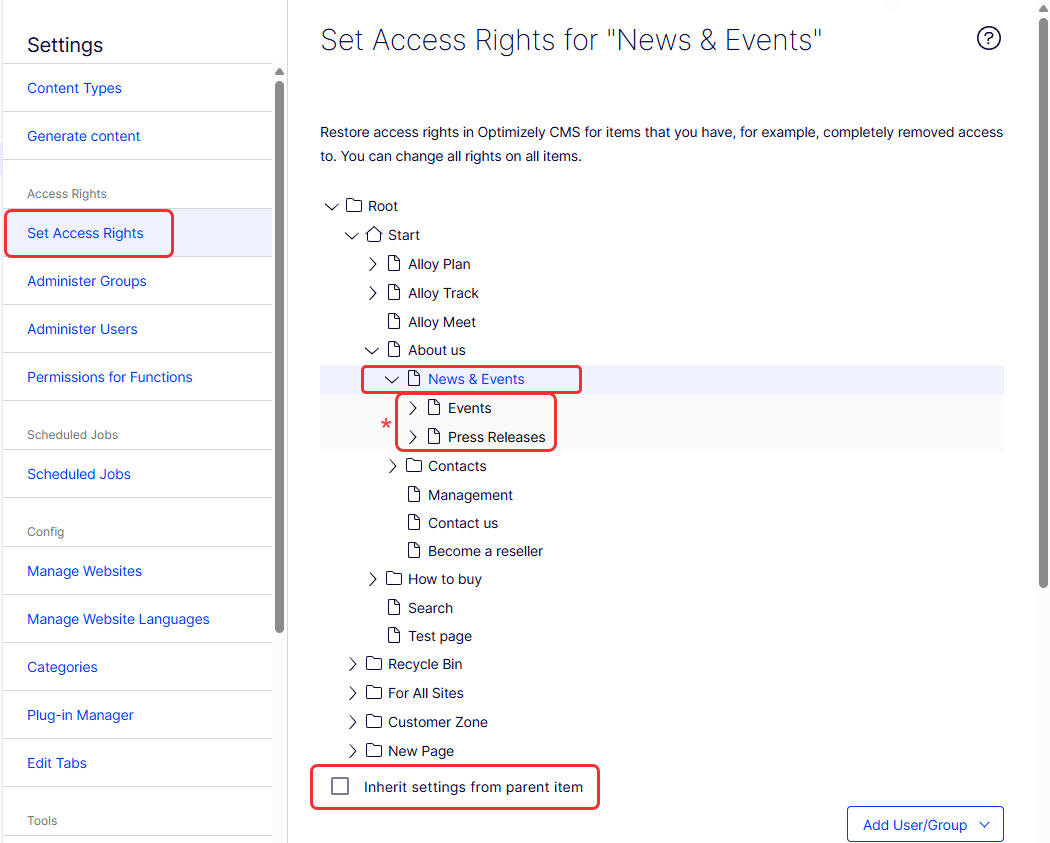
Apply the access rights restriction to the News & Events page (and its children).
-
Go to Settings > Set Access Rights.
-
In the page tree, select Root > Start > About Us > News & Events.
-
Deselect Inherit settings from parent item. The access rights you set on News & Events are inherited by the child content items in the page tree.
-
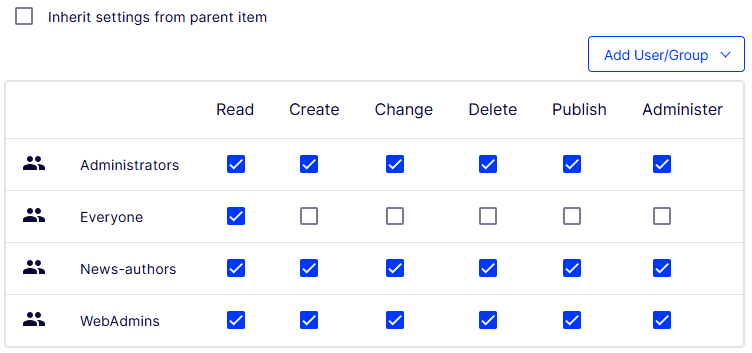
Select Add User/Group > News-authors and select Read, Create, Change, Delete, Publish, and Administer for the group.
-
Remove Webeditors (by deselecting all access rights), so that only admins and users in the New-authors group can access the page.
-
Leave Everyone as Read-only so that they can see what the authors post.
-
Click Save Access Rights. Now, only Abbie, Eddie, and Erin (because they are in the News-authors group), and administrators can create or modify content in the News & Events section of the page tree.
-
Block type
A block type is a component that makes up a portion of a web page. It is reusable content you can display with a template. It does not have a URL. It can consist of other block types, content, and media types. The following are some examples of block types:
- A carousel container, used for holding multiple slides.
- A slide used in a carousel.
- A button.
- A navigation menu.
- SEO settings for a page.
- Label dictionary for the application.
- An interactive map.
Block types are similar to page types, and you can modify some settings from the Settings page. See Edit blocks in Visual Builder and Define page properties.
NoteYou cannot use blocks with complex types inside (like nested block types) as sections or elements. If you try, the following message displays:
Cannot set Enable as Element because this content type contains property type that elements cannot have. (See property 'SiteLogoType')
Create a block type
-
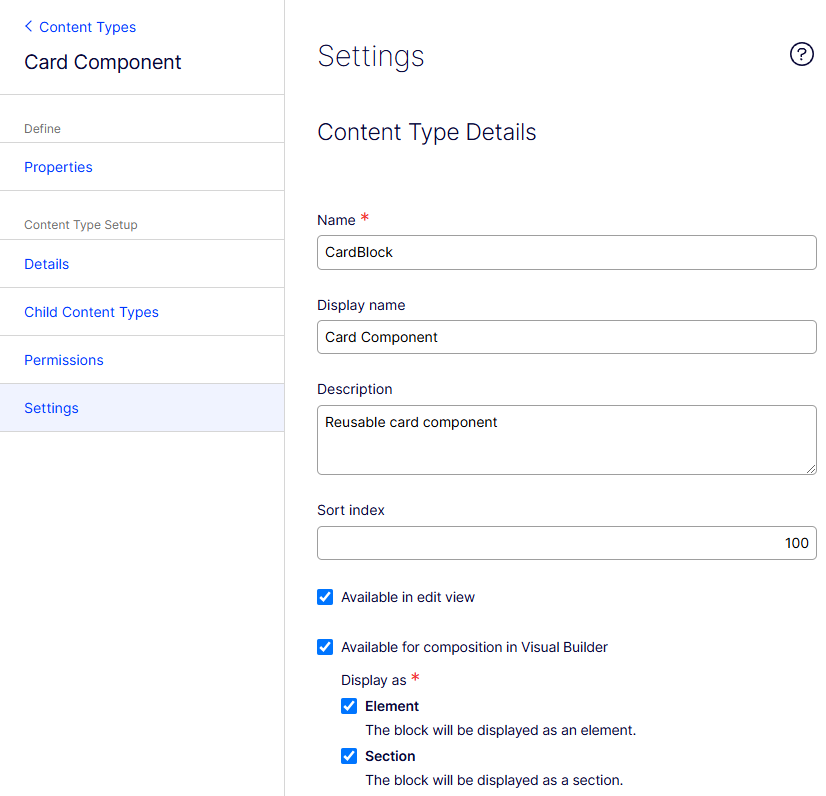
Go to Settings > Content Types, and select a block type (such as Card Component).
-
Click Settings.
-
Name (required) – Enter a name for the page type.
-
Display name – Enter the name to be displayed in the list of available page types.
-
Description – Enter the text describing the page type also displays in the list of available page types.
-
Sort index – Enter a number to determine the (ascending) sort order for content types listed on the Content Types page.
-
Available in edit view – Select to make the page type available when creating pages in the editorial interface. You should hide rarely used page types, such as the start page type. You can make these available when needed and then hide them again.
-
Available for composition in Visual Builder – Select to let this block work in Visual Builder.
- Element – Select to display this block as an element in Visual Builder. Selecting Element affects the available options for adding properties to the block.
- Section – Select to display this block as a section in Visual Builder.
-
-
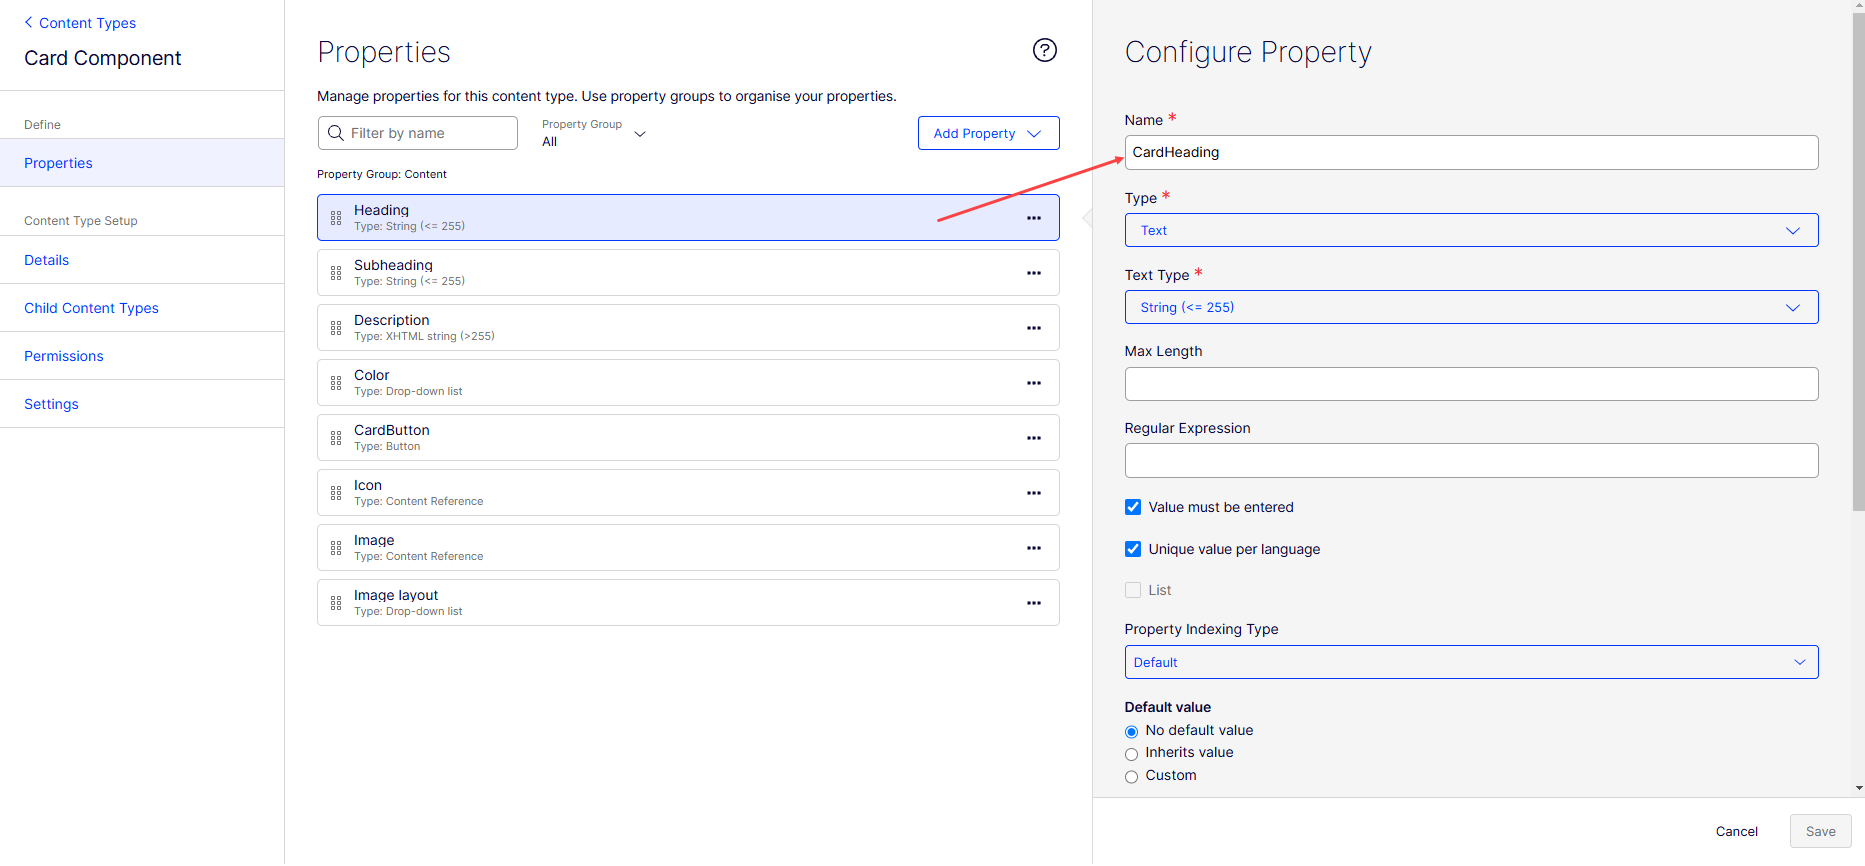
Select Properties and specify the components of your element type. For example, the Card Component content type has a Heading property, which is further defined in Configure Property.
-
You can modify Permissions and other properties, similar to changes to page types.
-
Click Save to define the Card Component content type.
Block as an element
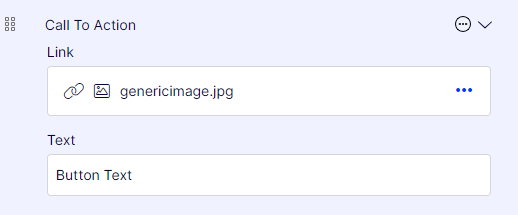
If you selected a block (such as Card Component) to display in Visual Builder as an element, when you click Add Element in a Visual Builder Outline, Card Component is listed among the selections.
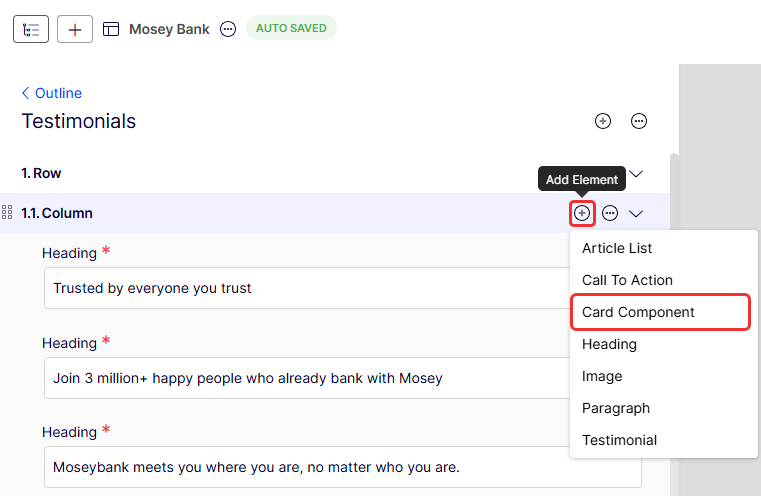
The following image shows a partial view of Card Component when it is added as an element of a section:

Block as a section
If you selected a block (such as Card Component) to display in Visual Builder as a section, when you click Add Section in a Visual Builder Outline, Card Component is among the selections.
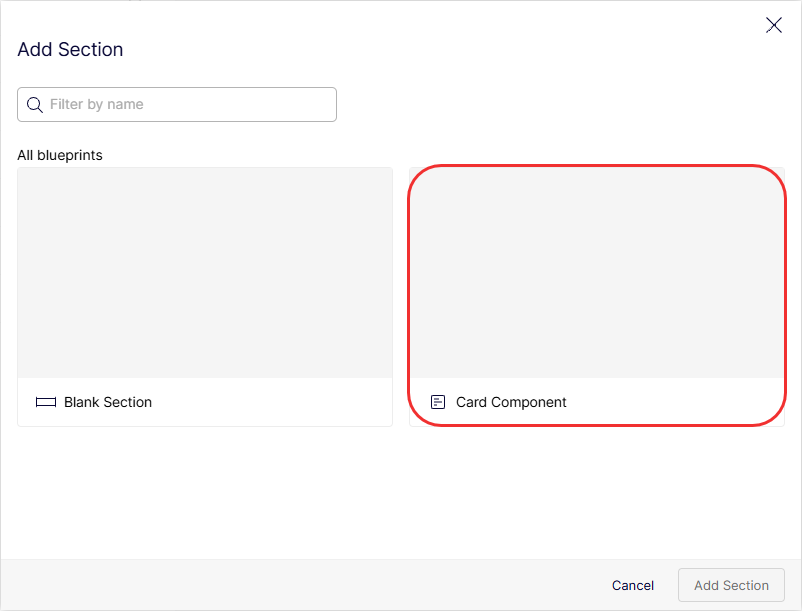
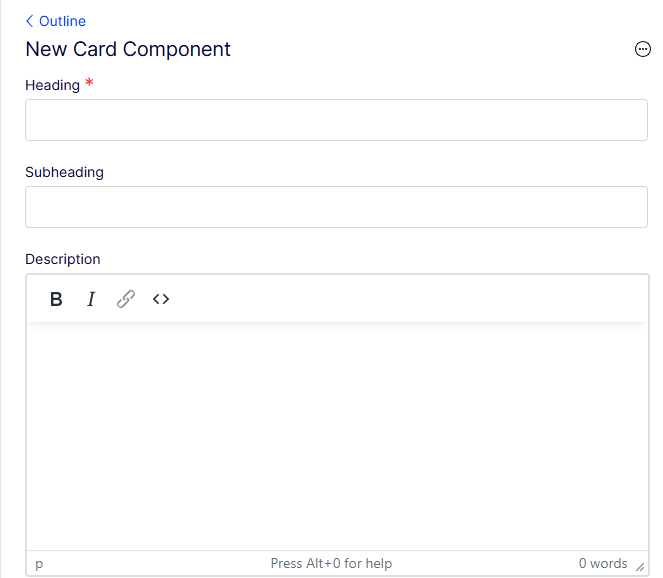
Selecting it creates a New Card Component section in the outline.
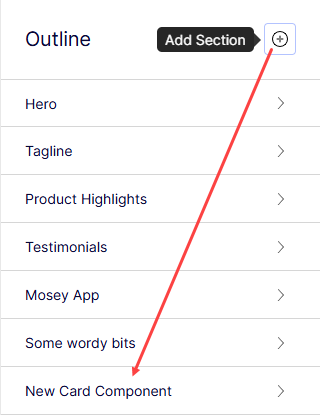
The following image shows a partial view of Card Component as a section:
Media type
Media types are any file you want to load into CMS (SaaS). You can add properties, modify permissions, and edit some settings from the Settings view. The following list shows media types:
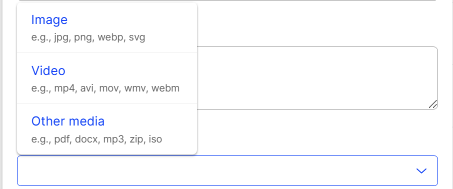
- Image –
.jpg,.png,.webp,.svg,.gif,.tiff, and so on. - Video –
.mp4,.avi,.mov,.wmv,.webm,.mkv,.ogg, and so on. - Media – Everything else such as
.pdf,.docx,.mp3,.zip,.iso,.ttf,.js,.css, and so on.
Edit a media type
Edit the settings for an existing media type as follows:
- Go to Settings > Content Types, and select a media type (Image, Video, or Media).
- Click Settings.
- Enter the following information.
- Name – A name for the media type.
- Display name – The name to be displayed in the list of available media types.
- Description – The text describing the media type also displays in the list of available media types.
- Sort index – A number determining the (ascending) sort order in the list of available media types. The default is 0.
- Click Save.
Create a media type from the Settings view
-
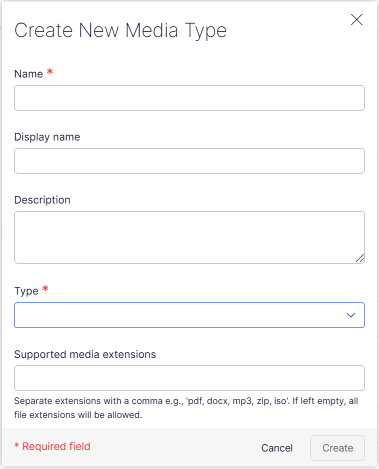
Go to Settings > Content Types, and select Create New > Media Type.
-
Enter the following information.
-
Name (required) – A name for the media type.
-
Display name – The name to be displayed in the list of available media types.
-
Description – The text describing the media type also displays in the list of available media types.
-
Sort index – A number determining the (ascending) sort order in the list of available media types. The default is 100.
-
Type – Required for image and video types. Select the media type.
-
Supported media extensions – Comma-separated list of file extensions the media type supports.
-
-
Click Save.
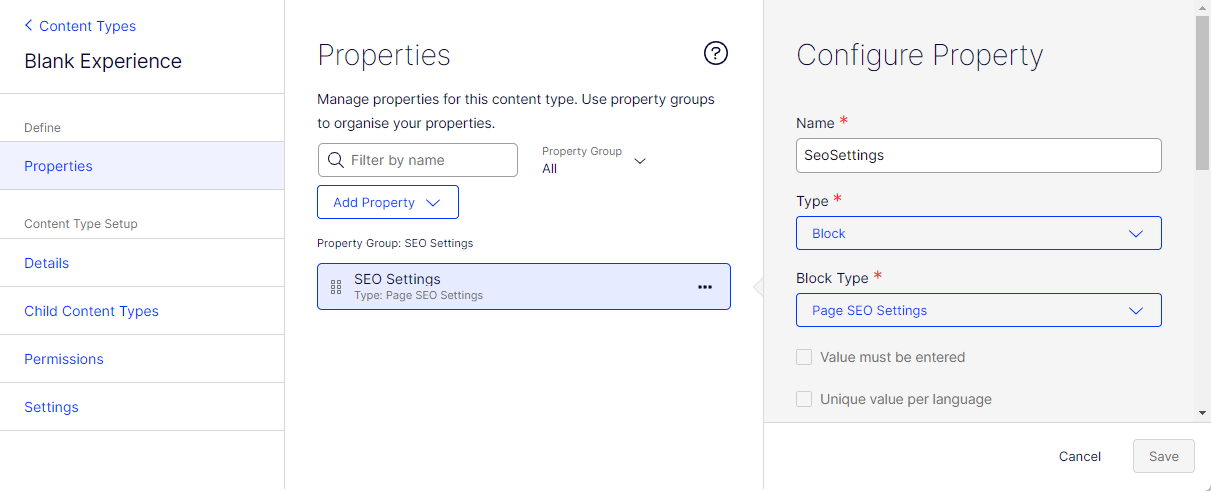
Experience type
An experience type is an extension of the page type, enhanced to be used with Visual Builder. Because it is managed by Optimizely, you cannot adjust the Settings, but you can modify Permissions and other properties, similar to changes to page types described in Create a page type from the Settings view.
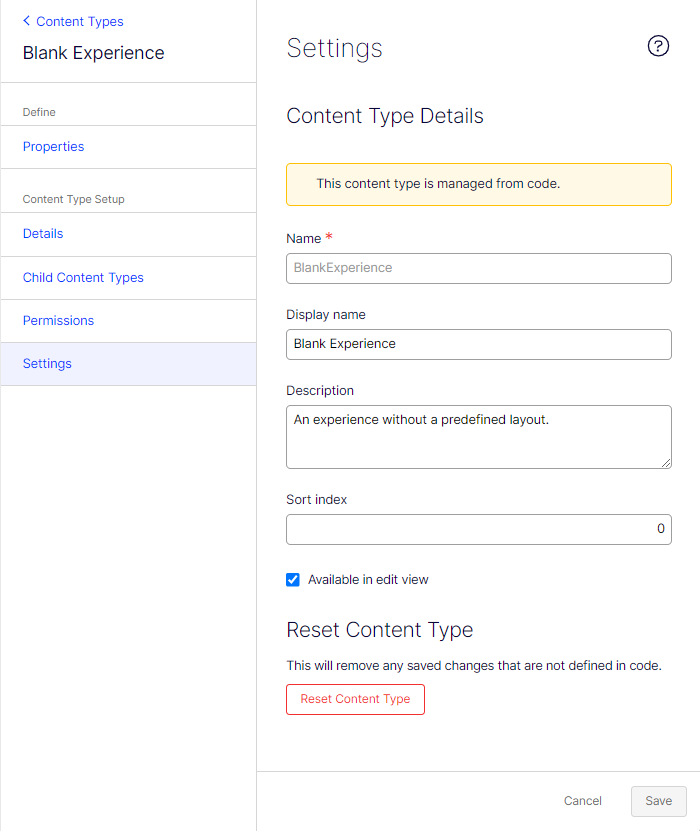
For example, the Blank Experience content type has a single property called SEO Settings, which is a Block property with the specifications of the Page SEO Setting block Type.

Section type
You can create a section type to help organize your content in an experience type in the Visual Builder.

You can modify Permissions and other properties.
Other content types
By default, there are generic content types for other types of content, such as folders and media files. Based on these, you can create specific content types. You can have a specific folder or media file content type where you can add properties such as Copyright or Photographer.
Updated about 20 hours ago