Import data into CMS (SaaS)
Information on how to import data in Optimizely CMS (SaaS).
With the Import Data function, you can retrieve information exported from the same or another Optimizely application.
-
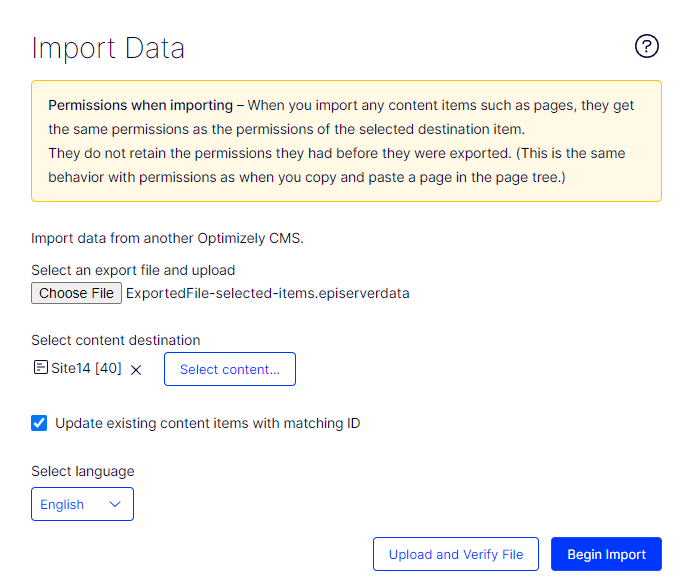
Go to Settings > Import Data.
-
Click Choose File and select the file to import. Files must end with *
.episerverdatafor the import to work.NoteYou can import file sizes up to 500MB.
-
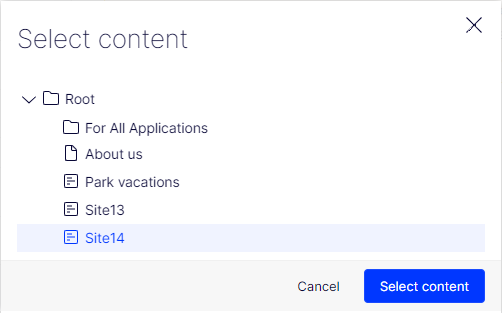
Click Select Content to choose the destination for the imported files.
-
Select or clear Update existing content items with matching ID:
-
Select the checkbox if you want to keep the same globally unique identifiers (GUIDs) for future imported items (such as pages, shared blocks, and files) as they had on the exporting application. The import function checks whether a GUID already exists and if it does, that item is updated (if the imported item had a changed date later than the existing item). This means that content items with the same IDs are replaced instead of added.
If your exported pages link to shared blocks or media, select Export files that the pages link to during export. The linked shared blocks and media then update during the import.
-
Clear the checkbox if you want to import items with new IDs instead. If you import to the same application as you exported from, shared blocks and media are merged into folders with the same name in the assets panel.
Duplicated items get a number added to the item name. For example, exporting item
ABCand importing it as a copy on the same application results in two items, namelyABCandABC2. This also affects the URL, which in the case of the copied item would bewww.exampleapplication.com/abc2.
-
-
If your export package contains multiple language versions, select Select Language > All to import language versions, or select one specific language to import only that language version.
-
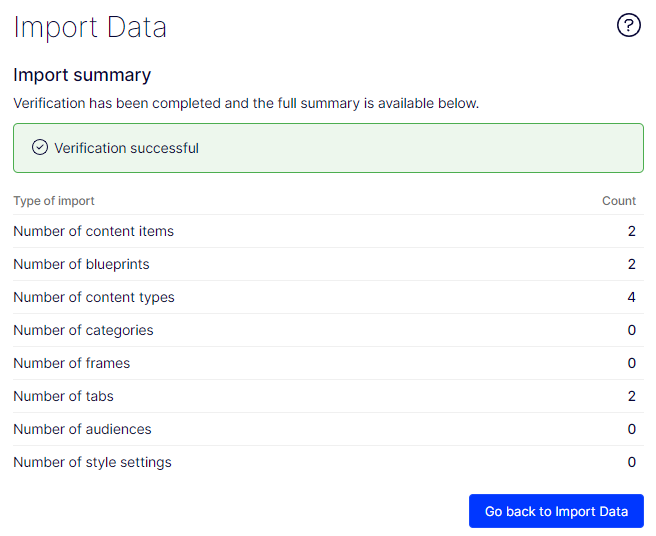
Click Upload and Verify File to verify the file content. The files are read and checked, and verification information displays.
-
Click Begin Import.
Updated 19 days ago