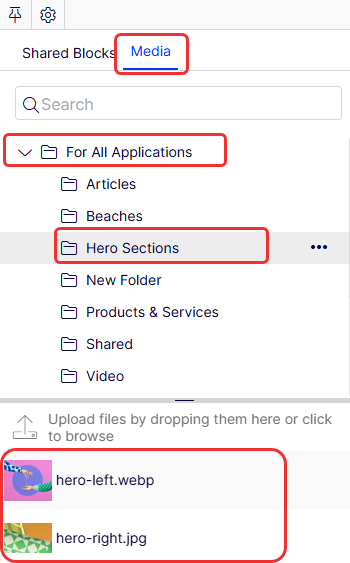
DAM asset picker
Describes using Digital Asset Management in Optimizely CMS (SaaS).
The Optimizely Digital Asset Management (DAM) asset picker lets you browse an asset collection.
DAM assets are supported on the following property types:
-
Content Reference
Developers can optionally assign an item type to a
Content Referenceproperty (such ascmp_PublicImageAsset). When an item type is assigned, only that type is assignable to instances of the property. The Graph schema for the property then uses the referenced type directly, so casting and projections are not required in the query. See Onboard DAM to CMS (SaaS).Define the item type in the content-type JSON sent to Optimizely Graph:
"ProductSingleRef": {
  "type": "IProduct",
  "helpText": "",
  "searchable": false,
  "ref": {
    "type": "Product",
    "id": "_id"
  }
}
Field Description typeThe type to use when querying. This can be an interface, abstract base type, or the same concrete type as in ref.ref.typeThe concrete type to reference in Optimizely Graph. ref.idThe field to match on — acts as a join. Setting this to _idjoins on the_idfield of the referenced content instance. -
List of Content References
Supports referencing multiple DAM assets from a single property.
-
Image
A
Content Referenceproperty with an image base type set as the allowed type.
Prerequisites
- A developer must enable the DAM asset picker with Optimizely Content Management System (CMS) by following the instructions Onboard DAM to CMS (SaaS).
- You must log in for the first time you use the DAM library. Thereafter, the asset picker displays automatically.
Limitations
- Using assets in a Content Area is not yet supported. To use DAM assets in a Content Area, you should create a shared block, such as an ImageBlock that contains a Content Reference property.
- The property's Allowed Types must include images, video, or documents for the DAM picker to display. If the allowed types exclude all three, the picker does not display. Using ReferenceType is not supported.
- The CMS PaaS Projects feature is not yet supported in CMS (SaaS) or the DAM asset picker.
- You cannot export DAM assets from one environment into another because integration is limited to two instances of CMS and Optimizely Content Marketing Platform (CMP).
- Any content type that has a content reference property, or a list of content reference properties, can reference assets managed in the DAM. CMS is aware of the identity of the asset and the source system it belongs to and the remainder of the data regarding those assets are stored and managed in the DAM.
DAM benefits
CMS assets are organized by Media folders and files in a content tree structure.
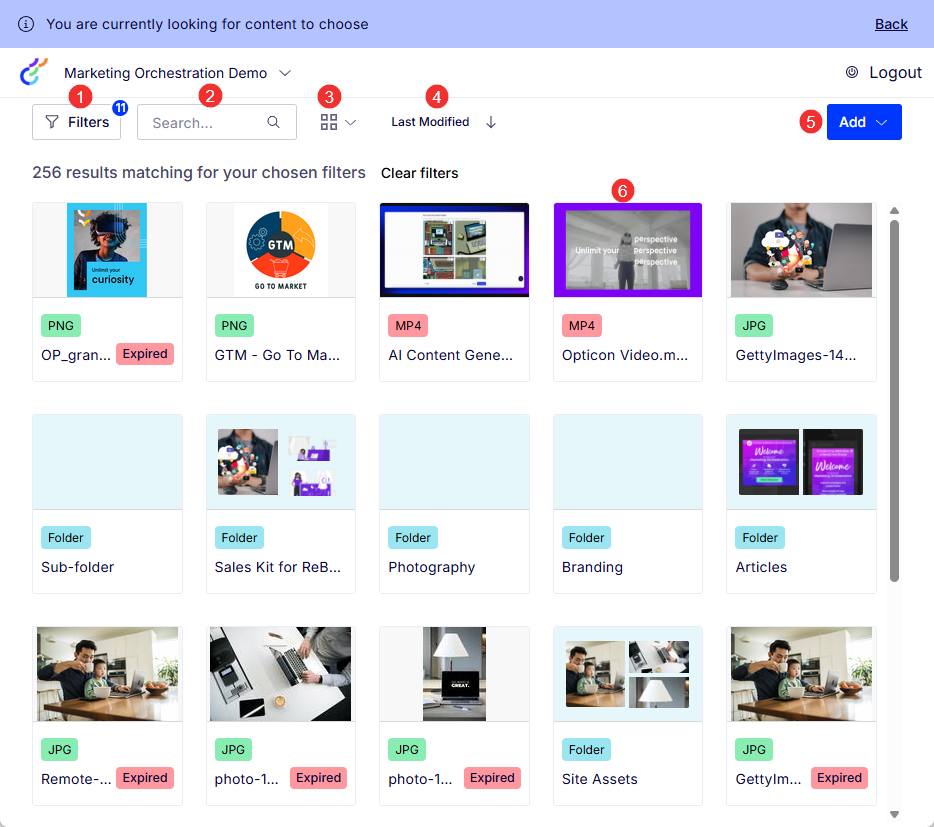
The DAM provides a location to store assets independent from the CMS content tree structure. It also provides comprehensive options for finding assets. You can filter, sort, and find assets through search.
-
Click Filter to display only the assets that have the properties that you select. See Filter assets later in this topic.
-
Enter a partial or full name of an asset in the Search field to narrow down the displayed assets.
-
Select Category View, Grid View (shown), or List View to view assets in the way you want.
-
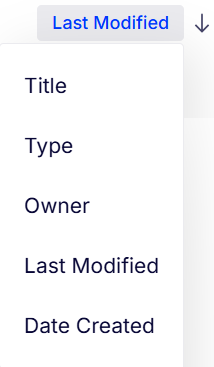
Sort the assets ascending or descending by Title, Type, Owner, Last Modified, or Date Created.
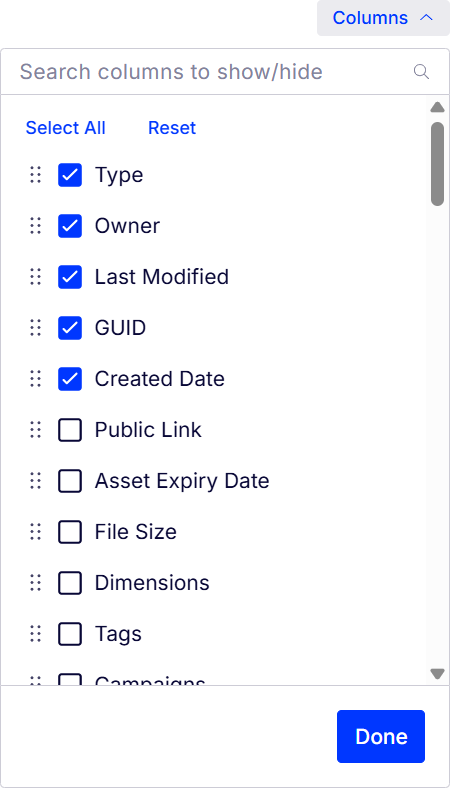
List View has additional sorting by columns and you can add many more columns to List View (see the following image). See List view planning in the CMP documentation.
-
Click Add > Upload to add assets to the DAM. If you do not see the Add button, see Add assets to the DAM later in this topic.
-
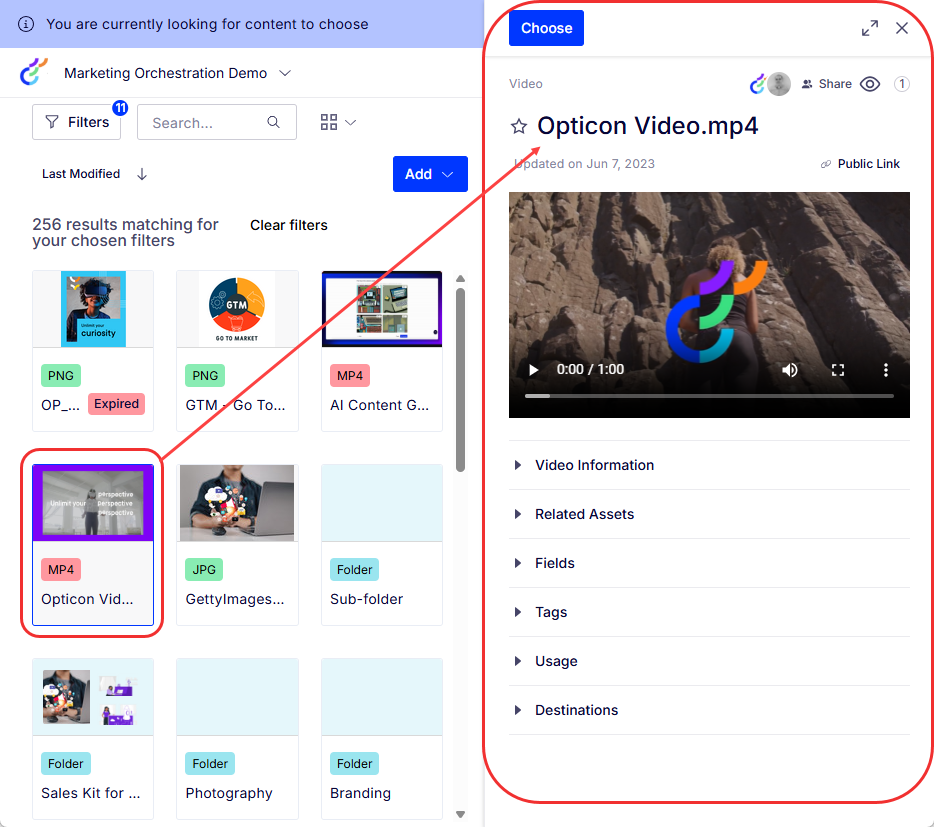
Select an asset to display asset details.
Select content from the DAM
When DAM is installed and the Content Manager Selector is enabled, Content Reference, List of Content Reference, and Image property editors display the following actions:
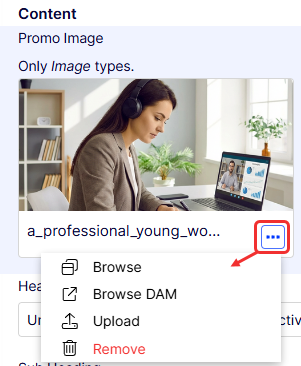
- Browse – Opens the Content Manager picker to select an asset from CMS (SaaS).
- Browse DAM – Opens the Content Marketing Platform (CMP) Library picker to select an asset from DAM. The CMP Library opens pre-scoped to the instance configured on the Settings > Optimizely DAM Features page; you cannot switch instances from within the picker.
- Upload – Uploads a file directly to CMS (SaaS).
- Remove – Removes the currently selected asset. This action is available only when an asset is selected.
NoteBrowse DAM is available only when a CMP instance is configured on the Settings > Optimizely DAM Features page and the property's Allowed Content Types include images, video, or documents.
Assets selected from CMP Library are verified against Optimizely Graph. If the asset is not found in Optimizely Graph, an error message displays, and the asset is not applied. Rendition selection is not supported; an error message displays if you attempt to select a rendition.
Filter assets in the DAM
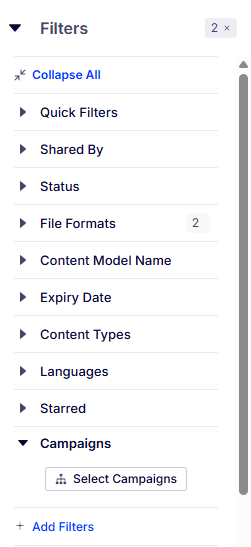
Assets have many properties, so you can apply many filters to access the assets you want. Click Filters to display the Filters panel. The Filters button shows how many filters are currently selected.

In the Filters panel, you have many categories from which to choose, and each category has one or more filters you can use to help you find the assets you are looking for.
-
Quick Filters – Show assets that are marked with a star.
-
Shared By filters – Applies to CMP applications only. Show assets that are in selected CMP organizations.
-
Status filters – Show assets that are Active, Archived, and Expired.
-
File Formats filters – Show assets that are of selected formats. Folders and Images are selected by default. Click Show All at the bottom of the list to display additional formats.
-
Content Model Name filters – Applies to CMP applications only. Show assets that are in selected Content Model Names.
-
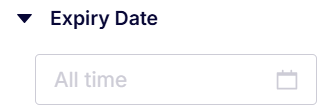
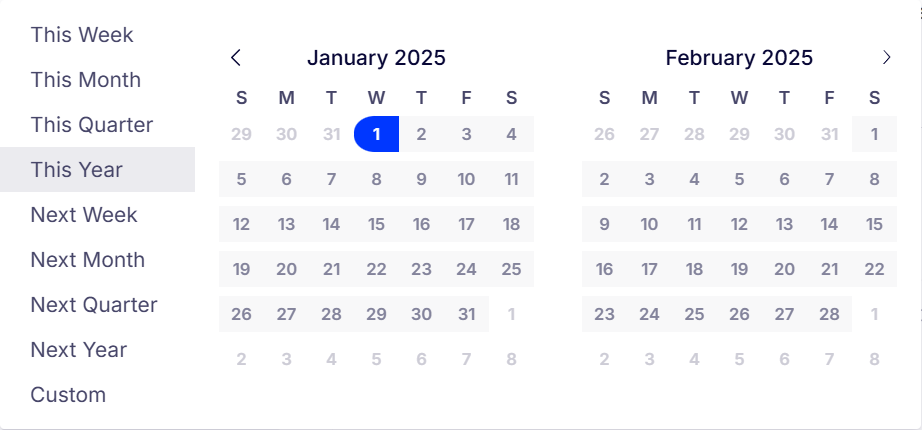
Expiry Date filters – Displays a date picker where you can select the beginning and ending Expiry dates you want, and a list of time periods (This Week, This Month, and so on) for fast filtering. To remove this filter, clear the All Time field.
-
Content Types filters – Applies to CMP applications only. Select Original and Licensed assets.
-
Languages filters – Select from the available languages.
-
Starred filters – Toggle Yes to filter assets that are marked with a star.
-
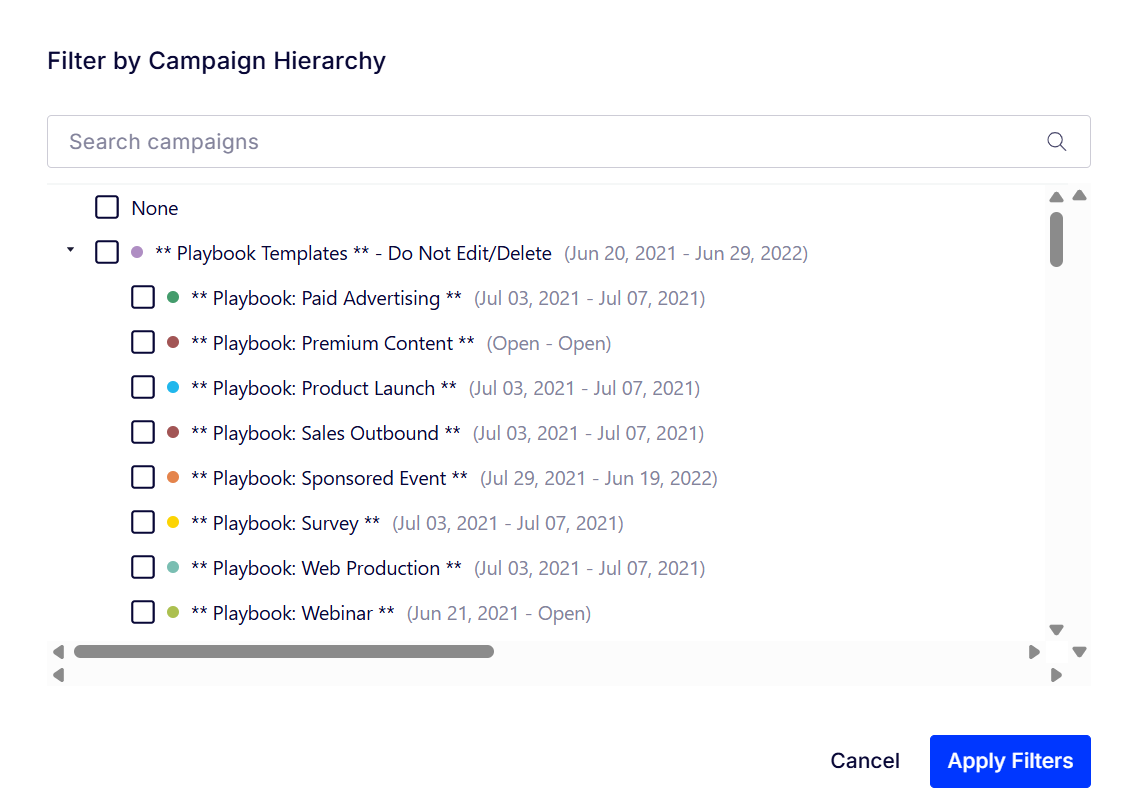
Campaigns filters – Applies to CMP applications only. Click Select Campaigns. Select one or more campaigns to display assets in those selected campaigns.
-
Add Filters – Click Add Filters to add one or more filters to the Filters panel. Administrators define filters in CMP by creating a field. See Manage fields in the CMP documentation for information.
Add assets to the DAM
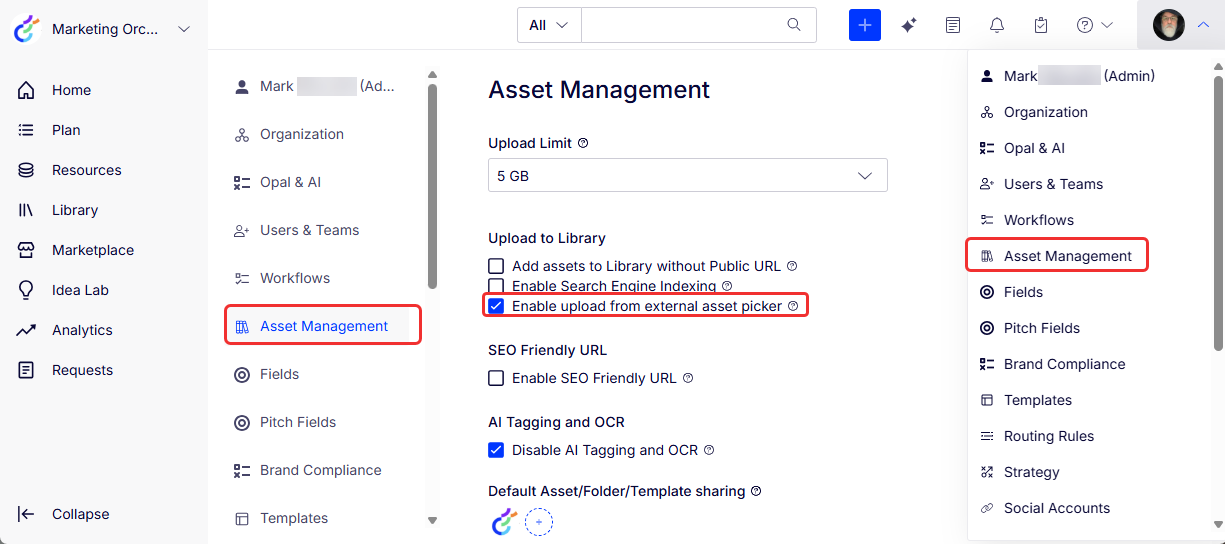
ImportantYou can use the DAM to select assets, but if you do not see an Add dropdown in the DAM asset picker, you cannot add assets to the DAM; you can skip this section. To add assets to the DAM, your Opti ID and CMP role must have the following permissions set by an administrator:
- Opti ID – DAM Creator access. See Manage roles and permissions in the Opti ID documentation
- CMP – Select your (Admin) avatar > Asset Management > Enable upload from external asset picker.

-
After you open the DAM, select Add > Upload. (If you do not see an Add button, see the note above.)
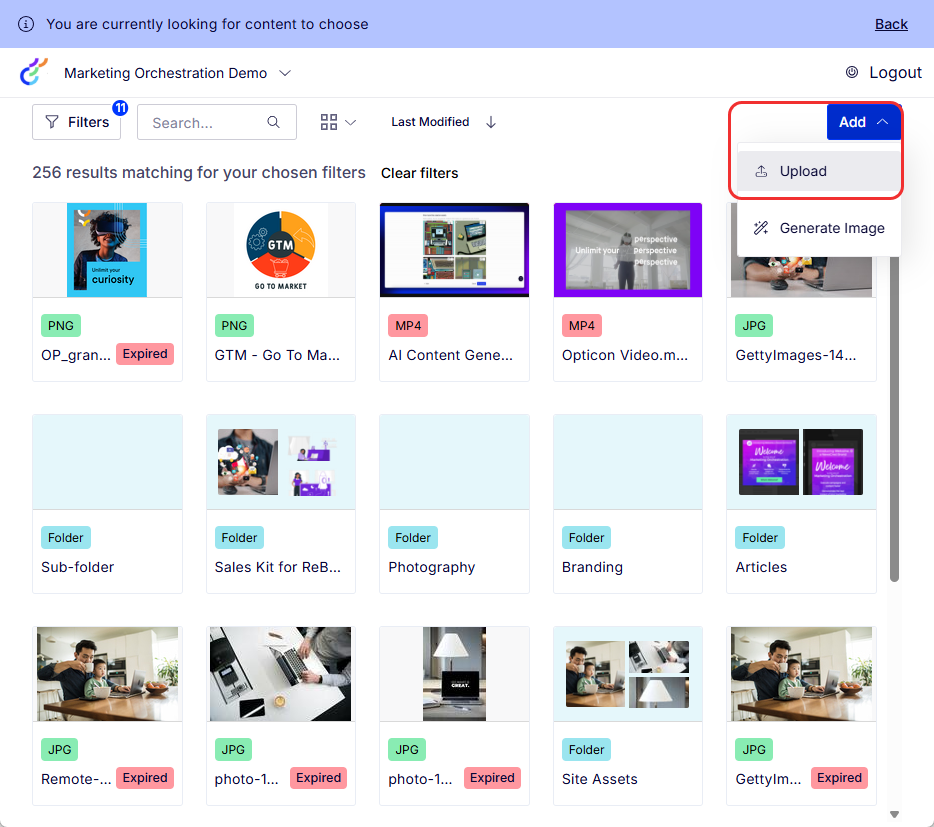
The upload view displays.
-
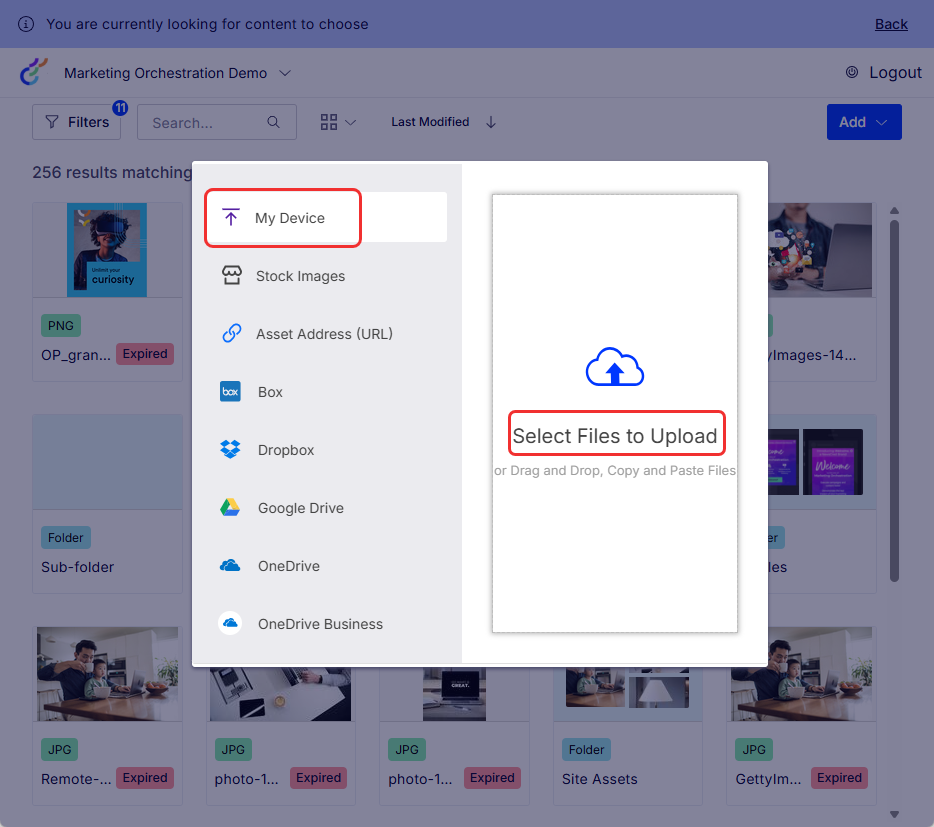
Click My Device and click Select Files to Upload (in this example). You can select your device, Stock Images, Asset Address (URL), or from several other sources.
-
Select one or more assets and click Open.
-
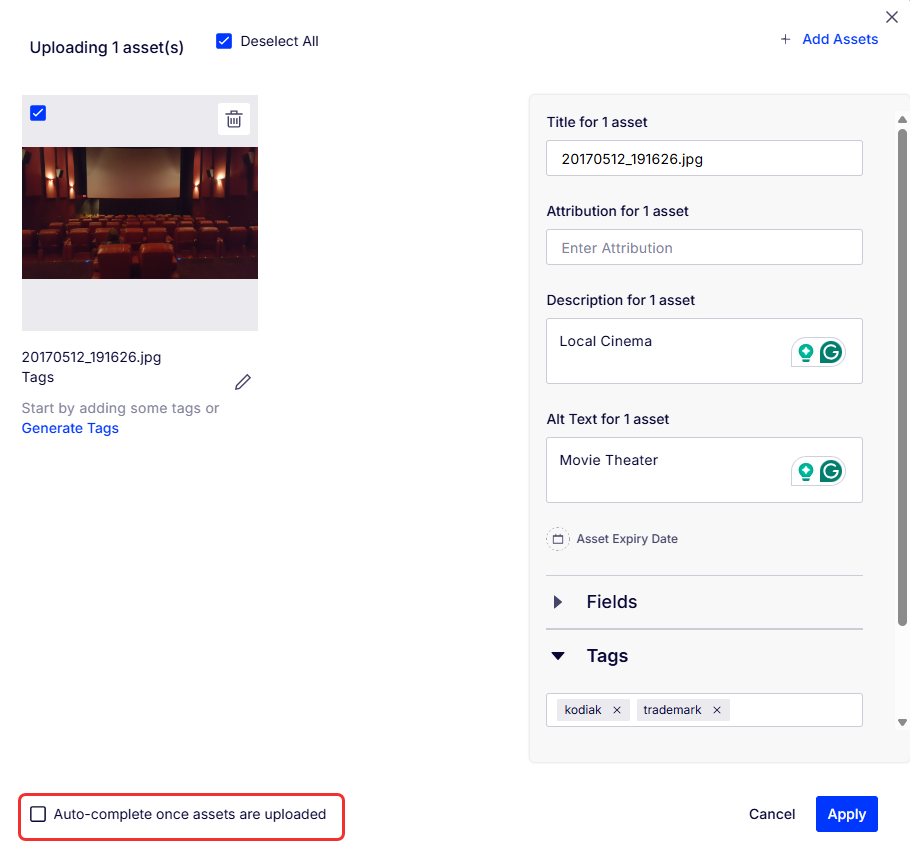
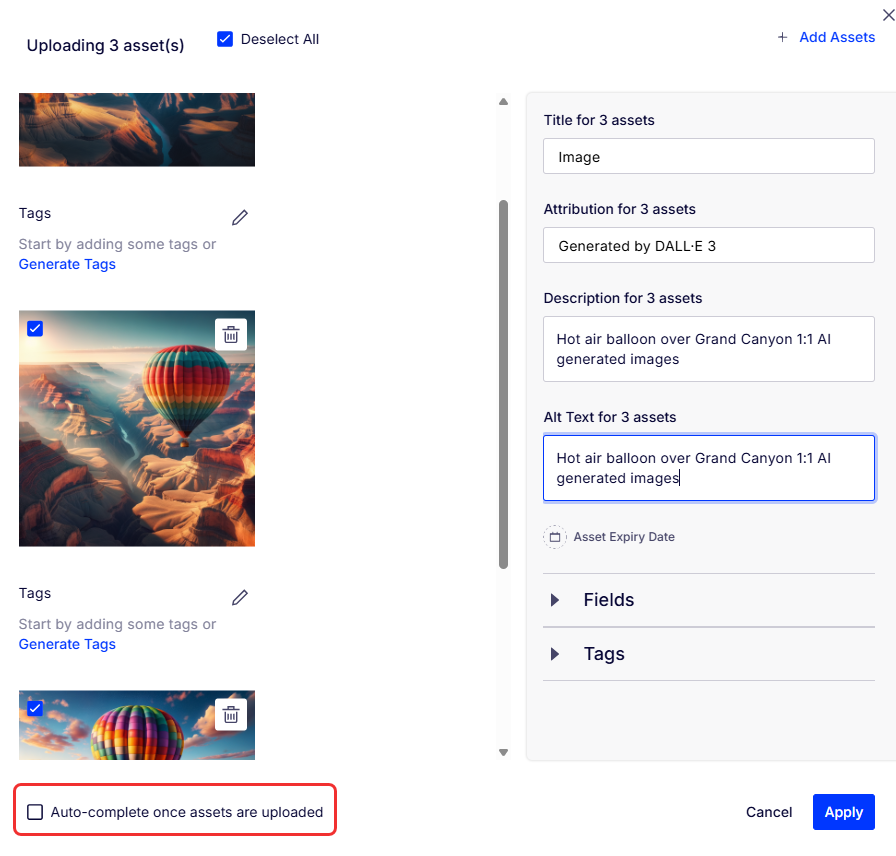
The files upload to an Uploading assets window (see below), where you can enter asset details before the assets are added to the DAM. Optionally select Auto-complete once assets are uploaded to automatically upload the assets. Click Apply to apply the details to one or more selected assets, because you may be working on several files with different details before completing the upload. When you finish entering details, Apply changes to Done.
-
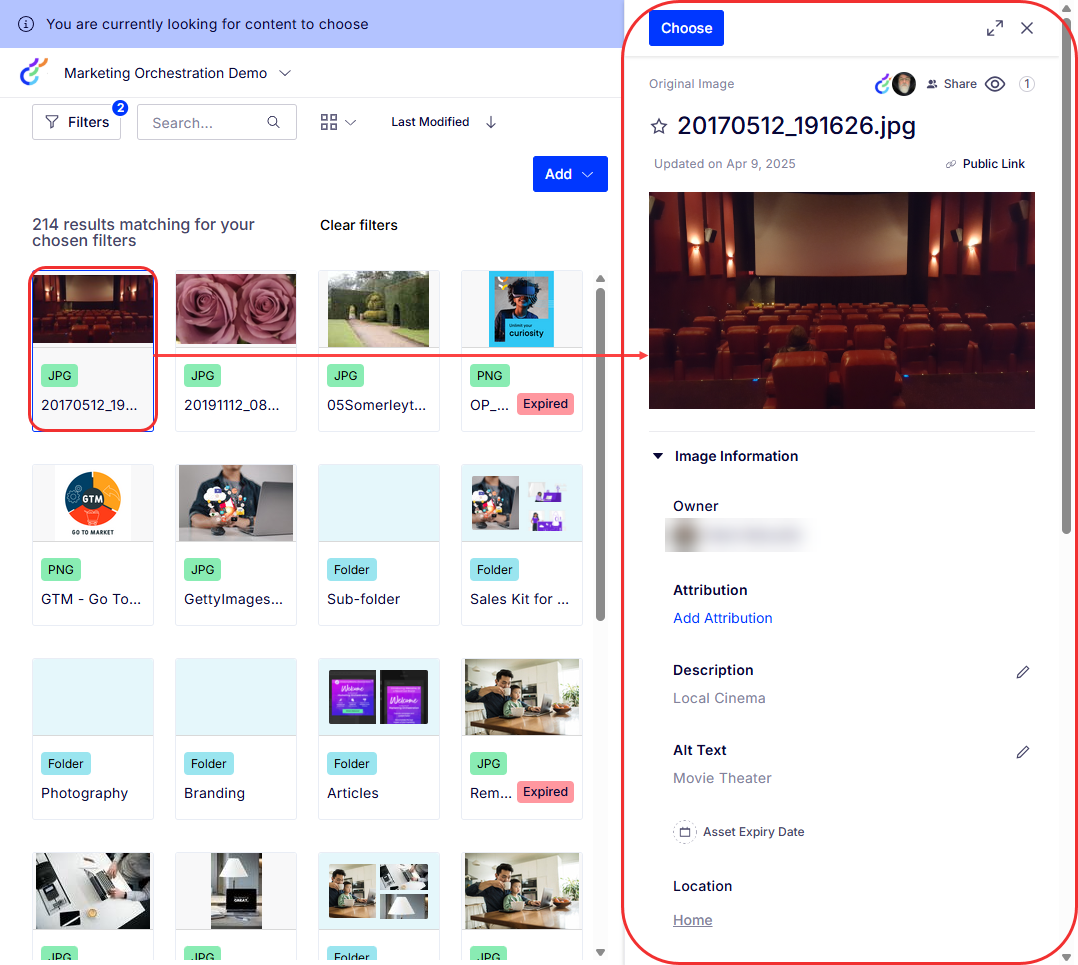
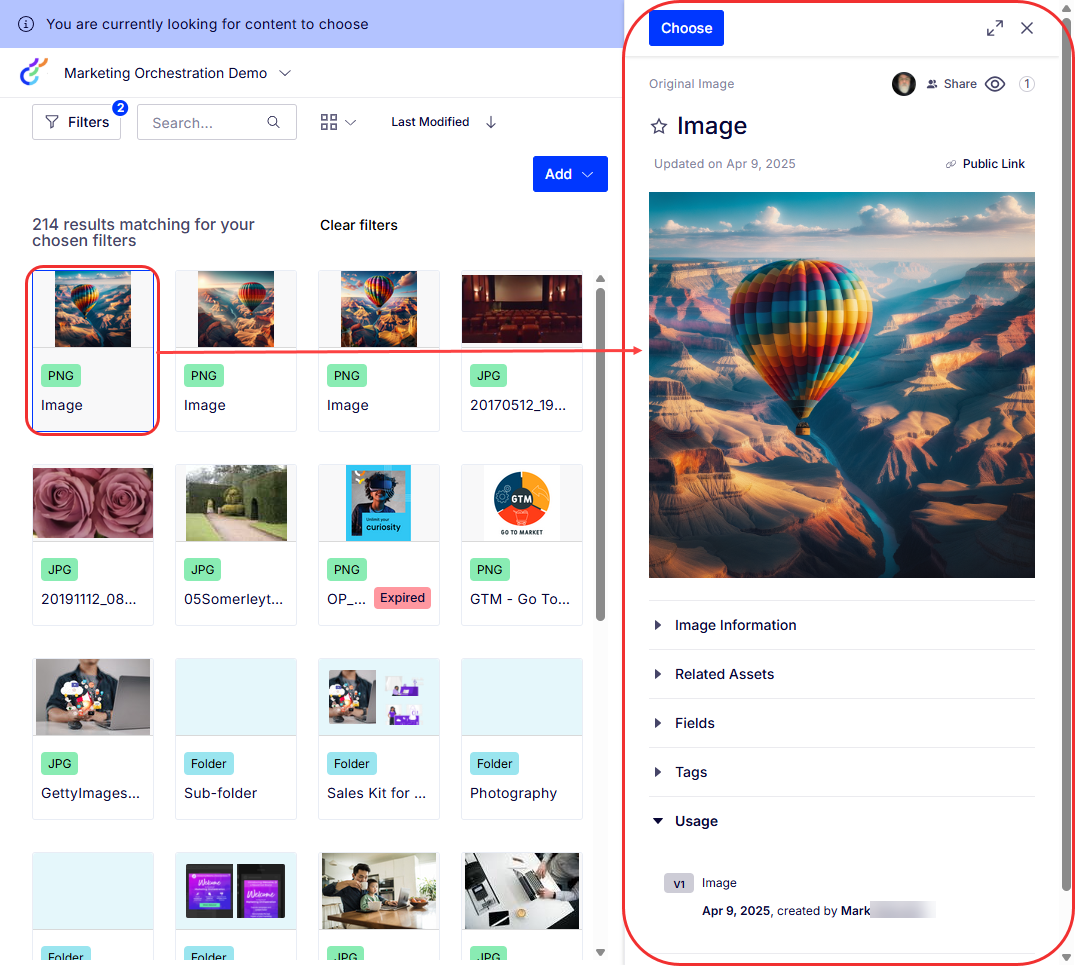
If you select only one asset in the DAM asset picker, the metadata displays in a panel. Click Choose to finalize a selection of one or more assets.
Add AI-generated assets to the DAM
The DAM lets you create AI-generated images. See Generate AI Images in the CMP documentation for information.
ImportantYou can use the DAM to select assets, but if you do not see an Add dropdown in the DAM asset picker, you cannot add assets to the DAM; you can skip this section. To add assets to the DAM, your Opti ID and CMP role must have the following permissions set by an administrator:
- Opti ID – DAM Creator access. See Manage roles and permissions in the Opti ID documentation
- CMP – Select your (Admin) avatar > Asset Management > Enable upload from external asset picker.
-
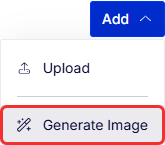
Select Add > Generate Image.
-
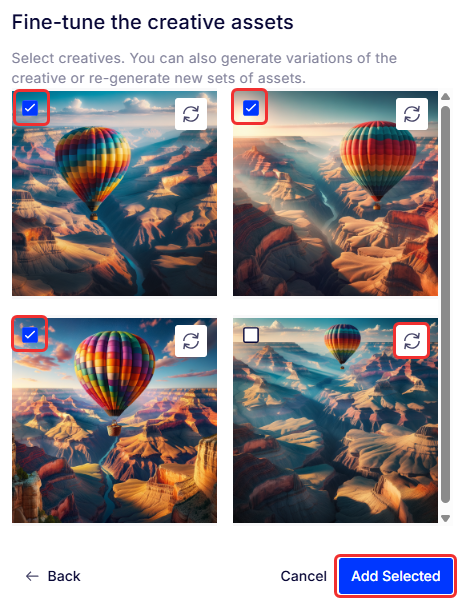
In the Generate Images window, enter a description of the image you want AI to create, such as Hot air balloon floating over the Grand Canyon and click Create.

-
The Fine-tune the creative assets window displays. Select the images you like and click Add Selected. If you want a newly generated image, click Generate Variations on an image you want to replace.
-
The Uploading assets window displays where you can add asset details to each one, or selected assets. Click Apply to set the asset details and Done when all asset details are entered. Select Auto-complete once assets are uploaded to automatically upload the assets immediately.
-
The AI-generated assets display in the DAM. If you select an asset in the DAM, its details display in a details panel.
Folders and assets for a deleted user
When a team member leaves, DAM handles their folders and assets in the following way:
- Folders – The creator's name still displays on the folder with a (Deleted) tag beside their name.
- Files within the folders – DAM shows the deleted user as the owner of the file without a (Deleted) tag.
Both the folders and their files remain visible and accessible to any other user with whom they were originally shared.
Updated 12 days ago