Manage content
Manage content for content managers in Optimizely CMS (SaaS).
Content can be elements, pages, and shared blocks in Optimizely Content Management System (CMS) (SaaS). Content can also be assets such as images and videos or documents in Word or PDF format. Content can originate from different sources. CMS (SaaS) has sophisticated version management features, letting multiple editors work with draft versions before approving and publishing the content.
- Editors, marketers, or merchandisers can create content internally on a CMS application.
- A visitor community member can create content externally through interactive social features on the application if these are available.
See CMS (SaaS) users and related tasks.
Manage content tasks:
- Find content
- Compare versions of content
- Search engine optimization
- Translate content
- Publish versions of content
- Control the publishing process
- Delete and restore content
- Approve content
- Approve changes
You can preview draft content before publishing to verify the content before publishing. When working with personalization, you can preview content and how it displays for different visitor groups. To further limit access to work-in-progress content, you can also set access rights for content from the edit view.
Content structure
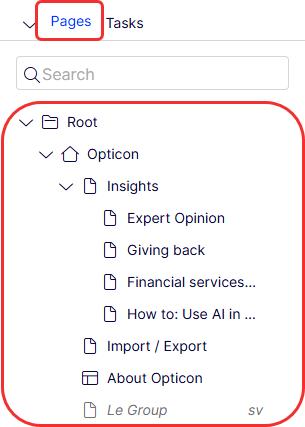
In the Optimizely Content Management System (CMS), the page tree structure is located in edit view under Pages. The root page is at the top of the structure, usually with one or more start pages directly underneath. The structure of the application is made up of pages. By default, the page structure is reflected in the navigation menus. To simplify navigation, limit the submenu structure to a maximum of three levels.
Content tree
By hovering over an item in the content tree structure, information about the page displays, such as ID and page type. A set of content tree symbols provides additional information about the structure. Your instance might be customized with other symbols implemented by the developer.

Move a content item
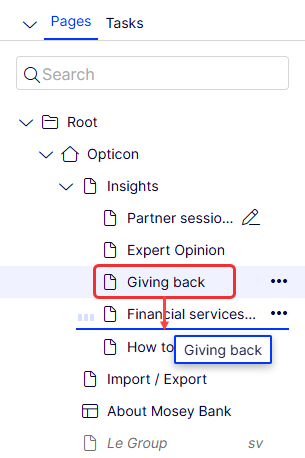
Use drag and drop to move content, or select Cut in the context menu for the content you want to move and select Paste for the destination page. You can also move content using the keyboard commands CTRL+X for cut (on Mac: CMD+X) and CTRL+V for paste (on Mac: CMD+V).

NoteWhen you move content, internal links are redirected to the new location and are not broken. However, any external links pointing to the moved content will be broken.
Copy a content item
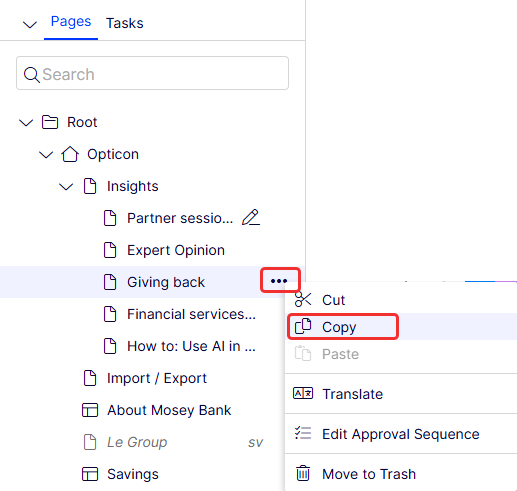
Press CTRL (or on Mac: Option) on your keyboard and drag and drop to copy a content item, or select More (...) > Copy for the content item you want to copy, then select Paste for the destination content item. You can also copy content using the keyboard commands CTRL+C for copy (on Mac: CMD+C) and CTRL+V for paste (on Mac: CMD+V).

Child content items and associated media files in local folders are also copied, and the links point to the new copy of the content item. Settings, such as dynamic properties and categories are also copied with the new content item.
NoteWhen you copy and paste a content item under the same node, the Name in URL property of the copied content item is typically named Name in URL1, which you need to change after copying.
Remove content
Removed folders, pages, shared blocks, and media files are moved to trash and are not publicly available on the application. Remember to update any links to removed content. When you remove a content item, all underlying pages are removed. See Delete and restore content.
Updated about 2 months ago
