Translate content into other languages
Translate content into other languages in Optimizely CMS (SaaS).
NoteAn administrator enables languages; see Languages.
To set the CMS (SaaS) user interface language, see Set a personal language preference in Get started with CMS (SaaS).
Many large applications display content in several languages. Optimizely Content Management System (CMS) supports multi-language management, including translating content into various languages and switching languages for the editorial user interface.
CMS knows which language to display to visitors by enforcing the language to be visible in the URL, path, or domain part of the URL. When an application visitor selects a language option (if available), content in that language displays. Alternatively, the visitor's browser may detect the preferred content display language.
When a language is enabled, you can translate existing content or create content in a specific language. Content can be, for example, pages or shared blocks on a CMS application or product-related content on an ecommerce application. When a language is enabled in CMS, content properties that are not global are available for translation. See also Global properties in this article.
NoteAn administrator can set access rights differently for different languages to prevent editors from accidentally creating content in the wrong language. If implemented, you can only edit and create content in languages you can access.
Enable content languages
Usually, you set the default content language and any other languages during installation.
Administrators can also set different access rights to languages so that you can access English and French content but not German and Spanish, for example.
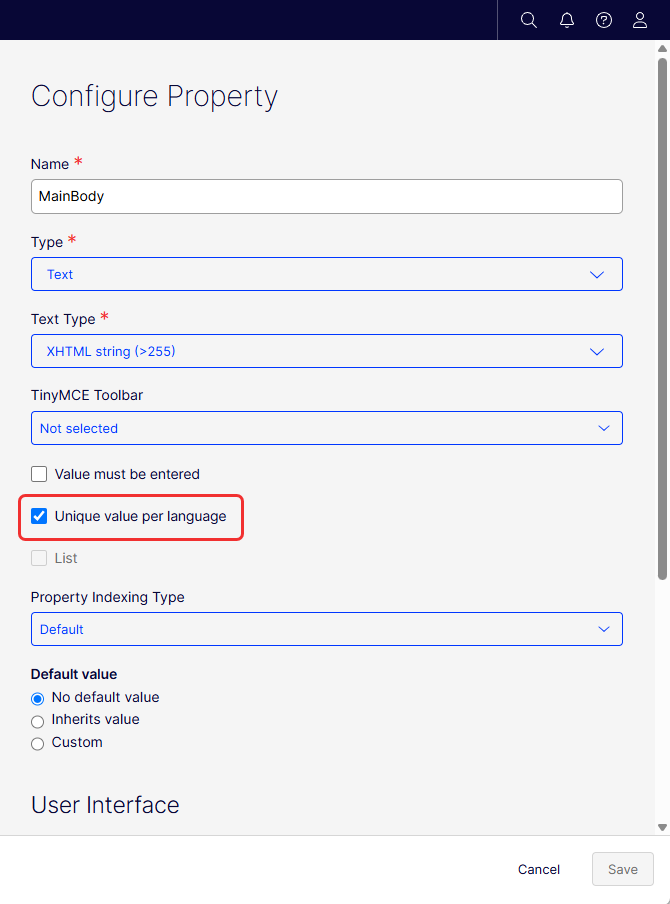
ImportantTo ensure that your properties (elements) are translatable, go to Settings > Content Types, find the element, click on each property that should be language-specific and select Unique per language. See Define language-specific properties.
Switch languages
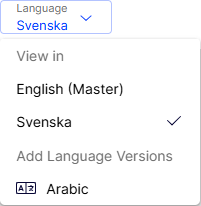
To switch the language in CMS, go to the Language selector and select the desired language to work with from the View in section of the drop-down list. The user interface reloads, displaying the page tree in the selected language.
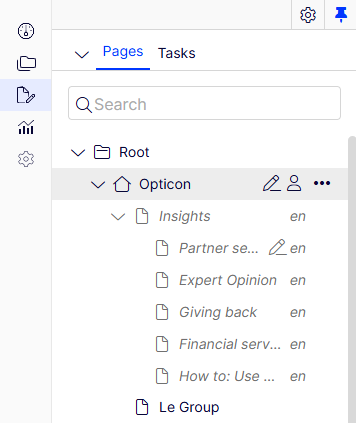
If your master language is English and you switch to Swedish, pages not yet translated into Swedish are displayed in italics (such as Giving Back and others) in the page tree and with the language code (en for English; sv for Svenska (Swedish), and so on). Pages that exist in Swedish are displayed in normal font, such as Le Group in the following image.
View current language only
To view only translated pages, select Show Content in Current Language Only from the page tree's Settings button. This filters out other language versions. You can also use this option in the assets panel and the Versions gadget to view shared blocks and versions only in the current language.
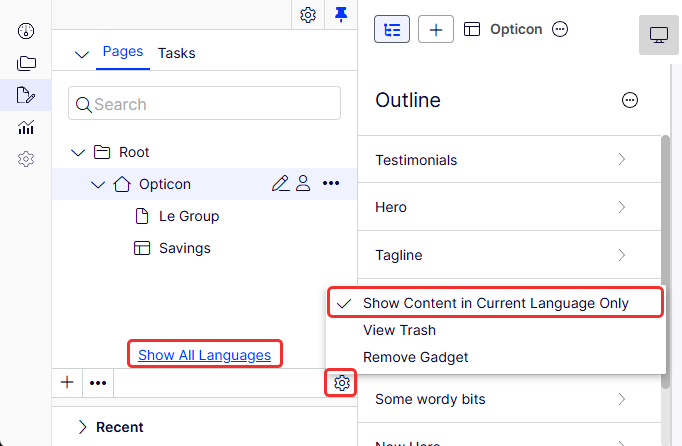
Click Show All Languages to see the entire content tree again.
NoteWhen you only show content in one language, you can move pages to another location in the page tree structure by drag and drop or copy and paste, but you cannot sort pages. Sorting is disabled because sorting in one language, where you may not see all pages, can cause unexpected results in other languages.
View language versions
You can use the Versions gadget to see the different language versions when you translate content. By selecting a language in the version list, you can switch to editing in another language using the switch option in the notification bar.
NoteEach panel or gadget can each enable Show Content in Current Language Only. This means that you can add the Versions gadget twice and display the current language in one and another language in the other.
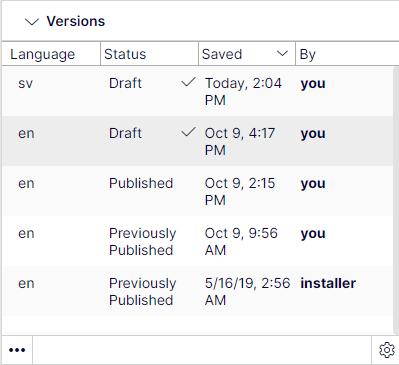
You can search for language versions for some content by typing a keyword in the search field for Pages or Shared Blocks in the assets panel.
Delete language versions
Select More > Delete Version or More > Delete All [language] Versions in the Versions gadget to delete one or more language versions for content.
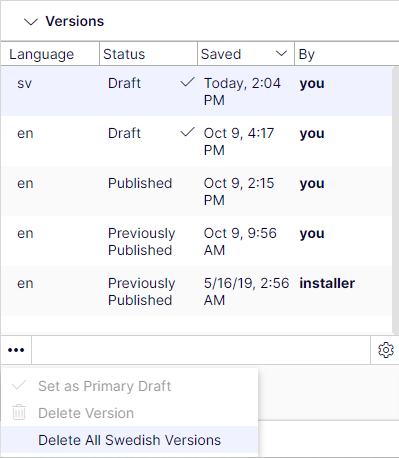
WarningYou cannot undo the deletion of one or more language versions
Translate content automatically with AI
BetaYou can use AI to automatically translate content while the feature is in beta. Contact Support to turn the AI feature off.
The Language selector displays the languages available for content creation.
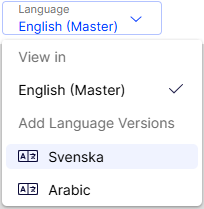
When you select an available language such as Swedish (svenska), the Add Language dialog box displays.
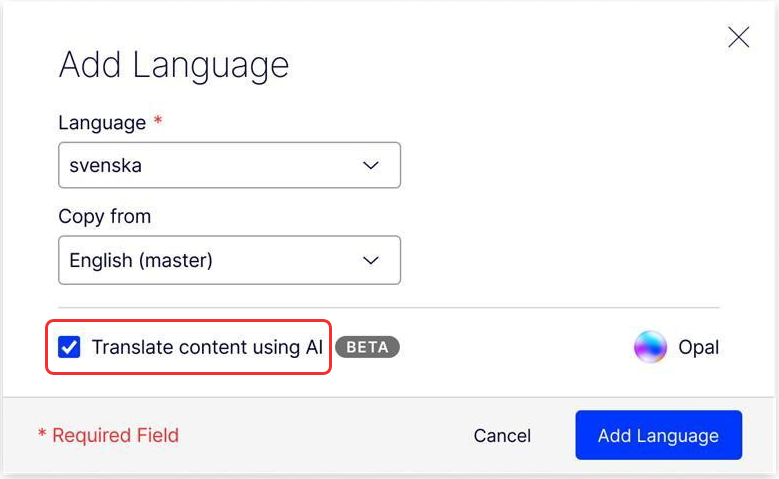
You can use Google Translate AI to automatically translate your content by selecting Translate content using AI and clicking Add Language.
| English | AI-generated Swedish |
|---|---|
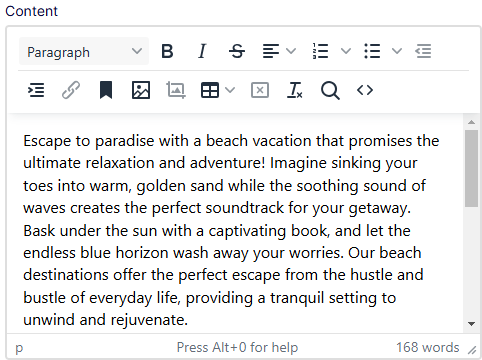 | 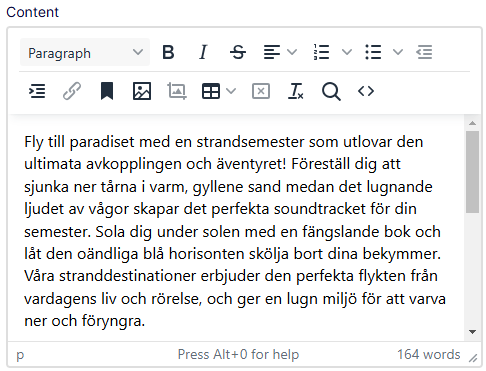 |
AI-translated content is saved as a draft in the new language, which you can see in the Version gadget.
ImportantAlways check the output of AI to see if it translated correctly. It can be a great assistant to get you started but AI can make mistakes.
If you need to re-translate content with AI, delete the old translation first, then run the translation again.
Translate content manually
To create your own translation of the content, clear Translate content using AI in the Add Language dialog box. The content is copied to a parallel page tree for the language you selected. For example, The Mountain Getaways page was created in English. When you switch to the Swedish version, you start with the English copy that you can manually translate.
Click Compare view to translate in one panel while simultaneously seeing the original version in the other panel. The following image shows manual translation in Compare different versions view.
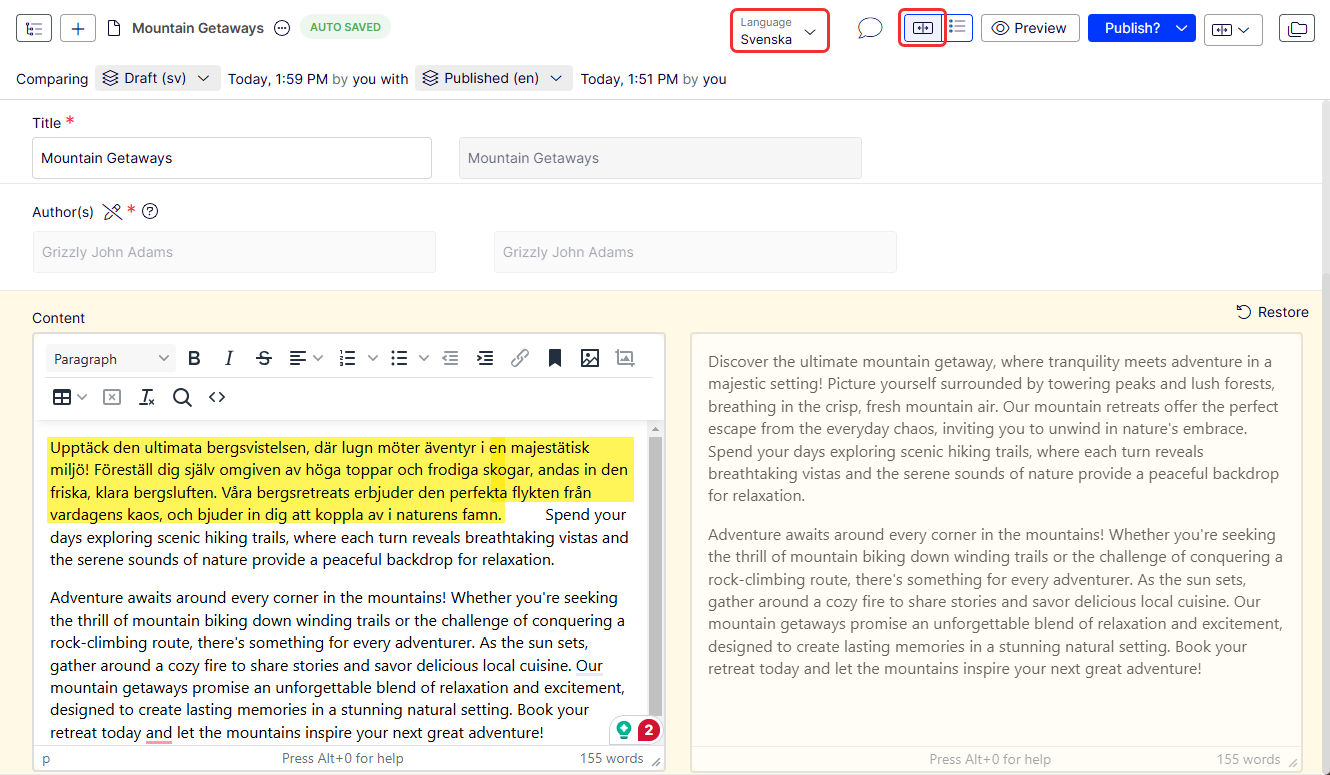
Translate from the content tree
To translate the Giving back page, select More > Translate. The Add Language dialog box displays.
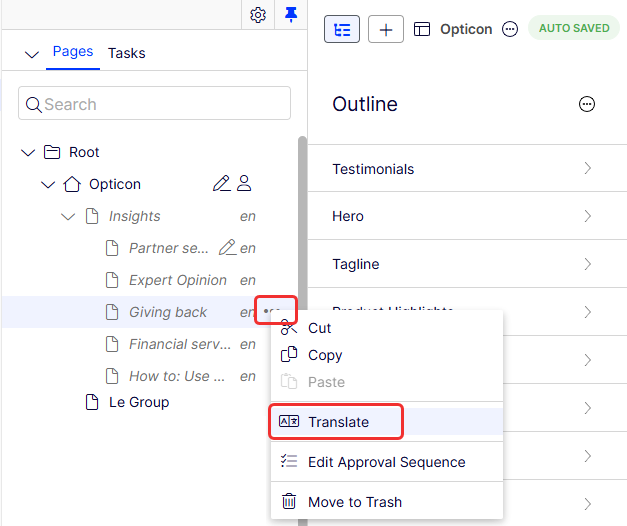
Translate a selected page
If you select a page that is not yet translated while editing a language, a notification displays with the option to translate the page. The Add Language dialog box displays.
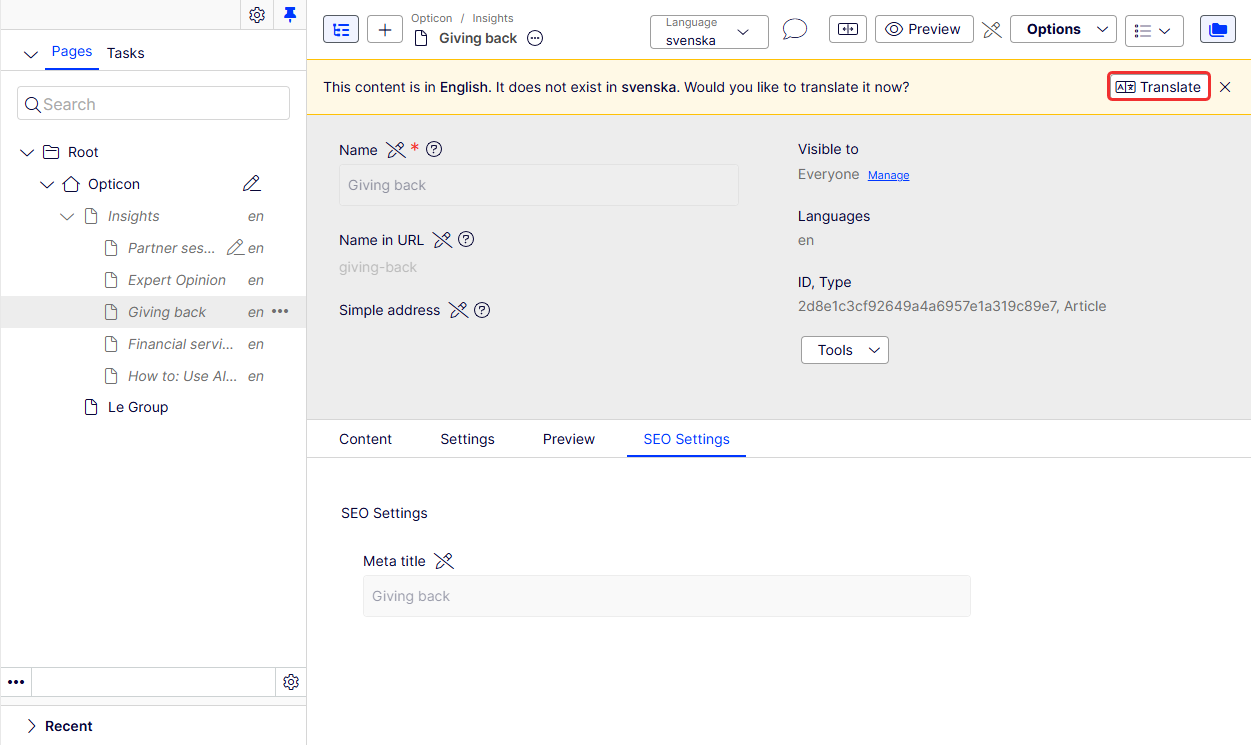
Click Compare different versions to translate in one panel while simultaneously seeing the original version in the other panel. Edit the content and follow the content publishing flow to save and publish the translated page.
Translate a shared block
You can access language versions for shared blocks from Shared Blocks in the assets panel. By default, all shared blocks are displayed, including those not translated; these are shown in italics.
To translate a shared block, select the shared block and select More (...) > Translate.
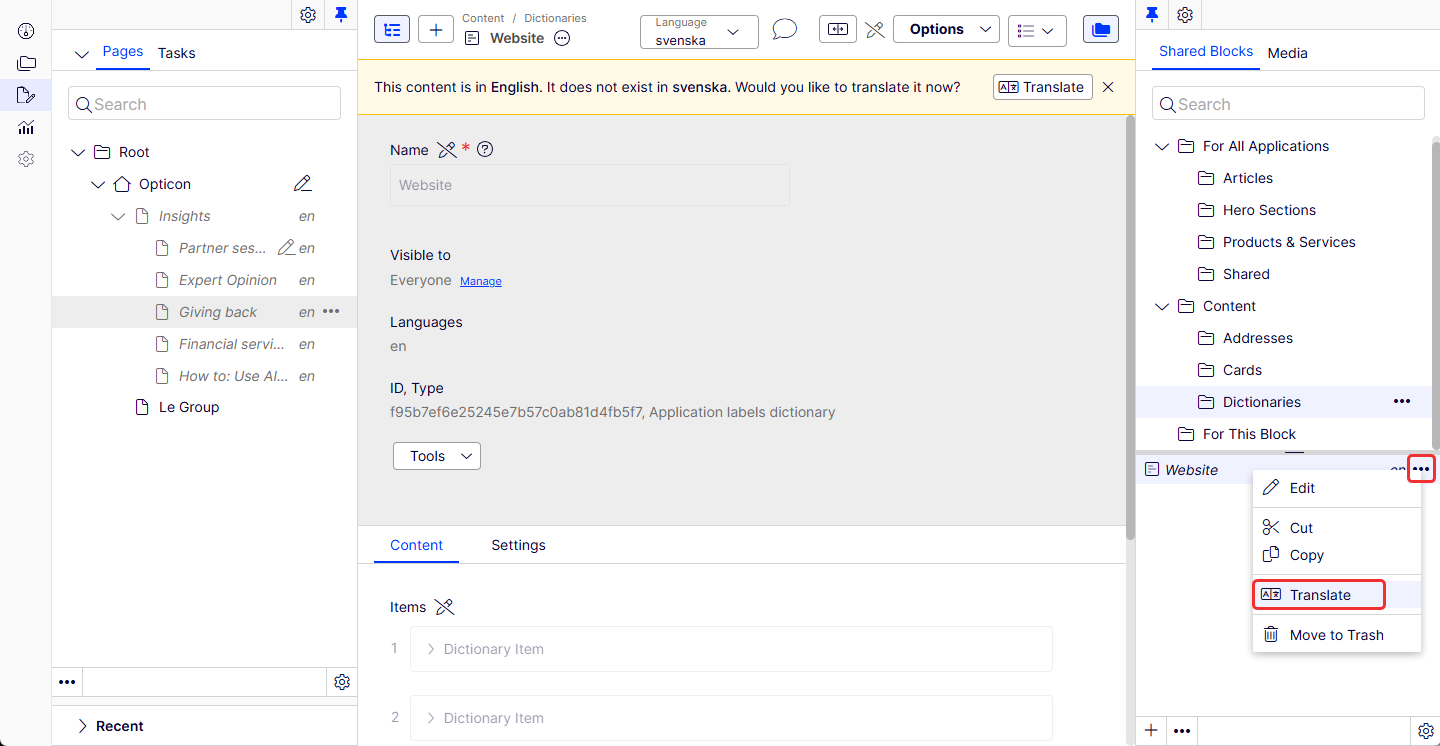
The Add Language dialog box displays.
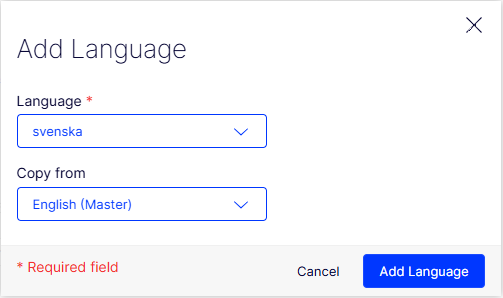
Select the language, and if you want to automatically translate the shared block's content, and click Add Language. Selecting automatic translation translates the shared block content.
Click the Compare view icon to translate in one panel while simultaneously seeing the original version in the other pane.
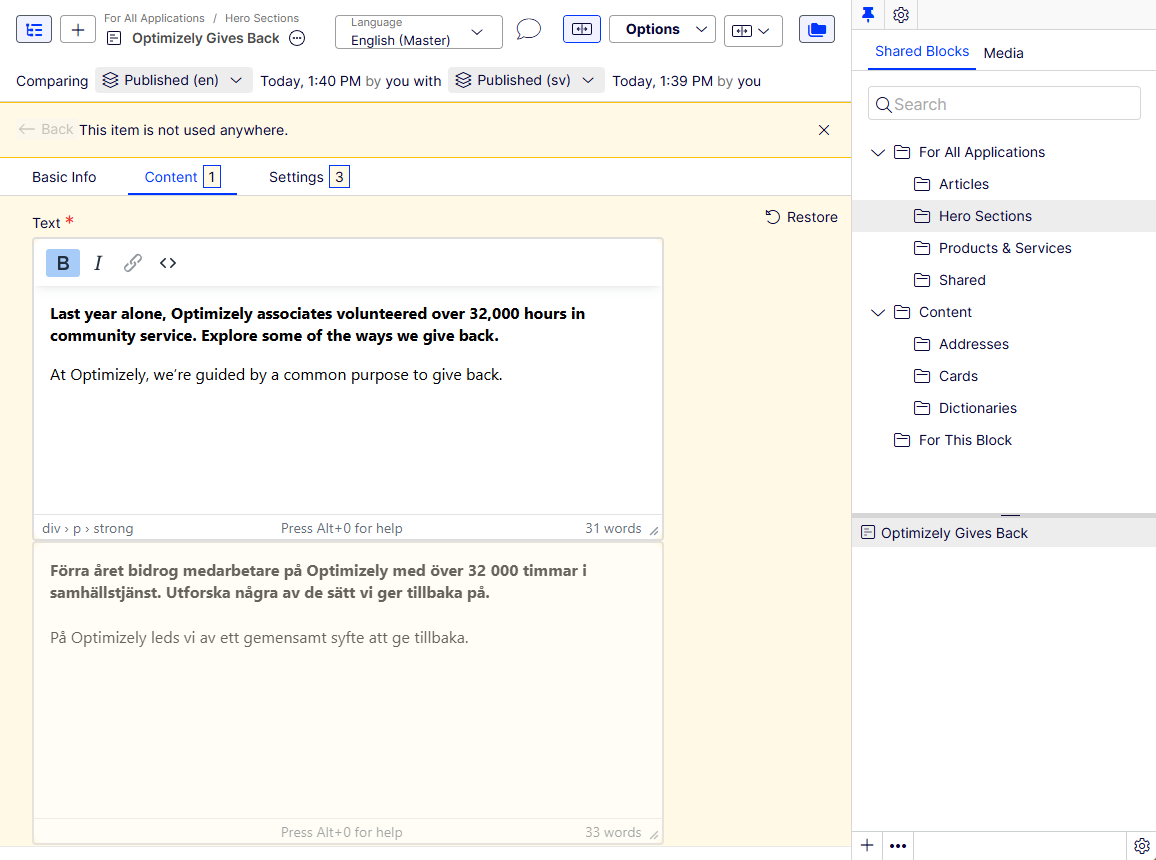
Edit the content and follow the content publishing flow to save and publish the translated shared block.
Translate global properties
Depending on your implementation, some properties may be globally shared, and you can edit them in the master language. These properties are marked as non-editable when editing the content in another language. Switch to the default language if you need to edit these.
When editing in the All Properties view, the default language is usually the first language listed next to Languages in the header.
Updated 5 months ago

