Create a CMS starter project
Create an empty Optimizely CMS 12 project, add a page type and configure a start page for the site.
Start developing in an empty project for better control and understanding. If you are new to Optimizely, first install and explore a sample site and review the Optimizely user interface.
Create the project
Follow Set up a development environment to install the Optimizely templates and command-line tool. Then, run the following commands. Check the command-line options for more configuration options.
dotnet new epi-cms-emptyThe project structure
The project creation process completes these actions:
- Installs main components through NuGet packages (
EPiServer.CMS). - Creates a database and database user.
- Updates configuration files, such as
appSettings.json, with connection strings. - Installs the Optimizely user interface components and places them under the URL /episerver.
After setup, your project folder contains the following:
- Properties with the launch settings for the development server.
- wwwroot for client resources.
- modules for package modules.
NoteAn empty site does not include a search feature. You add this later.
Create a page type
Create a simple standard page type based on MVC, with an editorial area and a heading. These page types inherit from the IContent interface in Content model and views, providing built-in functionality used in many content types.
NoteYou must be an administrator for the site to create a page under the website root.
-
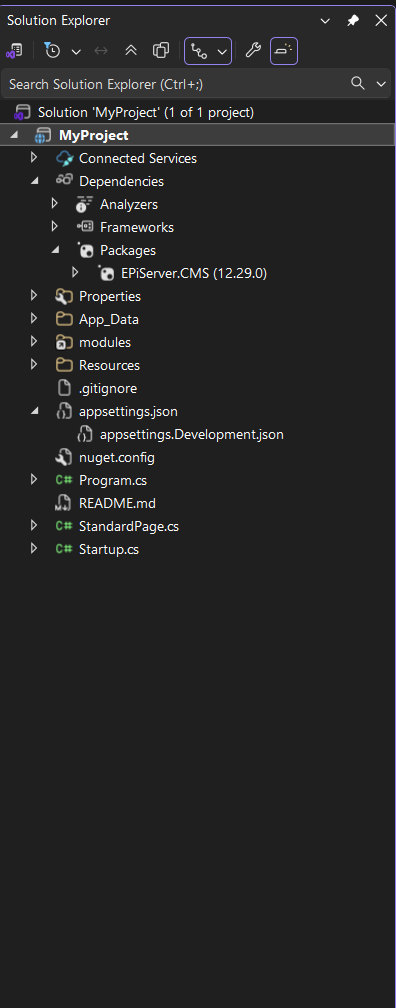
Add a new class named
StandardPage.cs.using EPiServer.Core; using EPiServer.DataAbstraction; using EPiServer.DataAnnotations; using System.ComponentModel.DataAnnotations; namespace MyProject.Models.Pages { [ContentType( DisplayName = "Standard page", GUID = "934E7266-FB8C-4DEA-B033-3B4E6AE6CBCF", Description = "The standard page.", AvailableInEditMode = true)] public class StandardPage: PageData { [CultureSpecific] [Display( Name = "Title", Description = "Title for the page", GroupName = SystemTabNames.Content, Order = 1)] public virtual string Title { get; set; } [CultureSpecific] [Display( Name = "Main body", Description = "Main body", GroupName = SystemTabNames.Content, Order = 2)] public virtual XhtmlString MainBody { get; set; } } } -
Compile your solution, log in, and go to edit view.
-
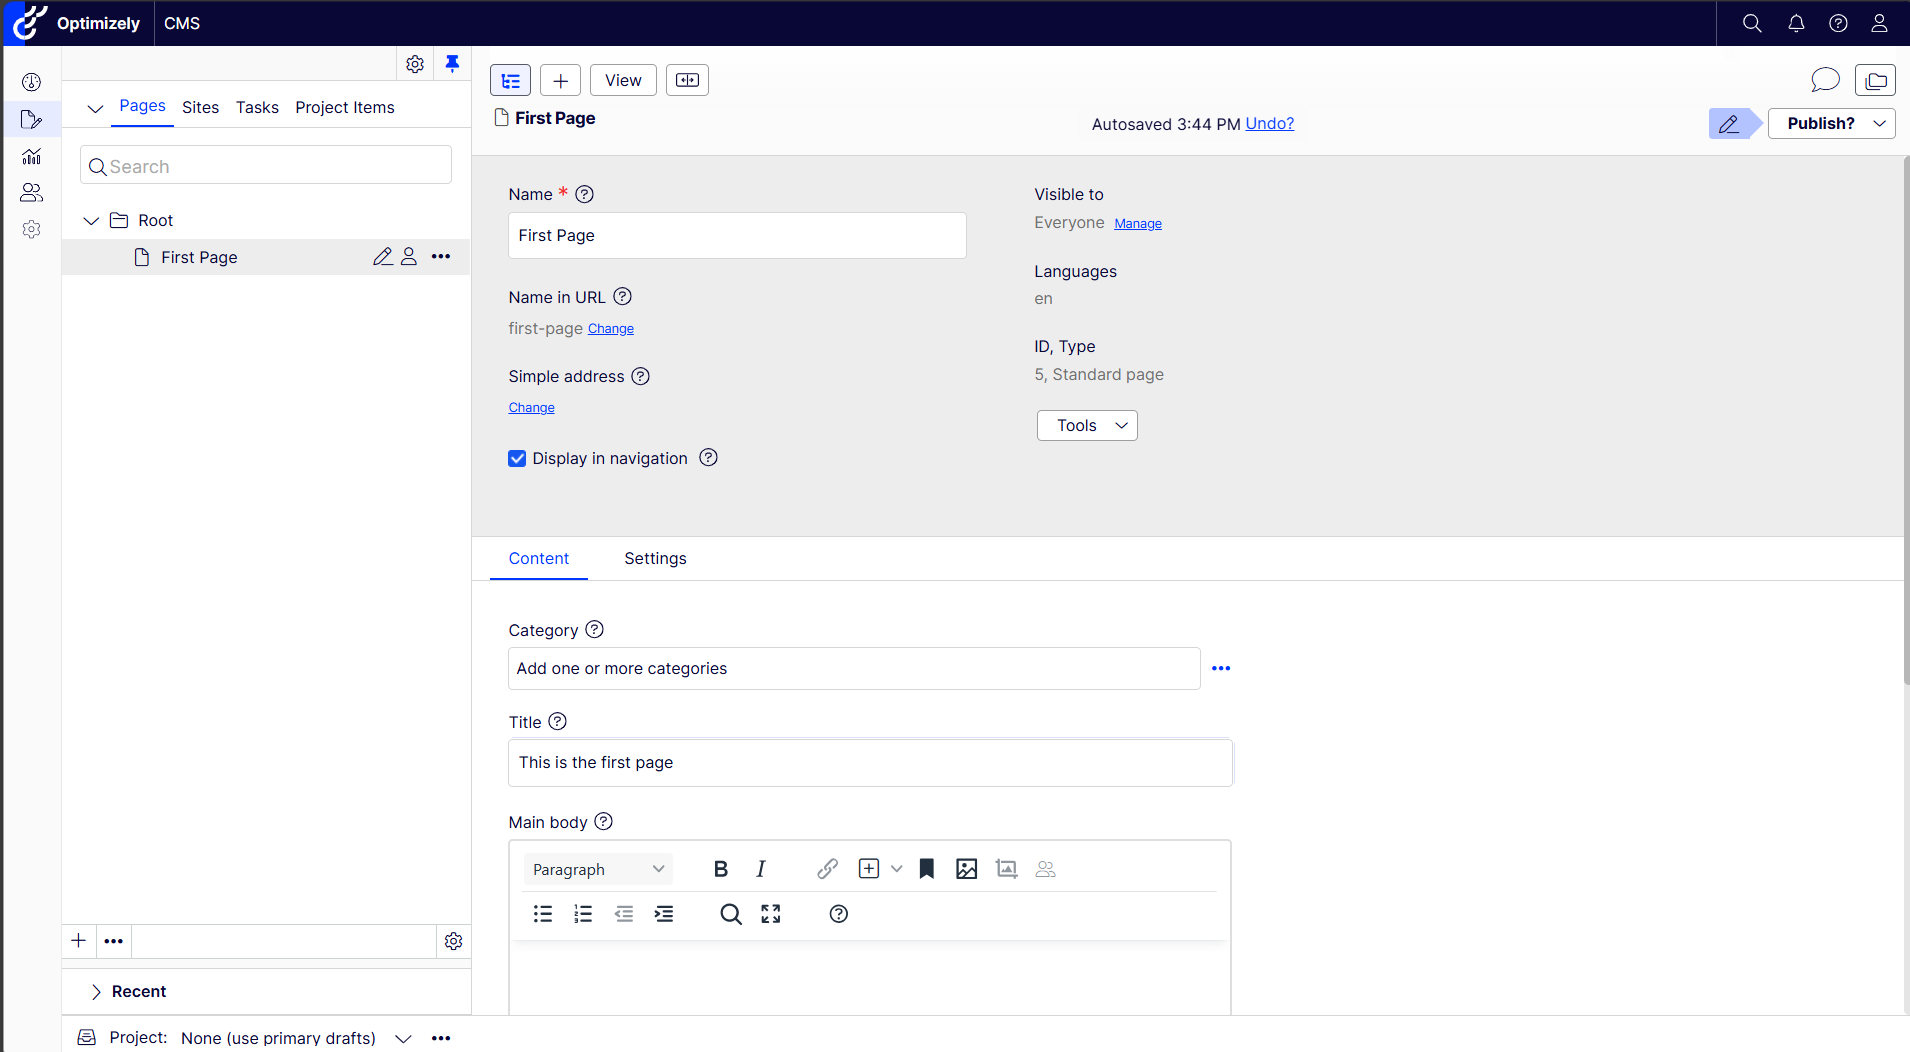
Under Root, create a page named First page. The StandardPage is automatically applied because this is currently the only available page type.
-
Add some text in the heading and main body properties, and publish the page. Because there is no rendering, the page will open in the All Properties editing view and will not be accessible on the front-end side.
Configure the start page
After you have a set of accessible pages, configure the site from the Optimizely admin view.
-
Configure the site start page by going to Settings > Manage Websites.
-
Click Create Website, and enter the site name and URL (https://localhost:5000).
-
Select a page in the page tree structure as the start page, and click Create Website.
Notice the new start page in your page tree structure. You can now access your site from the front-end by browsing to the configured URL.
Add page rendering
Add rendering to make the page accessible on the front-end side. Rendering also enables the On-page editing view for editing selected properties.
-
Add a new class named
StandardPageController.csusing EPiServer.Core; using MyProject.Models.Pages; using EPiServer.Web.Mvc; using EPiServer.Web.Routing; using Microsoft.AspNetCore.Mvc; using System; namespace MyProject.Controllers { public class StandardPageController: PageController <StandardPage> { [HttpGet] public IActionResult Index(StandardPage currentPage) { return View(currentPage); } } } -
Right-click the Project, select Add > New Folder, and name it Views.
-
Right-click the Views folder, select Add > New Folder, and name it StandardPage.
-
Right-click the StandardPage folder, select Add > New item, and then Razor View Empty.
-
Name the view
Index.cshtmland click Add. -
In the
Index.cshtmlfile, change the model toMyProject.Models.Pages.StandardPage, add the rendering for the Title property with an <h2> tag before the MainBody property.@using EPiServer.Web.Mvc.Html @model MyProject.Models.Pages.StandardPage <div class="container-fluid"> <div class="row myPage"> <div class="col-xs-12 col-md-9"> <h2>@Html.PropertyFor(x => x.Title)</h2> @Html.PropertyFor(x => x.MainBody) </div> </div> </div> -
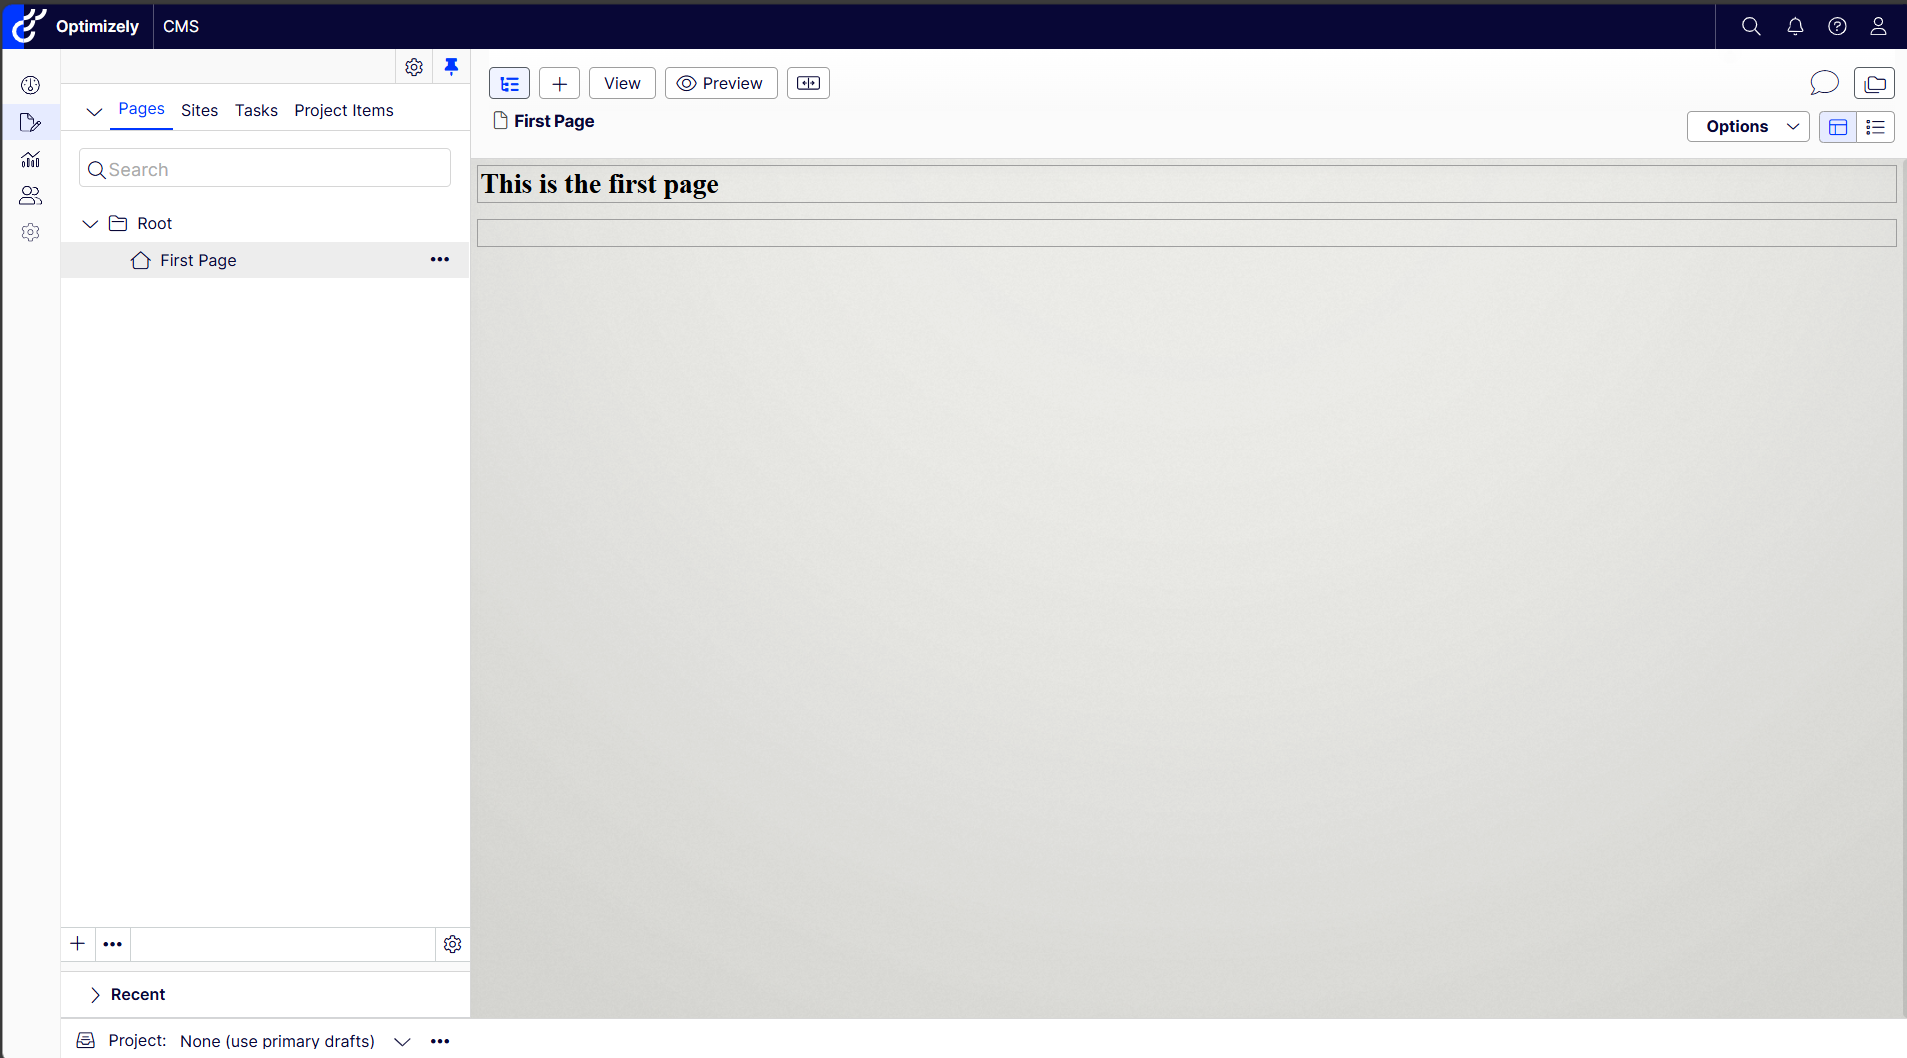
Build your solution, and log in to the edit view. The page you created now has rendering and can be edited through the On-Page edit view.
-
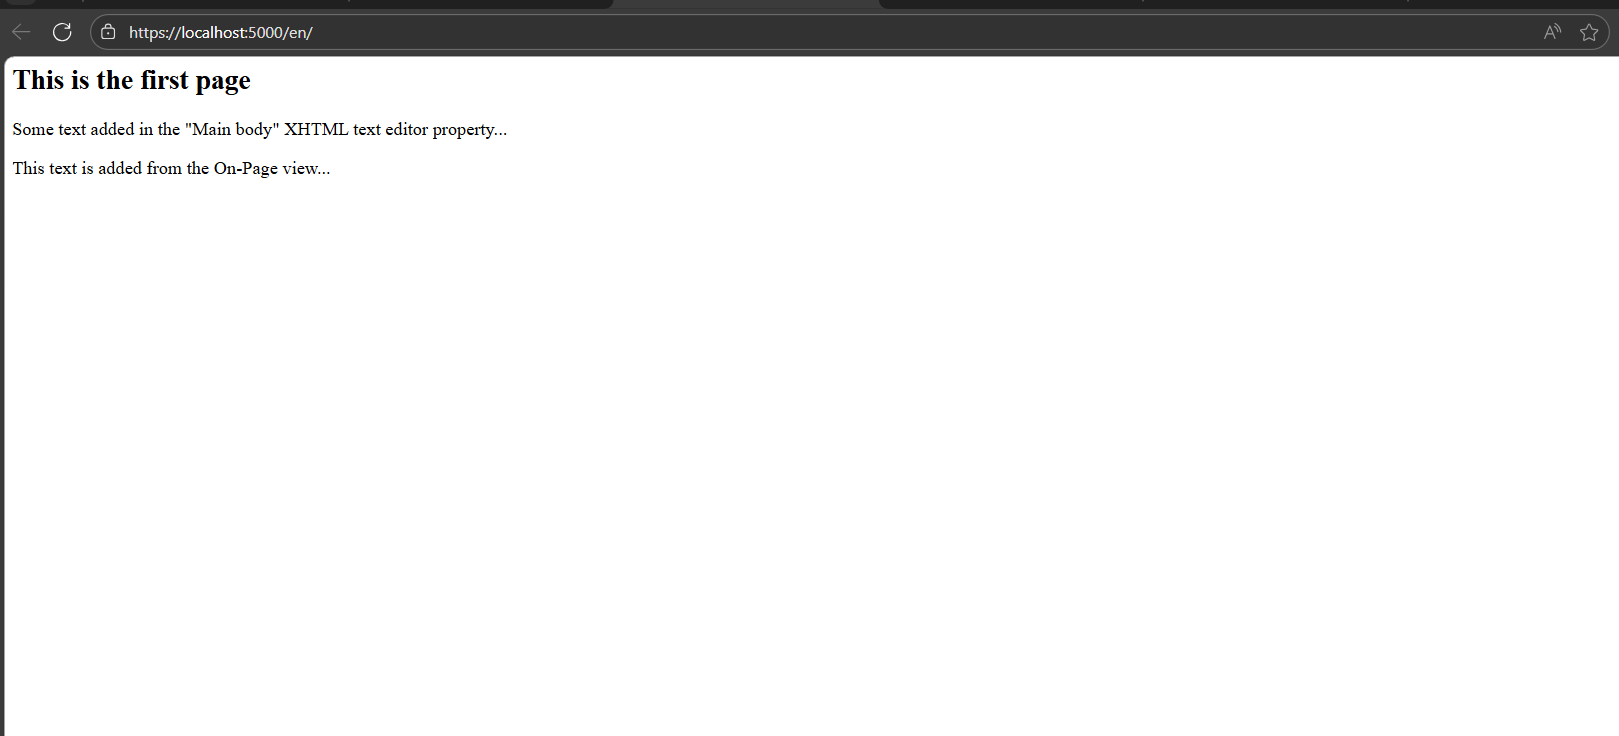
Select View on website under Publish to verify that the page can be accessed from the front-end side. Notice the URL reflecting the language and page structure of the site.
-
Add a few more pages to your site for a page tree structure.
You now have a working site with a start page configured. Use it as a starting point for continued development.
Updated 12 days ago