Example – Create audience criteria
Shows how to develop a criteria for categorizing audiences according to whether a specific cookie exists in the session.
(Thanks to Ted and Gustaf for this example.)
One usage scenario could be to check for a cookie that says the visitor has previously completed a purchase on the website and is a returning customer.
The example uses the following steps:
- Creating the settings and criterion classes
- Implementing the settings class
- Implementing the criterion class
- Testing the criterion
Create the settings and criterion classes
Audience criteria require a settings class and a criterion class. The settings class is used to persist any settings available to editors when creating an audience. The criterion class contains the logic to determine whether or not a visitor belongs to the audience.
You should create the two classes in a suitable folder structure:

Implement the settings class
The only setting required for this audience criterion is the cookie name you should look for.
-
First, make the
CookieExistsCriterionSettingsclass inherit theCriterionModelBaseclass:public class CookieExistsCriterionSettings : CriterionModelBase -
Add a
publicproperty to let editors specify the cookie name:[Required] public string CookieName { get; set; } -
If you need custom validation logic when a criterion is saved, you can make your settings class implement the
IValidateCriterionModelinterface (this is optional). By implementing that interface’sValidatemethod, you can customize how settings are validated before saving a criterion for an audience.The abstract
CriterionModelBaseclass requires you to implement theCopy()method. Because you are not using complex reference types, you can implement it by returning a shallow copy as shown (see Create custom audience criteria):
public override ICriterionModel Copy() {
return ShallowCopy();
}This is the complete CookieExistsCriterionSettings class:
public class CookieExistsCriterionSettings: CriterionModelBase {
[Required]
public string CookieName {
  get;
  set;
}
public override ICriterionModel Copy() {
  return ShallowCopy();
}
}Implement the criterion class
-
Make the
CookieExistsCriterionclass inherit the abstractCriterionBaseclass with the settings class as the type parameter:public class CookieExistsCriterion : CriterionBase<CookieExistsCriterionSettings> -
Add a
VisitorGroupCriterionattribute to set the category, name, and description of the criterion (for more availableVisitorGroupCriterionproperties, see Create custom audience criteria:[VisitorGroupCriterion( Category = "Technical", DisplayName = "Cookie Exists", Description = "Checks if a specific cookie exists")] -
The abstract
CriterionBaseclass requires you to implement anIsMatch()method, which determines whether the current user matches this audience criterion. You should check if a specific cookie exists based on the criterion settings:public override bool IsMatch(IPrincipal principal, HttpContextBase httpContext) { return httpContext.Request.Cookies[Model.CookieName] != null; }The criterion class appears as follows:
[VisitorGroupCriterion( Category = "Technical", DisplayName = "Cookie Exists", Description = "Checks if a specific cookie exists")] public class CookieExistsCriterion: CriterionBase<CookieExistsCriterionSettings> { public override bool IsMatch(IPrincipal principal, HttpContextBase httpContext) { return httpContext.Request.Cookies[Model.CookieName] != null; } }
NoteYou access the criterion settings instance through the Model property.
Test the criterion
To test the criterion, create an audience using the cookie criterion.
-
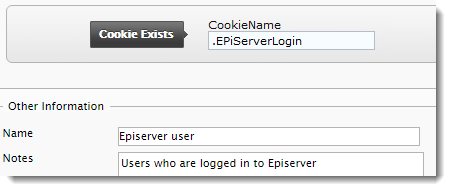
Set the cookie name to .EPiServerLogin, the name of the cookie created when a user logs in to Episerver:

If you are on CMS version 10 or 11, it will look like this:

-
Select some content in the editor that should only be displayed to users currently logged in to Episerver.

-
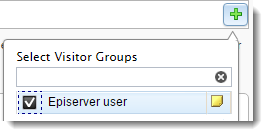
Click Personalized Content and select the Episerver User audience.

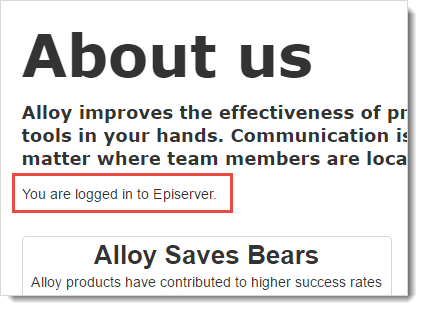
This content is now only displayed to users logged into Episerver:

After publishing the page, you see this:

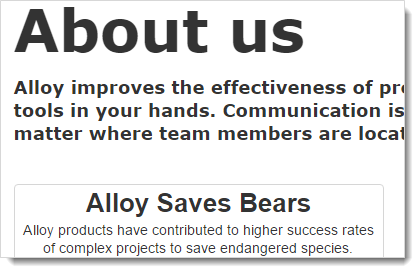
However, if you log out of Episerver, you no longer see the personalized content.

Updated 5 months ago
