Create Visual Builder content from a blueprint
NoteDeveloper configuration is necessary to create Visual Builder content from scratch. For detailed instructions, see Configure Visual Builder.
Also, you can create experiences in any part of the page tree, but only the Mosey Bank example branch has a configured preview in the sample site, so you should create your experience under that structure. To rename or delete a blueprint, see Blueprints.
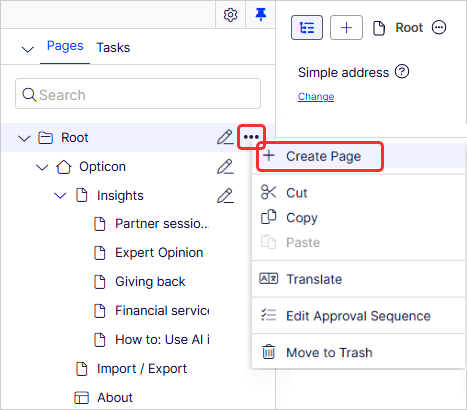
In the page tree, select Root's More (...) > Create Page.
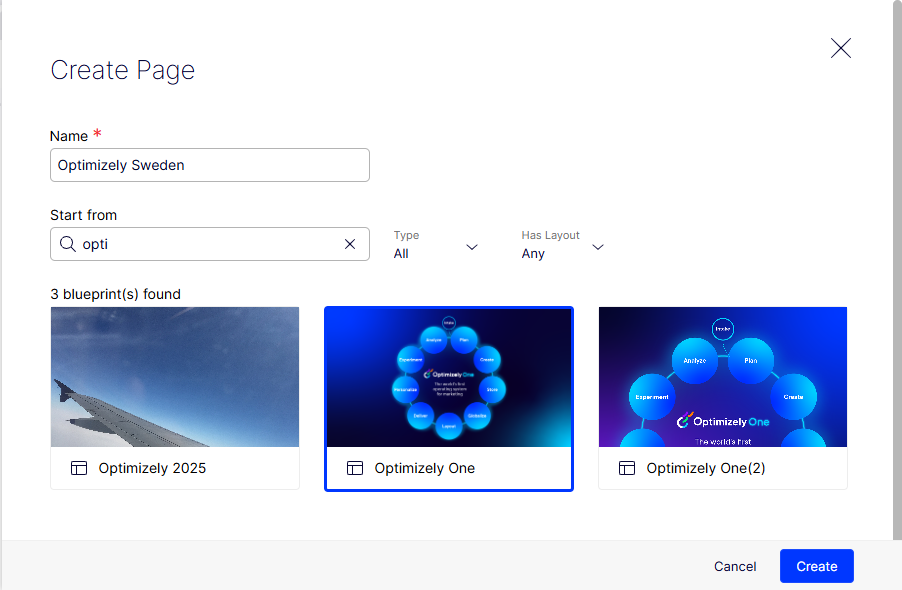
The Create Page window displays with saved blueprints. In this example, enter Opticon Sweden in the Name field and select the Optimizely One blueprint that was saved from the Opticon experience. You can filter blueprint names by entering text in the search field to find the blueprint you want more quickly.
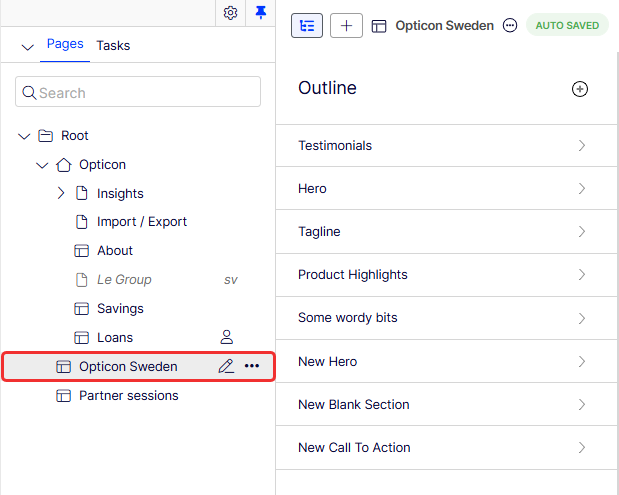
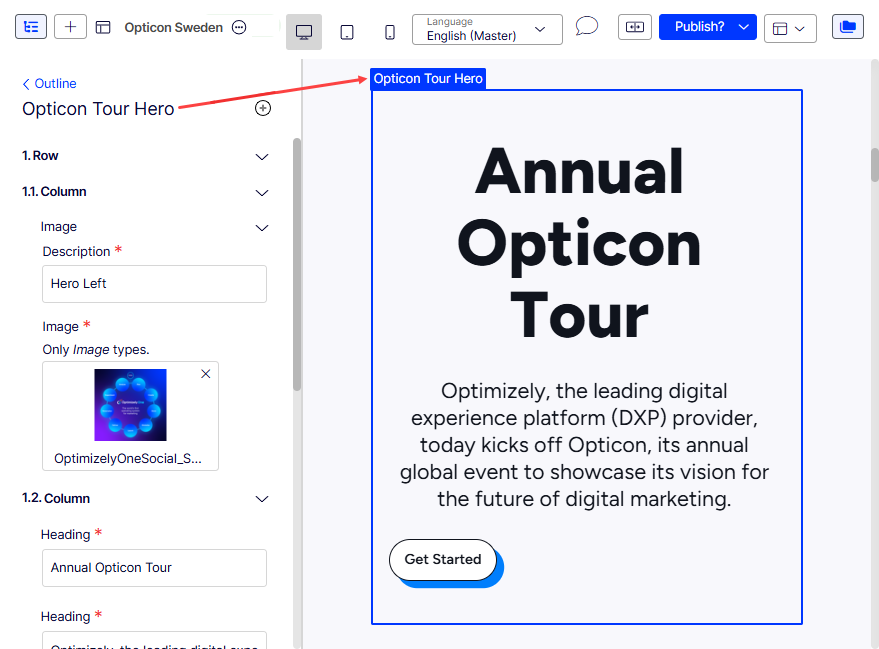
Visual Builder displays the new experience with the blueprint you selected, starting out with the same outline, which you can customize by changing section names, reordering sections, and so on.
The left side displays the page tree and outline; the right side displays the preview. You can select desktop, tablet (shown), or mobile views. See Preview an experience for information.
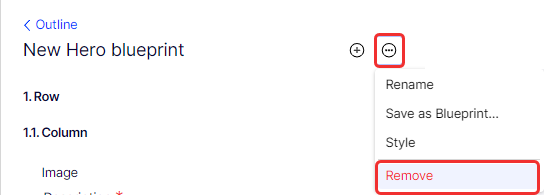
On the section you want to rename, select More (...) > Rename.
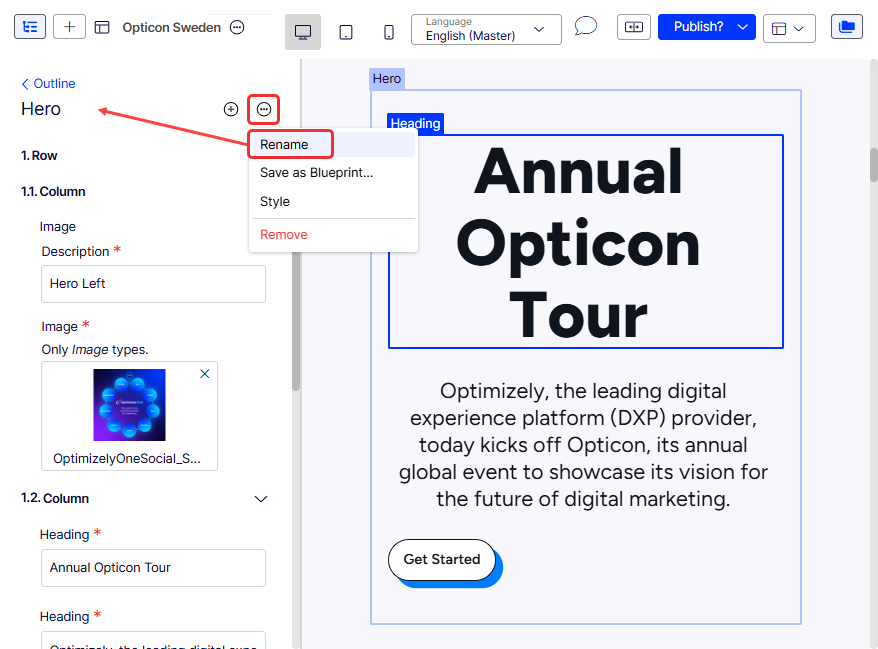
In this case, rename Hero to Opticon Tour Hero.
Add a section
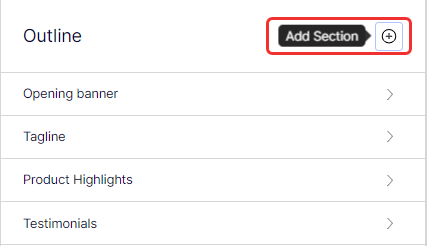
To add a section, click Add Section on an outline.
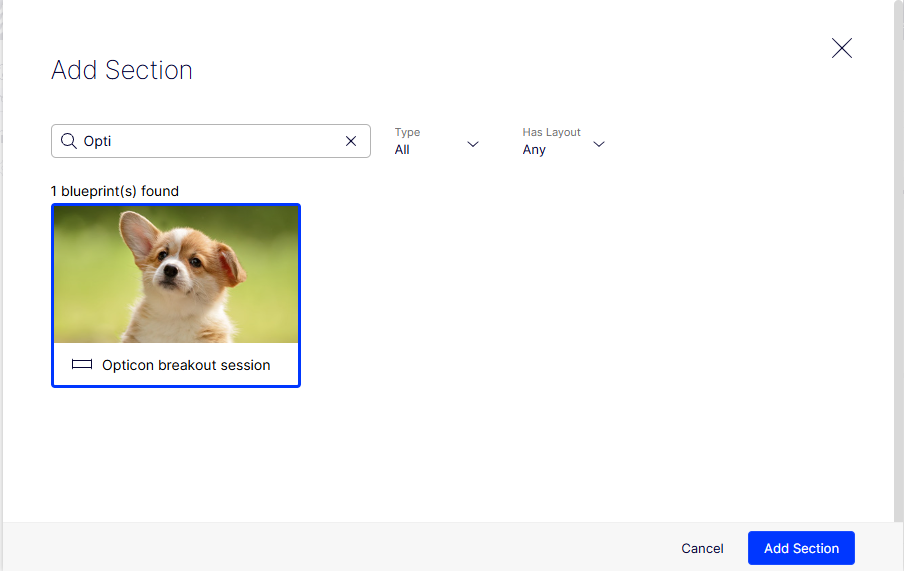
The Add Section window displays. If you have sections saved as blueprints, you can select it and click Add Section to use a section that is already defined for you.
The section is added to the bottom of the outline.
Reorder sections, rows, columns, and elements
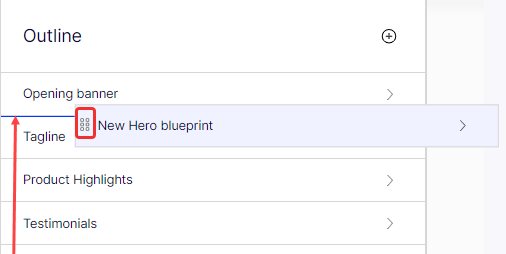
You can drag and drop a section to reorder it. You can also drag rows, columns, and elements to customize your experience. Visual Builder numbers rows and columns. You see the result in the Preview pane when you reorder them.
NoteYou cannot drag an element from one column to another.
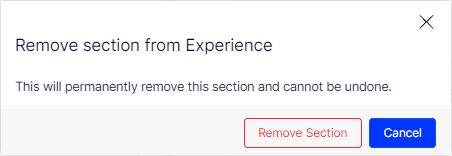
Remove a section
-
Select More (...) > Remove.
-
Click Remove Section to confirm.
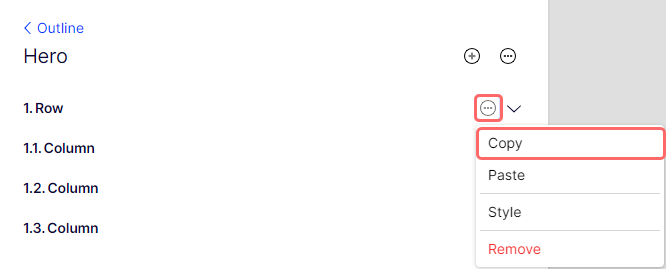
Copy and paste a row or column
You can copy a row or a column. When you paste it, Visual Builder adds the row or column to the bottom of the hierarchy.
See Select styles for information about customizing the elements of your experience.
Updated 1 day ago