Create webhooks
How to create webhooks in Optimizely Feature Experimentation.
Webhooks notify your server when certain events occur in Optimizely, such as when the datafile updates. This eliminates the need to poll for configuration changes. When you receive a webhook notification and download the latest datafile, you must re-instantiate the Feature Experimentation client for the changes to take effect.
Feature Experimentation sends a POST request to your supplied endpoint when you make a change in any environment.
NoteWhen you change an environment, Feature Experimentation updates the revision of only that environment's datafile.
For example, if you have four environments and update one, Optimizely only creates a new datafile revision for that environment.
Available events
You can subscribe to notifications for any event captured in the Feature Experimentation change history.
| Entity type | Create | Update | Archive | Delete |
|---|---|---|---|---|
| Attribute | Yes | Yes | Yes | Yes |
| Audience | Yes | Yes | Yes | Yes |
| Datafile | No | Yes | No | No |
| Environment | Yes | Yes | Yes | Yes |
| Event | Yes | Yes | Yes | Yes |
| Flag | Yes | Yes | Yes | Yes |
| Group | Yes | Yes | Yes | Yes |
| Project | No | Yes | No | No |
| Ruleset | Yes | Yes | No | Yes |
| Rule | Yes | Yes | No | Yes |
| Variable | Yes | Yes | No | Yes |
| Variation | Yes | Yes | Yes | Yes |
Create a webhook
Use the following steps to configure and test a webhook.
Configure an endpoint on your server
First, configure a public API endpoint on your server to accept a POST request from Feature Experimentation.
This example uses /webhooks/optimizely as the endpoint path.
Configuring a public endpoint varies depending on your language and framework. The following examples show JavaScript (Node) using Express and Python using Flask:
// Simple Node Express webhook example
// Requires installing express: 'npm install --save express'
const express = require('express');
const app = express();

/**
 * Optimizely Webhook Route
 * Route to accept webhook notifications from Optimizely
 **/
app.post('/webhooks/optimizely', (req, res) => {
  console.log(`
    [Optimizely] Webhook request received!
    The Optimizely datafile has been updated. Re-download
    the datafile and re-instantiate the Optimizely SDK
    for the changes to take effect
  `);
  res.send('Webhook Received');
});

app.get('/', (req, res) => res.send('Optimizely Webhook Example'))

const HOST = process.env.HOST || '0.0.0.0';
const PORT = process.env.PORT || 8080;
app.listen(PORT, HOST);
console.log(`Example App Running on http://${HOST}:${PORT}`);
# Simple Python Flask webhook example
# Requires installing flask: 'pip install flask'
import os
from flask import Flask, request, abort
app = Flask(__name__)
# Route to accept webhook notifications from Optimizely
@app.route('/webhooks/optimizely', methods=['POST'])
def index():
print("""
[Optimizely] Webhook request received!
The Optimizely datafile has been updated. Re-download
the datafile and re-instantiate the Optimizely SDK
for the changes to take effect
""")
return 'Webhook Received'
@app.route('/')
def hello_world():
return 'Optimizely Webhook Example'
if __name__ == "__main__":
host = os.getenv('HOST', '0.0.0.0')
port = int(os.getenv('PORT', 3000))
print('Example App Running on http://' + str(host) + ':' + str(port))
app.run(host=host, port=port)Create a webhook in Optimizely
After configuring an endpoint on your server, take note of the fully qualified URL.
For example, if your server domain is https://www.your-example-site.com, your webhook URL is https://www.your-example-site.com/webhooks/optimizely.
-
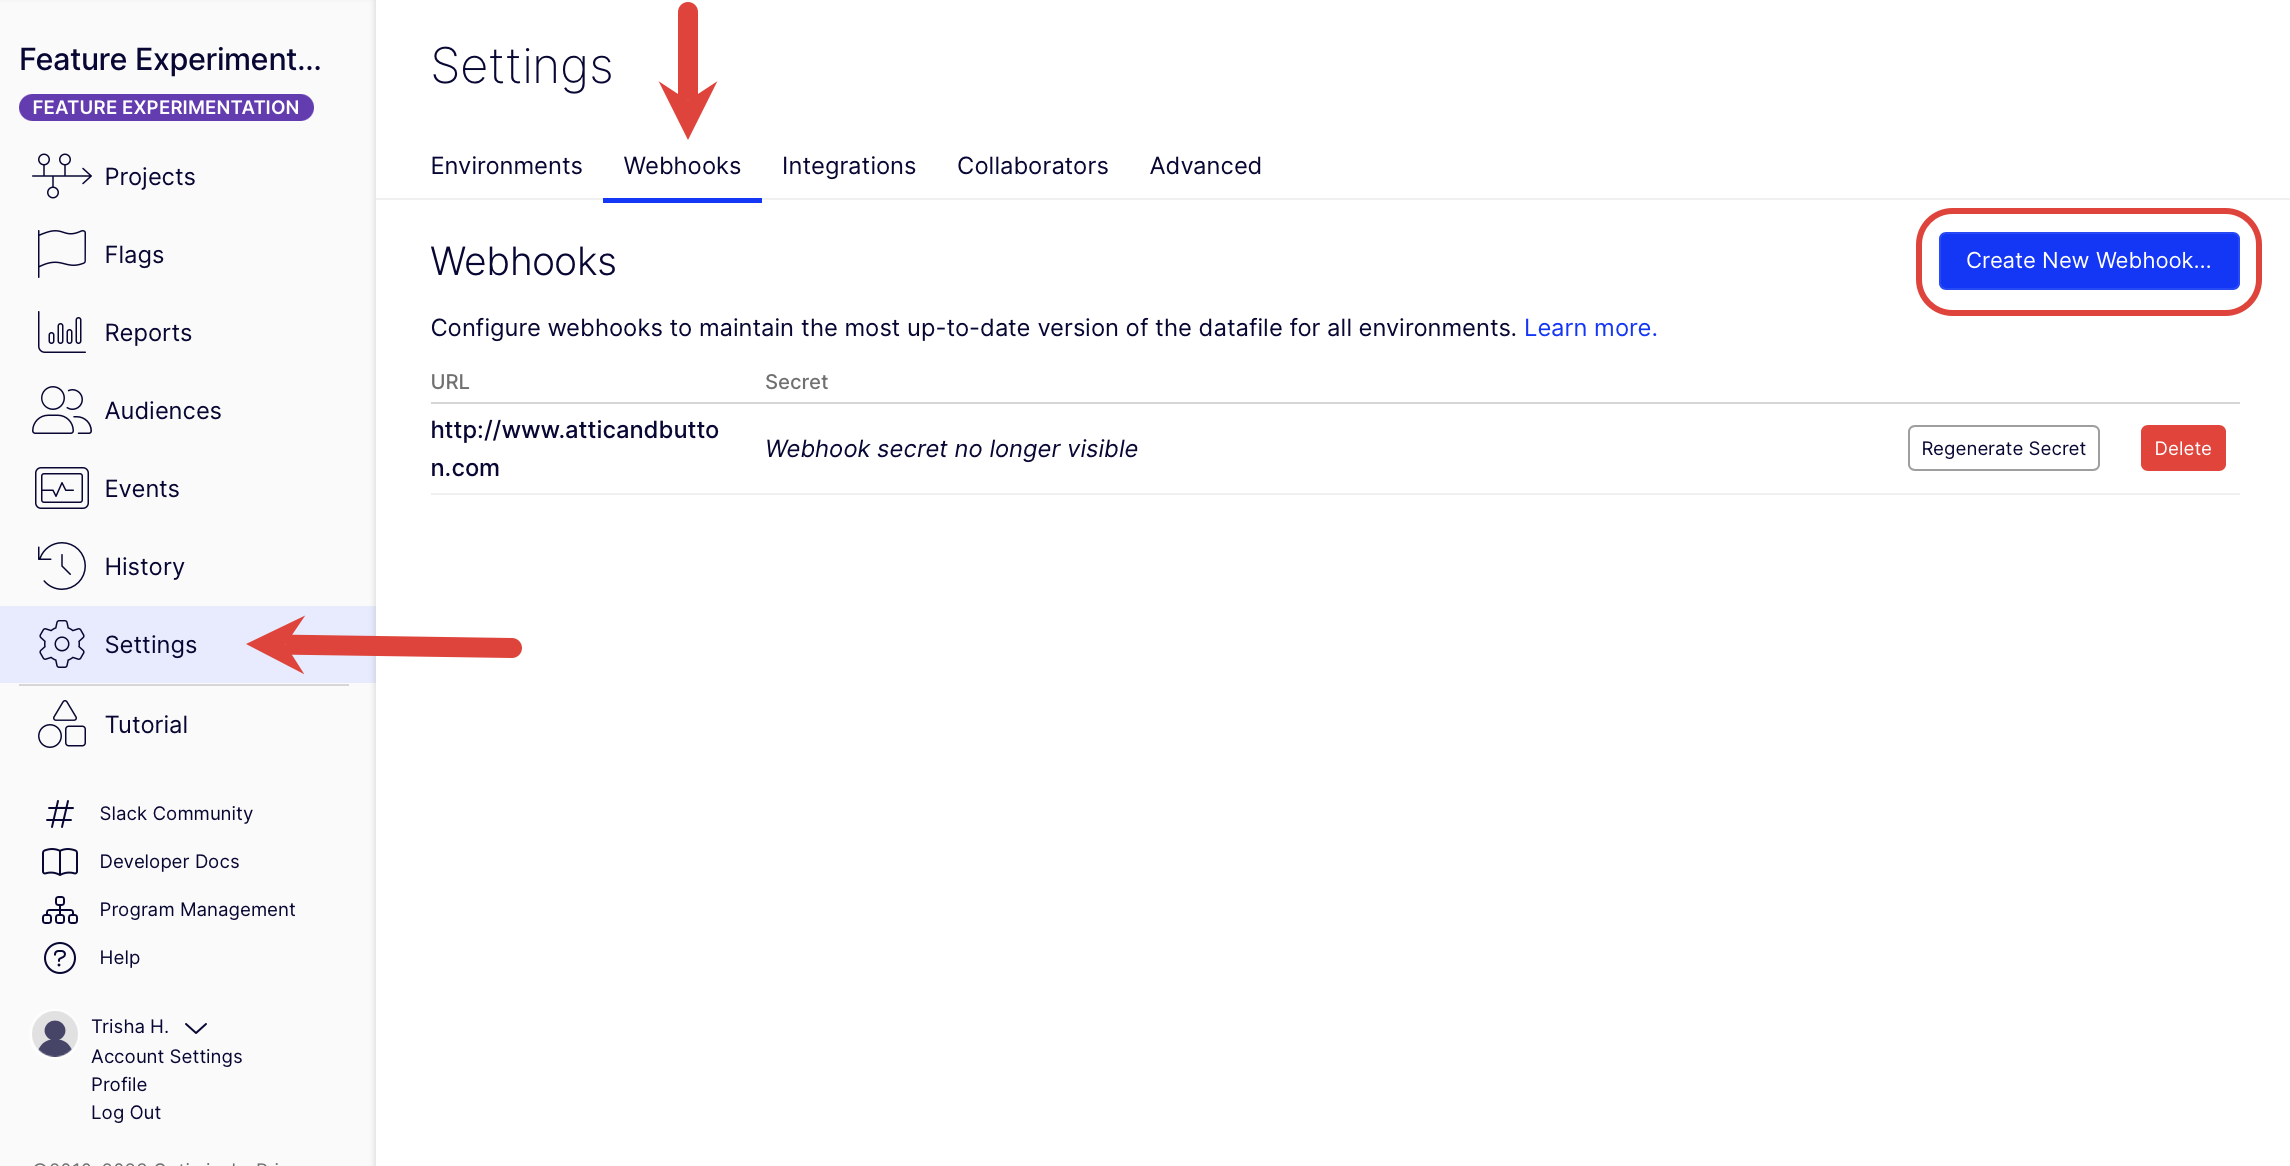
Go to Settings > Webhooks.
-
Click Create New Webhook.
-
Enter the URL where Feature Experimentation sends the datafile update notifications (for example,
https://www.your-example-site.com/webhooks/optimizely). -
Select the events that trigger the webhook.
-
Click Save.
-
Take note of the secret generated to secure your webhook in the following step.
Example payloads
Datafile webhook example
The following example shows the webhook payload structure with the default Production environment.
{
  "project_id": 1234,
  "timestamp": 1468447113,
  "event": "project.datafile_updated",
  "data": {
    "revision": 1,
    "origin_url": "https://optimizely.s3.amazonaws.com/json/1234.json",
    "cdn_url": "https://cdn.optimizely.com/json/1234.json",
    "environment": "Production"
  }
}
Change history webhook example
The following example shows the webhook payload structure for a running ruleset of the production environment for the flag product_details_page. Payloads sent by a webhook match the response schema of the Retrieve changes for a project REST API endpoint.
{
	"method": "post",
	"path": "/",
	"body": {
		"project_id": {project_id},
		"timestamp": 1719500691,
		"event": "project.ruleset_updated",
		"data": [
			{
				"change_type": "update",
				"project_id": {project_id},
				"user": {
					"display_name": "Optimizely Support",
					"id": "{[email protected]}",
					"email": "[email protected]"
				},
				"created": "2024-06-27T15:04:50.890414Z",
				"id": 41933132,
				"entity": {
					"type": "ruleset",
					"ui_url": "https://app.optimizely.com/v2/projects/{project_id}/flags/manage/product_detail_page/rules/production",
					"is_deleted": null,
					"id": 251219,
					"name": "Rules for product_detail_page in Production",
					"api_url": "https://api.optimizely.com/v2/projects/{project_id}/flags/product_detail_page/rules/production"
				},
				"changes": [
					{
						"after": "2024-06-27T15:04:50.803341Z",
						"before": "2024-06-27T15:04:41.247609Z",
						"description": "Updated rules.td.updated_time",
						"property": "rules.td.updated_time"
					},
					{
						"after": "2024-06-27T15:04:50.803341Z",
						"before": "2024-06-27T15:04:41.247609Z",
						"description": "Updated rules.mab.updated_time",
						"property": "rules.mab.updated_time"
					},
					{
						"after": "2024-06-27T15:04:50.803341Z",
						"before": "2024-06-27T15:04:41.247609Z",
						"description": "Updated rules.repeat_buyers_test.updated_time",
						"property": "rules.repeat_buyers_test.updated_time"
					},
					{
						"after": "running",
						"before": "paused",
						"description": "Updated status",
						"property": "status"
					},
					{
						"after": true,
						"before": false,
						"description": "Updated enabled",
						"property": "enabled"
					},
					{
						"after": 475,
						"before": 474,
						"description": "Updated revision",
						"property": "revision"
					},
					{
						"after": "2024-06-27T15:04:50.803341Z",
						"before": "2024-06-27T15:04:41.247609Z",
						"description": "Updated updated_time",
						"property": "updated_time"
					},
					{
						"after": "/projects/{project_id}/flags/product_detail_page/environments/production/ruleset/disabled",
						"description": "Added disable_url",
						"property": "disable_url"
					},
					{
						"before": "/projects/{project_id}/flags/product_detail_page/environments/production/ruleset/enabled",
						"description": "Removed enable_url",
						"property": "enable_url"
					}
				],
				"source": "ui",
				"summary": "Updated ruleset 'Rules for product_detail_page in Production'"
			}
		]
	}
}
ImportantYour
environmentvalues may be different than the previous examples. See Manage environments for information.
Secure your webhook
After you configure a public endpoint, secure your webhook to verify that notifications originate from Feature Experimentation.
When you create a webhook, Feature Experimentation generates a secret token to create a hash signature of webhook payloads. Webhook requests include this signature in a header X-Hub-Signature that you can use to verify the request originated from Feature Experimentation.
You can only view a webhook's secret token once, immediately after its creation. If you forget a webhook's secret token, you must recreate it using the steps in the previous section.
NoteKeep all webhook secret tokens for your implementation secure and private.
The X-Hub-Signature header contains a SHA1 HMAC hex digest of the webhook payload, using the webhook's secret token as the key and prefixed with sha1=. How you verify this signature varies, depending on the language of your codebase. The following reference implementation examples show JavaScript (Node) using Express and Python using Flask.
Both examples assume your webhook secret is passed as an environment variable named OPTIMIZELY_WEBHOOK_SECRET.
// Simple Node Express webhook
// Requires installing express: 'npm install --save express body-parser'
const express = require('express');
const bodyParser = require('body-parser');
const crypto = require('crypto');
const app = express();

/**
 * Optimizely Webhook Route
 * Route to accept webhook notifications from Optimizely
 **/
app.post('/webhooks/optimizely', bodyParser.text({ type: '*/*' }), (req, res) => {
  const WEBHOOK_SECRET = process.env.OPTIMIZELY_WEBHOOK_SECRET;
  const webhookPayload = req.body;
  const hmac = crypto.createHmac('sha1', WEBHOOK_SECRET);
  const webhookDigest = hmac.update(webhookPayload).digest('hex');

  const computedSignature = Buffer.from(`sha1=${webhookDigest}`, 'utf-8');
  const requestSignature = Buffer.from(req.header('X-Hub-Signature'), 'utf-8');

  if (computedSignature.length != requestSignature.length || !crypto.timingSafeEqual(computedSignature, requestSignature)) {
    res.sendStatus(500);
    return;
  }

  console.log(`
    [Optimizely] Webhook request received!
    Signatures match! Webhook verified as coming from Optimizely
    Download Optimizely datafile and re-instantiate the SDK Client
    For the latest changes to take effect
  `);
  res.sendStatus(200);
});

app.get('/', (req, res) => res.send('Optimizely Webhook Example'));

const HOST = process.env.HOST || '0.0.0.0';
const PORT = process.env.PORT || 8080;
app.listen(PORT, HOST);
console.log(`Example App Running on http://${HOST}:${PORT}`);
# Reference Flask implementation of secure webhooks
# Requires installing flask: 'pip install flask'
# Assumes webhook's secret is stored in the environment variable OPTIMIZELY_WEBHOOK_SECRET
from hashlib import sha1
import hmac
import os

from flask import Flask, request, abort

app = Flask(__name__)

# Route to accept webhook notifications from Optimizely
@app.route('/webhooks/optimizely', methods=['POST'])
def index():
  request_signature = request.headers.get('X-Hub-Signature')
  webhook_secret = bytes(os.environ['OPTIMIZELY_WEBHOOK_SECRET'], 'utf-8')
  webhook_payload = request.data
  digest = hmac.new(webhook_secret, msg=webhook_payload, digestmod=sha1).hexdigest()
  computed_signature = 'sha1=' + str(digest)

  if not hmac.compare_digest(computed_signature, request_signature):
    print("[Optimizely] Signatures did not match! Do not trust webhook request")
    abort(500)
    return

  print("""
    [Optimizely] Webhook request received!
    Signatures match! Webhook verified as coming from Optimizely
    Download Optimizely datafile and re-instantiate the SDK Client
    For the latest changes to take effect
  """)
  return 'Secure Webhook Received'

@app.route('/')
def hello_world():
  return 'Optimizely Webhook Example'

if __name__ == "__main__":
  host = os.getenv('HOST', '0.0.0.0')
  port = int(os.getenv('PORT', 3000))
  print('Example App Running on http://' + str(host) + ':' + str(port))
  app.run(host=host, port=port)
WarningTo prevent timing analysis attacks, you should use a constant time string comparison function such as Python's
hmac.compare_digestinstead of the==operator when verifying webhook signatures.
Test your implementation
Use the following example values to verify your secure webhook implementation.
Example webhook secret token
yIRFMTpsBcAKKRjJPCIykNo6EkNxJn_nq01-_r3S8i4Example webhook request payload
'{"timestamp": 1558138293, "project_id": 11387641093, "data": {"cdn_url": "https://cdn.optimizely.com/datafiles/QMVJcUKEJZFg8pQ2jhAybK.json", "environment": "Production", "origin_url": "https://optimizely.s3.amazonaws.com/datafiles/QMVJcUKEJZFg8pQ2jhAybK.json", "revision": 13}, "event": "project.datafile_updated"}'Using the webhook secret token and the webhook payload as a string, your code should generate a computed signature of sha1=b2493723c6ea6973fbda41573222c8ecb1c82666, which you can verify against the webhook request header.
Example webhook request header
X-Hub-Signature: sha1=b2493723c6ea6973fbda41573222c8ecb1c82666
Content-Type: application/json
User-Agent: AppEngine-Google; (+http://code.google.com/appengine; appid: s~optimizely-hrd)
NoteIf you use your secret instead of the example, your
sha1response differs.
Test your webhooks
Use a tool like Request Bin to test your webhooks. Request Bin lets you create a webhook URL to process HTTP requests and render the data in a human-readable format.
See the Request Bin documentation for information.