Deploy a new Commerce Connect site
Describes a simple onboarding deployment scenario to create a Commerce Connect website and deploy the application, database, and content to the Integration environment in Optimizely DXP.
This topic describes a simple onboarding deployment scenario to create a Commerce Connect website and deploy the application, database, and content to the Integration environment in Optimizely Digital Experience Platform.
When is this applicable?This is an onboarding scenario for a first-time deployment when you want to set up a site and run development in a cloud environment from the beginning. Through Visual Studio you can deploy an empty database. A new site like this does not require database restore, and the database schema will be created during initial deployment.
Before you start
This topic uses Visual Studio with the Optimizely extensions to publish profiles. However, you can also use other deployment methods.
- See DXP requirements for recommended software versions, tools, and services when deploying.
- See Get started with DXP for deployment information.
NoteIf not already done, remember to change the default login credentials (admin/store) provided in the Commerce Connect installation, before deploying. See Install Optimizely.
Deployment steps
This section describes creating a website with CMS, Commerce Connect, and Azure and deploying the code and database with content to the Integration environment in DXP. The deployment is done from Visual Studio using the publishing profiles provided with your DXP setup.
NoteA commerce solution consists of two sites, a front-end site and the back-end Commerce Manager site, and two databases: one for CMS and one for Commerce Connect. So, you need to repeat some deployment steps for each site.
1. Create a front-end website with Azure
-
Follow the substeps under the STEP 1 and STEP 2 sections in Create and deploy a CMS site to create a site and configure it for Azure, but select Empty project (instead of the Alloy templates).
-
Add the
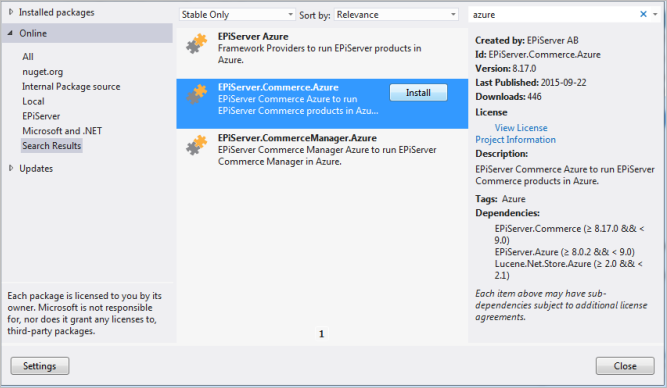
EPiServer.Commercepackage and theEPiServer.Commerce.Azurepackage. You also need to addEPiServer.Commerce.UI.ManagerIntegrationto the front-end site if you want the UI integration between the front-end and back-end of Commerce Connect.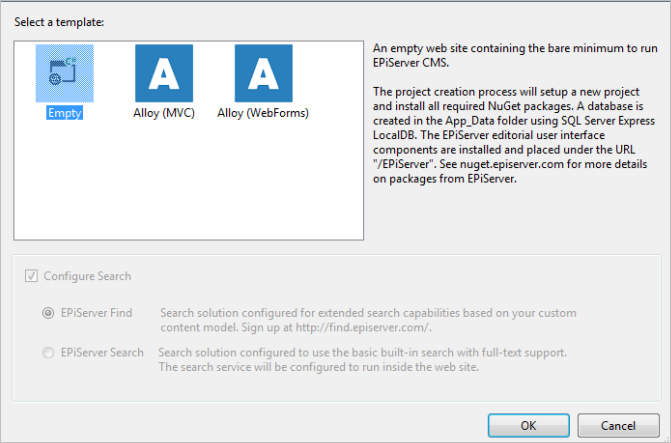
2. Publish code and database for the front-end site
-
Right-click on the project in Visual Studio and select Publish. Browse and select the publish profile for the Commerce Connect front-end site.
-
Click Import to import the settings from the publish profile and click Next.
-
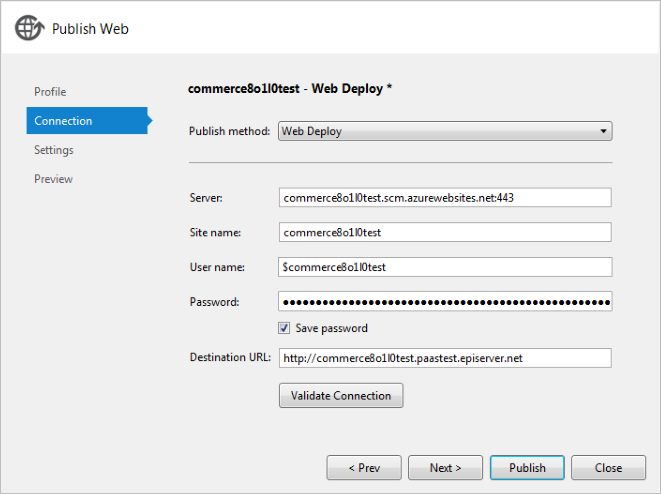
The Connection tab should display the imported publish profile settings; no changes are required here. Click Next (not Publish).
-
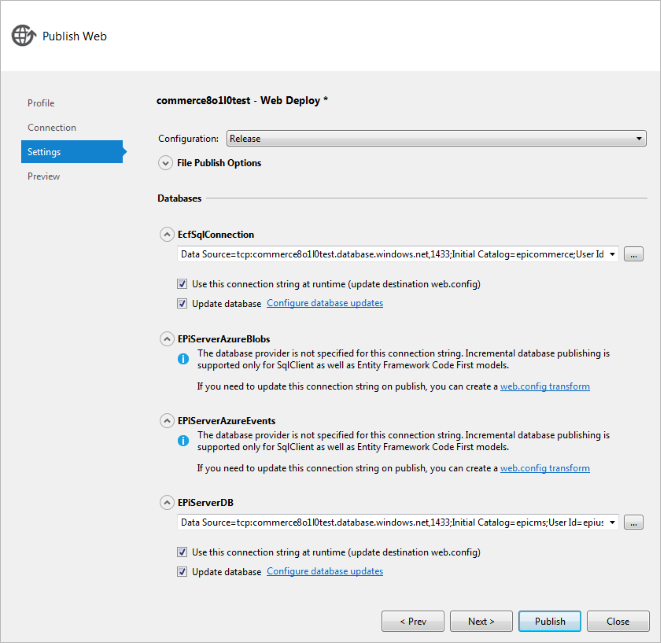
In the Settings step, enter the remote connection string to the SQL Database by selecting it under the EPiServerDB section (CMS database).
-
Enable Update database.
-
Click Configure database updates.
a. Clear the [Auto schema update] option.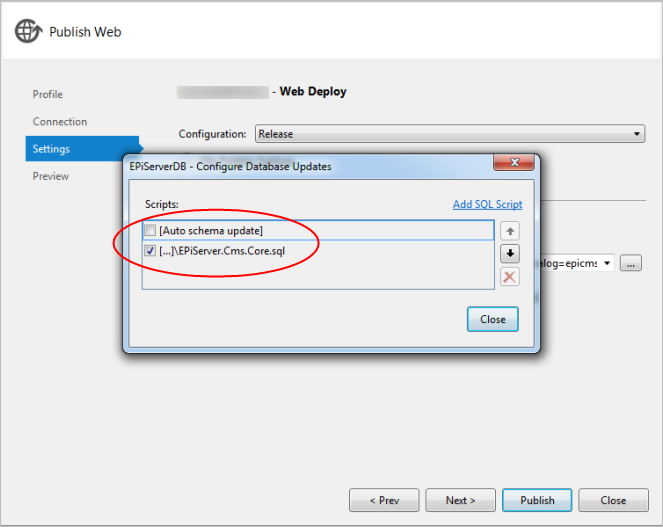
b. Click Add SQL Script.
c. Browse to theEPiServer.CMS.Core NuGetpackages (located in[SolutionDir]\packages\EPServer.CMS.Core.N.N.N\tools\and selectEPiServer.Cms.Core.sql.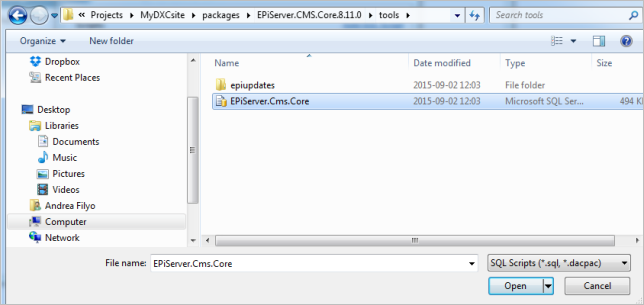
d. Click Close when done.
-
In the Settings step, enter the remote connection string to the SQL Database by selecting it under the EcfSqlConnection section (Commerce Connect database).
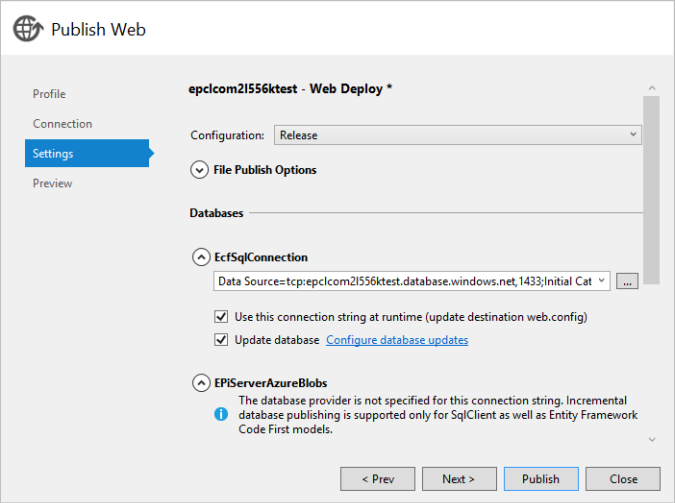
a. Enable Update database.
b. Click Configure database updates.
c. Clear the [Auto schema update] option.
d. Click Add SQL Script.
e. Browse to theEPiServer.Commerce.CoreNuGet packages (located in[SolutionDir]\packages\EPServer.Commerce.Core.N.N.N\tools\, and selectEPiServer.Commerce.Core.sql.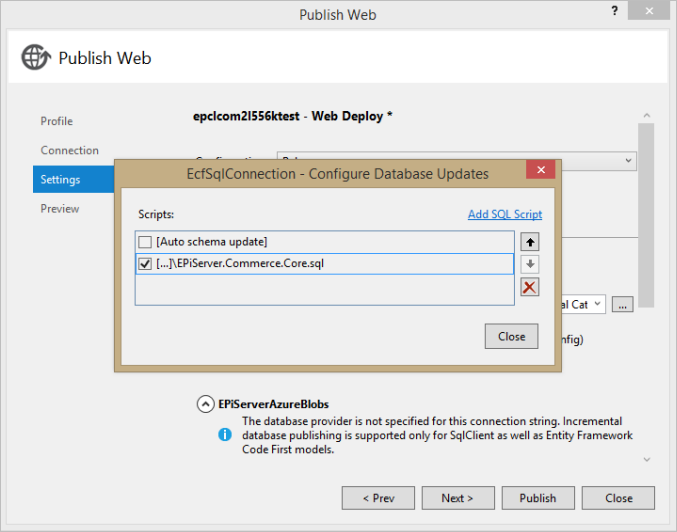
f. Click Close when done.
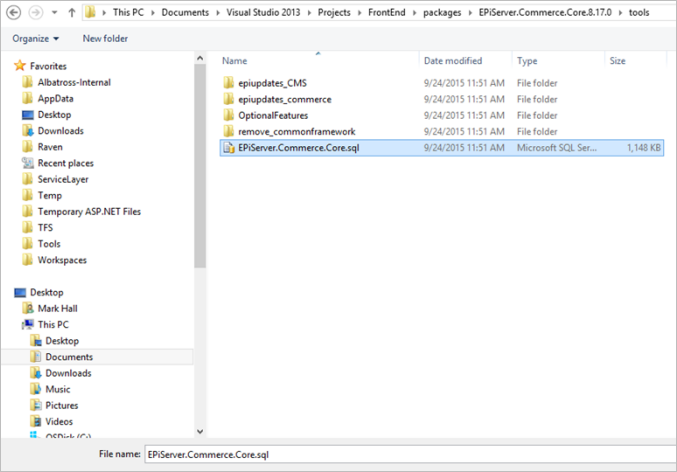
The Settings section looks like the following image before publishing with the added SQL Database connection strings.
-
Click Publish to publish the website and databases. The site should open in a browser when finalized. Otherwise, you can access it using the default URL for the Integration environment. Verify that the (empty) front-end site is working.
3. Add Commerce Manager (back-end) to the solution and publish the code
-
To add Commerce Manager to your solution, follow steps 5-8 under Install Commerce Connect in Install Optimizely.
-
Add the
EPiServer.CommerceManager.Azurepackage to the Commerce Manager site. -
Compile the solution and follow the instructions to update the database.
-
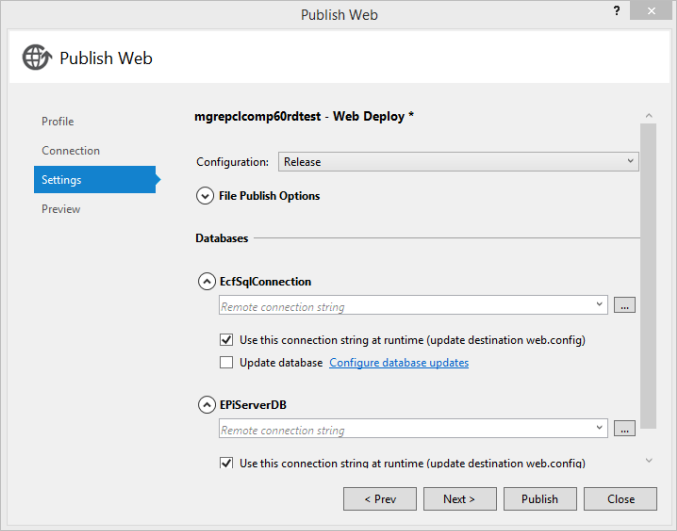
Repeat sub-steps 1-4 under STEP 2 Publish code... above, using the publish profile for the Commerce Manager site. You only need to publish the code because the database has already been published with the front-end site.
-
Click Publish to publish the back-end site, which will open in a browser when finalized.
5. Verify the website
- Go to the default access URL; for example,
http://[projectNNNNinte].dxcloud.episerver.net. - Log in to the website using the administrator user provided.
- Verify that all parts of the site are working.
NoteWhen starting the site, there might be remaining migration steps. When logged in, navigate to
<site-url>/<ui-path>/Commerce/Migrate(if not automatically redirected there), and verify that all migration steps are completed. If there are any issues, correct them and run the incomplete migration steps again.
NoteWhen the site is started after the publishing has finalized, you might receive a temporary missing license notification before the cloud license is retrieved. Also note that it may take up to one hour before the CDN is available for usage. The site may display an error message during this time.
6. Add Optimizely Search & Navigation
See Create a CMS site and deploy and Deploy a CMS site to add Optimizely Search & Navigation to your solution (not required).
Updated about 2 months ago
