Deploy an existing Commerce Connect site
Describes first-time onboarding deployment of an existing Commerce Connect website to the Integration environment, as part of the Optimizely Digital Experience Platform (DXP).
When is this applicable?This is an onboarding scenario for an existing site which you want to move to a cloud-based environment for the first time, for further development and maintenance there. In this case you already have a database with content, and you will need to get that restored to the correct application, which will be done by Optimizely.
Before you start
This topic uses Visual Studio with the Optimizely extensions to publish profiles. However, you can also use other deployment methods.
- See DXP requirements for recommended software versions, tools, and services when deploying.
- See Get started with DXP for deployment information.
ImportantIf not already done, remember to change the default login credentials (admin/store) provided in the Customized Commerce installation, before deploying. See Install Optimizely (Optimizely Content Management System (CMS) 11 and Customized Commerce 13).
Output and file formats
To deploy from your local development environment, you must create a set of output files and provide these to Optimizely for deployment to the Integration environment.
A Customized Commerce solution consists of two databases: one for CMS and one for Customized Commerce. So, there are additional output components compared to a plain CMS site.
Create the output files
To deploy from your local development environment, export the database as a .bacpac file and upload it to the DXP integration environment’s storage account. Optimizely Support will import it for you.
You can also upload the BLOBs directly (unpacked) to your DXP integration environment’s storage account.
Also, you can deploy the code using Visual Studio or the deployment tool of your choice to the DXP integration environment.
Application
Open your solution in Visual Studio, and repeat steps 1-4 in this section for the front-end site and for the back-end Commerce Manager site to create the output files for the web application.
NoteFor the Commerce Manager site you need to include the Apps folder manually in the zip file.
-
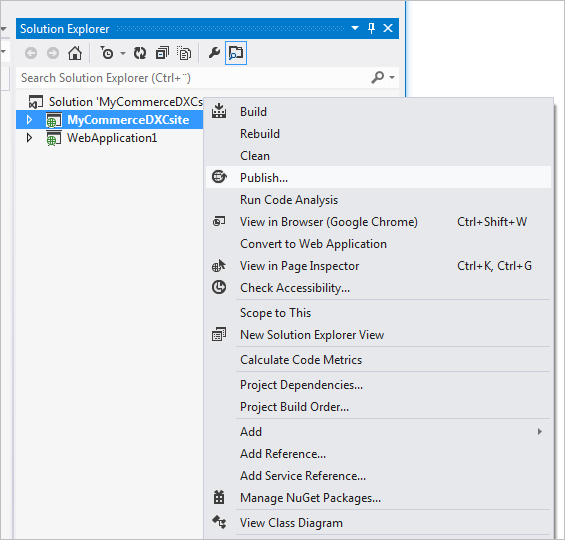
Right-click on your project and select Publish.
.jpg")
a. Select Custom.
b. Enter a name for the publish profile.
c. Click OK. -
On the Connection tab:
a. Select File system as Publish method.
b. Select a target location for the files.
c. Click Next..jpg")
-
On the Settings tab:
a. Select Release for publishing configuration.
b. Click Publish..jpg")
-
Locate the application files in the target folder you selected in step 2, and zip them using a zip tool of your choice.
Database
In MS SQL Server Studio, repeat steps 1-4 below for the front-end site database and for the back-end Commerce Manager database to create the bacpac output files.
-
Connect to the database to use.
-
Select and right-click on the database, and select Tasks > Export Data-tier Application...

-
In Export Settings:
a. Select Save to local disk.
b. Select a target location for the files.
c. Enter a name for thebacpacfile.
d. Click Next..jpg")
-
After the export, verify the results and click Close.
.jpg")
Media/BLOB
For the front-end site, follow the steps below to create the output file for the media/BLOB content.
-
In Visual Studio, right-click on your project and select Open folder in File Explorer.
-
Locate the
blobsfolder underApp_Data, and zip the content of theblobsfolder using a zip tool of your choice.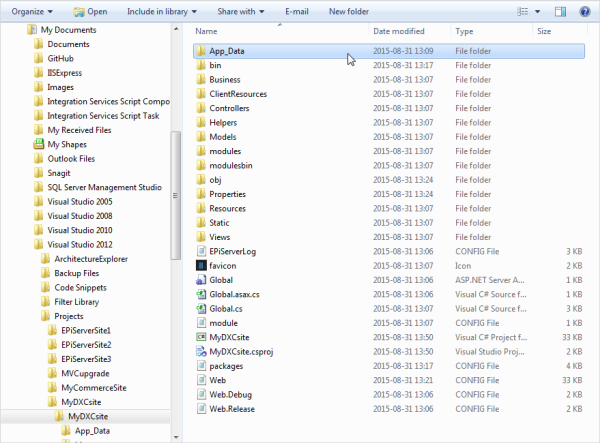
Upload the output files
When you have created the output files, contact Support and follow the instructions provided to upload them to the assigned area. Optimizely will then finalize the deployment.
Updated 7 months ago