Integrate Google Analytics 4 with Google Tag Manager
Enable Optimizely Web Experimentation's built-in Google Analytics 4 integration with Google Tag Manager.
NoteThis is a third-party integration and is not an Optimizely subprocessor. See Optimizely's Third-Party Add-Ons & Platform Integration Terms.
Prerequisites
- A Google Analytics 4 (GA4) account with a data stream and configured data collection
- A Google Tag Manager (GTM) account with a container and Google tag
Important
Ensure you place the GTM
<script>(see step 5a in Google's documentation) as close to the Web Experimentation snippet as possible in your website's<head>tag. Then place the GTM<noscript>(see step 5b in Google's documentation) immediately after the<body>tag. This helps prevent data discrepancies by ensuring both the Web Experimentation snippet and GTM scripts execute around the same time. - An Optimizely Web Experimentation account
- A configuration tag to connect GTM with GA4
Configure GA4 with GTM in Optimizely Web Experimentation
NoteYou must be a Project Owner (or above) in Optimizely Web Experimentation to enable the integration.
Complete the following steps to integrate GA4 with GTM in Web Experimentation:
Enable the GA4 integration
-
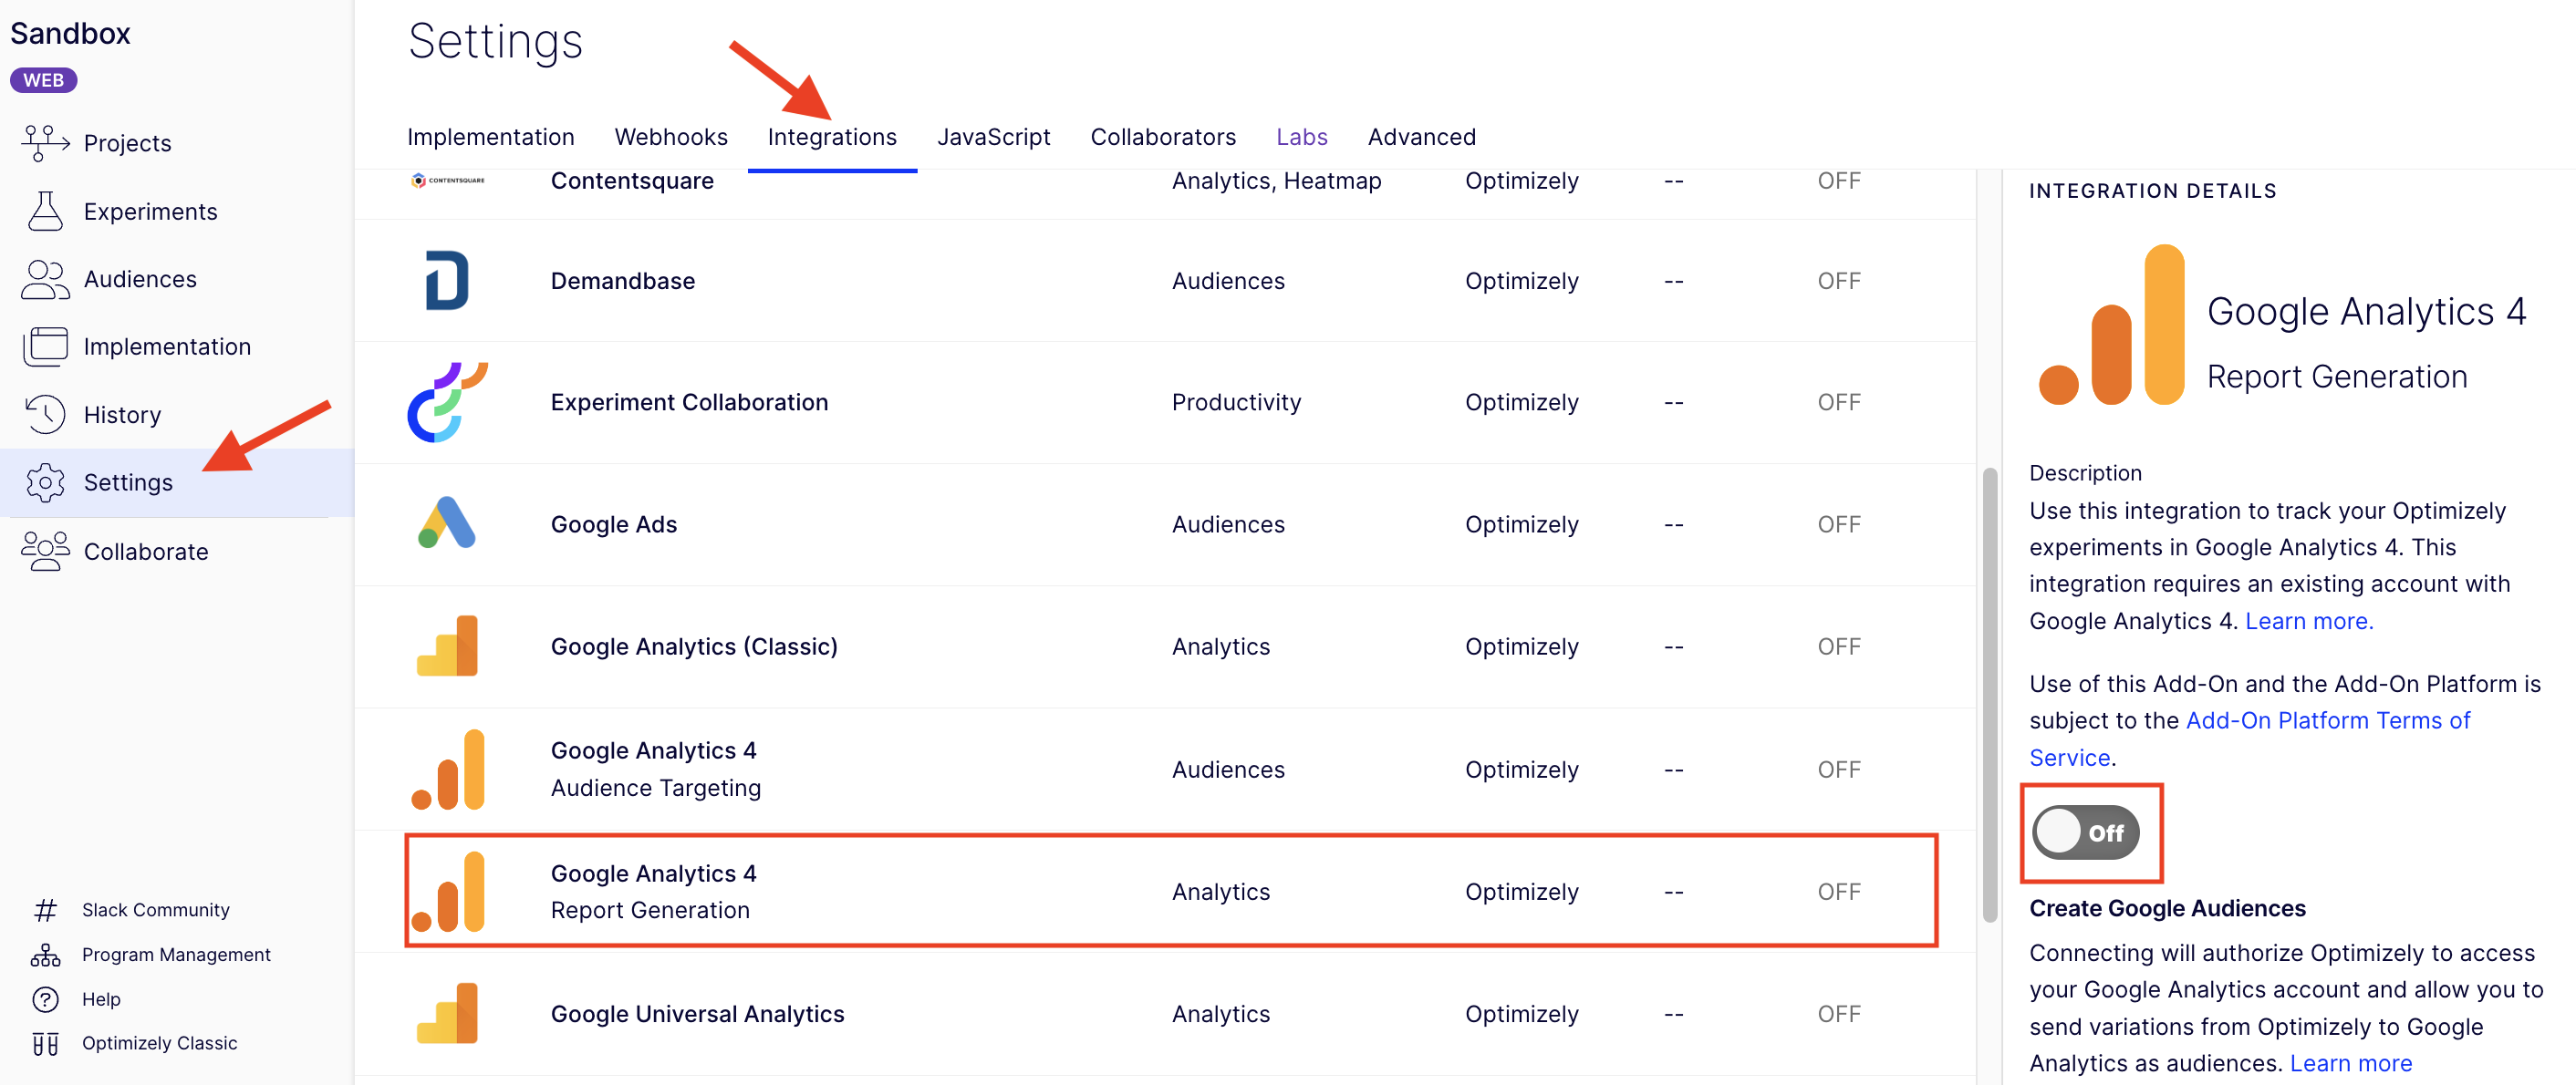
Go to Settings > Integrations.
-
Click Google Analytics 4 - Report Generation.
-
Click the toggle to turn on the integration and click Accept.
-
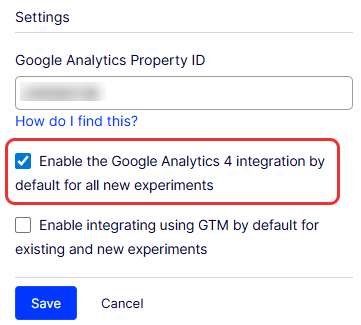
(Optional) Select the Enable the Google Analytics 4 integration by default for all new experiments checkbox to automatically send data to GA4 for new experiments. If you do not enable this, then you must manually enable it within each experiment that you want to track with GA4.
-
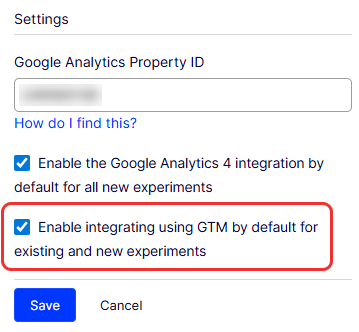
Select the Enable integrating using GTM by default for existing and new experiments checkbox to send data to GA4 through GTM for existing and new experiments, increasing the accuracy of analytics and letting you manage and deploy tags.
-
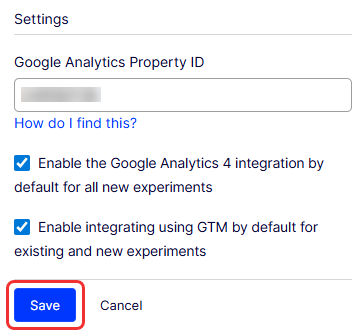
Click Save.
Add GA4 to an experiment
NoteYou only need to complete these steps if you did not enable the integration setting to automatically send data to GA4 for new experiments.
When you enable the GA4 integration in your account, it displays as an option on your experiments' Integrations page. Complete the following steps for each experiment that you want to track in GA4:
-
Go to Integrations in an experiment.
-
Select the Tracked checkbox on each experiment to send data to GA4 if you did not enable the built-in integration by default for new experiments.

-
Click Save.
Add user-defined variables in GTM
-
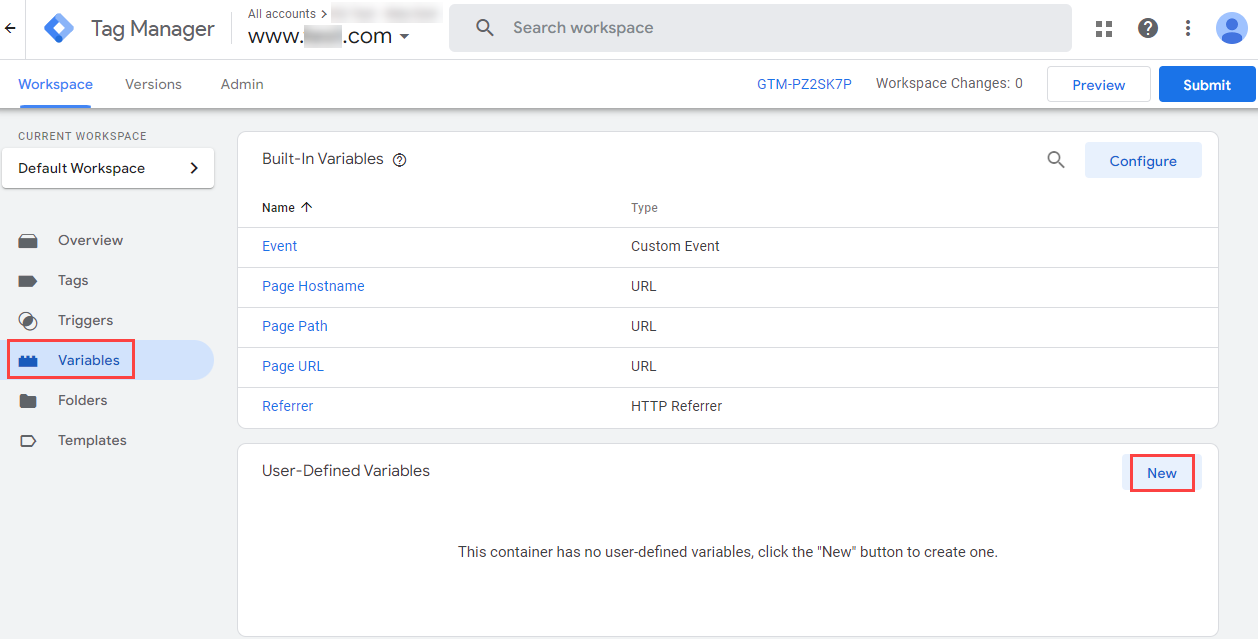
Go to Workspace > Variables > New.
-
Enter
exp_variant_stringin the Untitled Variable field. -
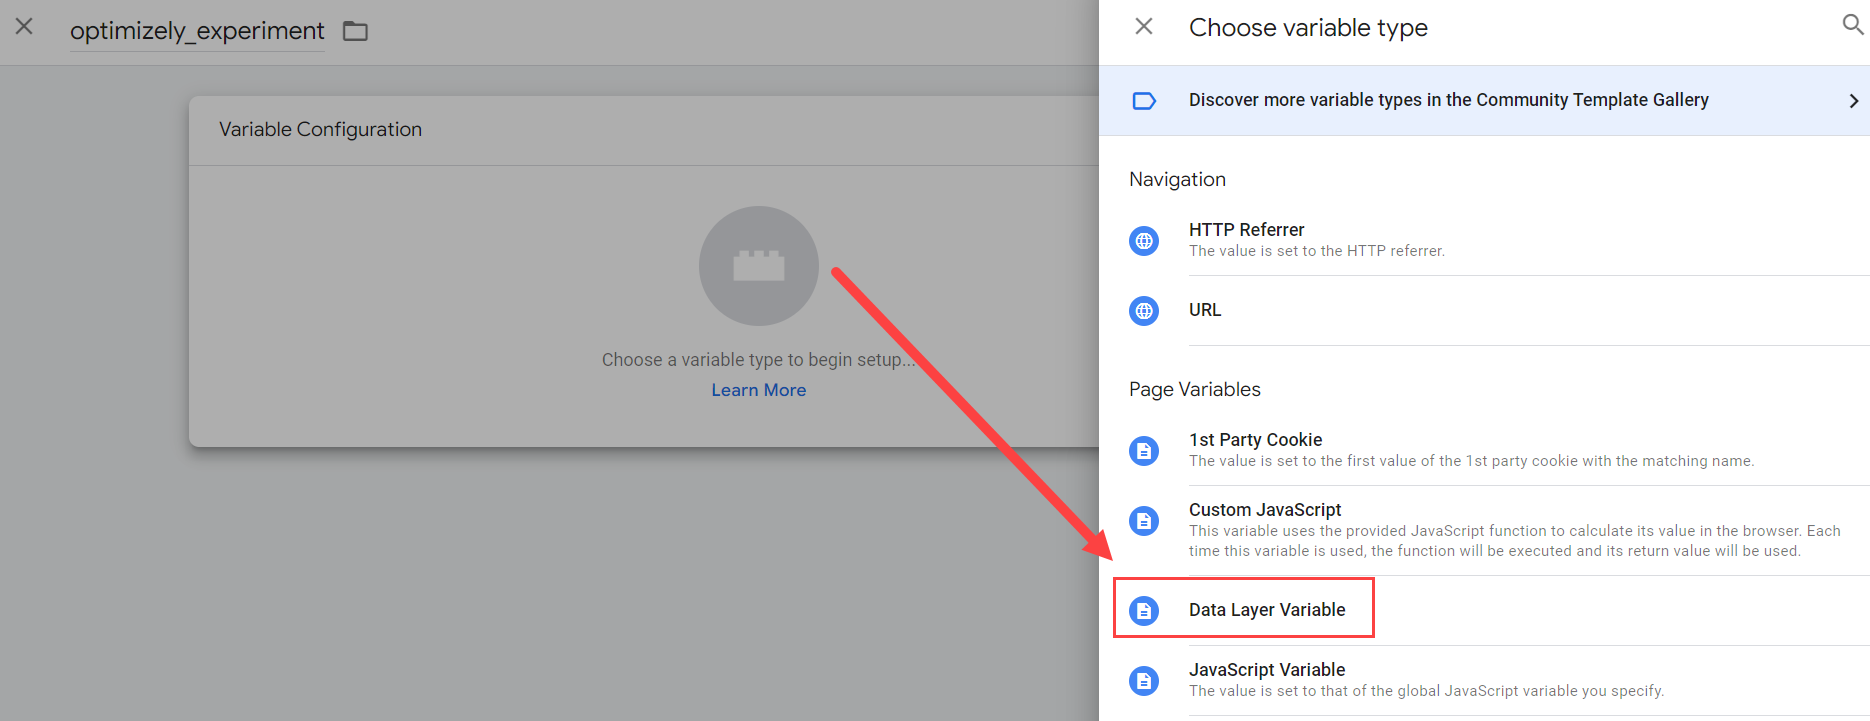
Click Variable Configuration and select Data Layer Variable.
-
Enter
exp_variant_stringfor the Data Layer Variable Name. -
Select Version 2 for the Data Layer Version.
-
Click Save.
-
Repeat steps 1-6 with the following new information:
- Enter
Holdbackin the Untitled Variable field. - Enter
Holdbackfor the Data Layer Variable Name. This is case-sensitive.
- Enter
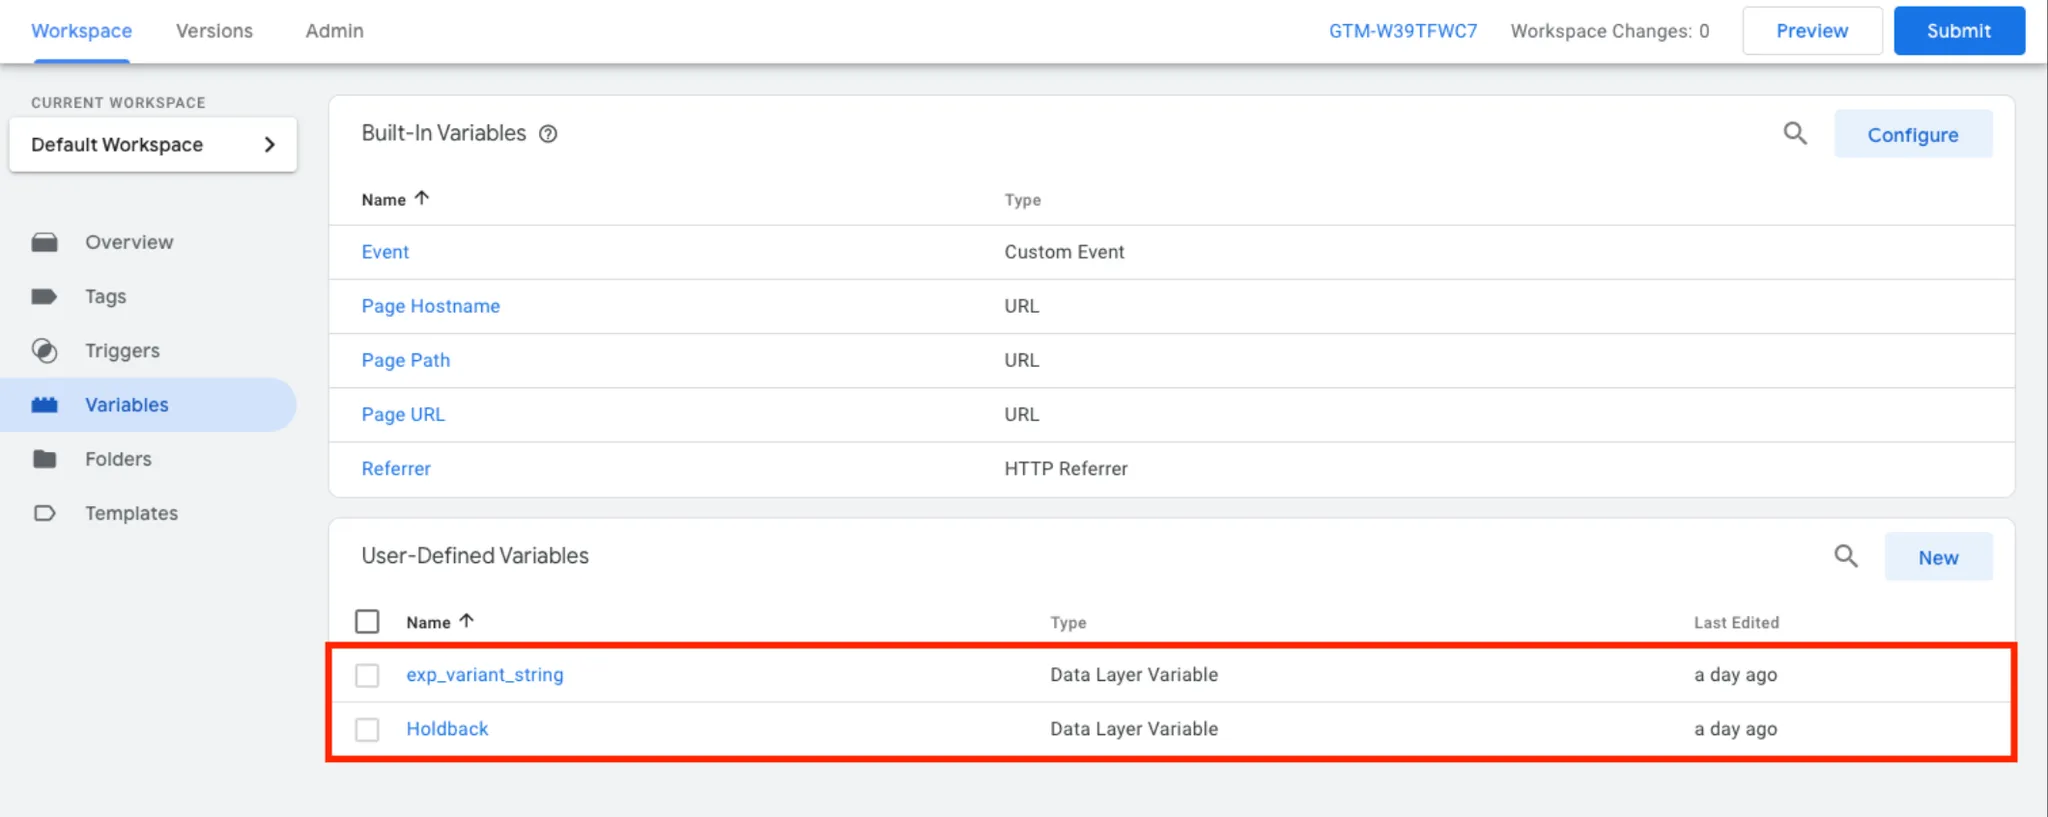
The following image is an example of how the user-defined variables should look:
Configure the event tag in GTM
-
Go to Workspace > Tags > New.

-
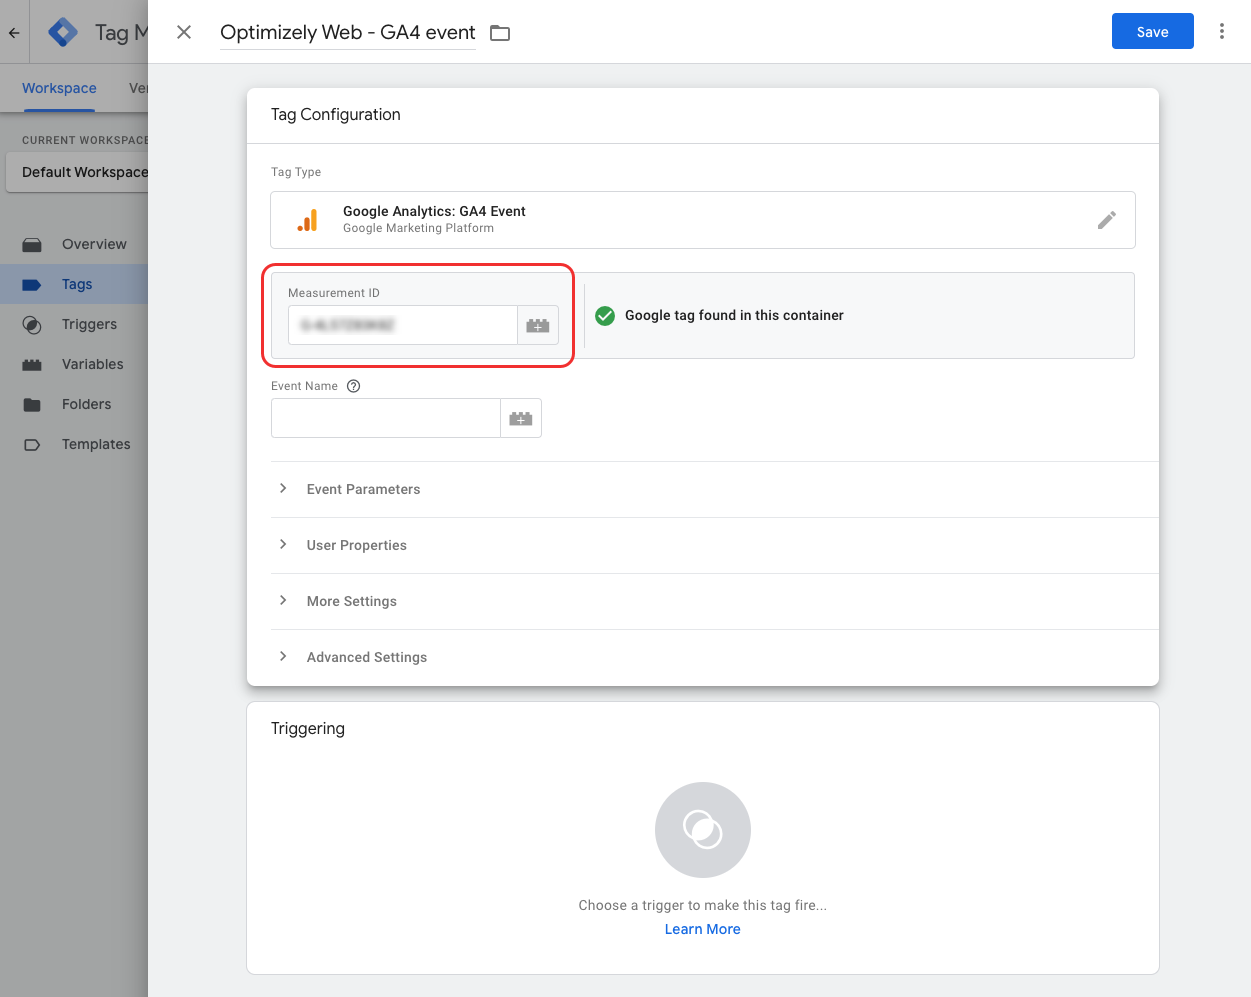
Enter Optimizely Web - GA4 Event in the Untitled Tag field.
-
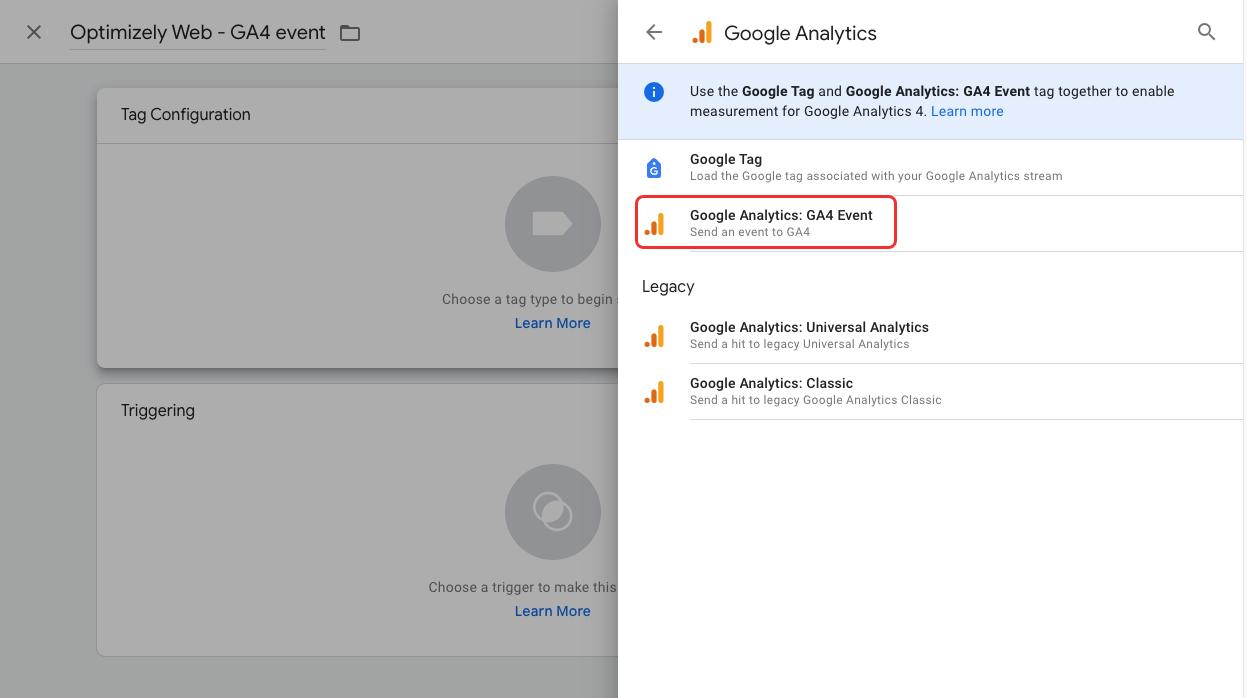
Click Tag Configuration and select Google Analytics > Google Analytics: GA4 Event.
-
Enter your Measurement ID from GA4.
-
Enter
experience_impressionin the Event Name. -
Expand Event Parameters and then click Add Parameter.
-
Enter
exp_variant_stringin the Parameter Name. -
Click the Value Select icon and choose
exp_variant_string. -
Click Add Parameter.
-
Enter
Holdbackin the Parameter Name. This is case-sensitive. -
Click the Value Select icon and choose
Holdback. The following image is an example of how the GA4 event tag should look: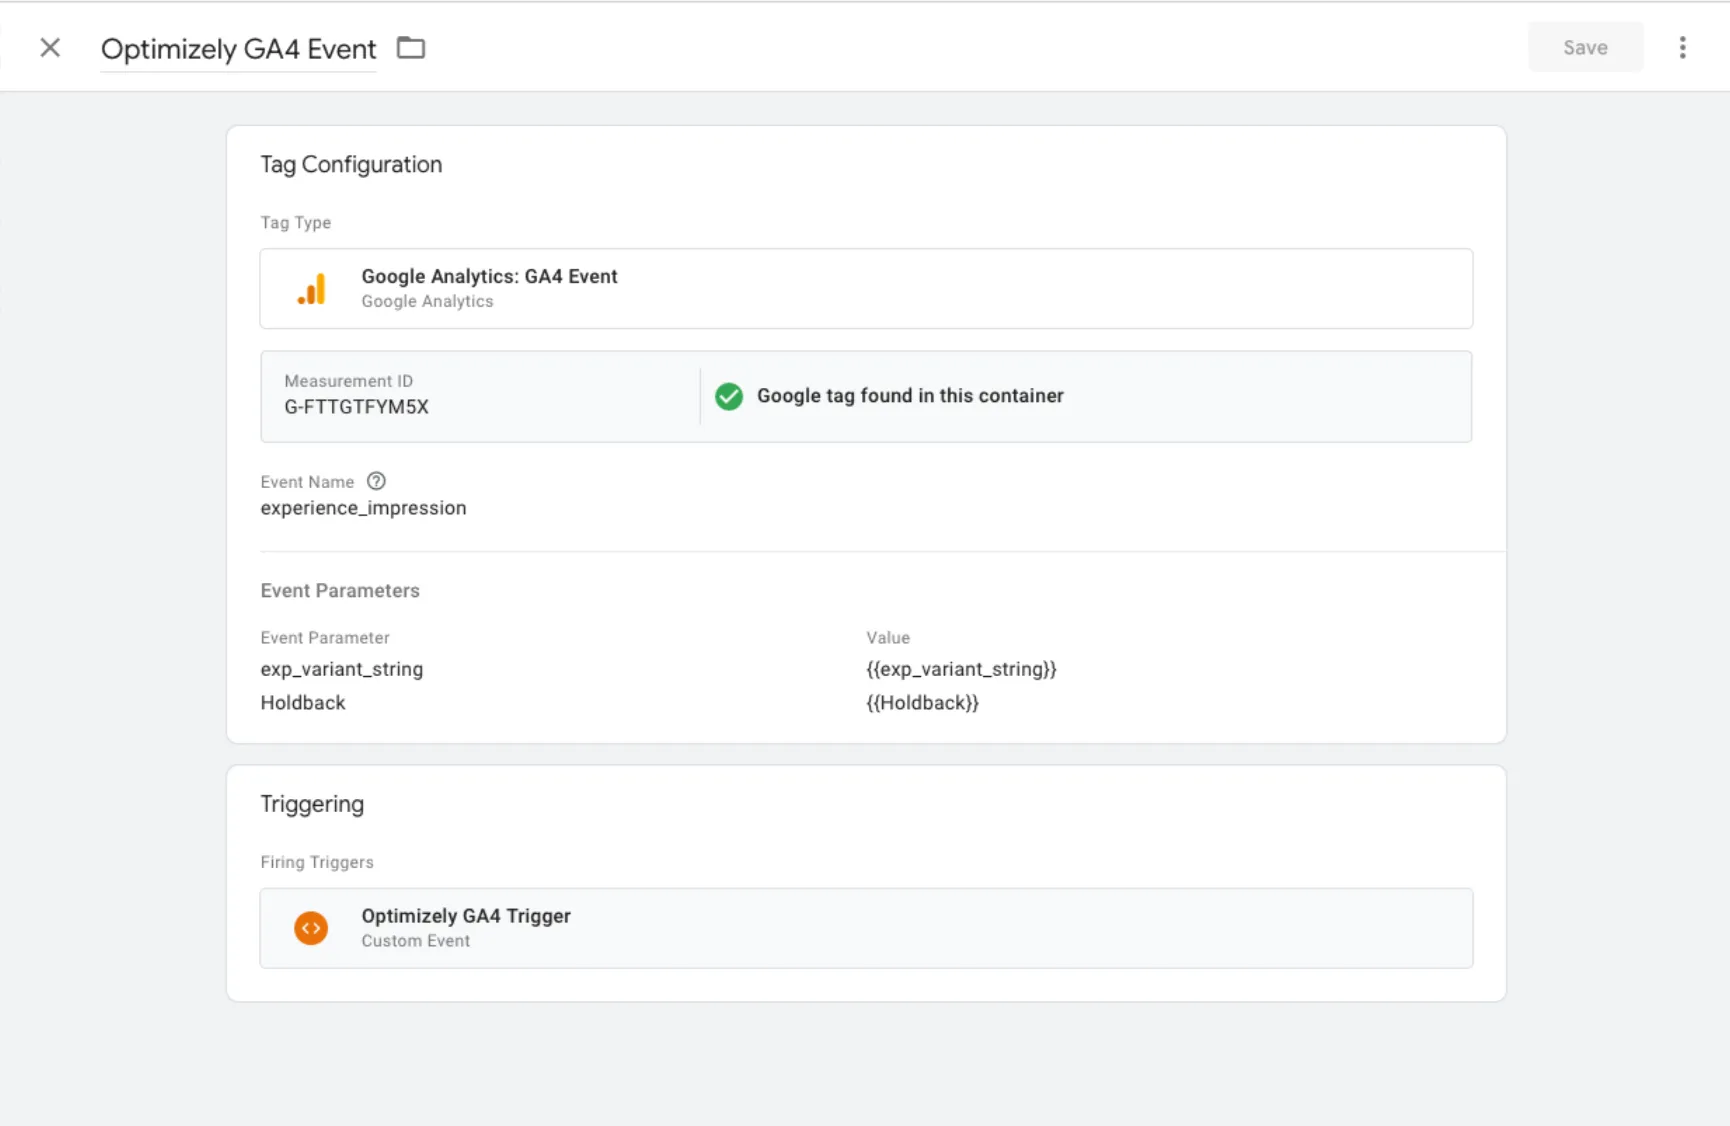
-
Click Triggering and click the New Trigger icon.
-
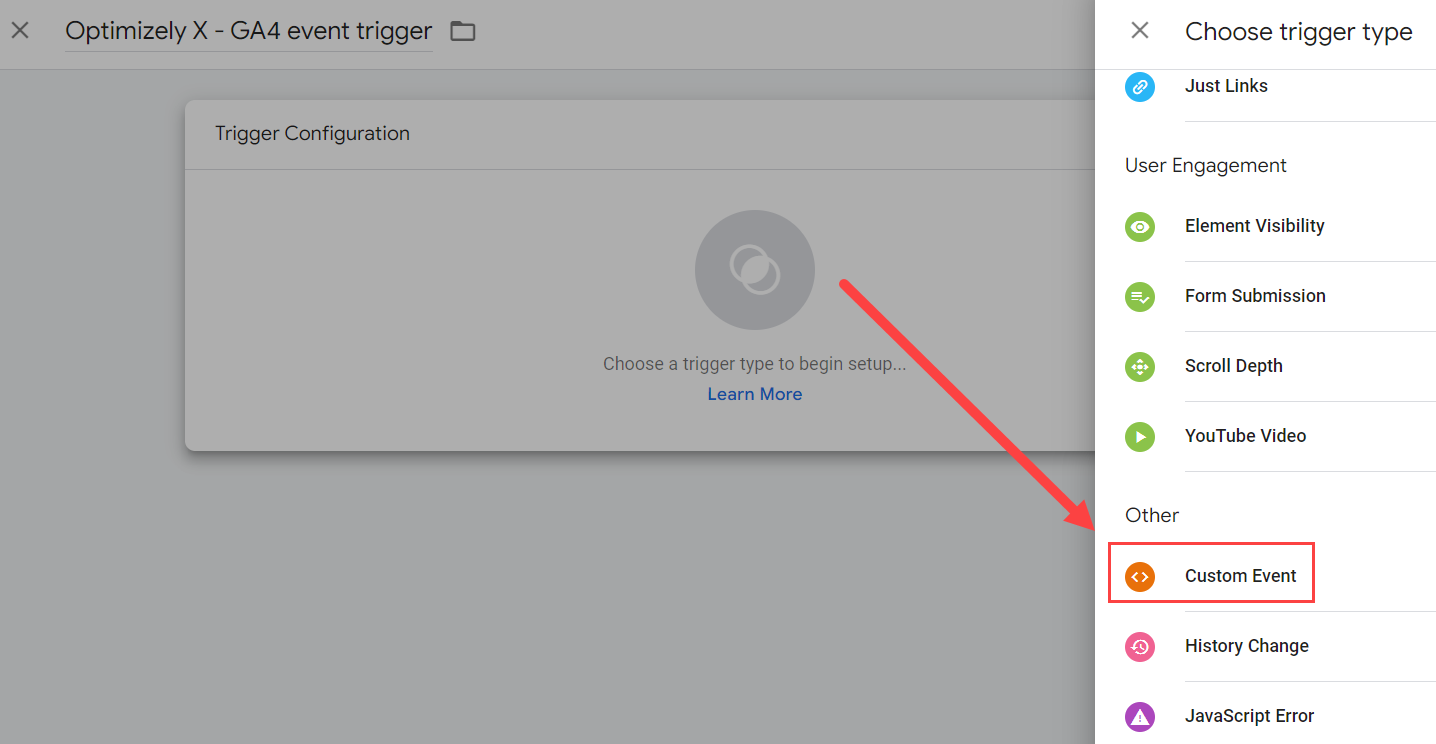
Enter Optimizely X - GA4 event trigger in the Untitled Trigger field.

-
Click Trigger Configuration and select Custom Event.
-
Enter
experience_impressionin the Event Name. The following image is an example of how the trigger should look: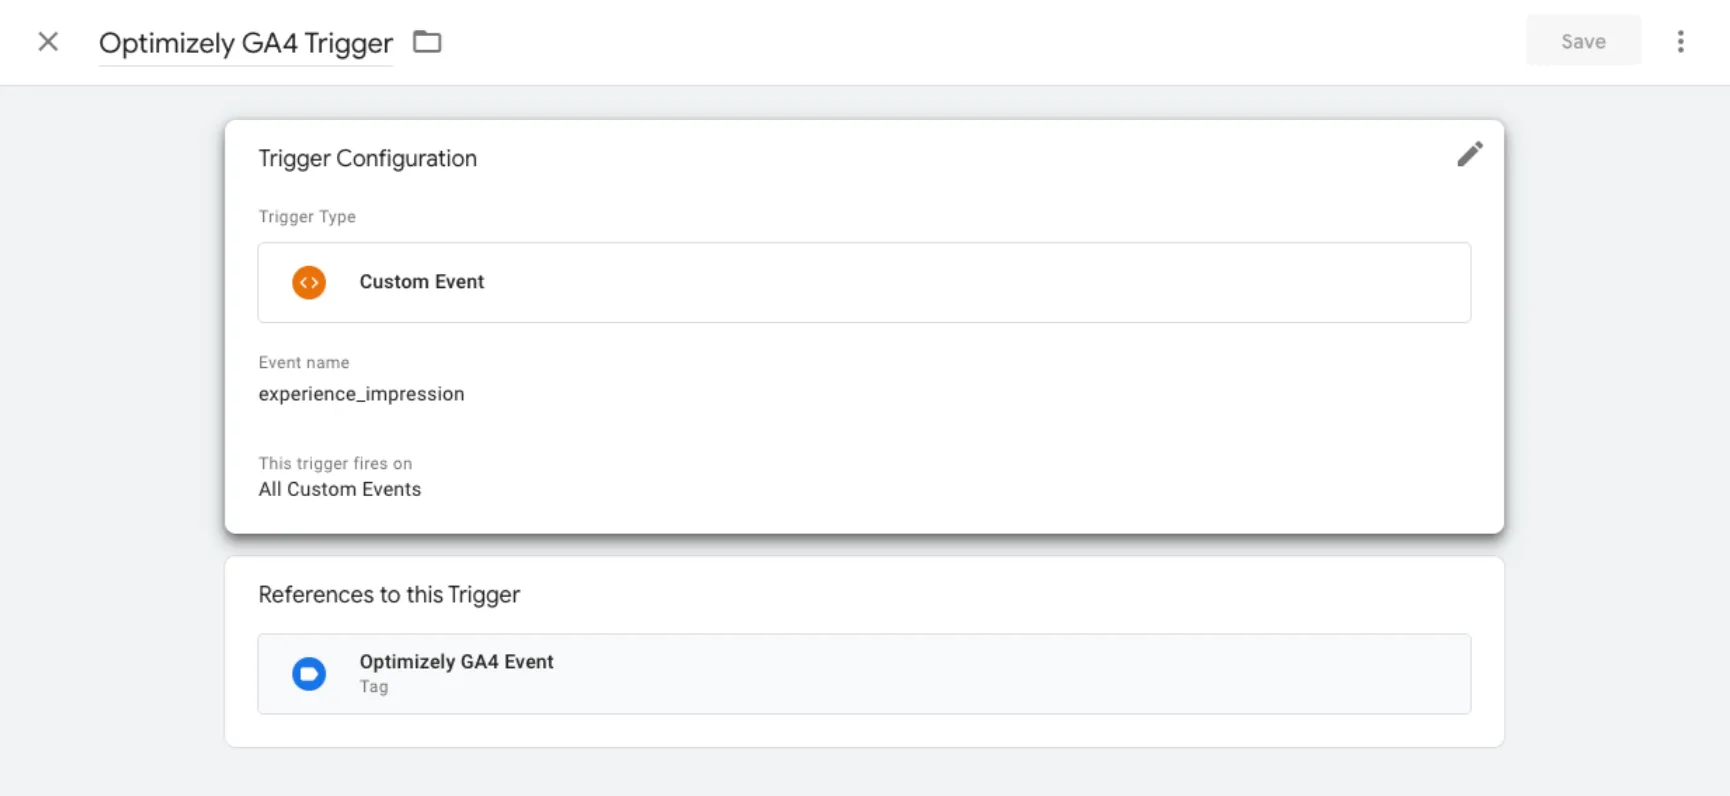
-
Click Save and then click Save again on the overall tag setup page.
-
Submit and publish your workspace changes by going to Workspace > Submit > Publish (adding any details you would like to the Submission Configuration).
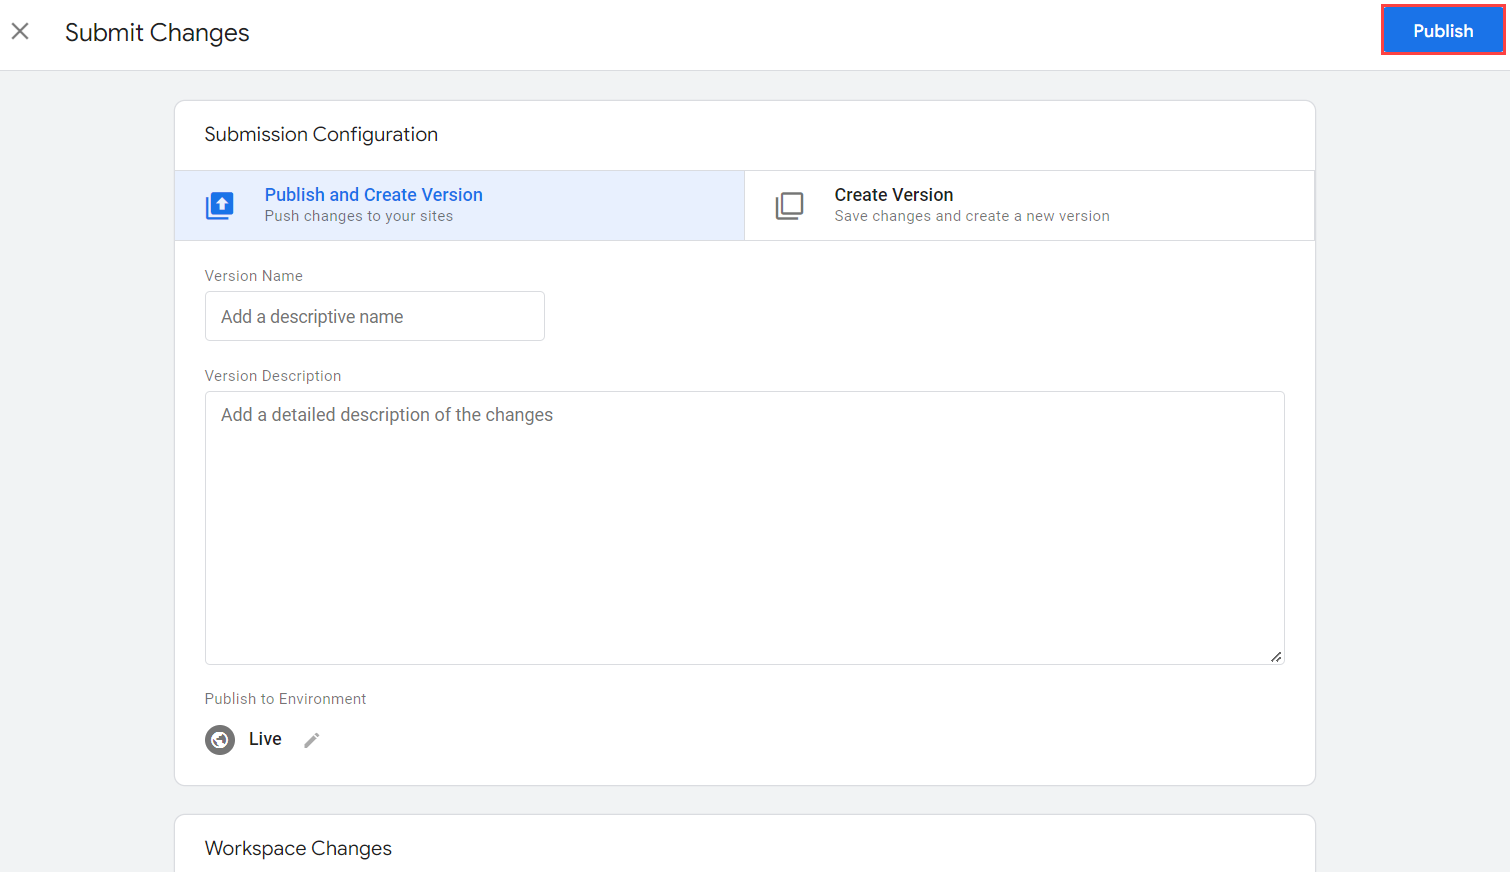
Your data immediately starts syncing to GA4. You should see the experience_impression event name display in the Realtime report once events are triggered within the last 30 minutes.
Troubleshoot
I do not see any visitors in the exported GA4 audiences.
If your audiences do not have visitors, either the experience_impression events are not sent to GA4, or the event does not have the parameters exp_variant_string and Holdback in that exact form. Follow the steps to add user-defined variables and configure the event tag.
These elements are required to integrate with GTM. The integration pushes experience_impression to the dataLayer whenever a decision is taken for the visitor. GTM must pick up the event and parameters/variables from the dataLayer and pass it on to GA4. If the variables and parameters are not named correctly, the GA4 Report Generation feature does not receive them because it expects certain names.
I do not have a configuration tag.
If you have not connected GTM with GA4, follow these steps for the configuration tag:
-
Go to Workspace > Tags > New.

-
Enter Google Analytics - GA4 Configuration in the Untitled Tag field.
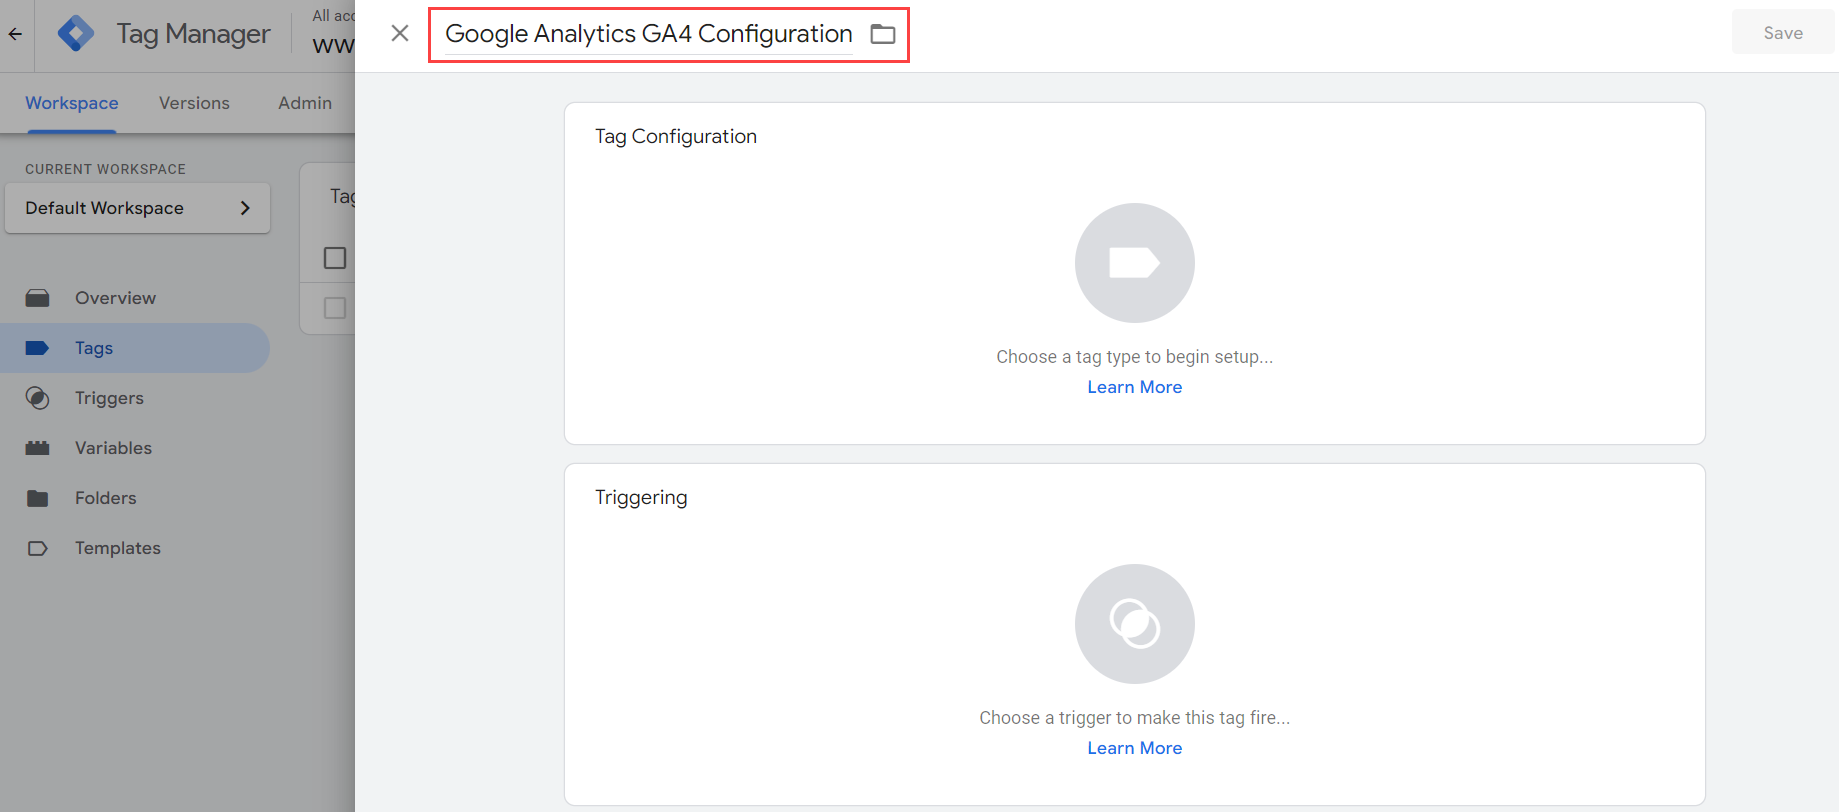
-
Click Tag Configuration and select Google Analytics > Google Tag.
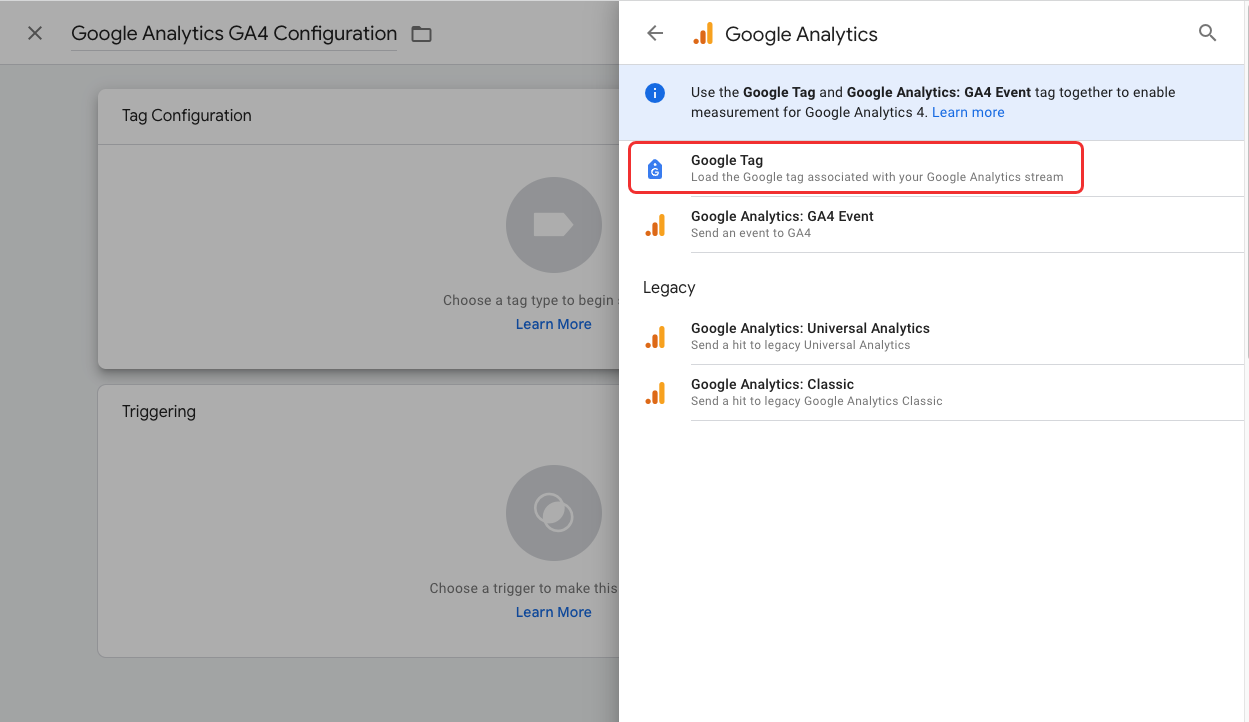
-
Enter your Tag ID. This is the same as your GA4 Measurement ID which can be found in your GA4 property under Admin Settings > Data Streams. Select the appropriate data stream to find your Measurement ID.
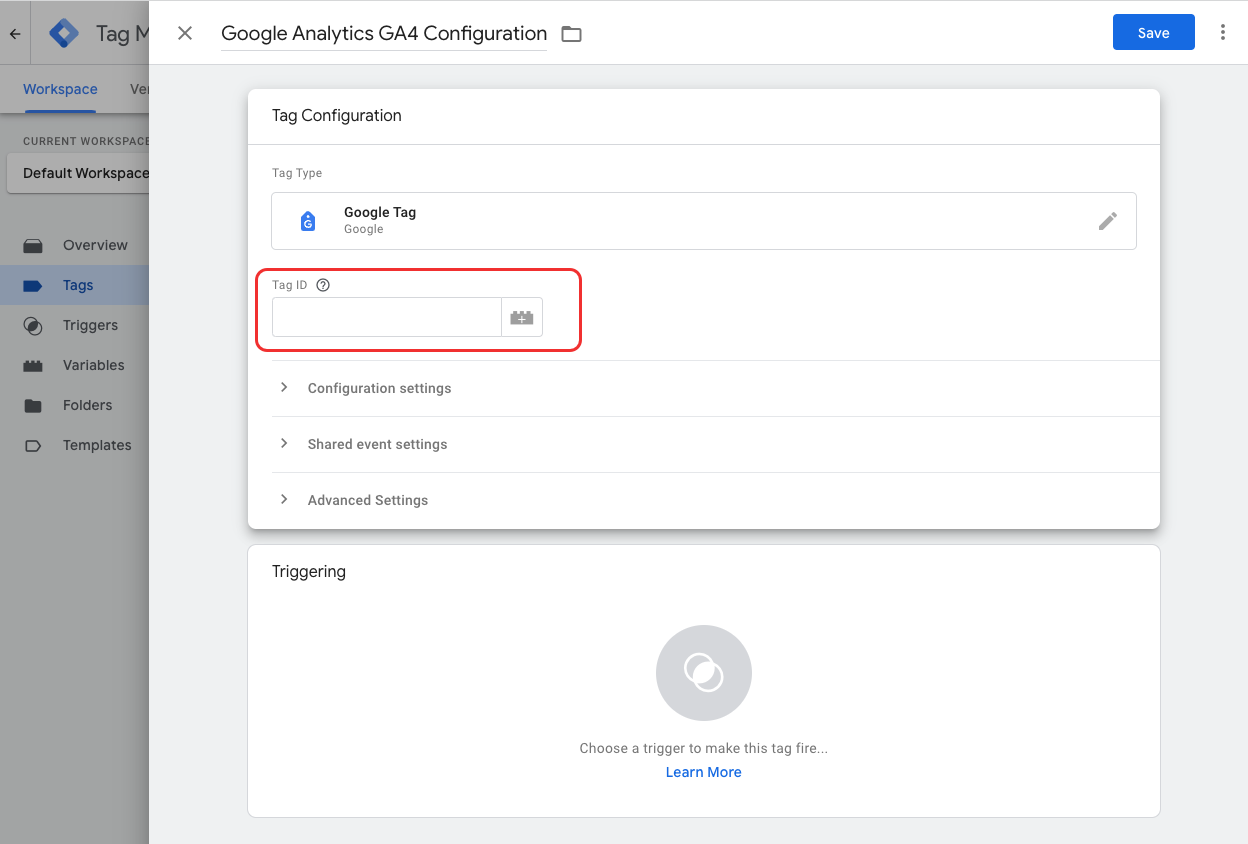
-
Expand Configuration settings and click Add parameter. Select None in the dropdown list for Configuration Settings Variable, input
send_page_viewfor Configuration Parameter, and set the Value totrue.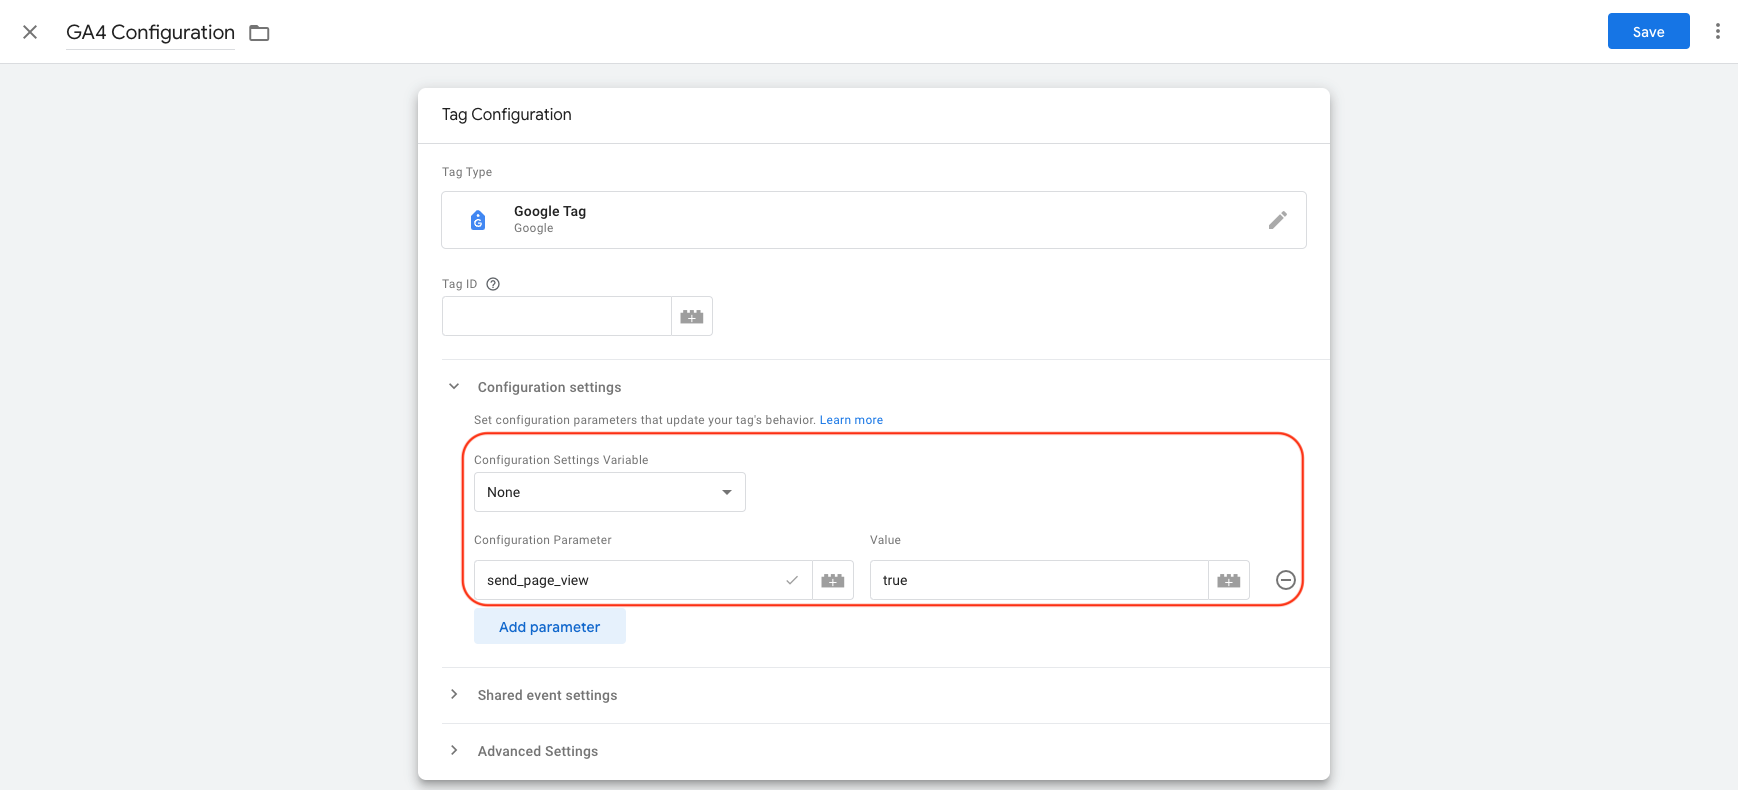
-
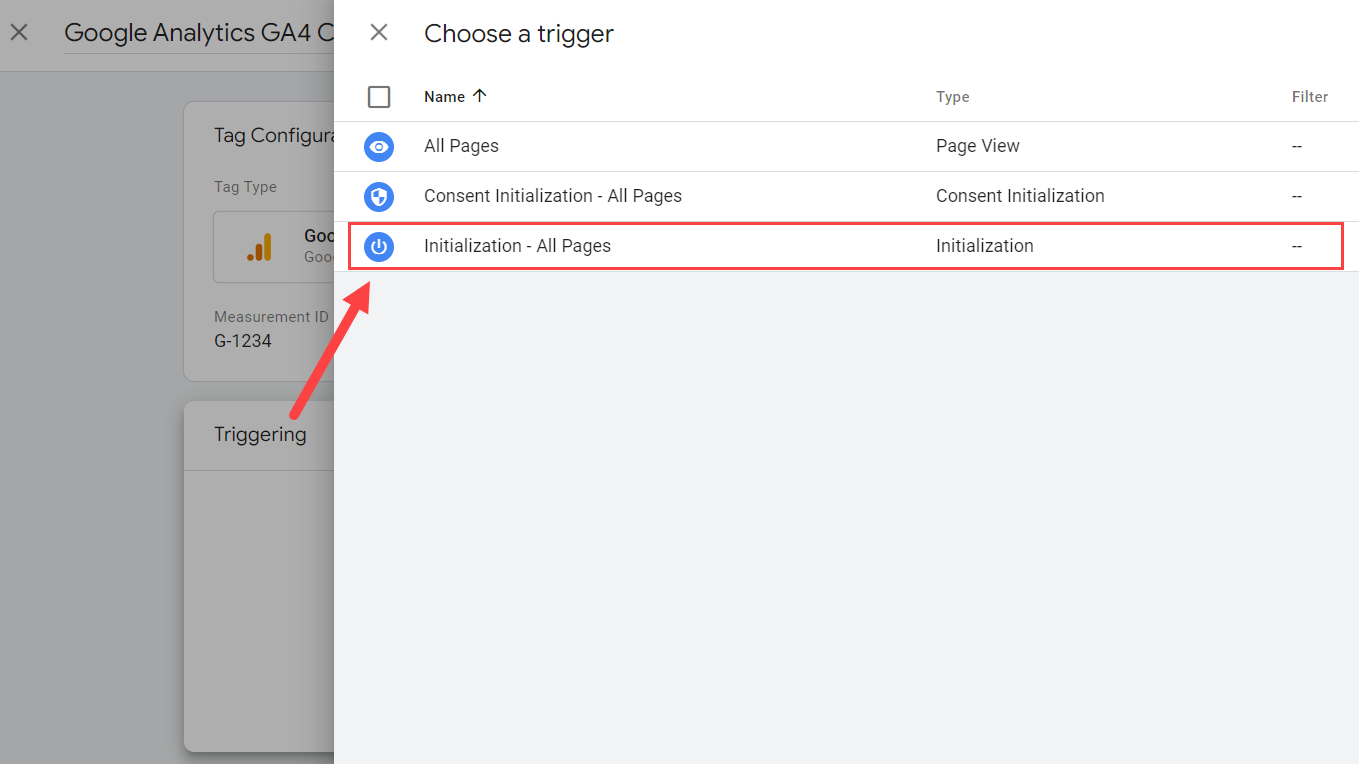
Click Triggering and select Initialization - All Pages.
-
Click Save.
Updated about 1 month ago
