Create custom analytics integration
Describes how to create and enable a new custom integration and troubleshoot common and potential issues
NoteThese are third-party integrations and not Optimizely subprocessors. See Optimizely's Third-Party Add-Ons & Platform Integration Terms.
Custom analytics integrations let you build your own analytics integrations on top of Optimizely Web Experimentation with the following benefits:
- Flexibility in timing and data sent to third-party analytics tools.
- Improved data consistency between Optimizely Web Experimentation and third-party analytics tools.
- Opportunity to reduce the number of events sent to third-party analytics tools, which may reduce costs for analytics tools that charge per event.
- A standardized process for experiment setup, reducing the number of mistakes from selecting incorrect custom dimensions or values.
You can find example integrations in the GitHub library.
NoteIf you have built any open source integrations, you can contribute them to the GitHub library. Email [email protected] to begin the process of submitting a contribution.
Create a new integration
-
Go to Settings > Integrations.
-
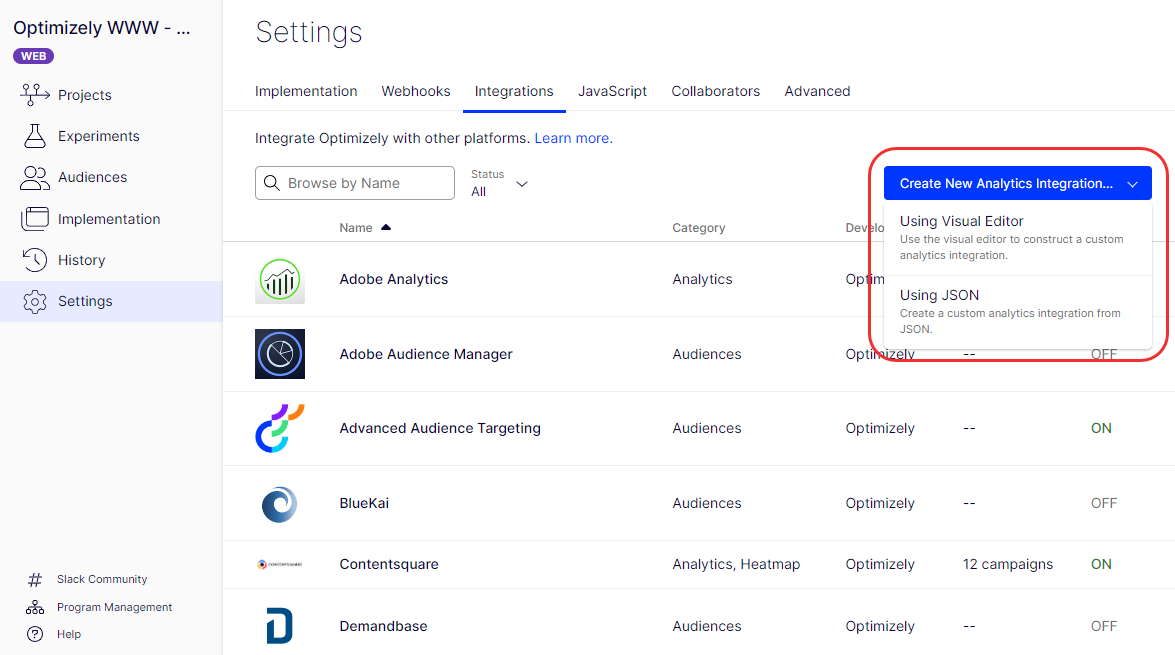
Click Create Analytics Integration. You have two options
- Click Using Visual Editor to write your own custom integration via the integration builder screen
- Click Using JSON to create a new instance of a custom analytics integration using JSON. This is most commonly used when copying an integration from our GitHub library, a third-party knowledge base, or from another project in your account.
NoteSee Troubleshoot custom analytics integrations for solutions to common issues.
Visual Editor
The visual editor in the integration builder has the following three main components:
- Editable Fields menu.
- Track Campaign Decision custom code field.
- Code Assistant list (hidden by default).

Editable Fields
You can add optional fields to your integration. Each field defines a property that you can customize per experiment. For example, you could provide a field for a custom dimension with a default value set in the integration builder. When you use the integration for a single campaign, you can override the default value for that campaign.
Each field requires an API name to reference it in JavaScript. In the previous example, use a field with the API name custom_dimension, which you can reference in the custom JavaScript as extension.custom_dimension.
Examples of editable fields include the following:
- Public API Key – Special token required to send data to the integration.
- Attribute to attach experiment info – Google Analytics custom dimensions or Adobe Analytics
eVar/prop. - String value that needs to change – Custom tracker for Google Analytics.
ImportantThe Optimizely
client.jsfiles exposes any editable field or custom code added to an integration. Do not put private keys or passwords here.
You can use the following variables in your JavaScript code:
Variable | Type | Description |
|---|---|---|
campaignId | string | The ID of the campaign into which the user was bucketed. |
experimentId | string | The ID of the experiment into which the user was bucketed. |
variationId | string | The ID of the variation into which the user was bucketed. |
isHoldback | boolean | Whether the user fell into the campaign holdback. |
campaign | object | Campaign data. |
┗campaign.id | string | |
┗campaign.name | string | |
┗campaign.policy | string | Personalization campaigns may have values of |
extension | object | The fields configured for the extension. |
NoteThe experiment ID and variation IDs generated by Optimizely are 16-digit numbers. This can potentially cause issues with custom integrations that might misinterpret these IDs as credit card numbers, resulting in data being flagged or removed.
To prevent this, consider incorporating a letter prefix or using a combination of name and ID (for example
expID(expName)orvarID(varName)) in your custom integration configuration. This cannot be done in the Optimizely UI, instead this would be done in your custom integration. Adjustments may be necessary for custom integrations to ensure data is captured correctly.
Create as JSON
You can create a custom analytics integration faster by using JSON instead of the Visual Editor.
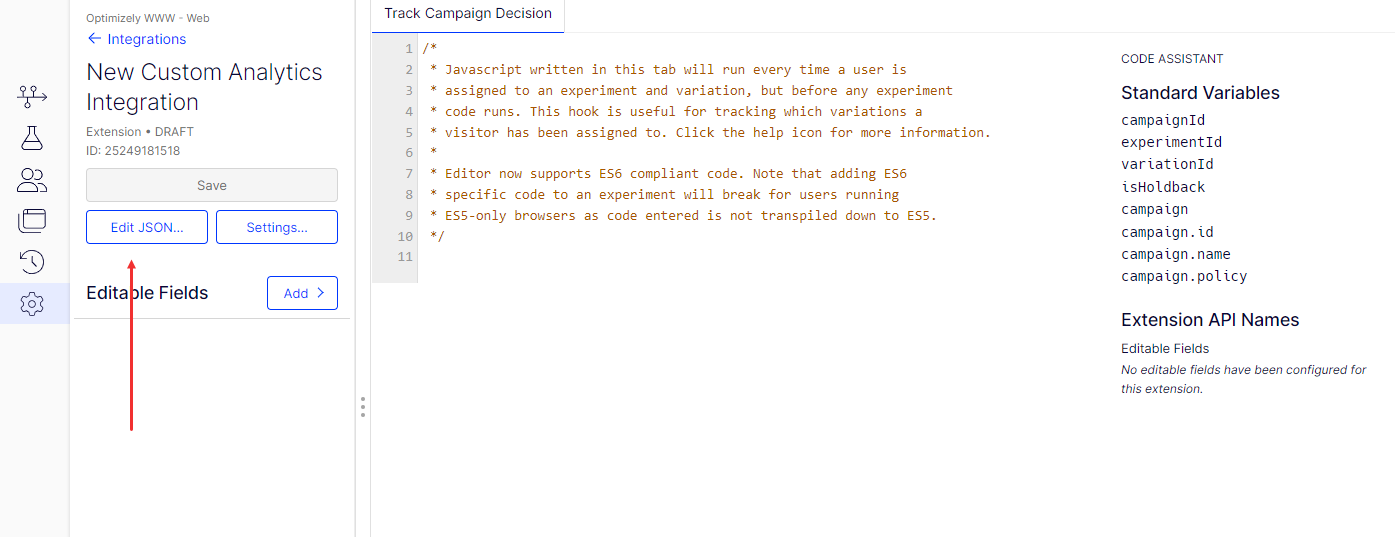
To see the JSON of an existing extension, click Edit JSON for a custom integration. You can copy all JSON code from a custom analytics integration to another project: in the target project. Use the Using JSON option when creating a new custom analytics integration.
Enable an integration
Before you can start using an integration in any experiments, enable it in the dashboard by setting the integration to On.
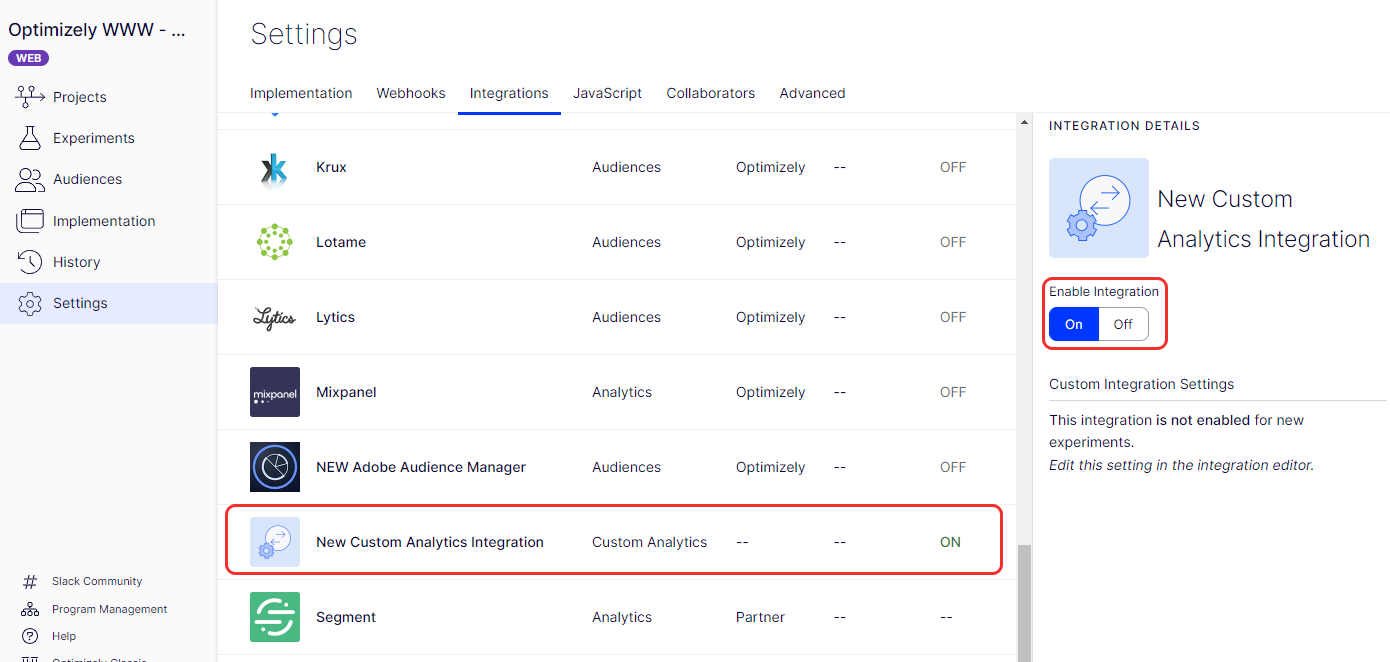
NoteEnabling integrations also includes them in your project snippet.
Some integrations do not require you to define any custom properties for each experiment (such as custom dimension for Google Analytics). In these cases, you can enable the integration once and do not have to enable it every time you create a new experiment.
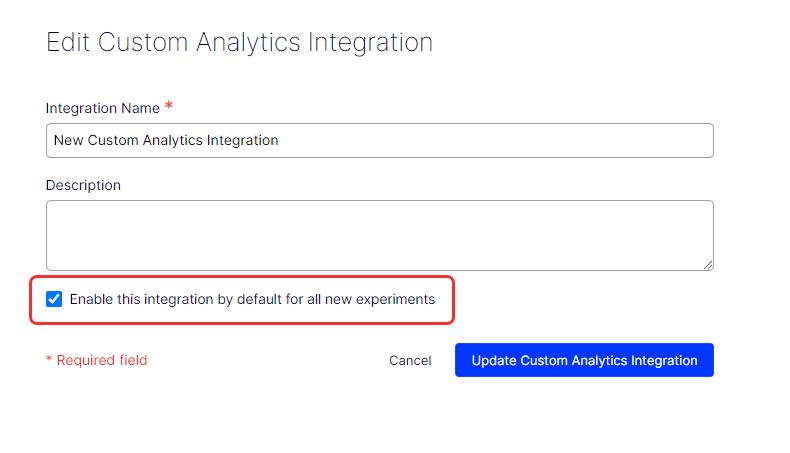
To enable the integration by default for new experiments
- Go to the Settings for your custom integration.
- Check the Enable this integration by default for all new experiments box.
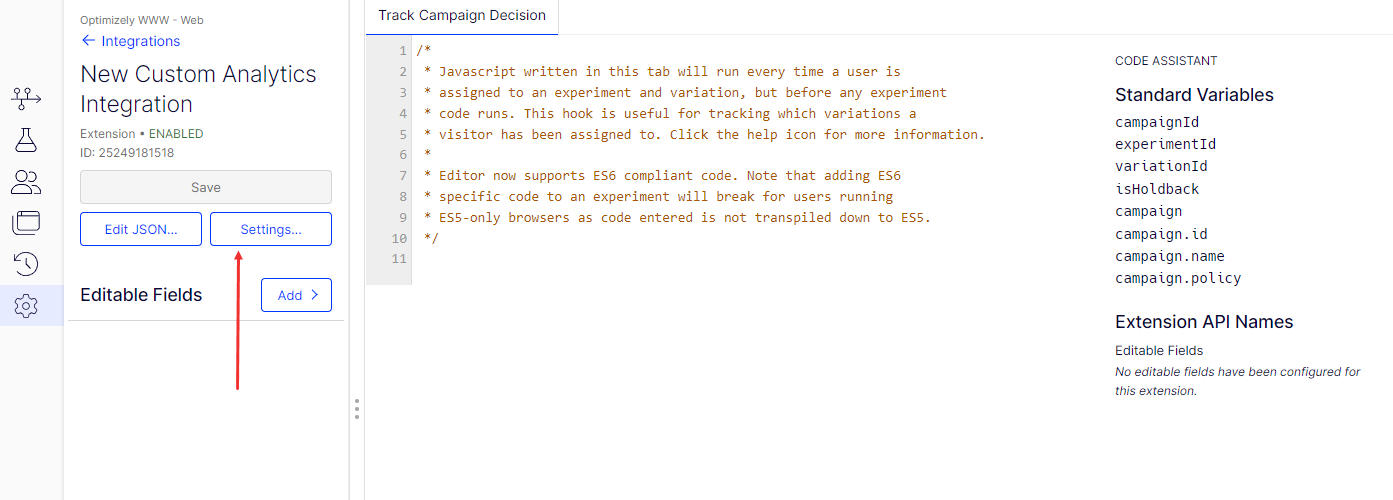
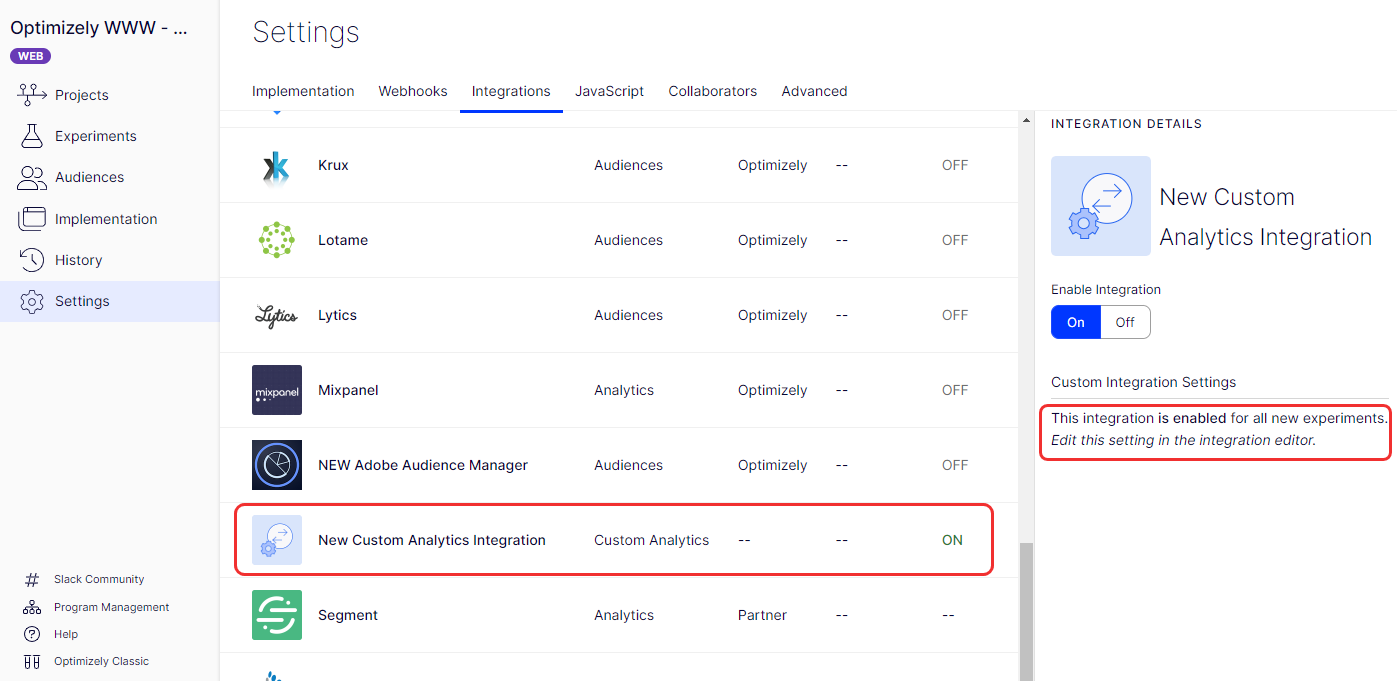
You can see the settings for all experiments in the Integration Details section in the main Integrations dashboard.
Custom code and timing
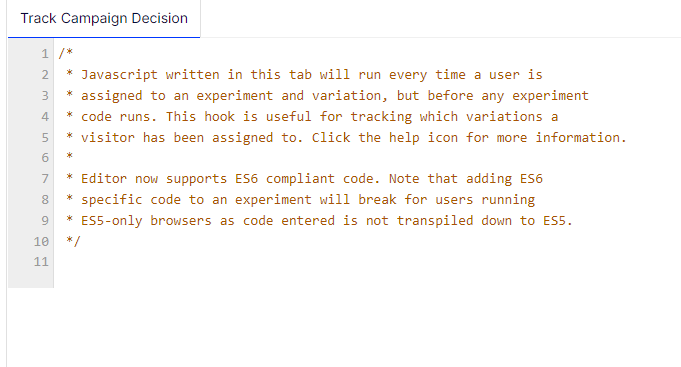
The custom JavaScript in the Track Campaign Decision tab runs every time a bucketing decision is made for a campaign. This hook is useful for tracking the experiments and variations into which a visitor was bucketed.
NoteCustom integration code does not execute while in Preview Mode. This is consistent with the built-in out of the box integrations. For more details about the timing of custom code in general, see custom code and timing in Optimizely.
Timing
The JavaScript for custom integrations executes on JavaScript API campaignDecided. At a high level, the order of operations for the Optimizely client is:
- Project JavaScript.
- Evaluate pages.
- Evaluate campaigns and experiments on active pages.
- Execute custom integration code when
campaignDecidedtriggers (for each experiment or campaign). - Execute shared code for an experiment.
- Execute variation code for an experiment’s variation.
For more details, see Snippet order of activation.
Use getDecisionString with custom analytics integrations
The getDecisionString and getDecisionObject APIs make it easier to write custom analytics integrations. These APIs consolidate all data about a campaign decision into a string or object to pass it to a third-party analytics provider. You can see examples in our article on analytics strings.
However, these APIs may return a null value. This can happen when a decision is made, but the user is not bucketed into the campaign. For example, if a visitor is on a page where a campaign is running, but they do not match the audience conditions for the campaign, the campaignDecided event fires. The APIs return null because the visitor is not bucketed in the campaign. If these APIs return null, you may not want to send anything to your third-party analytics because there is no decision to track.
Updated about 1 month ago
